
Wednesday July 1, 2015

This post is going to be short and sweet, because even though it’s been about a week since we’ve done the spray foam, not much has happened on the boat. Â Not much of a noticeable difference anyway. Â Some of it has to do with weather because even though I had epoxied about six boards to use as furring strips that was nowhere near enough, and these daily rain showers keep throwing a wrench in the work. Â It seems like we have to call off work every day around 2:00 lately when the storms come rolling in.
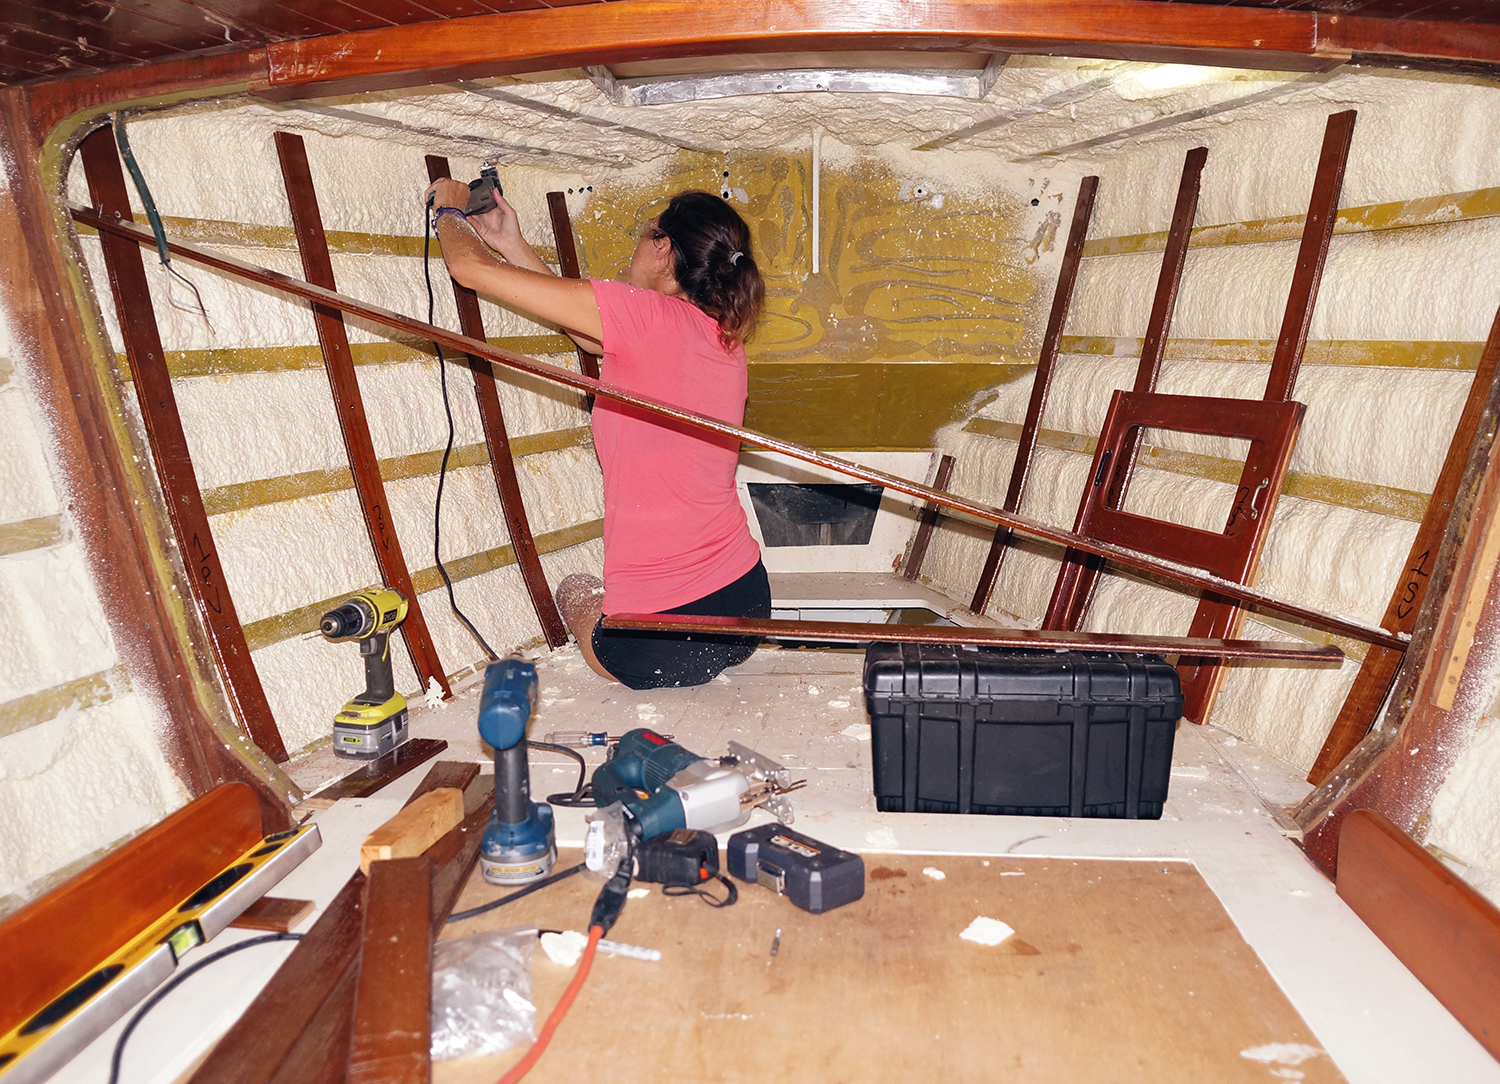
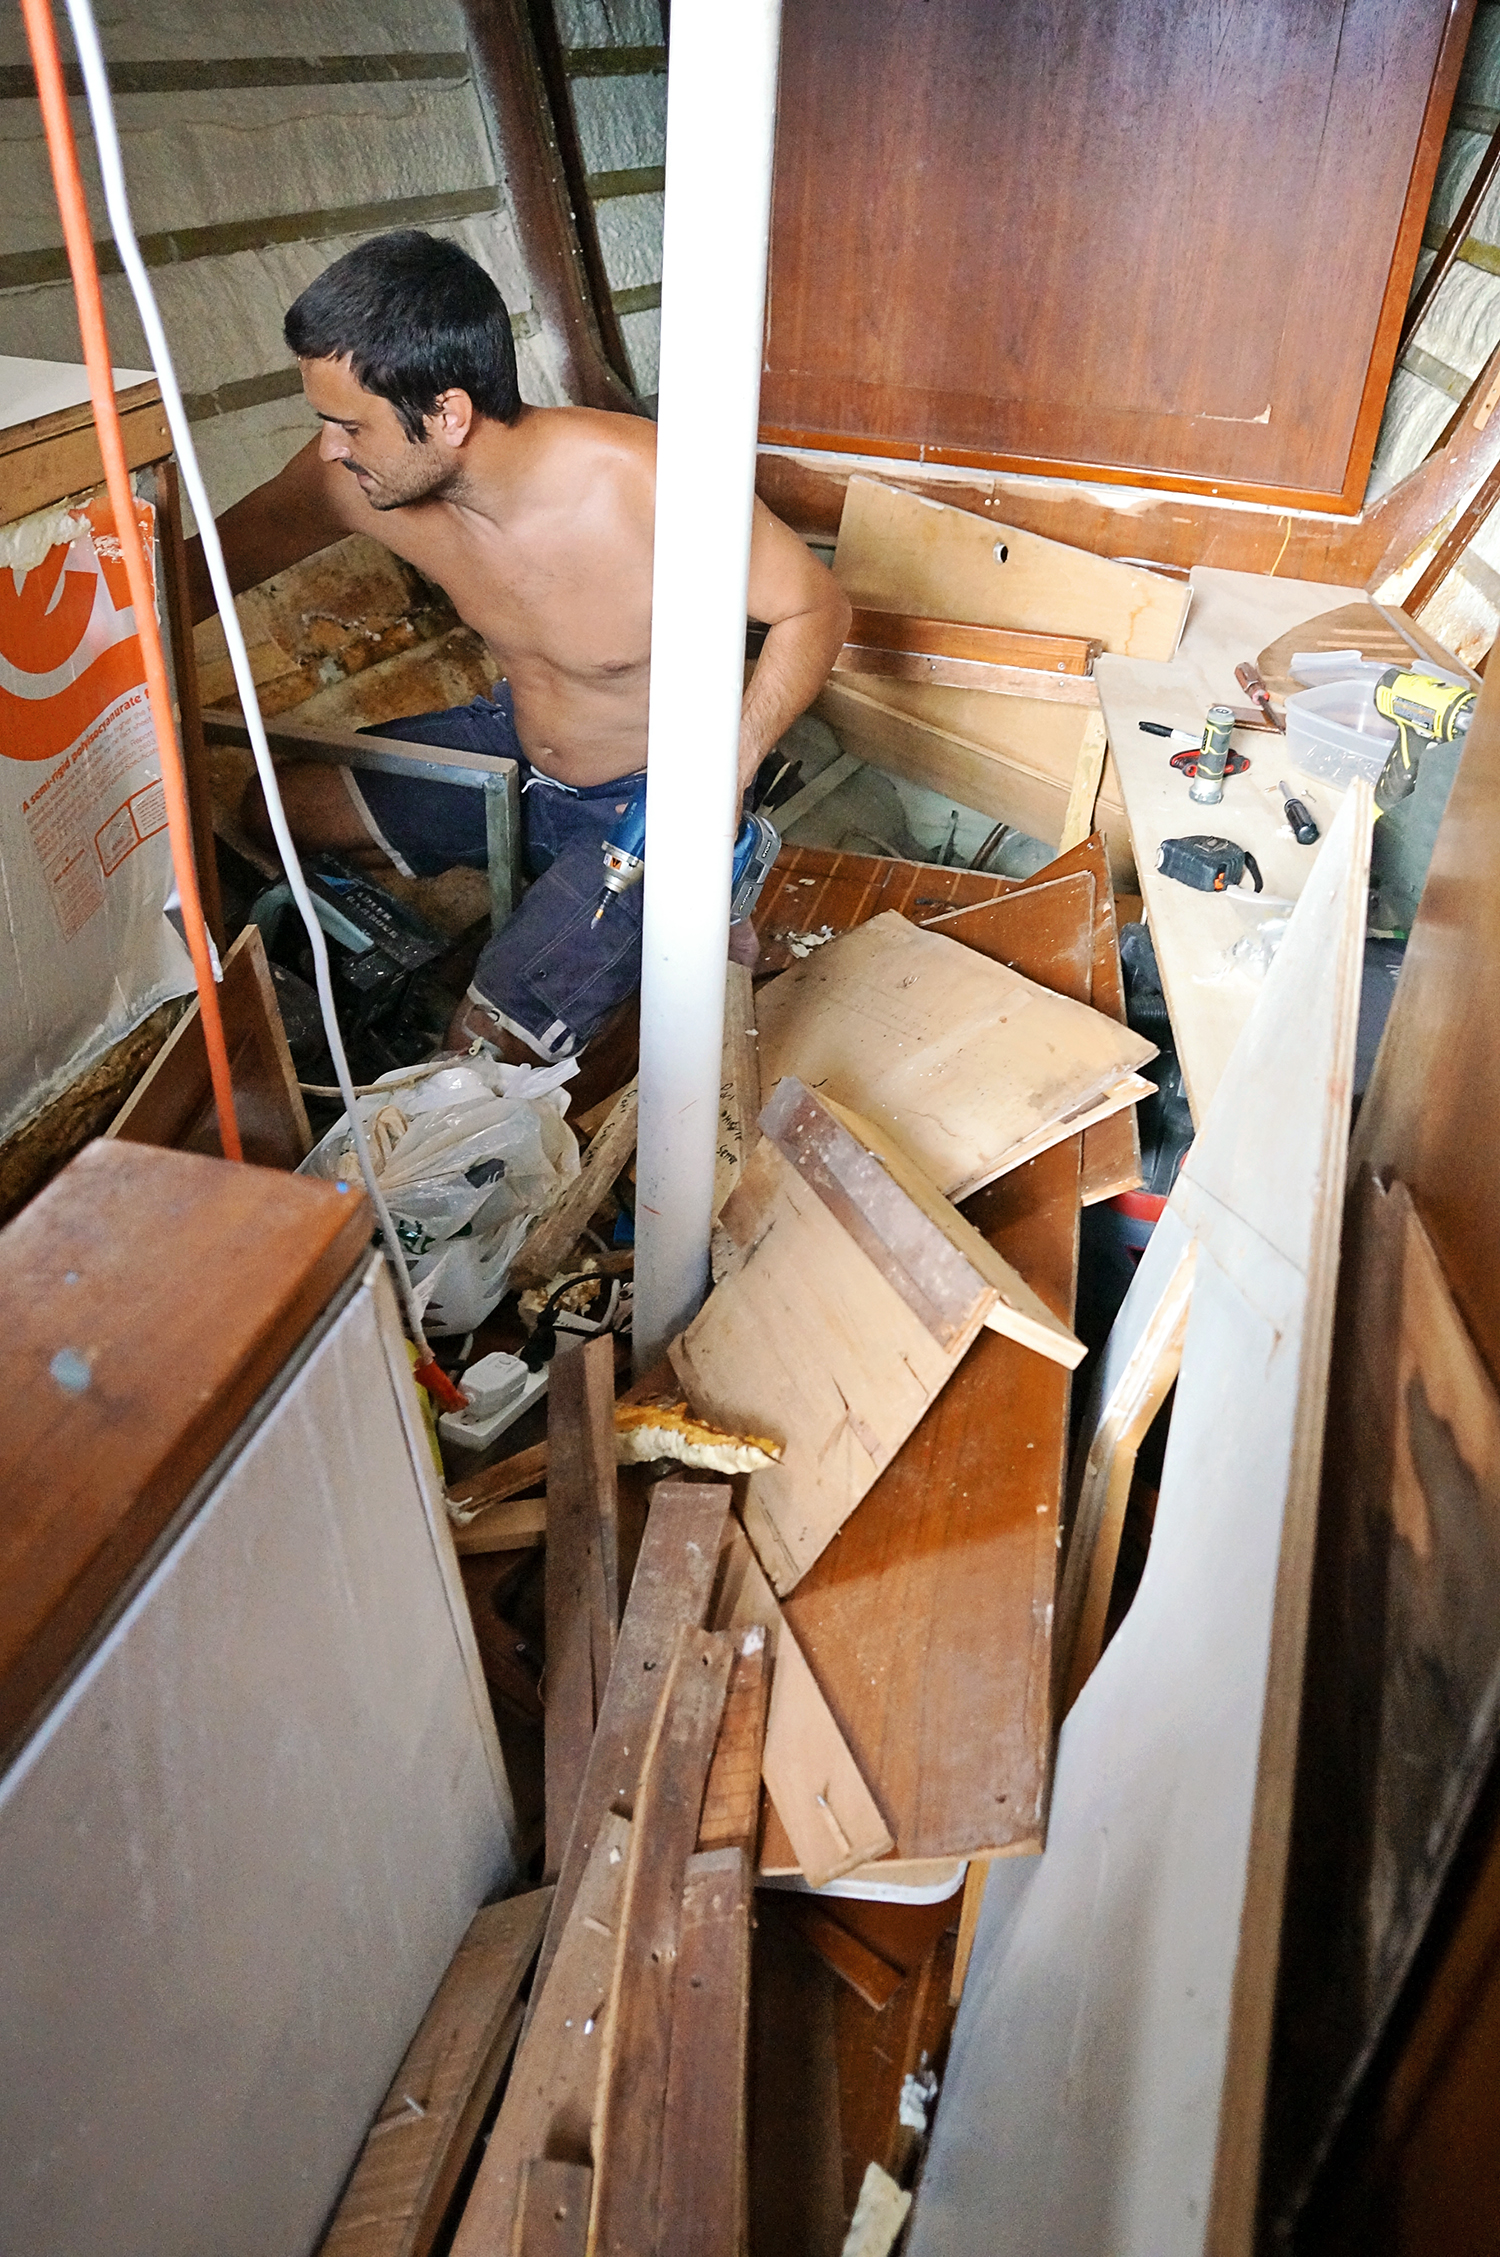
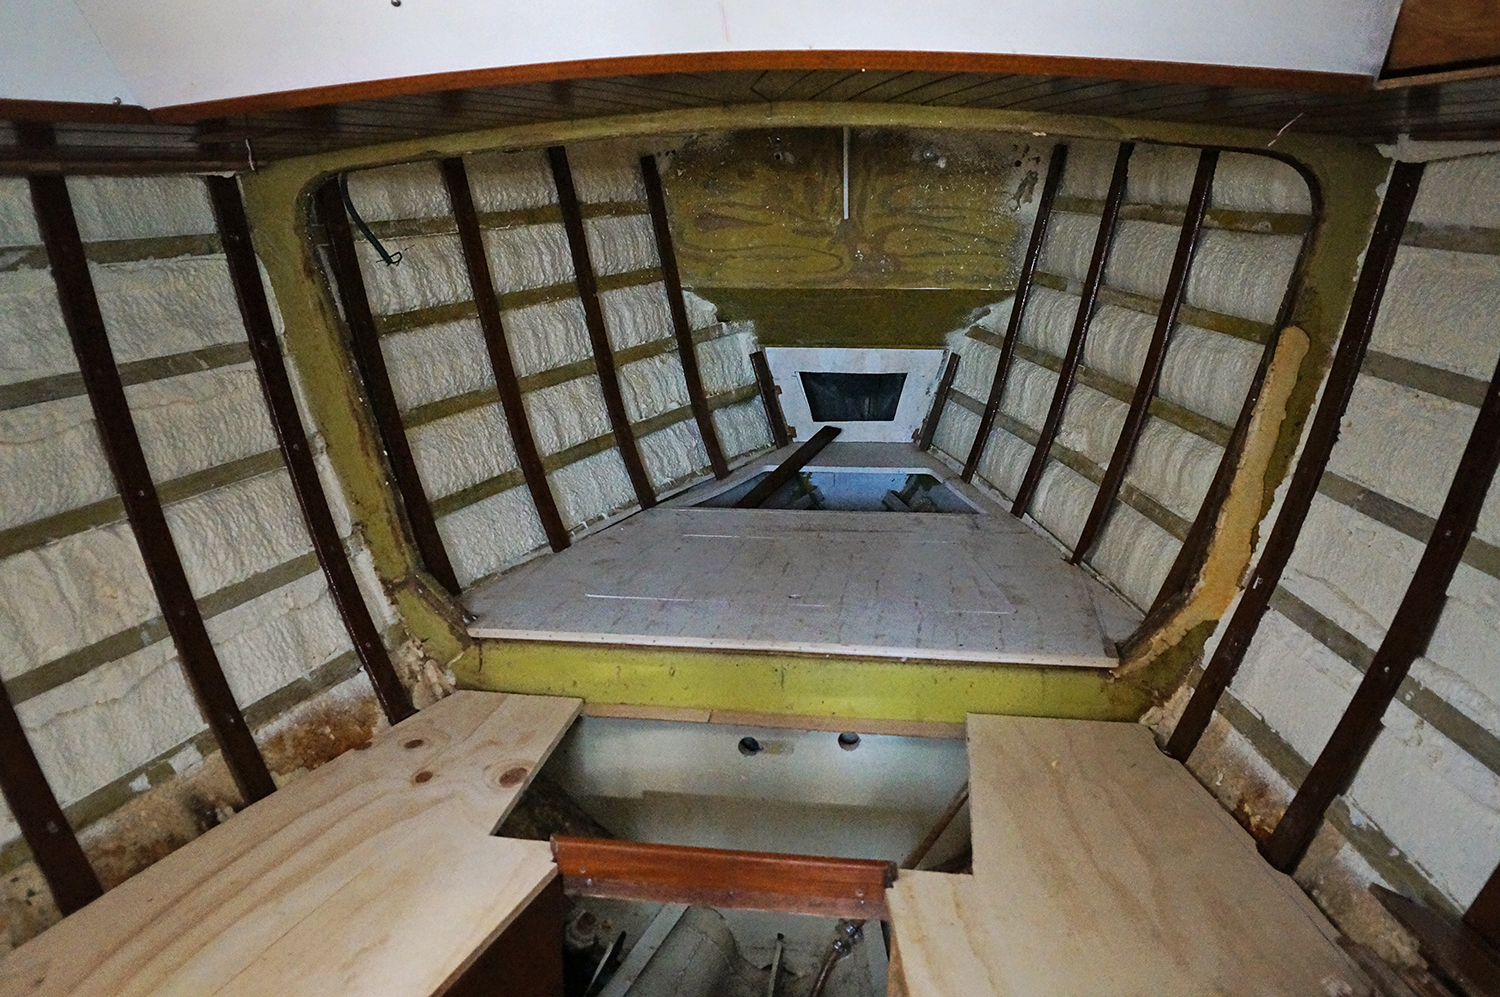
We did eventually get them installed to the forward salon and v-berth though, and these are the steps we took. Â After the boards were expoxied on both sides and then given a second coat just to make sure no water gets in and causes them to rot, we brought them in the boat and cut them down to size to run vertical against the horizontal aluminum frame. Taking just a regular drill bit we’d go through the wood to make a hole and just put a dent in the frame. Â Then switching drills, we’d use a drill and tap bit on the aluminum frame to dig the hole all the way through and prepare it for the thread of the screws.
Coating the stainless steel 10/24 1″ machine screws in Tef-Gel to prevent corrosion, each board then gets screwed in. Â I would say this was an easy step that we only had to repeat about 25 times, but that pesky foam would sometimes get in the way of the boards and we’d have to take out the Dremmel once more to hack away at corners. Â Don’t worry, we wore safety goggles for this. Â After two days of work we had finally finished and now have an area that looks like a bird’s nest!
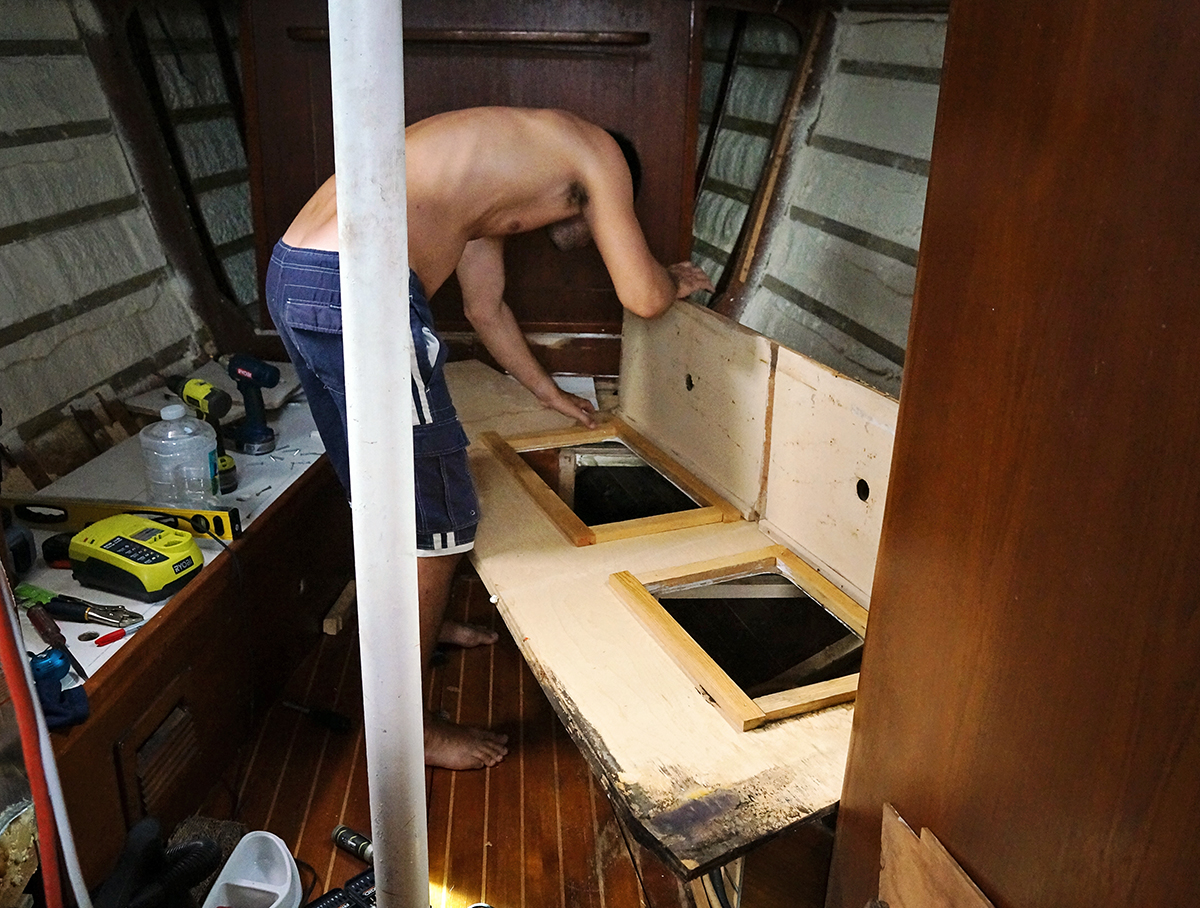
On the days we couldn’t work on the furring strips, Matt decided to start taking apart the seats for the forward settee. Â We figured that tracing the existing boards on to new plywood would be a heck of a lot easier than trying to get the angles for a new one just right. Â Using a marine grade 3/4″ plywood we’ve now cut new tops for the settees and one of the projects in the next few weeks will be making the face for them out of cherry.
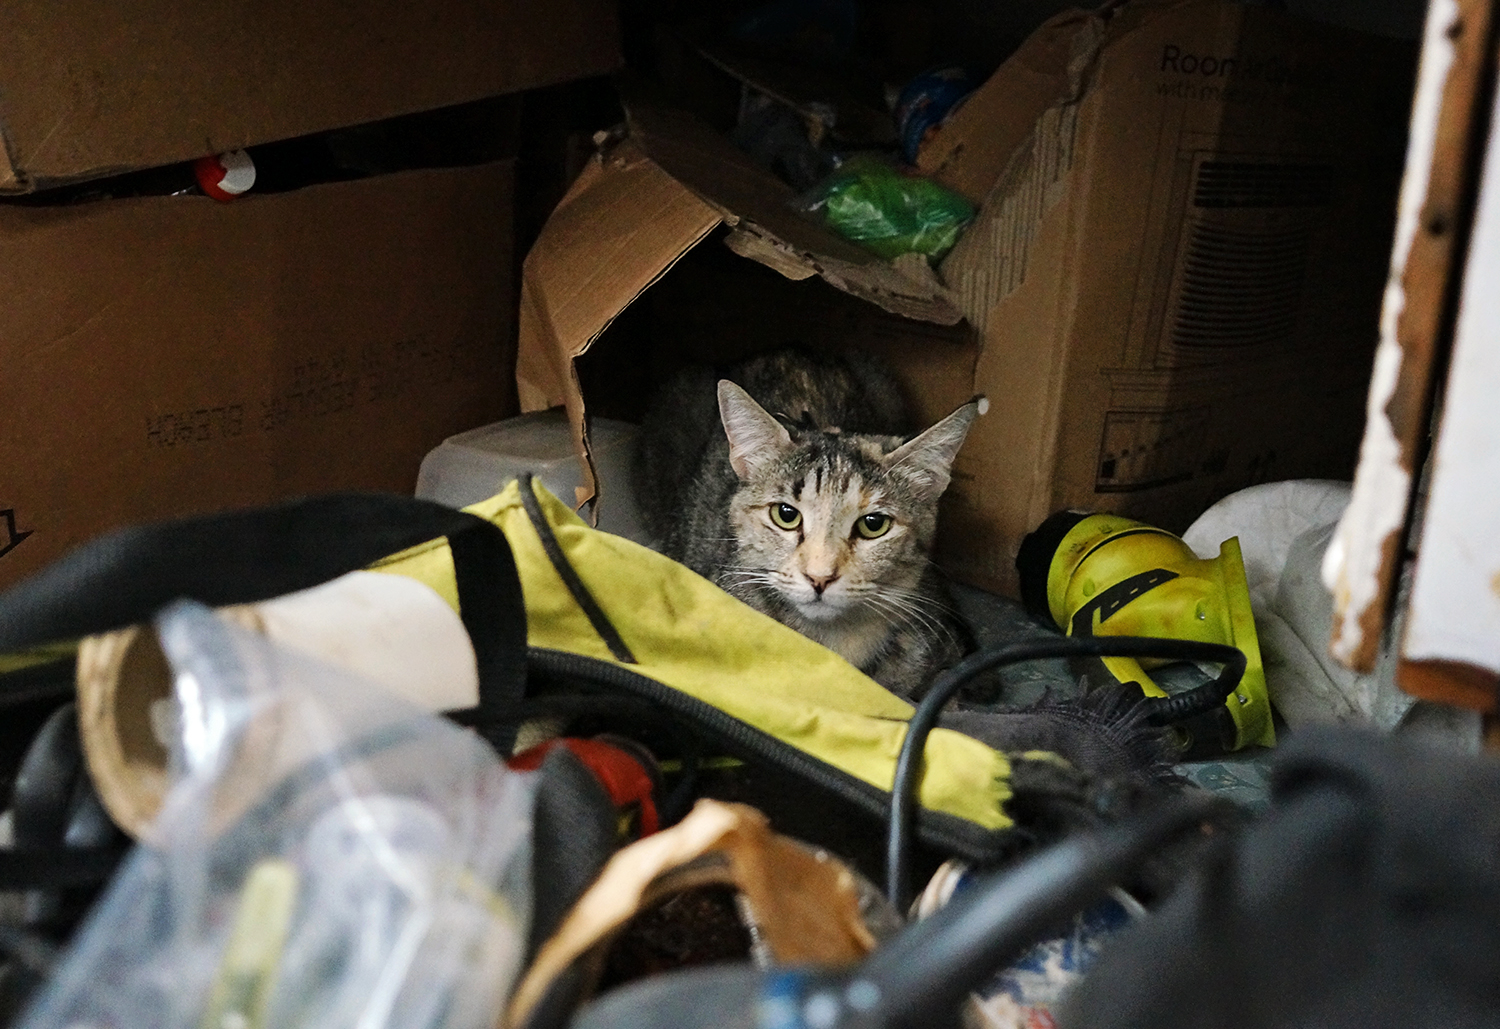
Georgie has been taking all this work around her pretty well and either spends her afternoons lounging on the floor of the pilot house or hunkered down in the quarter berth between all our crap. At least she still gets her morning walks up to the patio while we have our breakfast.
Things are starting to move along and I think in the next few weeks, everything is going to look quite different around here!
The V-berth is looking great, but that photo of the mess has my OCD going crazy!
That is one tolerant cat! Ours would be freaking out and nowhere to be found.
I see you have one of those cat traps. We have several of them scattered around the house, but we only catch the same cat over and over.
I like that nice, husky ring frame.
Dust mask, young lady. Dust mask.
Dave
https://svfifthquarter.wordpress.com/