
As you had probably gathered from our previous post on beginning the paint on the pilot house, that is where a lot of our time (and money) is going at the moment. Â Although I’ll catch you up to how that’s going in the next post, I’ll let you know now that the painting and sanding has basically become my job. Â Solely. This is because, well, not only does Matt mostly loathe painting, but we’ve found that his hand is just a little too heavy for the sanding that’s needed there. Â Every time I put him to work he somehow sands back down to bare metal in too many spots. Â We can’t constantly go back and touch up these areas between the multiple barrier and primer coats that are going on, so we’ve found it best just to keep him away from it all together.
The good thing is, this has now freed him up for more projects inside the boat. Â And since it was a little disheartening that they had come to a screeching halt for a few days, it felt good to now see things happening on both the inside and the outside.
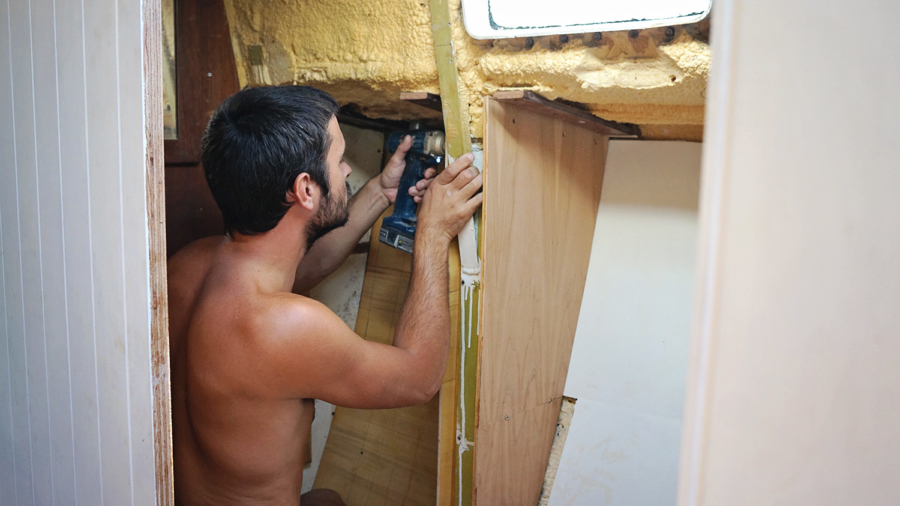
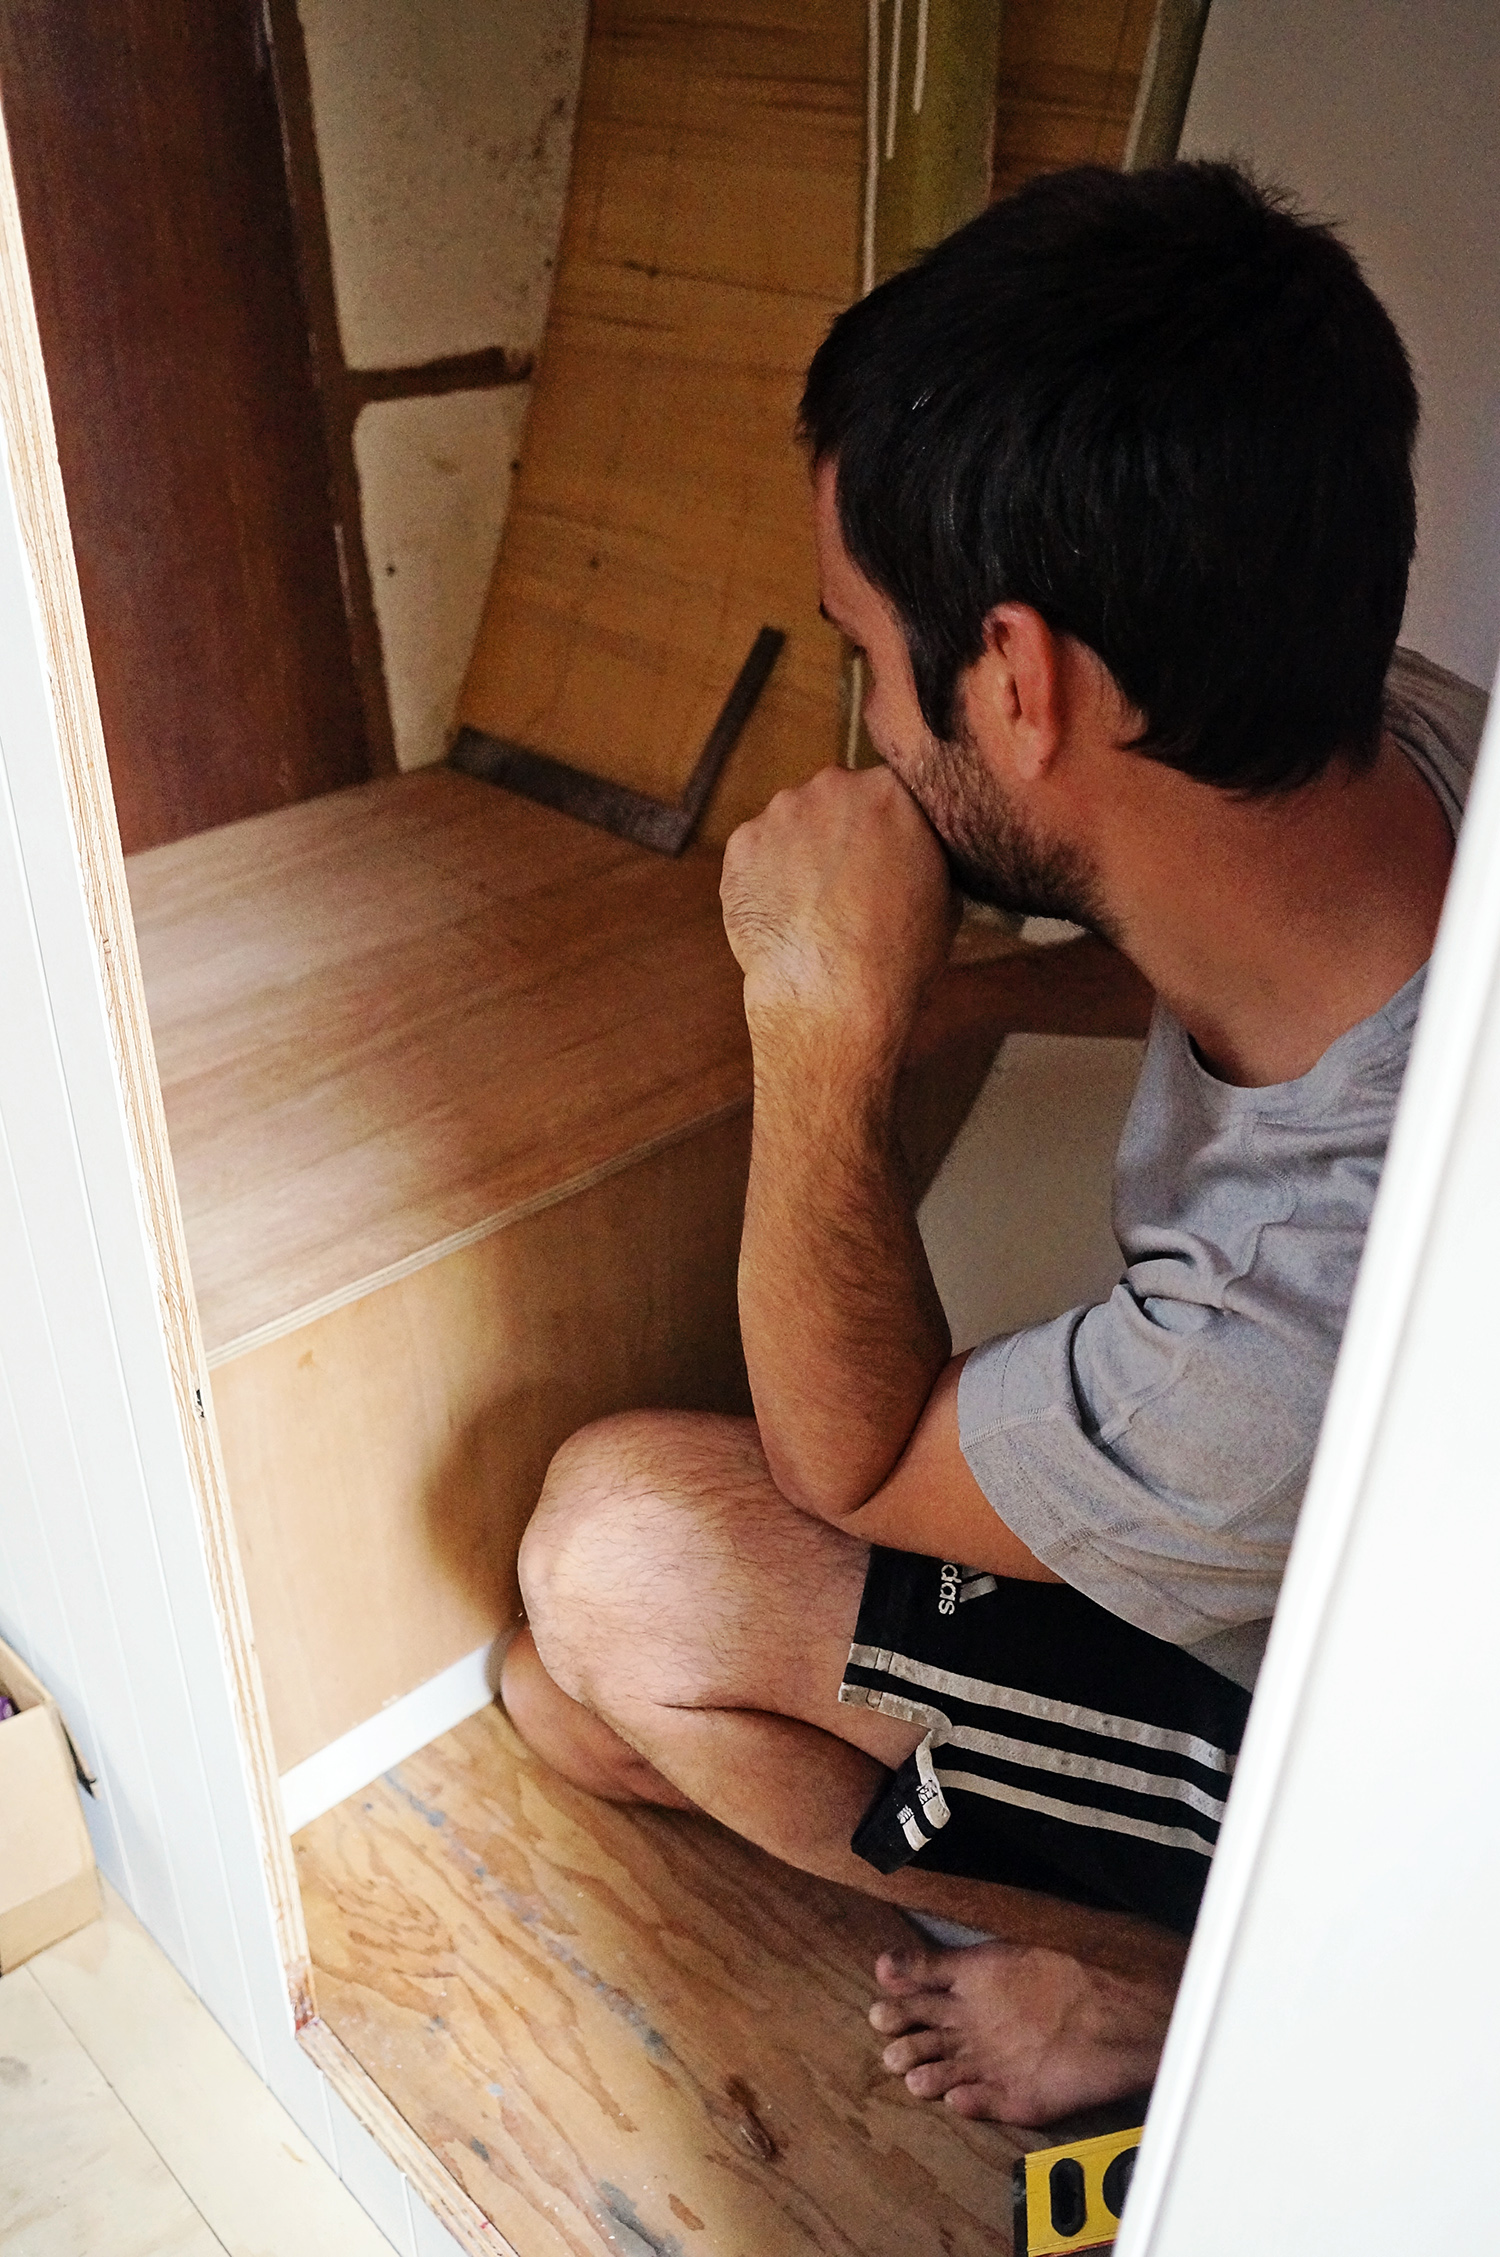
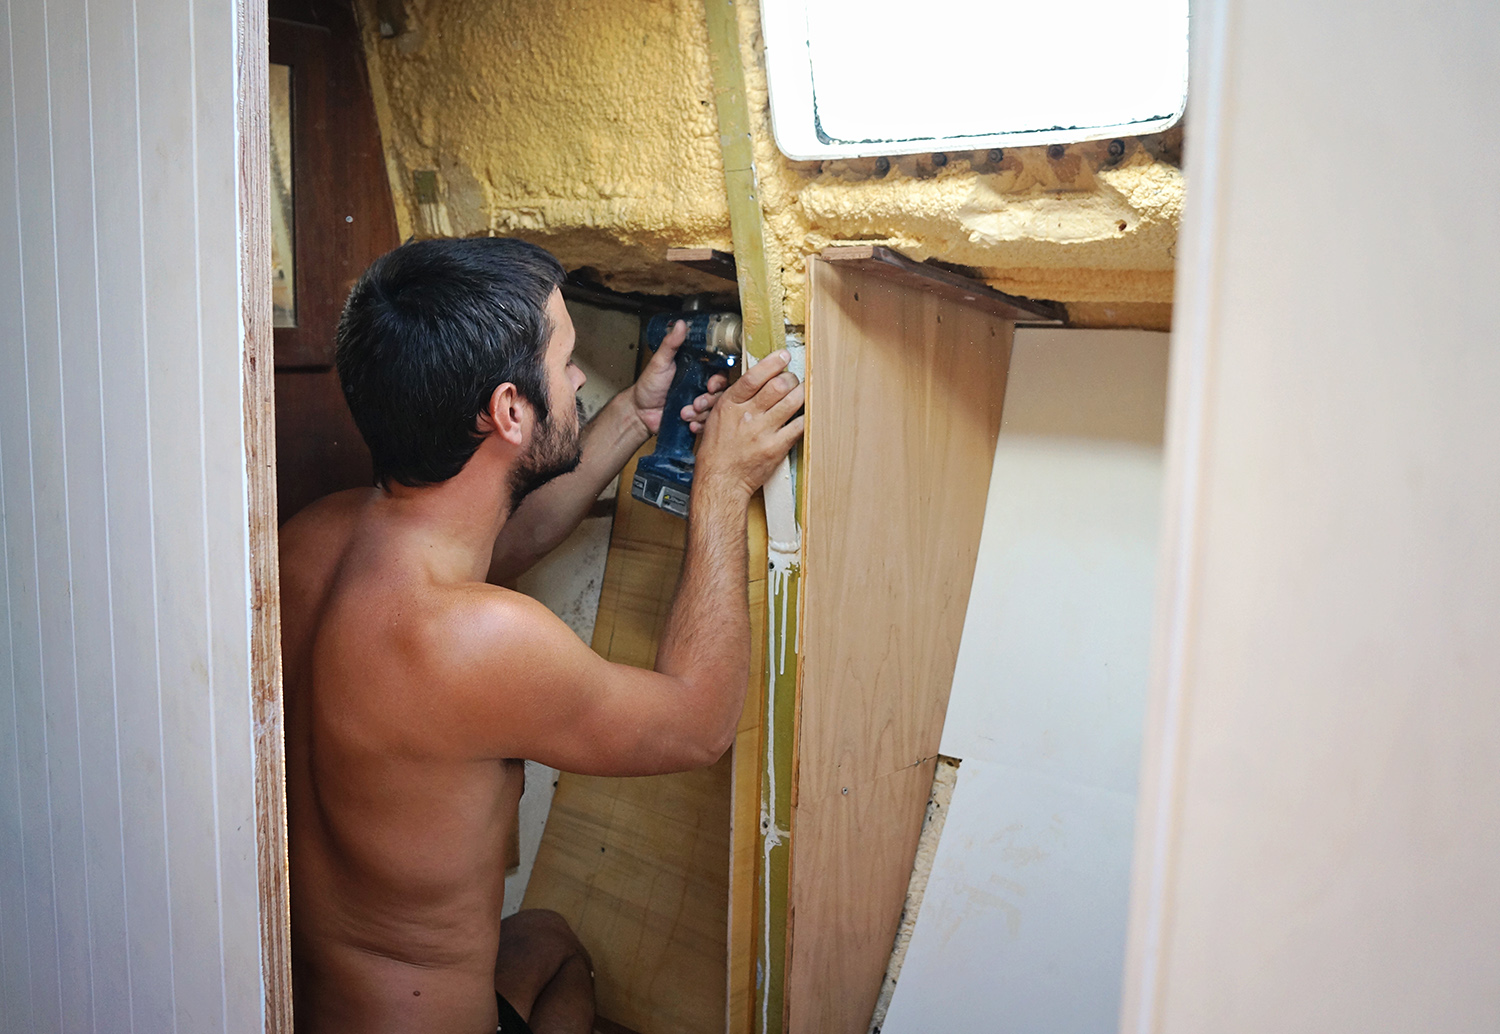
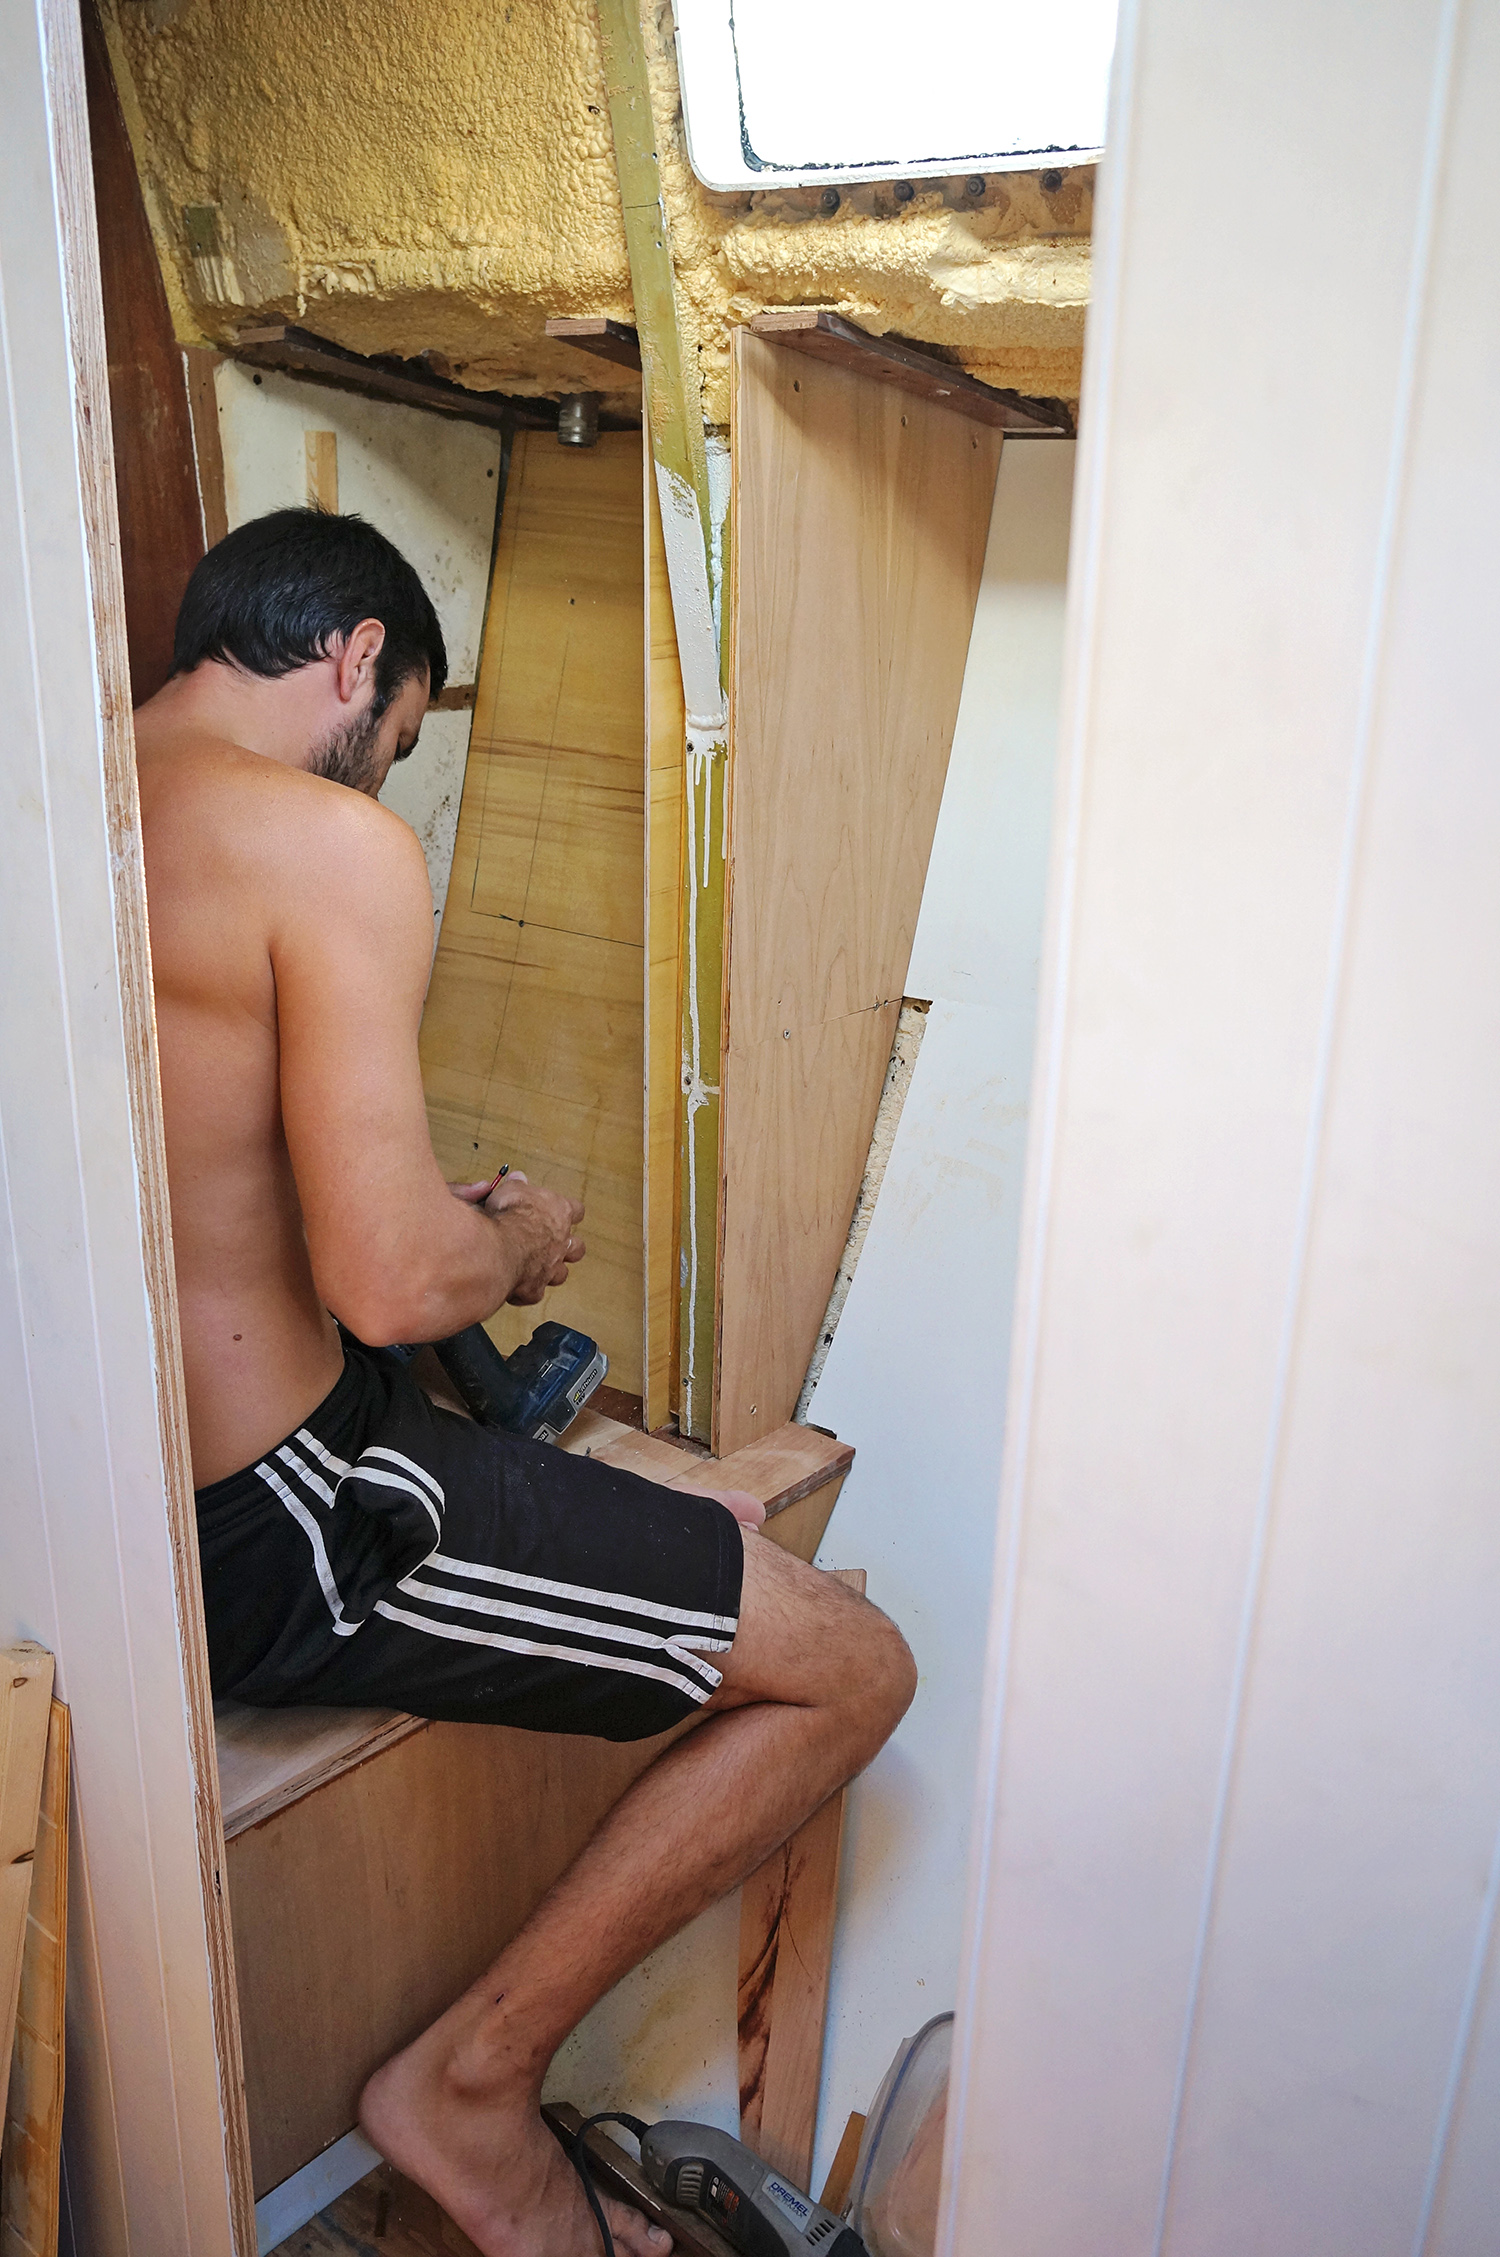
This is another post where not a whole lot has been accomplished, at least visually, so I’ll only be giving a quick gist until we dive further into this area. Â This area being the head, and mostly referring to what will be the composting toilet and our cabinet. Â When the toilet is finished I’ll be able to give you a much better run down on how it works and what went into it, but at the moment we’re just starting with a box in which all the components will eventually be placed inside.
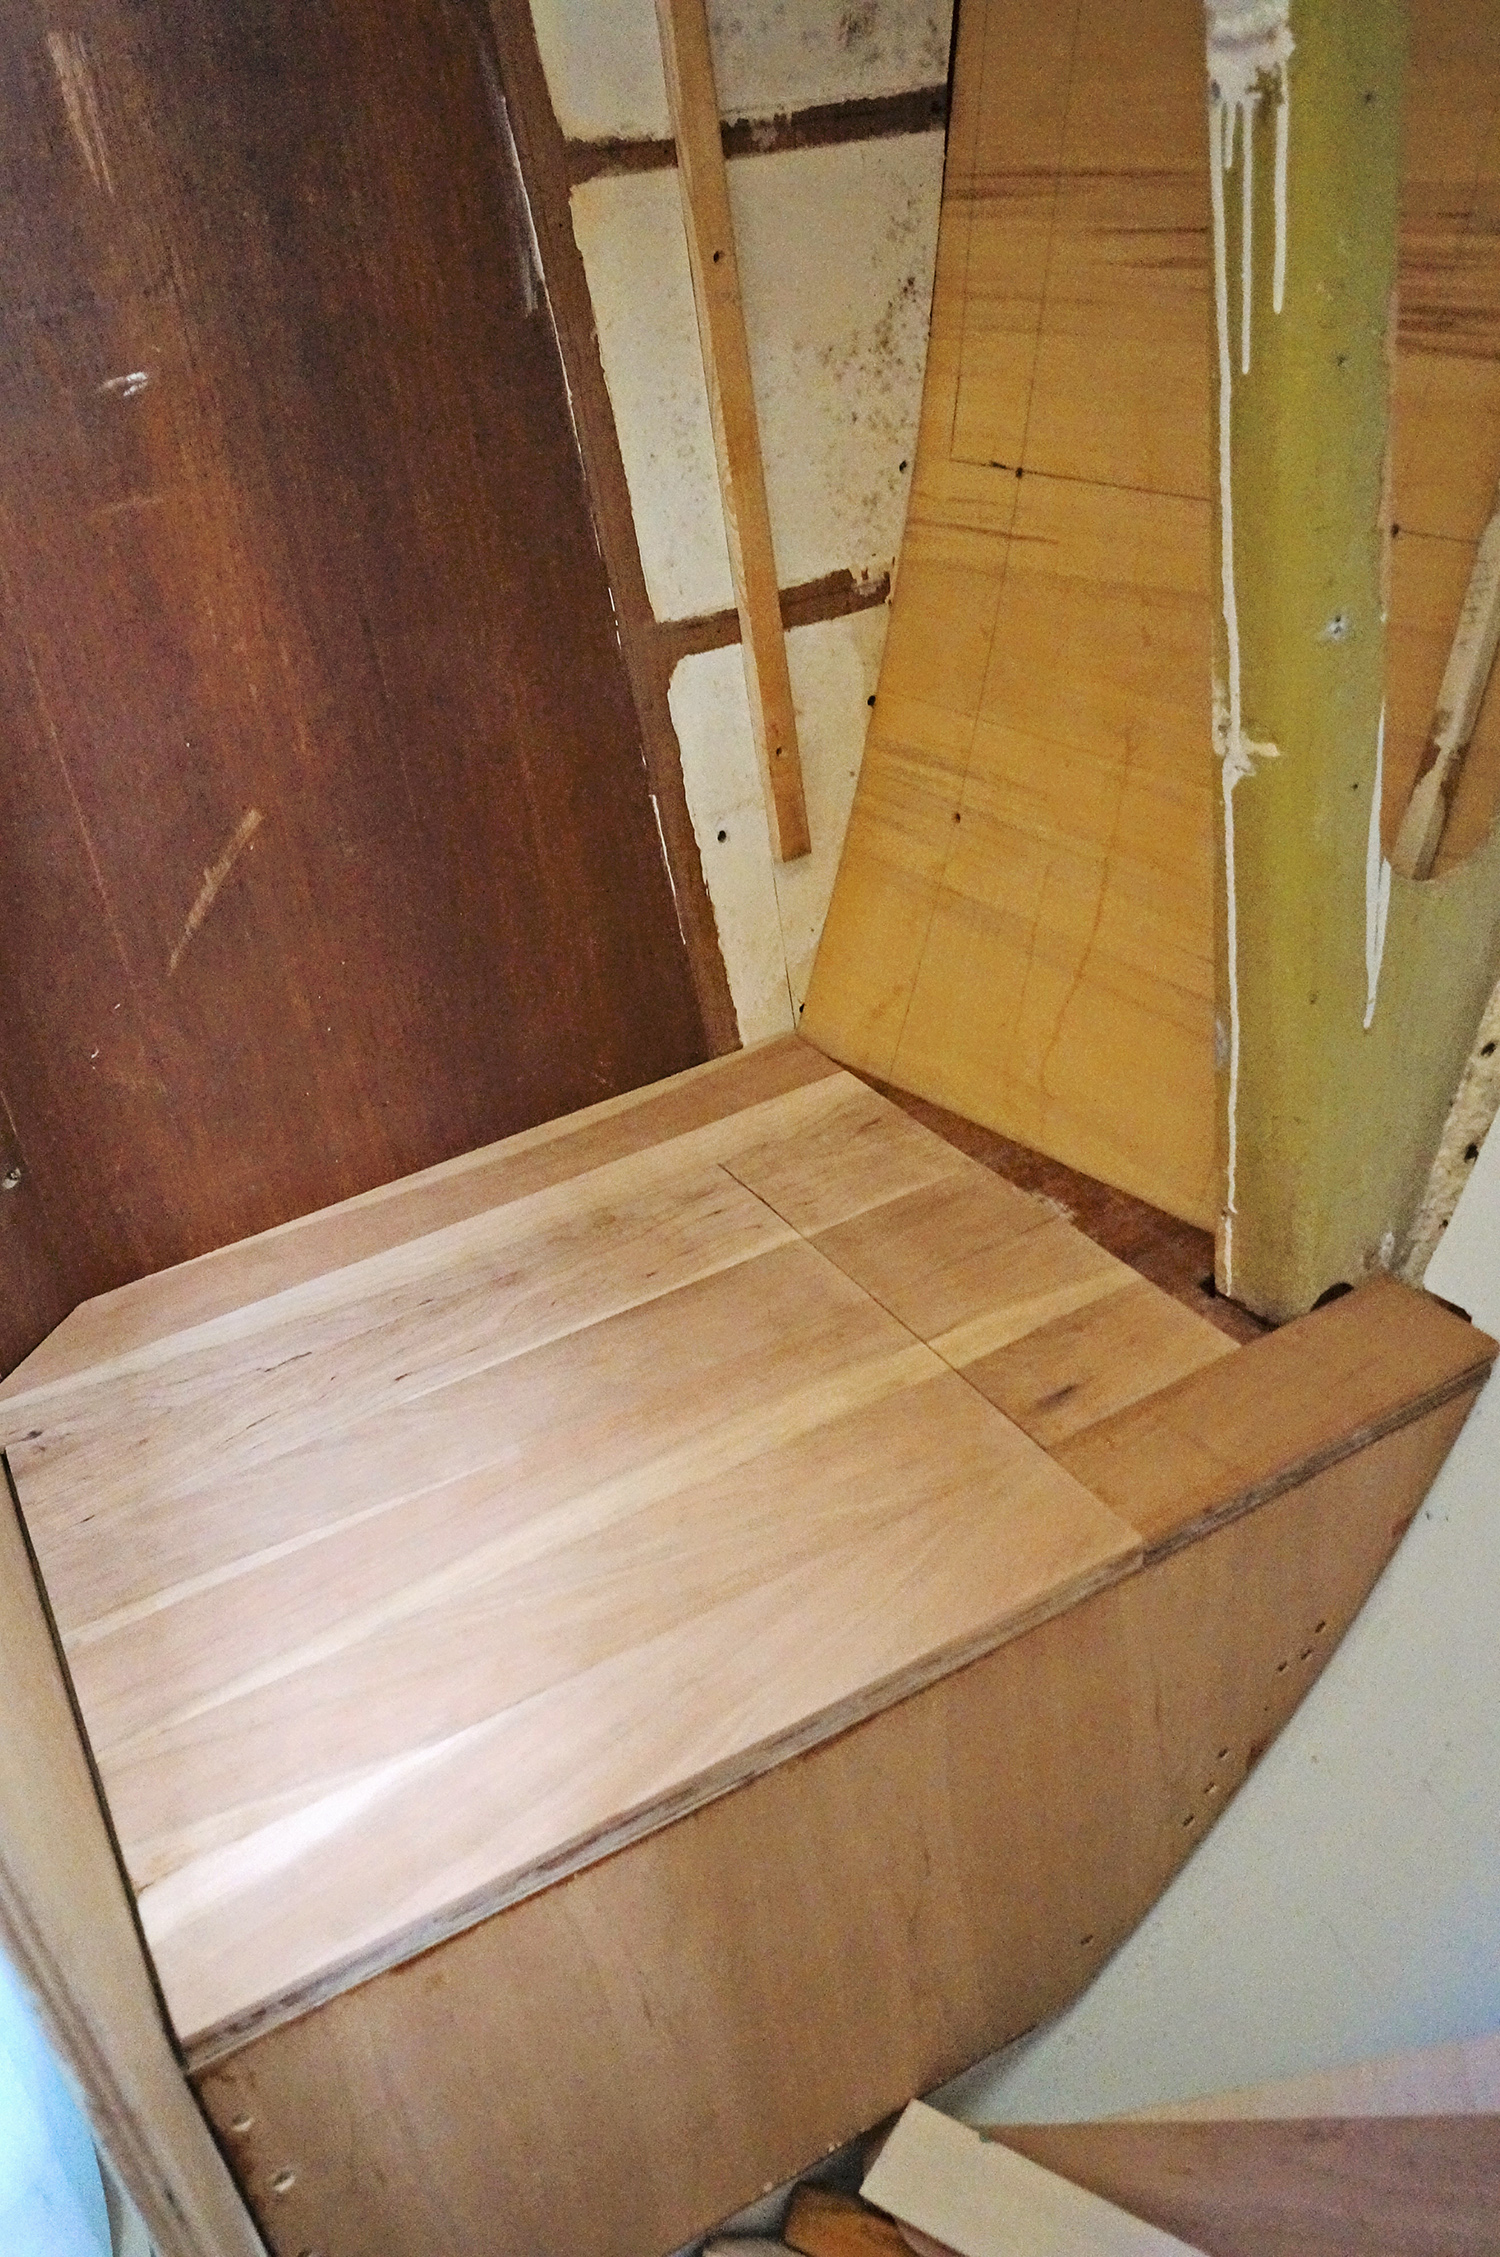
The top of the box (and what will be the opening to the toilet) runs from one wall to the other, and where it ends, the bottom of our cabinet will begin. Â Using 1/2″ plywood he made the front and the top of the box, while keeping the existing walls as the other sides. Â Once we had the shapes of them right, it was time to make the decorative cherry toppers. Â The front of the box was very easy as we used 1/4″ cherry plywood, and then cherry hardwood as an outlining trim.
The top of the box however, is made completely from cherry hardwood. Â Since all the strength is placed in the plywood though, we decided to get the decorative cherry hardwood to go as far as possible by taking the 1/2″ wide pieces and sawed them in half to a width of 1/4″. Â Using wood glue and lots and lots of clamps, we lined up the 2 1/2″ pieces of hardwood until they covered all of the plywood and adhered them together. Â This process was followed by lots of cussing, trying not to let gaps form between the boards, but eventually we used enough pressure to get it all to line up properly.
One of the fun and kind of funky things we’re doing with the cherry hardwood in the head, is to use all of our pieces that are showing sapwood. Â Originally we were discouraged to have so many pieces that had little white lines and strips running through the cherry, thinking we were going to have to cut those sections out and end up with lots of wasted wood. But then we came up with the idea to put them all together in one space where they would hopefully flow together. Â We’re still not sure how it will turn out once it’s varnished and if it was a good decision on our part, although so far it’s looking pretty cool.
The cabinet should come out looking the same as our clothing cabinets in the forward salon, although thank god we were smart enough to save the piece of wood that was the original wall to use as a template. With that one template we were able to transfer it to 2 sheets of eruolite. One will be used as the inside wall to the cabinet, and the other will be the outside wall that will butt up to the counter. Â The reason we’re doing 2 is because there is another odd metal frame that we found it easier to encase than to work around like in our clothing cabinets.
The outer wall was adhered to a piece of cherry plywood, so now it is 1/2″ thick and matches the rest of the exterior wood.
The door for the cabinet is made of a mixture of cherry plywood and cherry hardwood, just like our others, and sits inside a cherry hardwood frame. Â Now that Matt has made so many tongue and groove pieces, it doesn’t take him very long to saw the necessary slots and piece everything together.
So while I’ve spent my past few days outside in the fresh air, and sometimes sweltering sun, Matt has been making a lot of visible progress down below and it is looking great! Â I can’t wait until we have the counter installed and the new sink we just bought from Ikea. Everything is coming together so nicely and it would be fantastic if we could finish one room in this boat!

I love that you guys have both found your own projects. You can each be proud of what you’ve done – but you can also see progress when you look at each other’s work! That should be pretty darn motivating/encouraging. 🙂
I hate to bring this up, but those walls/floor/ceiling are going to move when the boat is in the water.