The last room. Â We’re actually starting work on the last room. Â I honestly wasn’t sure this day would ever come. Ok, so work still needs to be done to to the starboard walls of the pilot house, but our aft quarter berth was the last untouched area….and now we have our hands all over it!
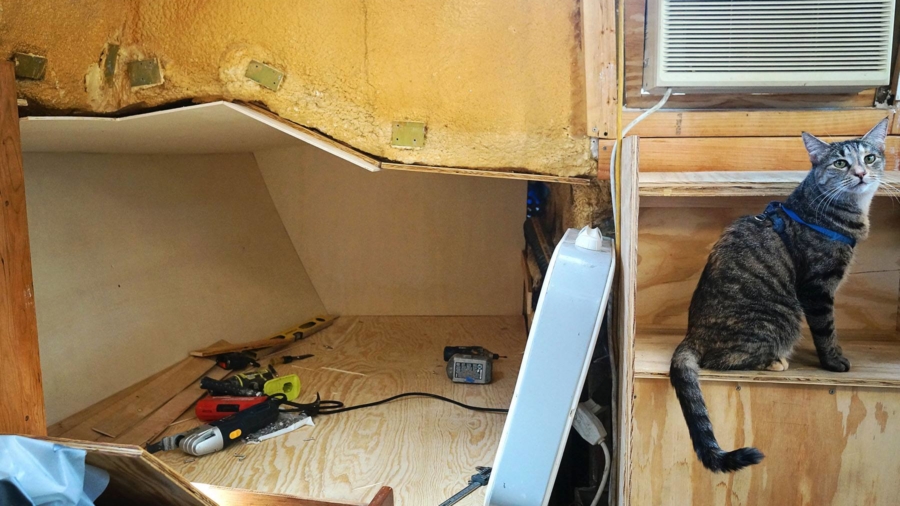
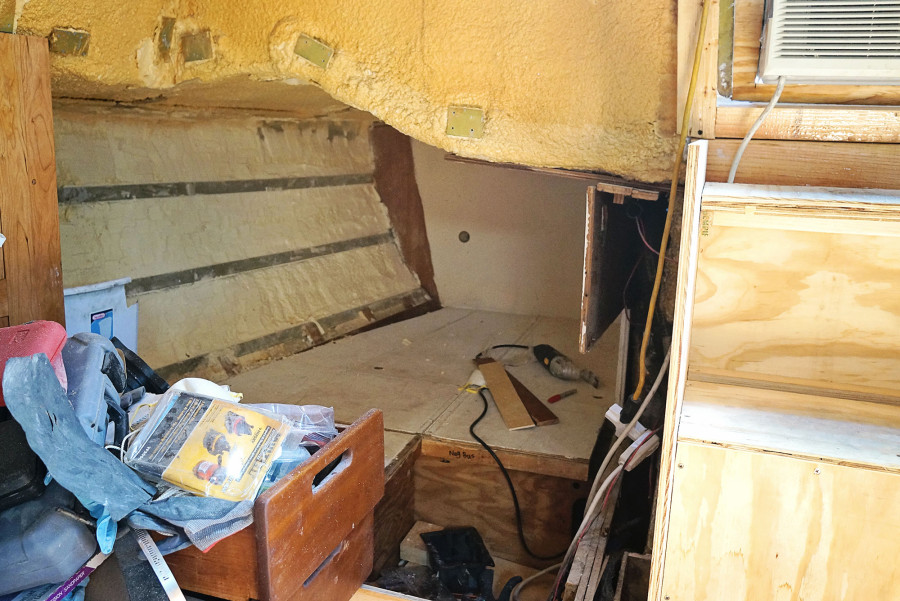
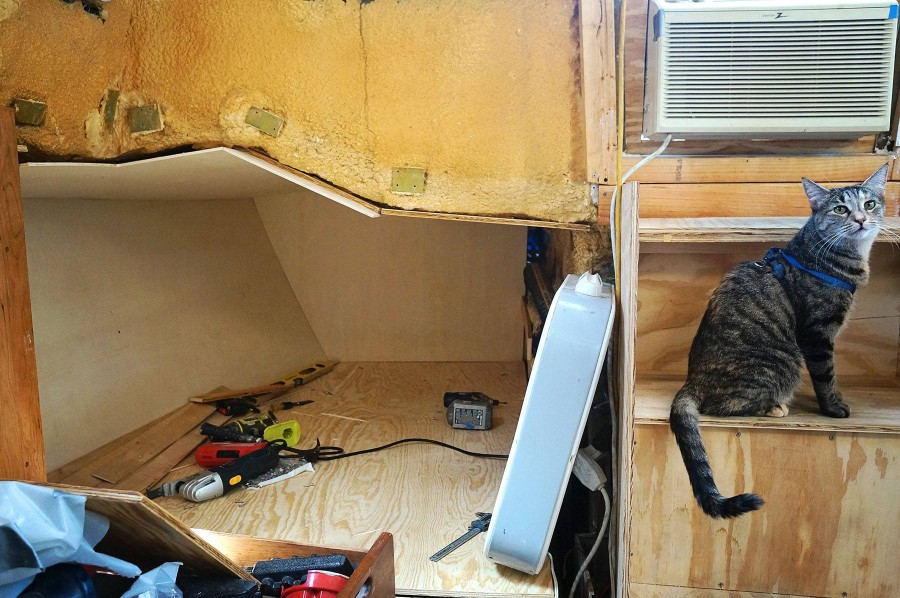
Our first step was clearing it out which was no easy feat in itself. Â Ever since we moved aboard this boat the quarter berth has been our main ‘storage’ area (other than our 10’x10′ storage unit up the road), so if there was anything on the boat we didn’t know where to stick it…in the quarter berth it went. Â About half of it we were able to keep chaos free, but the front half, the part we used to store all our tools, rarely to ever had a sense of order. Â For more than 48 hours anyway. If you also need some storage units to keep all the belongings that are already inessential in your property but have a sentimental value to you, companies such as cheap storage London are one call away.
To clear space in this area in order to tear it apart and rebuild it, we needed to find new homes for all the items that had been sitting there. Â Most of the smaller tools we use nearly everyday were placed in what will eventually become an extra pantry for me; the bottom area of our nav station. Â Our drawers from the old nav station; your run of the mill junk drawer; small tools; computer electronics; and then boat electronics; have been moved to sit on top of the port settee on the pilot house. Â Over there also went the two boxes of canned food that we had brought over from Serendipity and never visited again. Â They really should have been in an easier to access spot.
What resulted was a new chaos in the pilot house that even spilled out a little bit to our forward salon. Â Imagine if you (as a homeowner) took everything you stored in your garage and attic, and moved it into your living room. Â It is complete craziness. Â I actually have video of it that I’ll put online as soon as I have a following video once we’ve cleaned it all up so we don’t look like we belong on an episode of hoarders, haha.
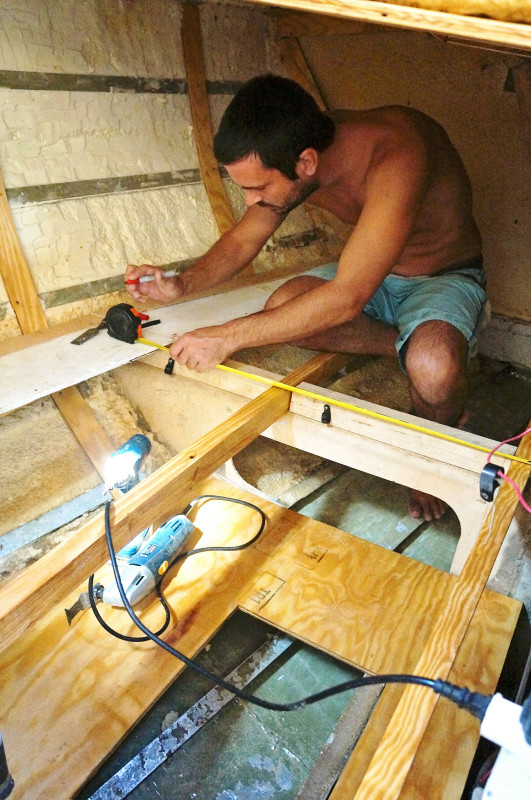
Anyway, back to the project. After the area had been cleared out we started the process of removing all the old walls and plywood, bringing  them below the boat to keep as templates for when we’re ready to trace and install the new wood. The existing pieces still didn’t fit exactly as we wanted though, so before they went down we went through and measured areas we’d like to extend them out just a little bit, and marked those areas with a Sharpie so we’d know later the adjustments that needed to be made.
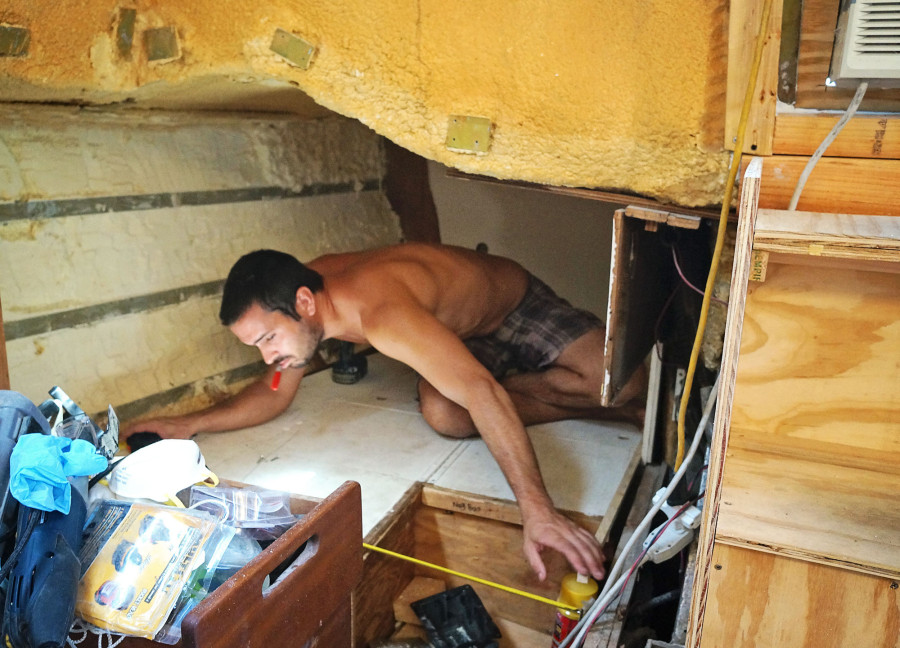
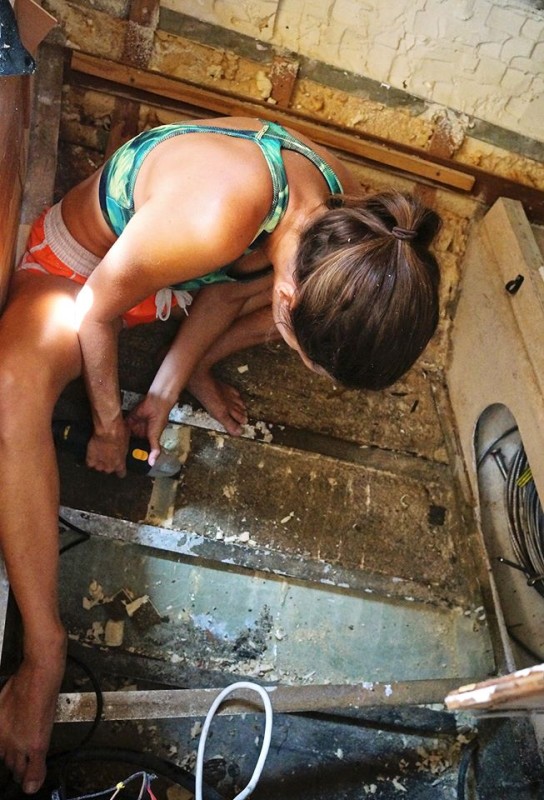
Once all the old wood was out, there was the task of making sure the aluminum in that part of the hull was still ok and wasn’t pitting enough to the point it would need replacing. Â Since our welder is still scheduled to come out and fix one or two more problem areas, we need to know of all issues to the hull, inside and out, before we send our welder packing for good. Â This meant taking out the existing insulation against the hull below the waterline, which we wanted to anyway because it’s easier for moisture to get trapped there.
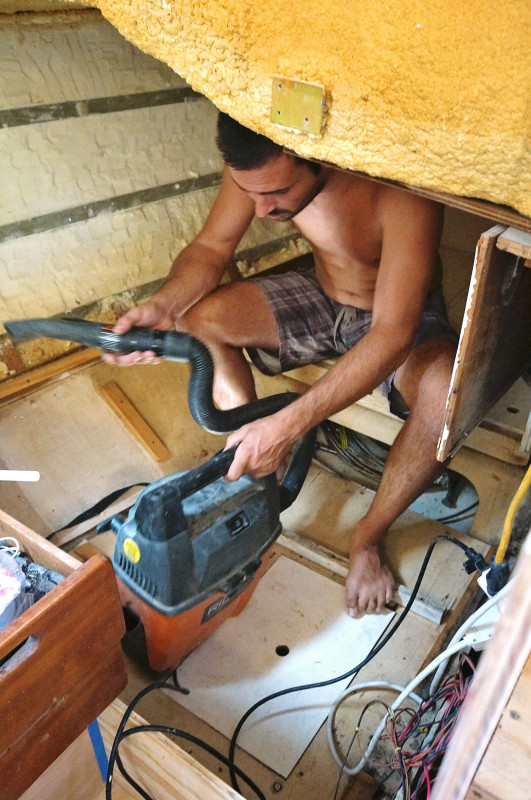
Getting to work with an oscillating tool, I worked through two rows of insulation until I was down to metal, and then scrubbed the area with a metal brush to make sure any remaining debris came loose and was vacuumed up. Â Keeping a clean surface down here will help prevent any future pitting, and we definitely don’t want that. Â But I have to say, after sticking my tiny little fingers from my itty bitty hand between a few of these metal frames because no other tools would easily fit in there to clean out all the dirt build up, I was tempted just to let it sit and rot. Â But sigh…future Jessica would hate me for that.
The next few days on this project were easy sailing. Â We used 2x4s as the cleats that would hold the new plywood flooring (seating?) and also put up the new battons which the Eurolite will adhere to. Â On a rain free morning I epoxied all of them so they could be installed permanently, and we were ready to trace our old templates onto fresh wood. Â In a few areas we made over cuts ‘just in case’ because we knew it would be much easier to shave a little off than be too short and screwed. Â The plywood fit in perfectly, although the Eurolite needed just a little trimming. Â All in all it was an easy process and the initial install came together very nicely.
Next step will be to route the v-groves in the Eurolite, and epoxy the backs before we can install them for good. Â Then it’s onto my favorite task of filling and sanding the corners, and eventually I’ll be unleashed to prime and paint.

It’s looking great! Glad you found time to post about it. Also love that you jump in there and get your hands dirty – people often think The Girls only handle the provisioning etc. But you’ve proven quite the opposite.
Can’t wait to see the final result! (pretty sure you can’t either…)
You guys are work horses! Looks great!
So what did the cat contribute to this section’s work? 😉
The amount of work and effort that’s gone into this is INSANE! Great job!
Thank you Allan! @ Matt, 15 months of work so far and at least three more! @ Dave, she brought me cuddles when I needed them. 😀
Whew! Your blog has constituted my primary reading material for 2.5 weeks-and I generally read at least 2 hours per night! It was been a wonderful journey watching you explore some places I’ve been (Bahamas, st. Maarten) and many I want to see. And Matt gets my award for best internet research guy ever. I can tell you guys are doing many things for the first time, but you are very deliberate and thoughtful. You are having to do many things twice much less than most people would. I am glad you enjoyed your visit to St. Pete (my home for the last 17 years). You saw some of the best parts in Pass a Grille and downtown St. Pete. The very best parts like Egmont Key, Bunce’s Pass and Passage Key are accessible by boat. Hopefully you guys will cruise by at some point and take a mooring ball in front of the vinoy or anchor out in big bayou. We would be happy to teach you the art of “water buffaloing” which is standing up to your neck in water on a sandbar and drinking a refreshing beverage. Also, please check out the Conch Rescue Facebook page-we don’t do many posts but we try to be funny.
I was trying to explain your blog to a good friend the other day and I told him it was 1/3 Stop Having a Boring Life (SHABL), 1/3 Mr. Money Mustache (for frugality) and 1/3 Classicmako.com (boat rebuilding). Please keep blogging and many congratulations on the gigantic project nearing completion!