thumbnail 1

Sewing, SNADS, & Fuel Systems

It’s time to get back to projects on the boat. Matt takes over the heavy duty end of things while putting together our fuel system. A task we’ve been waiting a long time to complete, and a huge weight off our shoulders now that it is done.
My job was much simpler, sewing screen covers for all our ports and hatches. Made from Phifertex Vinyl Mesh, these screens will keep us shaded and much cooler inside, still allow visibility out, and should *hopefully* keep the Florida heat from penetrating into our plexi and causing any more crazing.

Cheers from the work yard!

Thank you SO MUCH to our Patrons. These charitable souls help keep us in the work yard, our camera equipment up to date, and the videos coming. To join the Patreon ranks, please visit http://www.patreon.com/mjsailing

Thank you!,
Matt & Jessica

Music:
0:00 – Changes – Faul & Wad Ad vs Pnau
13:25 – Future Funk – Joakim Karud

Camera equipment used:
– Sony NEX 5T - http://amzn.to/2glc9zG
– Panasonic HDC - http://amzn.to/2lPlf9O

Editing software: Windows Movie Maker

Facebook:
http://www.facebook.com/mattandjessic…

Instagram:
https://www.instagram.com/mattandjessicasailing/

thumbnail ep 3 (2)

Seam Ripper Come Rescue Me

Who knew vlogging could take so much time?  Oh wait, maybe it’s the sewing project I’ve been working on the past few weeks!  Either way, the blog has still been ignored, and I still apologize for that.  And probably will when the next video goes up as well.

While you’re waiting for the thrilling story of our trim (which is about the only lapse between the blog and videos), catch up on all the new things happening, including us finally getting cushions in the forward salon!  Only about a year after we thought we’d originally get them when we first started work on days off.  Although the old cockpit cushions we’d been using in place gave us some kind of padding and fluff under our bums, it was high time to put the real thing in there since all the heavy duty work up there had been completed and there wasn’t the same worry that we’d destroy the fabric right away.

I don’t get anywhere near finishing, and also take a break in the middle to help Matt apply the Kiwi Grip non-skid to our deck, but progress is being made!

10.13.13 (7)

Sewing Jerrycan Covers

Sunday October 13, 2013

10.13.13

If I’ve been waiting a long time to complete the shade curtains in the cockpit, I’ve been waiting just as long to do the project of making jerrycan covers. Probably longer. In fact, I think this was supposed to have been completed back in Michigan, before we even left on this trip. As much as I had been putting it off though, I knew that it needed to get finished now. Aside from the constant nagging from Matt, there were other reasons. First, is that our jerrycans look terrible sitting on the side of the boat. They were a visual abomination on an otherwise clean slate as they clashed with the colors and lines of Serendipity, and also making us look as if we were giving a lesson in primary colors. Do you know how many times I’d have to Photoshop those red and yellow cans away for a decent photo? Ok, so maybe it was only for our boat card photo (where I also edited out Rode Trip, ha!), but still.

The second reason I knew I needed to complete this project now is because one of our diesel jerrycans actually received so much sun damage that it cracked and began leaking fuel. Yes, this project could no longer wait. I should say though, that I tried to start making one in Florida, but I failed horribly at that first attempt and didn’t have the energy, or desire, to go back and do it correctly at that time. For 10 months, that sorry excuse for a jerrycan cover sat folded up in the aft cabin with wishes to never see it again.

Now that I really needed to finish what I started, I was happy to have some kind of template to work with. This one was made for our squarish shaped diesel can, and having Matt lug the full five gallons of it’s content to the picnic table in the ranchito, I slipped the cover over it to see it once more swimming in a sea of blue Sunbrella. Doing a bit of tugging and gathering here and there, I realized the four panel design was not necessary and I could take the back one off. After this was done I flipped the fabric inside out, placed it back over the jerrycan, and pinned the loose fabric together in the back. I realized that the original cover was way too long and I needed to take a few inches off from the bottom. Pinning these up as well, I kept making adjustments to the extra fabric in the back, trying to keep the lines as straight as possible. I spent a full day on this one jerrycan, pinning, un-pinning, repositioning, and then pinning again. The next day I went back to sew and ended up with something that wasn’t the prettiest jerrycan cover in the world, but it fit.

The other two jerrycans needed to be made from scratch and I seemed to be at a loss for this. Let me just mention right now that sometimes logistics are not my high suit and I miss very easy solutions that are right in front of my face. I’m sure there was a simple and logical solution on how to make good looking jerrycan covers without a predetermined template, but that’s not the route I took. Oh, I did go for simple, but good looking was left way back in the dust. For the next set of covers I took one of the jerrycans and laid it on it’s side on the Sunbrella fabric. From there I pulled the fabric up to meet the middle of the jerrycan and marked it. I traced the pattern all the way around and then marked another line a half inch further out to allow for the seam. Cutting the fabric I traced this outline once more on the Sunbrella so I could cut the other side.

Once I had both sides cut I pinned the fabric at the edges and placed it over the jerrycan to check it’s fit. I found that the sides were mostly accurate but there was extra fabric gathering at the top. Removing those pins, I positioned them lower for a tighter fit. Then it was on to the sewing machine. With my Brother, I sewed the exact line of the pins, pausing the machine every few moments to take out the next few pins before they were hit with the needle and thread. I was kind of surprised at what ease this project was turning itself out to be. Once I had the two pieces sewn together I once more threw the cover over the can to check it’s fit. There was still a bit of loose fabric at the top, so I once more pinned it closer to the body of the jerrycan. Another run through the sewing machine and a cut of the extra fabric later, I had a simple but snug cover that fit over the jerrycan but still easily lifted off.

I followed these same steps for the last jerrycan (at least I was logistically smart enough to trace and cut the fabric for the second cover from the first one), and I was almost finished. At the top of each cover I sewed a very tight rectangle of thread which I then cut a sliver in the center of to allow for the strap of the wrachet to slide through so we could continue to secure them to the deck. They sure don’t look like much from up close, and had I done a little more researching I probably could have found a better design (although all that sewing lingo completely throws me off and always leaves me utterly confused), I’m happy to have them done. Besides, at they sit strapped to the side of the boat now, they actually look pretty decent from far away.

10.11.13 (1)

First attempt, ……. not even close.

10.11.13 (2)

It starting to take shape!

10.11.13 (3)

A couple more stitches, and the first one is done!

10.11.13 (4)

10.13.13 (5)

10.13.13 (6)

10.13.13 (7)

curtain down

Get Back to Work!

Monday September 30, 2013

sewing cockpit shades 1

Have I mentioned that I can be a bit of a procrastinator when it comes to projects? Usually waiting until I have at least only 60% of the time necessary to complete the project before starting? This is especially true of anything to do with sewing since my sewing machine and I have never been on good terms and most of the time I like to forget that it exists.

Now that we’re back at Serendipity though, after six weeks of backpacking through South America (ok, so 10 of those days were spent in a comfy bed at Matt’s mom’s house in Michigan), we realized that we have about one month left of easy shore and electrical outlet access left, and it’s time to get our butt in gear on remaining projects. Matt has a whole lot of sanding ahead of him so he can finish varnishing the interior of Serendipity, but with the palm sander that was lent to us back in the hands of it’s owner for their own use, he has to put that project off until we can buy our own at a little hardware store in town. Something that we go in every day and ask for, only to keep getting the same response of “Mañana”. So now he’s focused his energy back on the project of reconfiguring our dining room table so that it will sit more compact with the mast and give a little more room in the salon (yes, that will be shown as well once it is completed)/

He’s busy with that, which means I have to get my own projects done too. All of which are sewing related. Excuse me one moment while I curse under my breath (son of a &%$, stupid sewing machine, I hate that piece of $**&). Ahem. Ok, I’m back.

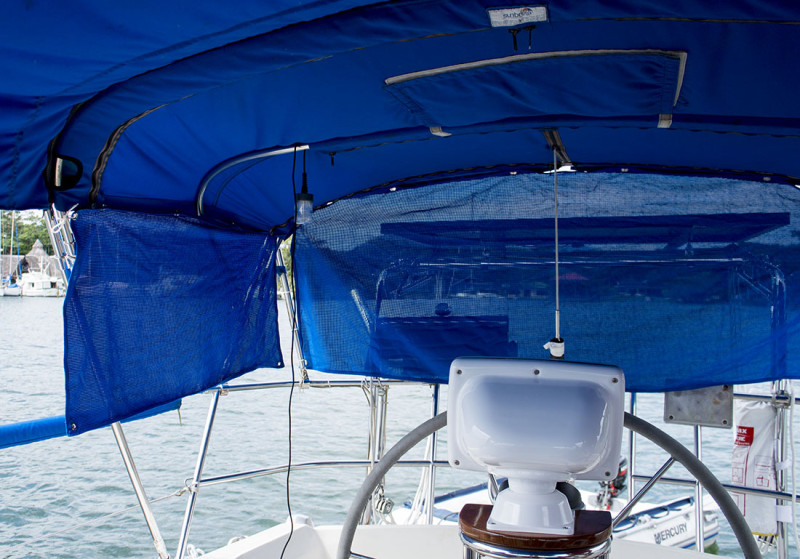
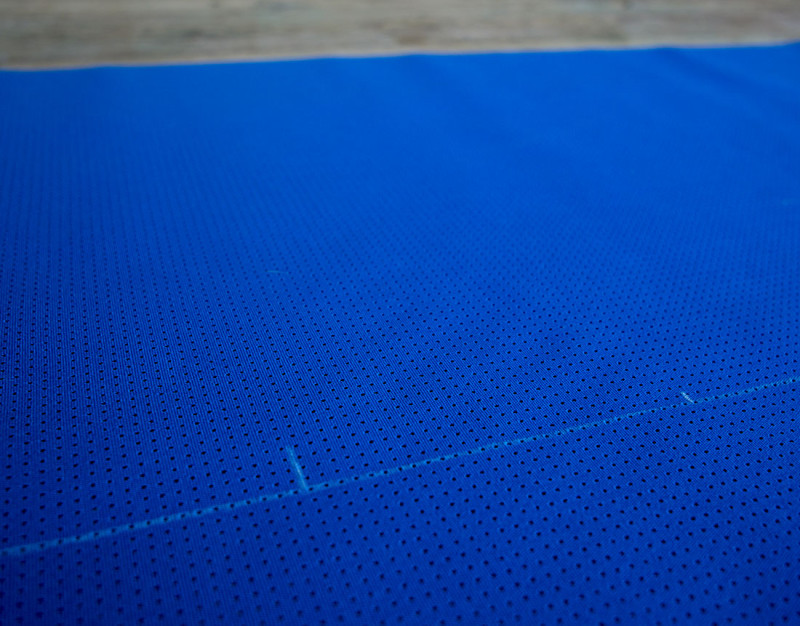
My project is something I have been putting off for pretty close to one year now. Last October when we were in Washington D.C., we had a roll of perforated Sunbrella fabric shipped to us so that I could make shades for the cockpit. It didn’t take long for us traveling to realize that early in the morning or later in the afternoon the sun would no longer be hidden by the bimini, and would come glaring in at us in the cockpit. During travel days the extra heat could be a killer, and at anchor it could be annoying to try and cuddle up with a book (or a laptop) without going blind. Something had to be done.

So now, 11 months and two weeks later, I am finally pulling that fabric out of the aft cabin to turn it into what it was purchased for. The whole thing (pat myself on the back) actually turned out much simpler than I had originally anticipated. Part of it may have been because there was a large floor for me to spread my fabric on to measure, and a table that was not rocking back and forth while I fed the fabric through the sewing machine, but within two days I had it completed, and pretty nicely if I do say so myself.

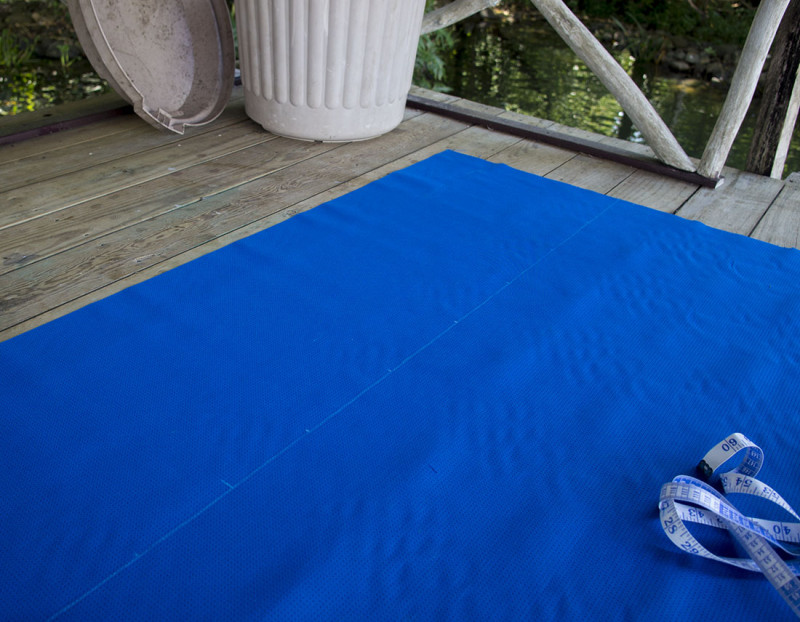
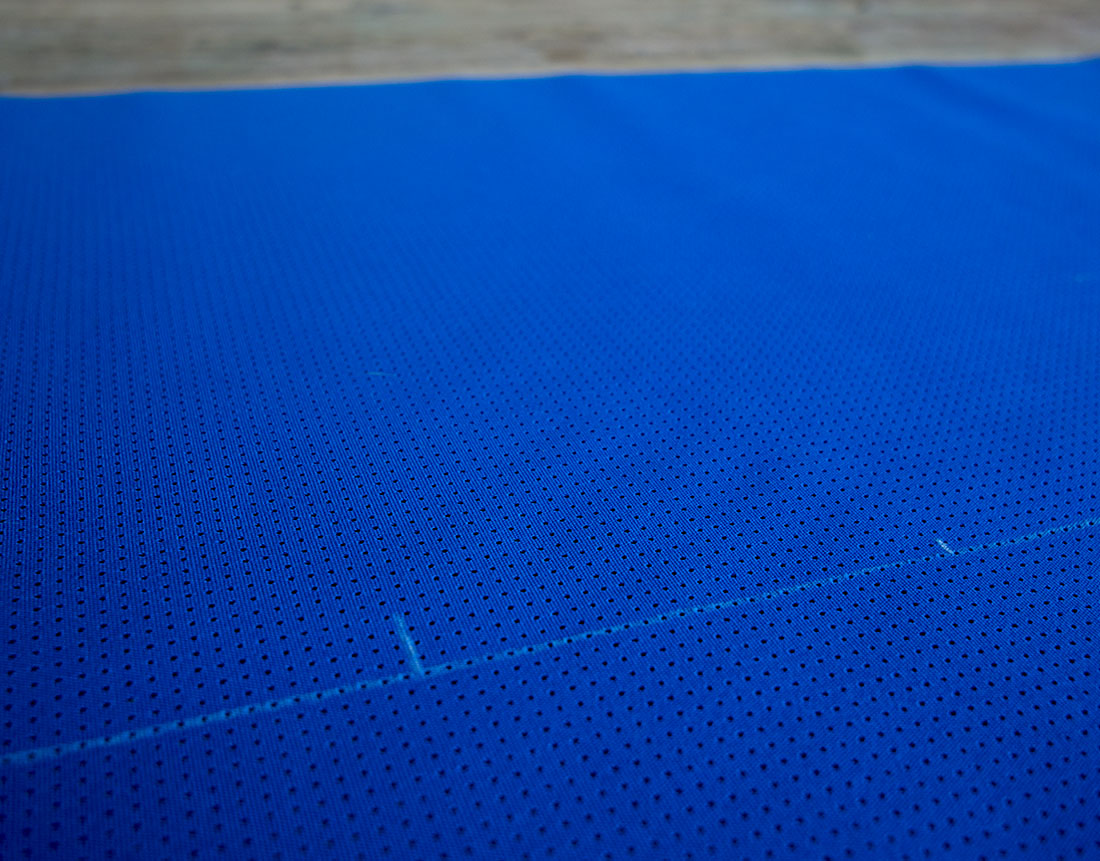
The first step was to take the measurements. We only had enough fabric to hang down from the top of the bimini to the lifelines, so I needed to find the length and width in which I would be measuring and cutting the fabric into. Since there is a slight arch to our bimini, mostly by the stern, but a little bit on the sides, this took a little extra step. I had to run a piece of string that was level from one side to the other. From there I measured down to the lifelines to get a general rectangle measurement. To add the arch to the top, I measured from the bimini down to the piece of string every six inches, all the way across. When I was finished, (after three double checks, I was not going to get this wrong) my measurements looked something like this: 83” wide, 18” long; 6” in: add 2”; 12” in: add 3.5”; 18” in: add 4”; and so on.

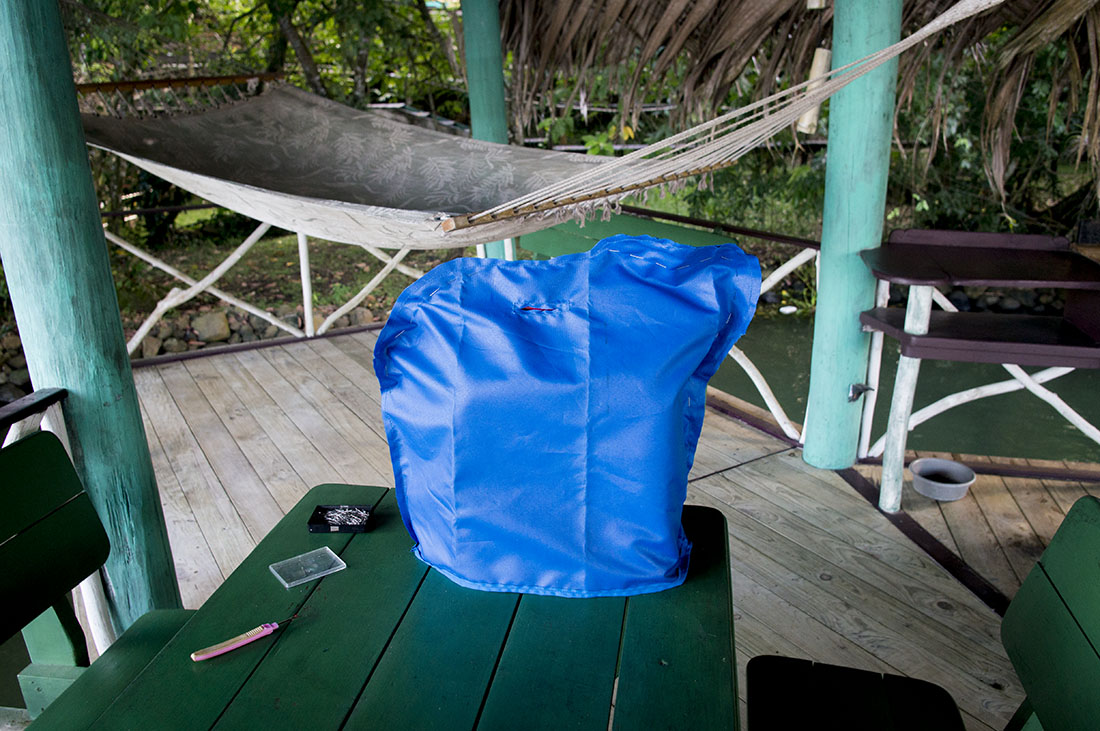
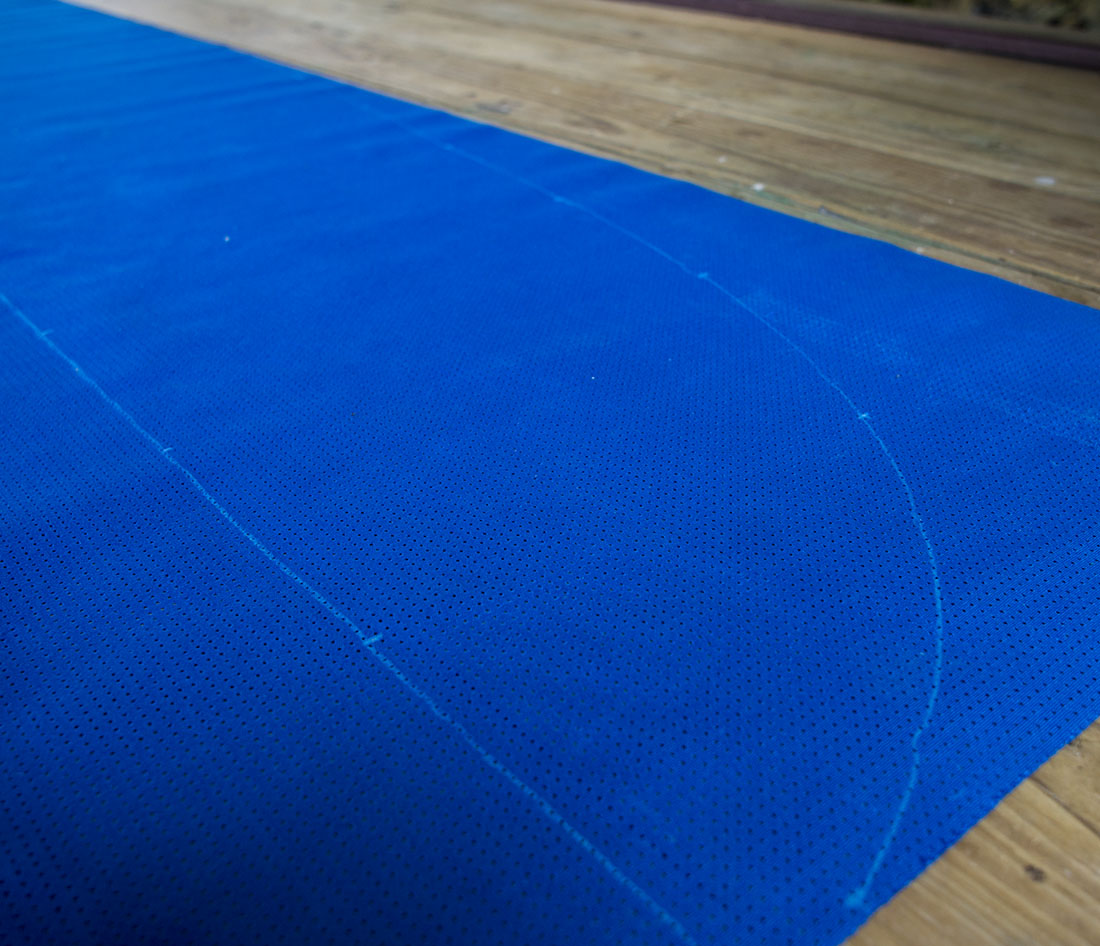
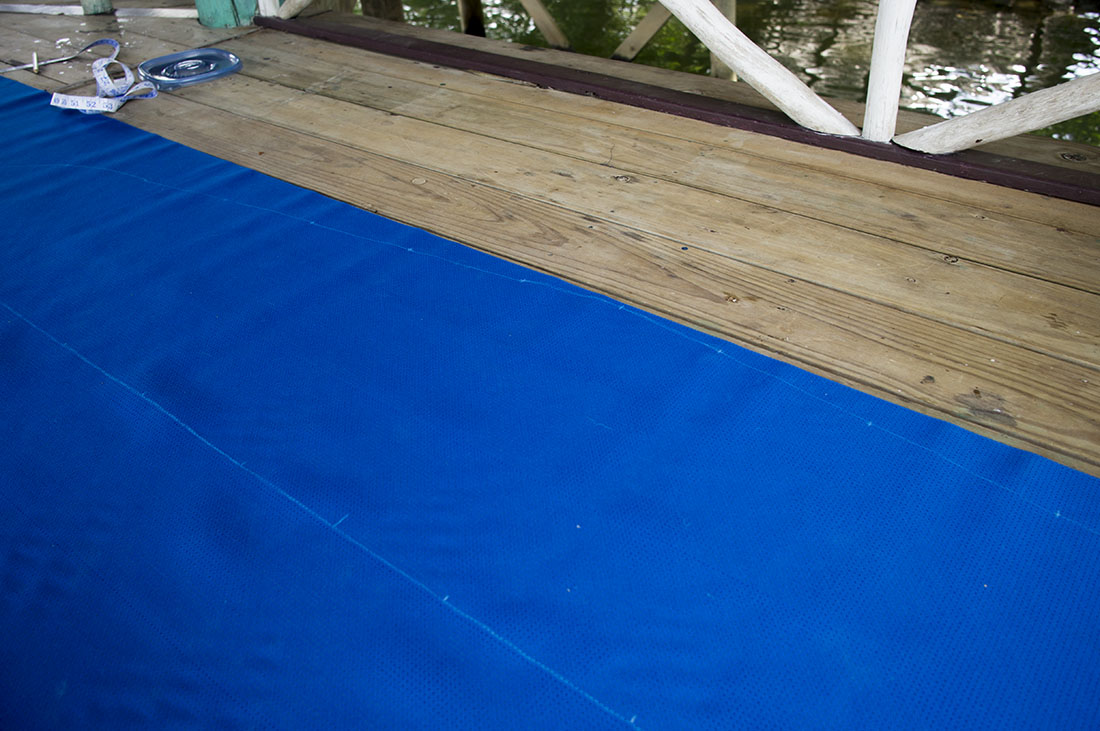
Once I had my triple checked measurements down on paper (and good thing I did it three times, there was a little bit of variation each time) I took the median number and used that. Rolling my fabric onto the floor of the ranchito, I then pulled out my white marking pencil and got busy making an outline of my measurements. First was the general rectangle. Then for the arch, I placed a line where each 6” measurement was taken. To then transfer a nice arch to the fabric, instead of having jagged straight lines from one mark to the other, Matt helped me as we took one of our fishing rods and bent the pole to cross over each mark, which I then followed with my pencil, fully outlining where I needed to cut.

Had I needed to make seams to finish the edges, I would have then measured 1/2” out from those lines, making dashes every few inches that would have been my cutting line. I didn’t need to worry about finished edges though, so I just cut along the lines I had drawn.

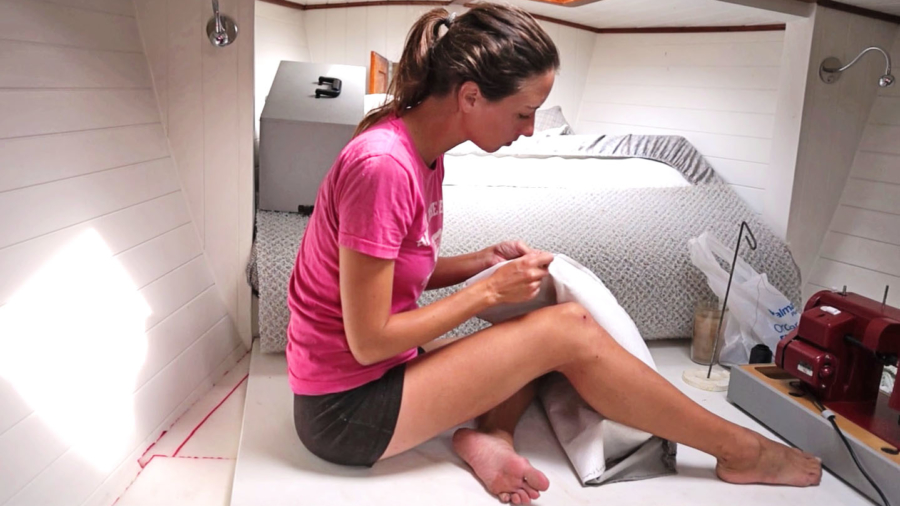
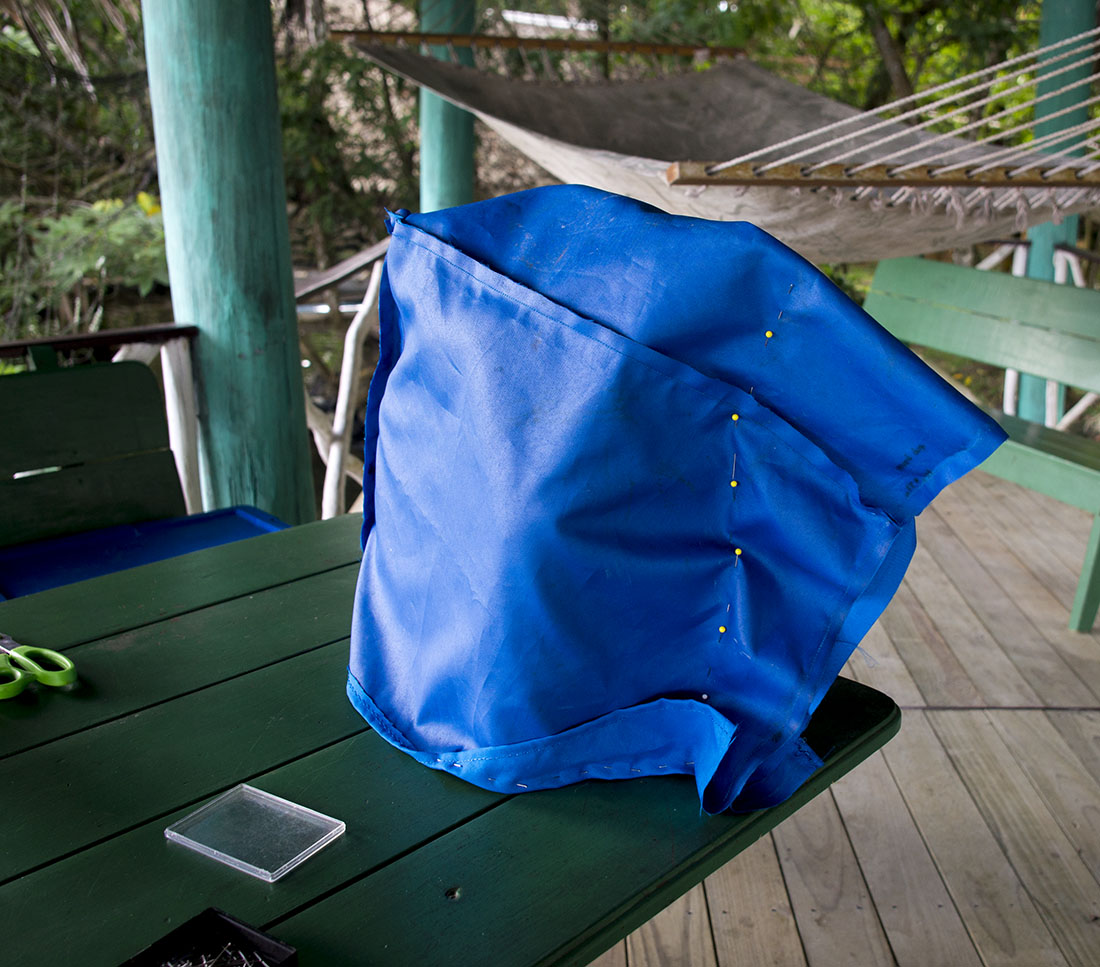
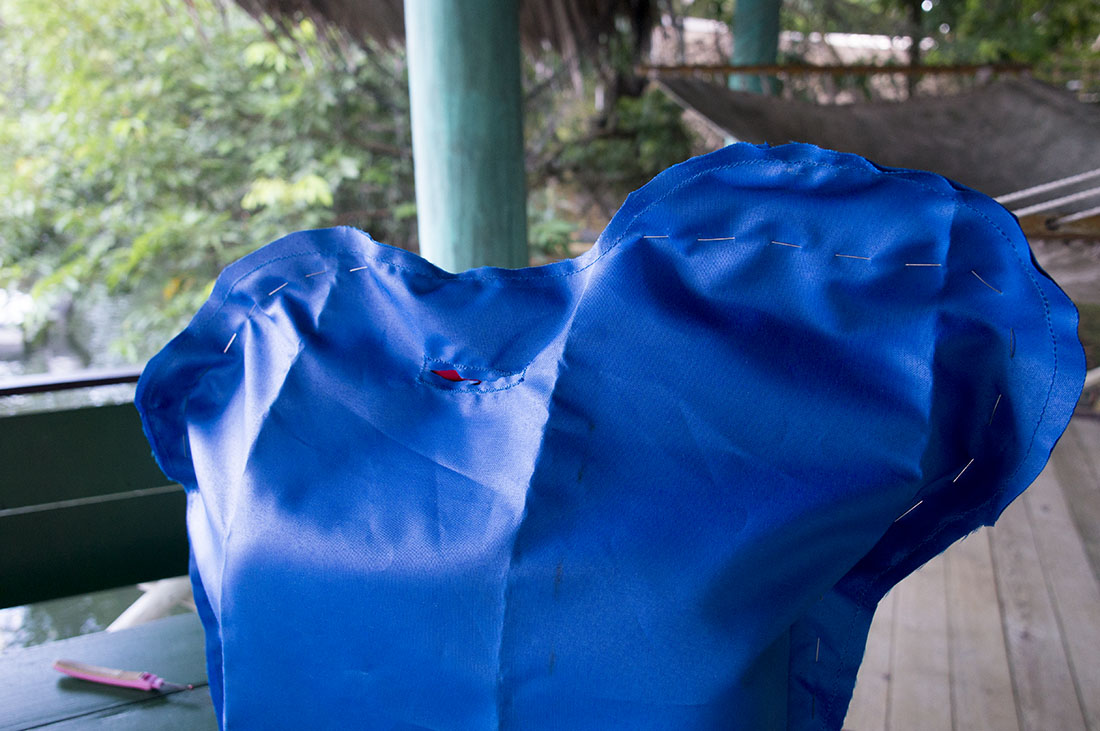
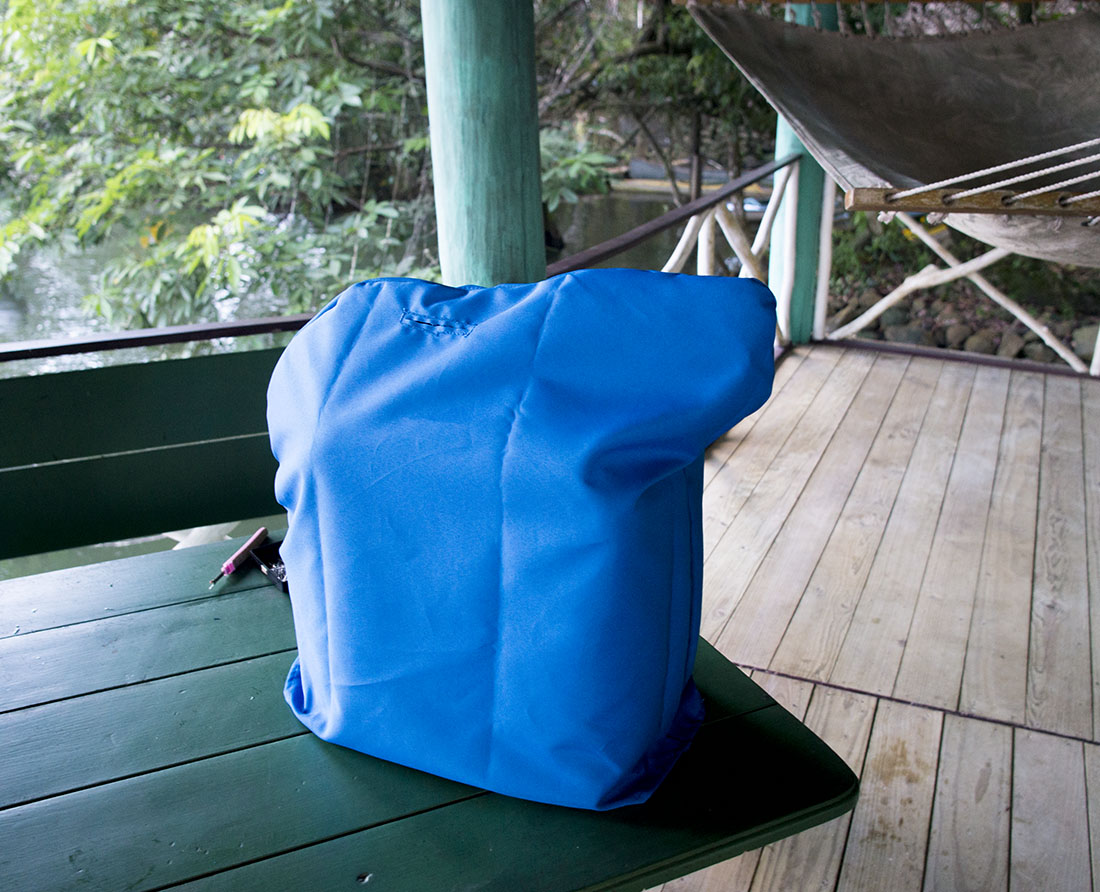
Then came the time consuming part of the project. I didn’t need to finish the edges, because I was using piping around them. Pulling the piping out of it’s bag, I measured each side, and then cut the piping and pinned it to the fabric. Just to break up the days a little bit and make them more interesting, I alternated by sewing one of the (port, starboard, stern) sides each time I finished pinning it. I was worried that my little Brother sewing machine wouldn’t be up to the job of sewing through semi-thick piping, but she handled it just fine. There was barely any cursing on my part. I did find out that I have an issue with the tension in my bobbin, but after doing a little research, I think I have to take it in to have that fixed.

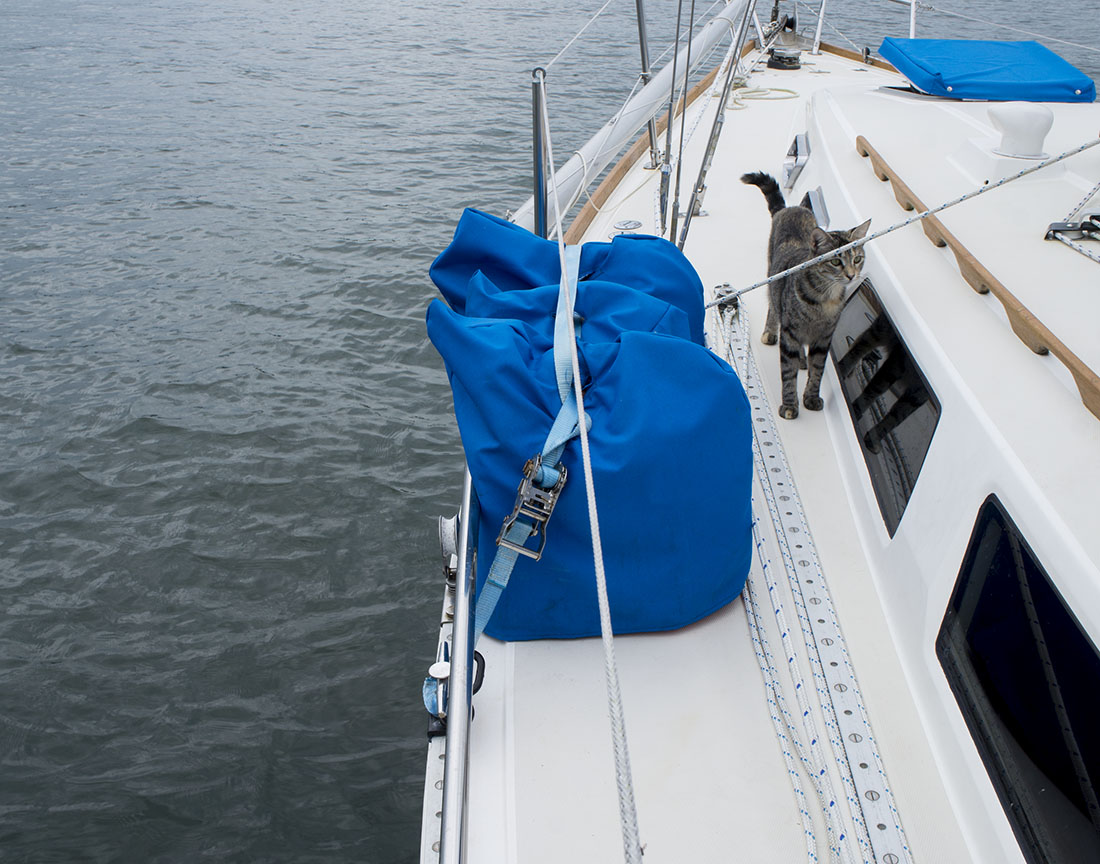
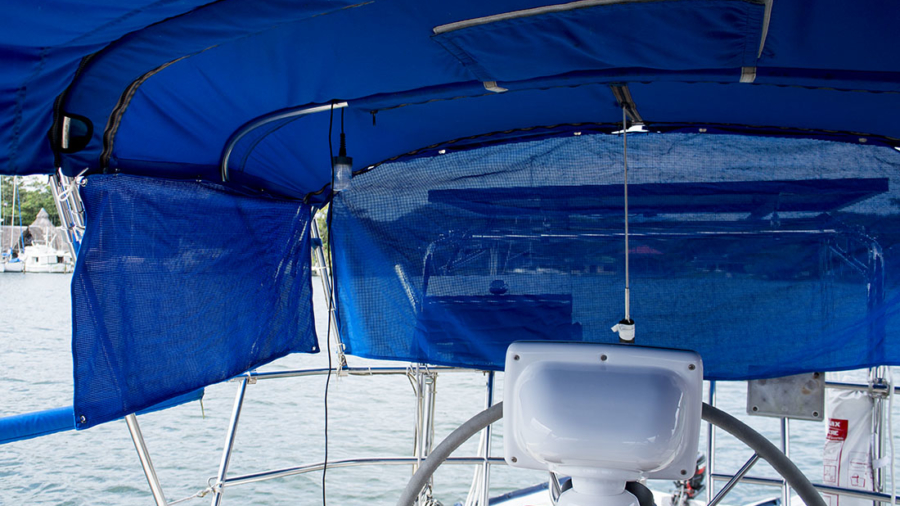
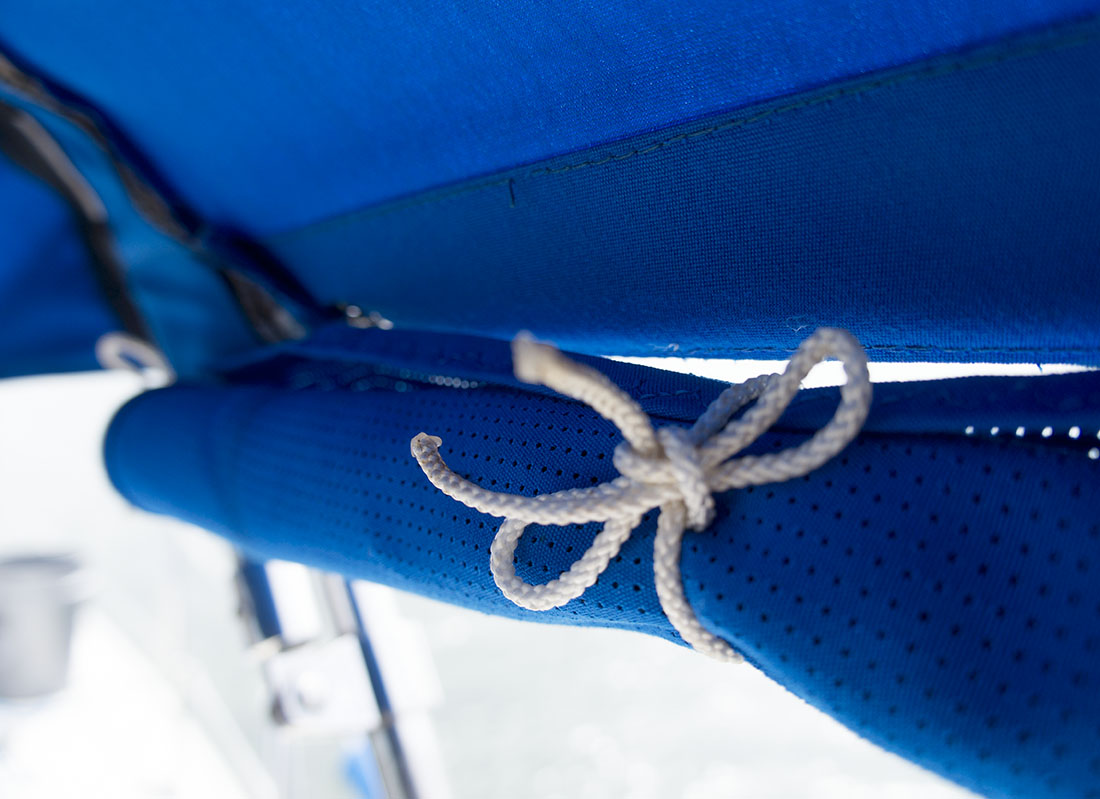
Two days of work and not much trouble later, I finished my project. I handed the sheets of fabric over to Matt so that he could add the grommets, and now they are hanging from our bimini, giving us some extra added privacy in the marina. Are they perfect? No, not really.  There’s little spots here and there where the stitching isn’t perfect and the grommets were added in the ideal location, so a little extra string needs to hold them up.  Do they work? So far, so good. Once we get some snaps on our hands I’ll have to make a few pieces of fabric for each side so that we can roll them up and snap them in place when they’re not in use, but for now we can just use strings to tie them up, or take them down. Whew, there’s one thing off my plate. And I have to say, I’m actually quite proud of myself.

sewing cockpit shades 2

sewing cockpit shades 3

sewing cockpit shades 4

curtain down

curtain tied