Oh yes, the never ending project of building our refrigerator box. Â The very good new is, other than adding a seal around the lip and the decorative trim parts to make it pretty, this project is now done. Â Or if you had read from a few posts ago, done enough to store cold food meaning we can now eat on the boat and don’t have to go down to the kitchen any more for our meals. A major plus in my book because after 5 months of that, it was beginning to get a little tiring.
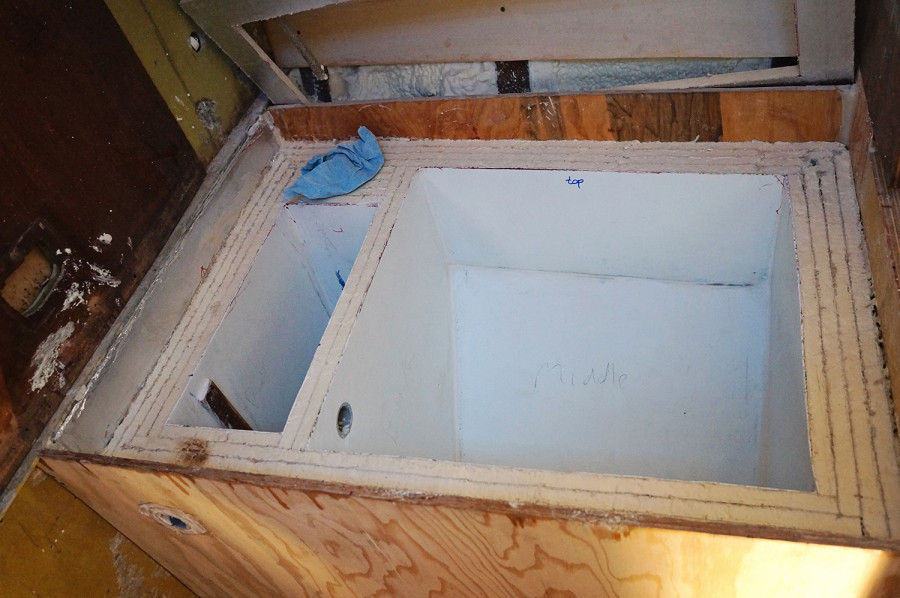
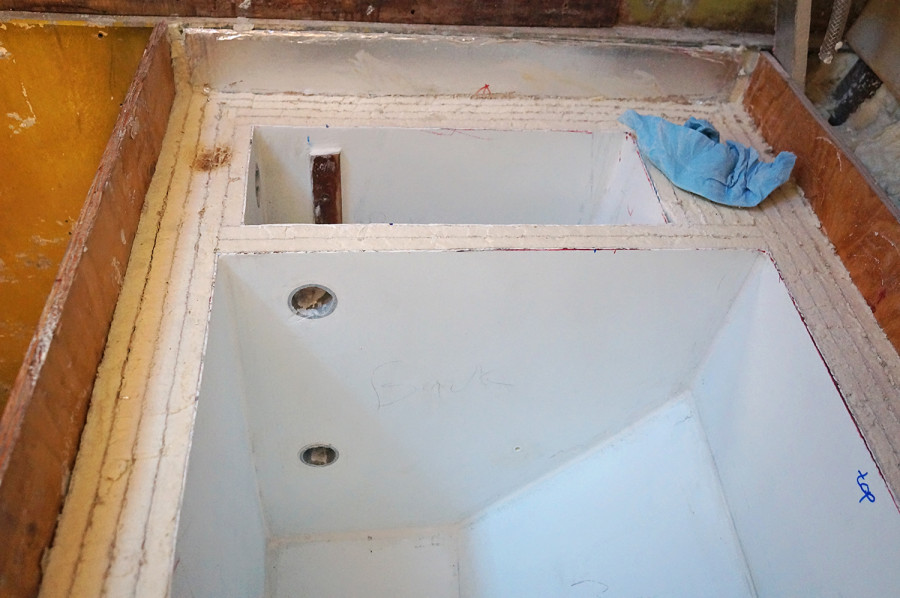
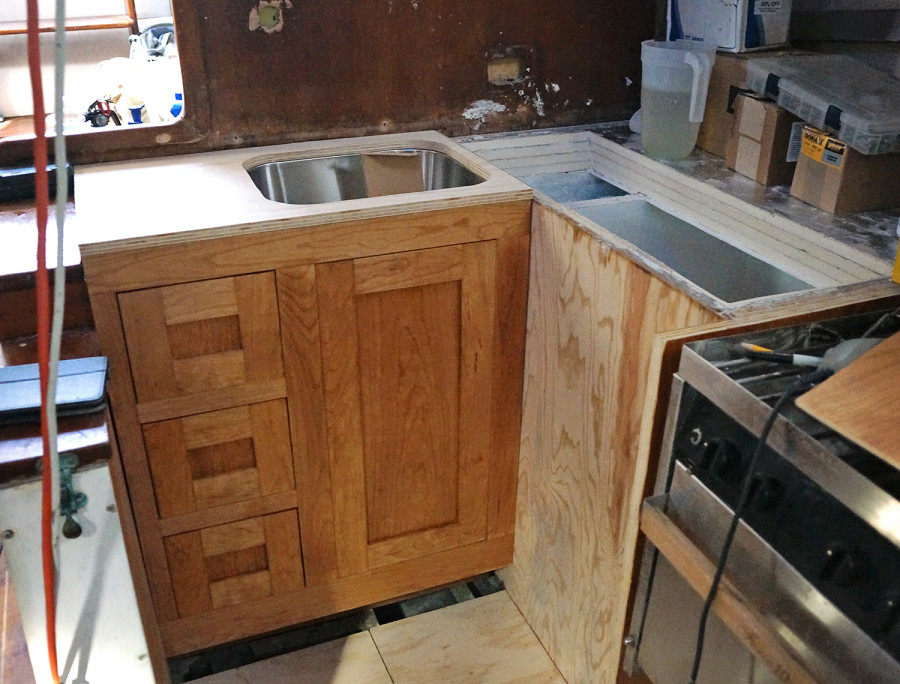
When we last left off on Stage 2 of building, we had glued all of the pieces of sheet insulation together and had also glued together a few sheets of foam for the lid, cutting a hole in it for the opening. Â It’s been so long since I’ve posted on it that I forgot we had also drilled the holes between the fridge and the freezer, allowing the evaporator to work inside of our freezer producing the cold temperatures, and blowing that air into the fridge portion as necessary. Â Although since I forgot that I’d already gone over it and I sometimes upload my photos first….you get to see it again. Â You’re welcome. Â You also get a shot of when we had first started piecing together the sink and drawers to see how it would all fit together before permanently mounting it all. Â Ta daa!! Doesn’t it look pretty…ish?
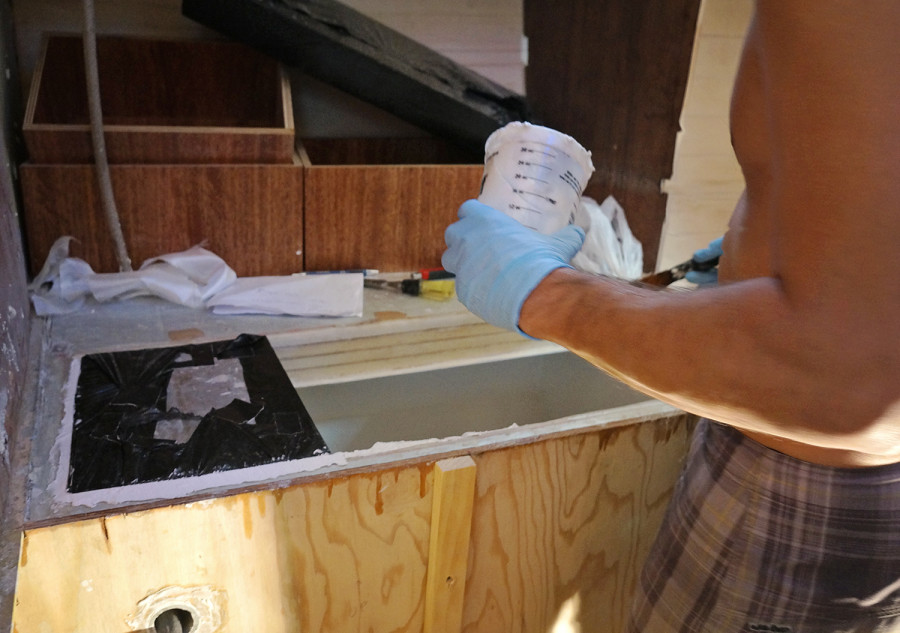
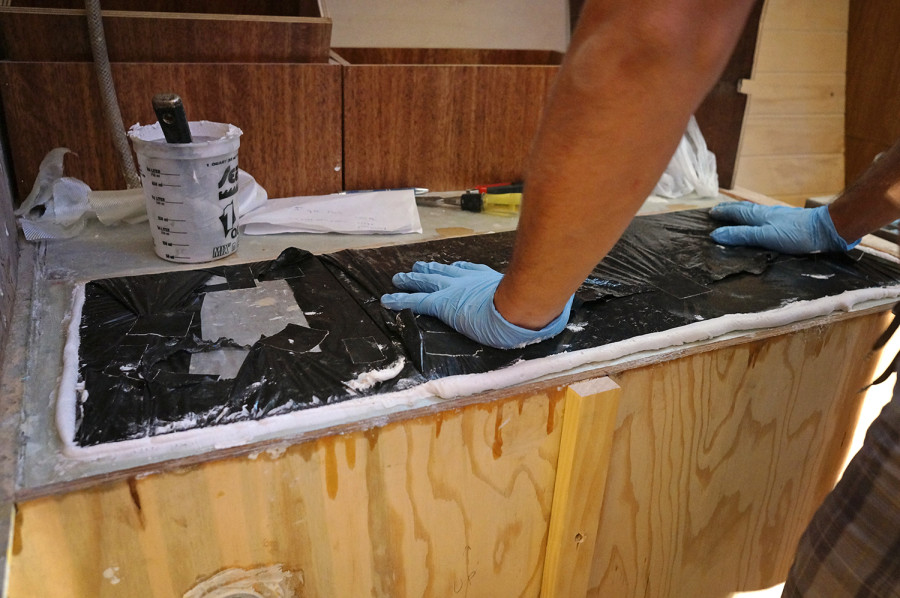
Ok, on to the real work though.  Our next stage in getting the fridge ready for use was to coat the exposed pieces of sheet foam with a filler, that would not only seal them shut from moisture getting in, but also help conform the space to the lid we just made. Mixing Q cells into expoxy, we spread the thick goop over the lip of the insulation we had already cut down.  Placing a plastic garbage bag over the lid itself so it does not permanently adhere to the epoxy, we set it in it’s place to form a mold with the filler.  Pressing down on the lid forces all the excess out which we scrape off and allow the rest to dry. Then sanding down the remainder once it has dried, we give it a smooth surface, see how well the lid fits into place at that point, and then do it again if we are still finding gaps.  Needing 24 hours to dry and sand each time, this is a very lengthy process.
Overall, I believe this process was completed about 4 times. Â Independent of the lid, we also had to do this process to all of the cracks inside the fridge to properly seal them up and blend them together. Â Possibly only a 3 day project, damn drying time, we tried to turn these into smooth and seamless transitions between the multiple pieces of fiberglass we’d installed inside. Â The palm sander was my best friend for some of the larger areas, but can you imagine having to do that in the small space of the freezer? Â Not the most fun I’ve had in the world. Â I begged Matt to let us go with a few bumpy surfaces in there, because who’s going to see into the dark corners of our freezer? Â Alas, no. Â There are no cutting corners on this boat. Â I’m sure I’ll be happy about that someday.
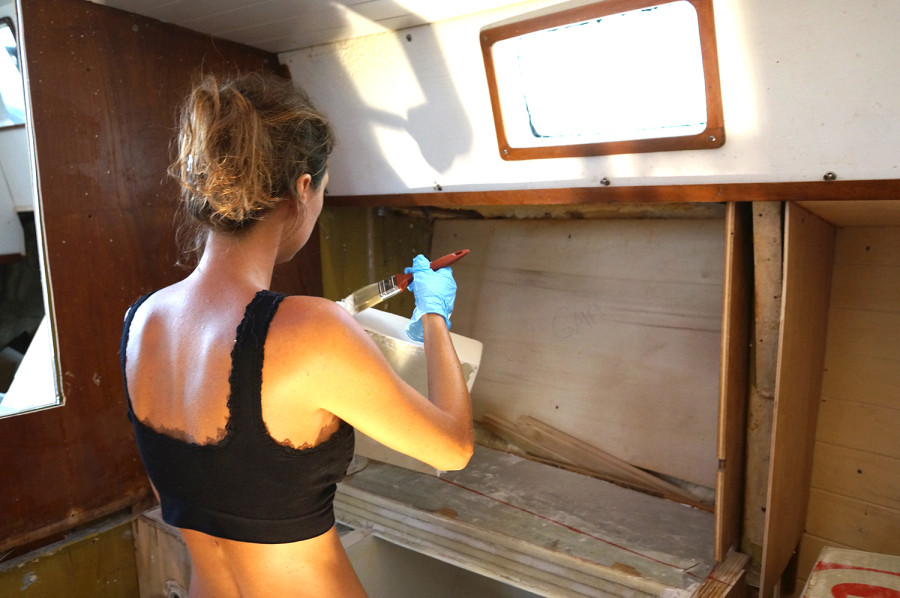
The next steps were quite easy and also had me excited because I knew we were nearing the end of this tedious and time consuming project. Â Painting was the first one. Â Just like everything else it was a project that needed a few days to complete as we could only do one coat a day, and we used two coats of primer and two coats of paint.
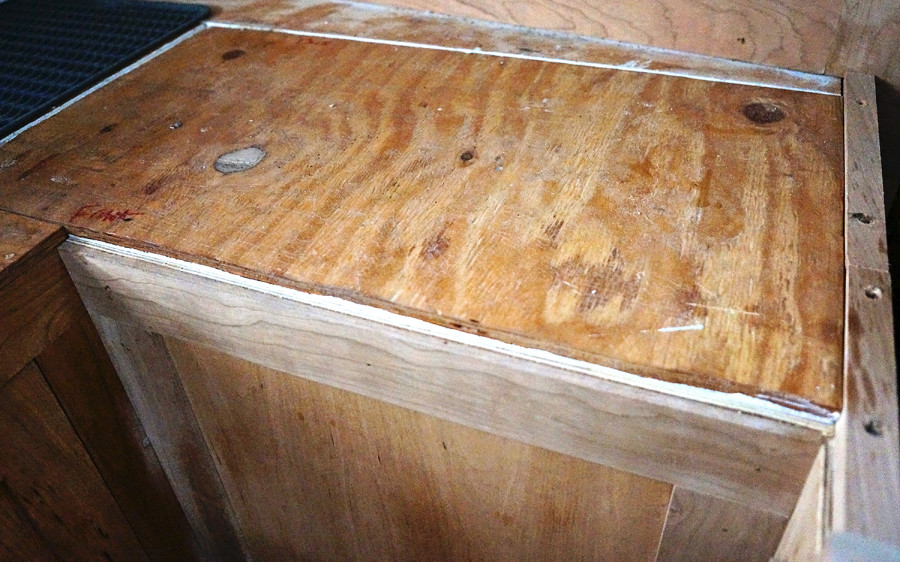
Another easy finishing touch was to cut the plywood to sit on the top and connect to the lids of the fridge and freezer. Â Working the same way we do to make the walls for our boat, we took a few small and thin pieces of wood to make a template that fit over the surface perfectly. Â Originally we tried just straight measurements, but because the back is at an angle, we didn’t want to take the chance that it woudln’t properly fit. Â All straight lines though, making the template was incredibly easy and 20 minutes later we had the top cut out. Eventually there will be pretty maple wood covering this ply, but that’s still weeks or months away.
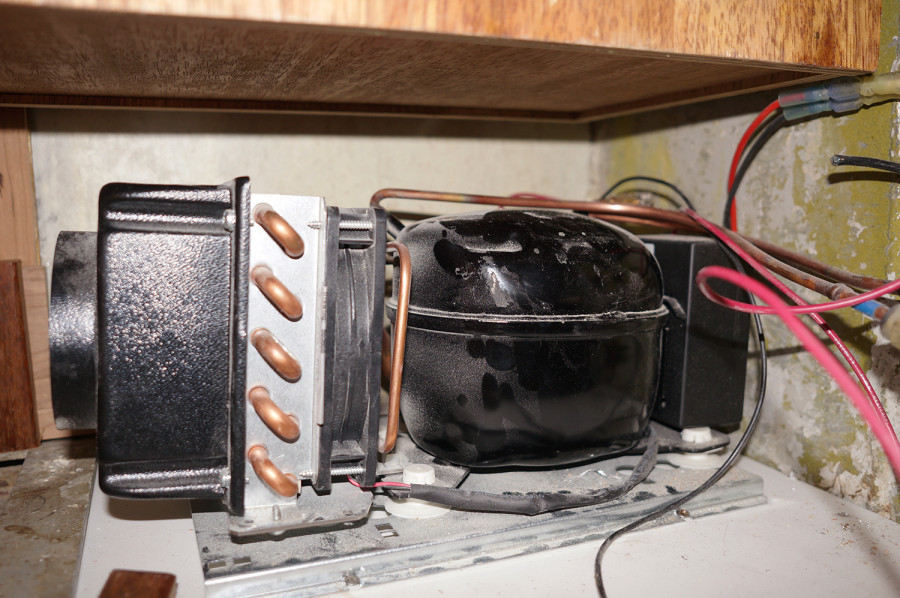
Now that we had a completed box capable of holding food, we needed to get it working so that we could get and keep that food cold. Â We’ve had friends that have made ice boxes only to get to the Caribbean and either not be able to find ice, or only to find it at an incredible markup, so we knew we wanted a compressor running to keep our food cold, just like we did on Serendipity. Â Definitely the most expensive part of the project, we purchased a brand new one from Vitrifrigo. Â Mounting it underneath the bottom drawer in the galley, we specifically left a little extra space from the floor up just to fit it. Â From here it’s tucked out of the way, but still easily accessible and not too far away from the freezer where the evaporator is held, meaning it wasn’t a pain trying to extend the wires and cords.
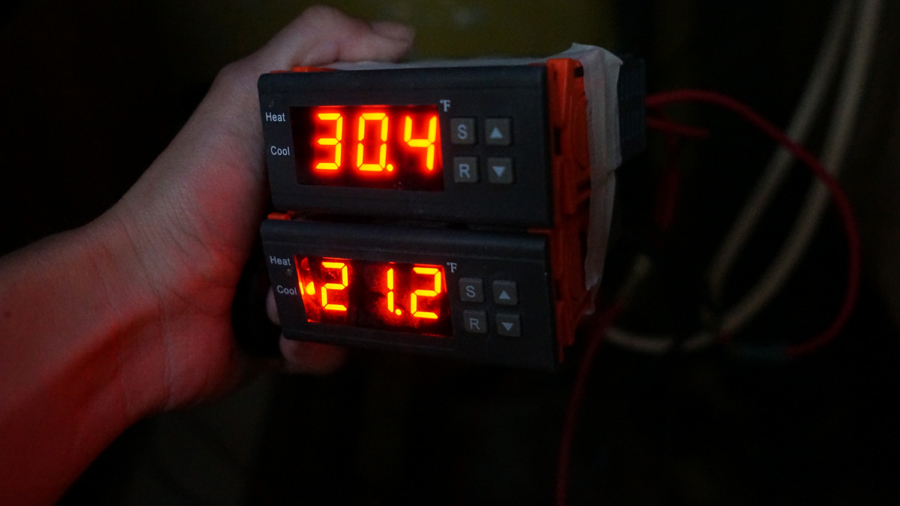
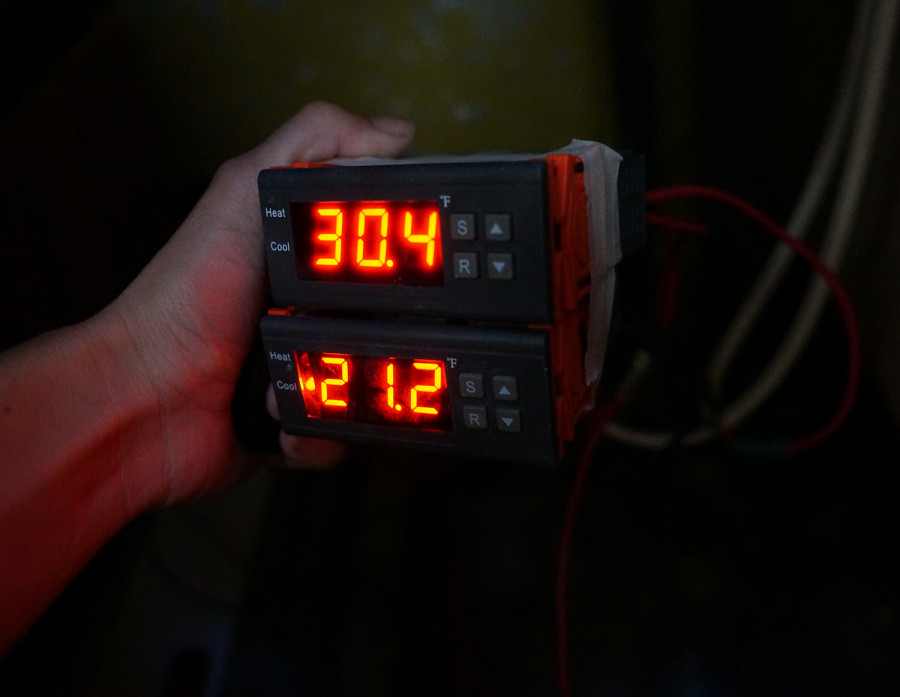
To make things easier for us to know how things are running in our new fridge, Matt purchased two digital temperature controllers. Â Currently sitting under the sink, these items will probably be moved to the inside of a cabinet once we finish the galley, we now have an incredibly easy way to read precisely what the temperatures inside the fridge and freezer are. Â Back on Serendipity we had a little mercury thermometer that always got lost in the bottom (since we only had the one that we kept switching back and forth between the fridge and freezer), but now we’ll be able to tell what’s going on inside just by sliding open a cabinet. They also give us the option to control the temperatures inside exactly as we’d like them. Â Pretty cool nerd factor for only $16 each.
And there you have it. Â The story and all the steps of how we built our own fridge. Â I know I spent the last post complaining about what a pain in the butt the whole process has been, but now that it’s done usable, I think I can honestly say that it has been worth it. Â The space inside is incredibly large, and we were able to build everything in to fit the galley just the way we’d like. Â It gives me great counter space when I’m not trying to get inside, and the separate lids for the fridge and freezer even mean that all I need to do is simply side things from one side of the counter or the other to get in whichever side I need. Â If there has been one downside so far, it’s that we forgot to add a shelf for condiments, eggs, and other such things. Â Ooops. Â That was one of my favorite features of the fridge on Serendipity. Â No worries though. Â Once the crowds leave the marina and we don’t mind storing our food down at the main kitchen again for a few days, it should be a simple enough add.

