
There has been a lot of work going on inside the pilot house lately! I am just a little more excited that progress is happening here, because as soon as these walls and overheads are built, we move on to the aft berth (which will hopefully be quick and easy), and that’s it for major woodwork! Â When these areas are complete we can finally move on to trim, electrical, and plumbing, and BAM, we’ll be in the water. Â Ok, so getting that far is still a few months down the road….but at least it finally seems within sight. When an emergency happens, your toilet overflows or your drain backs up and floods the kitchen floor, it’s really important that you have someone reliable to call in a hurry. At Pro Pipe Plumbing, we connect you with local emergency plumbers who are available 24/7 for plumbing repair services like clogged drains, burst pipes, sewer line backups and more! We’ve hand-picked our trusted network of expert plumbers so that when you need help fast we’ll get there as quickly as possible.
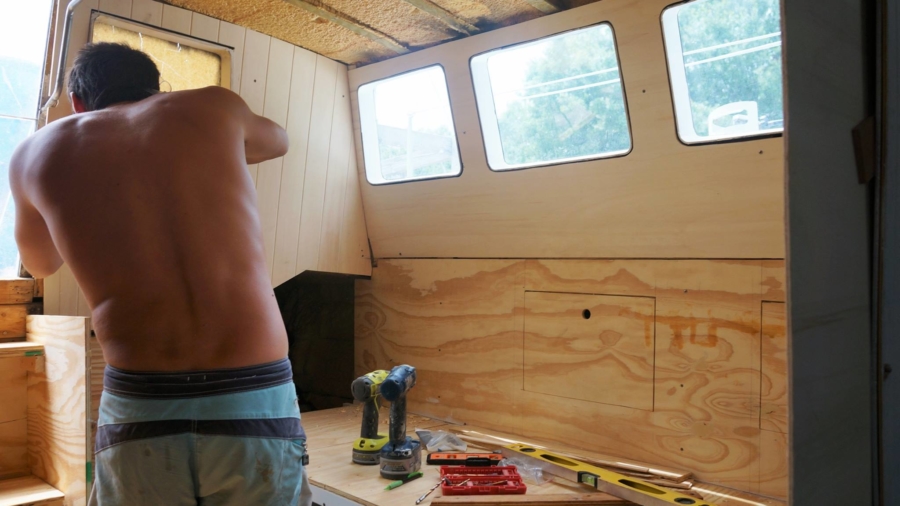
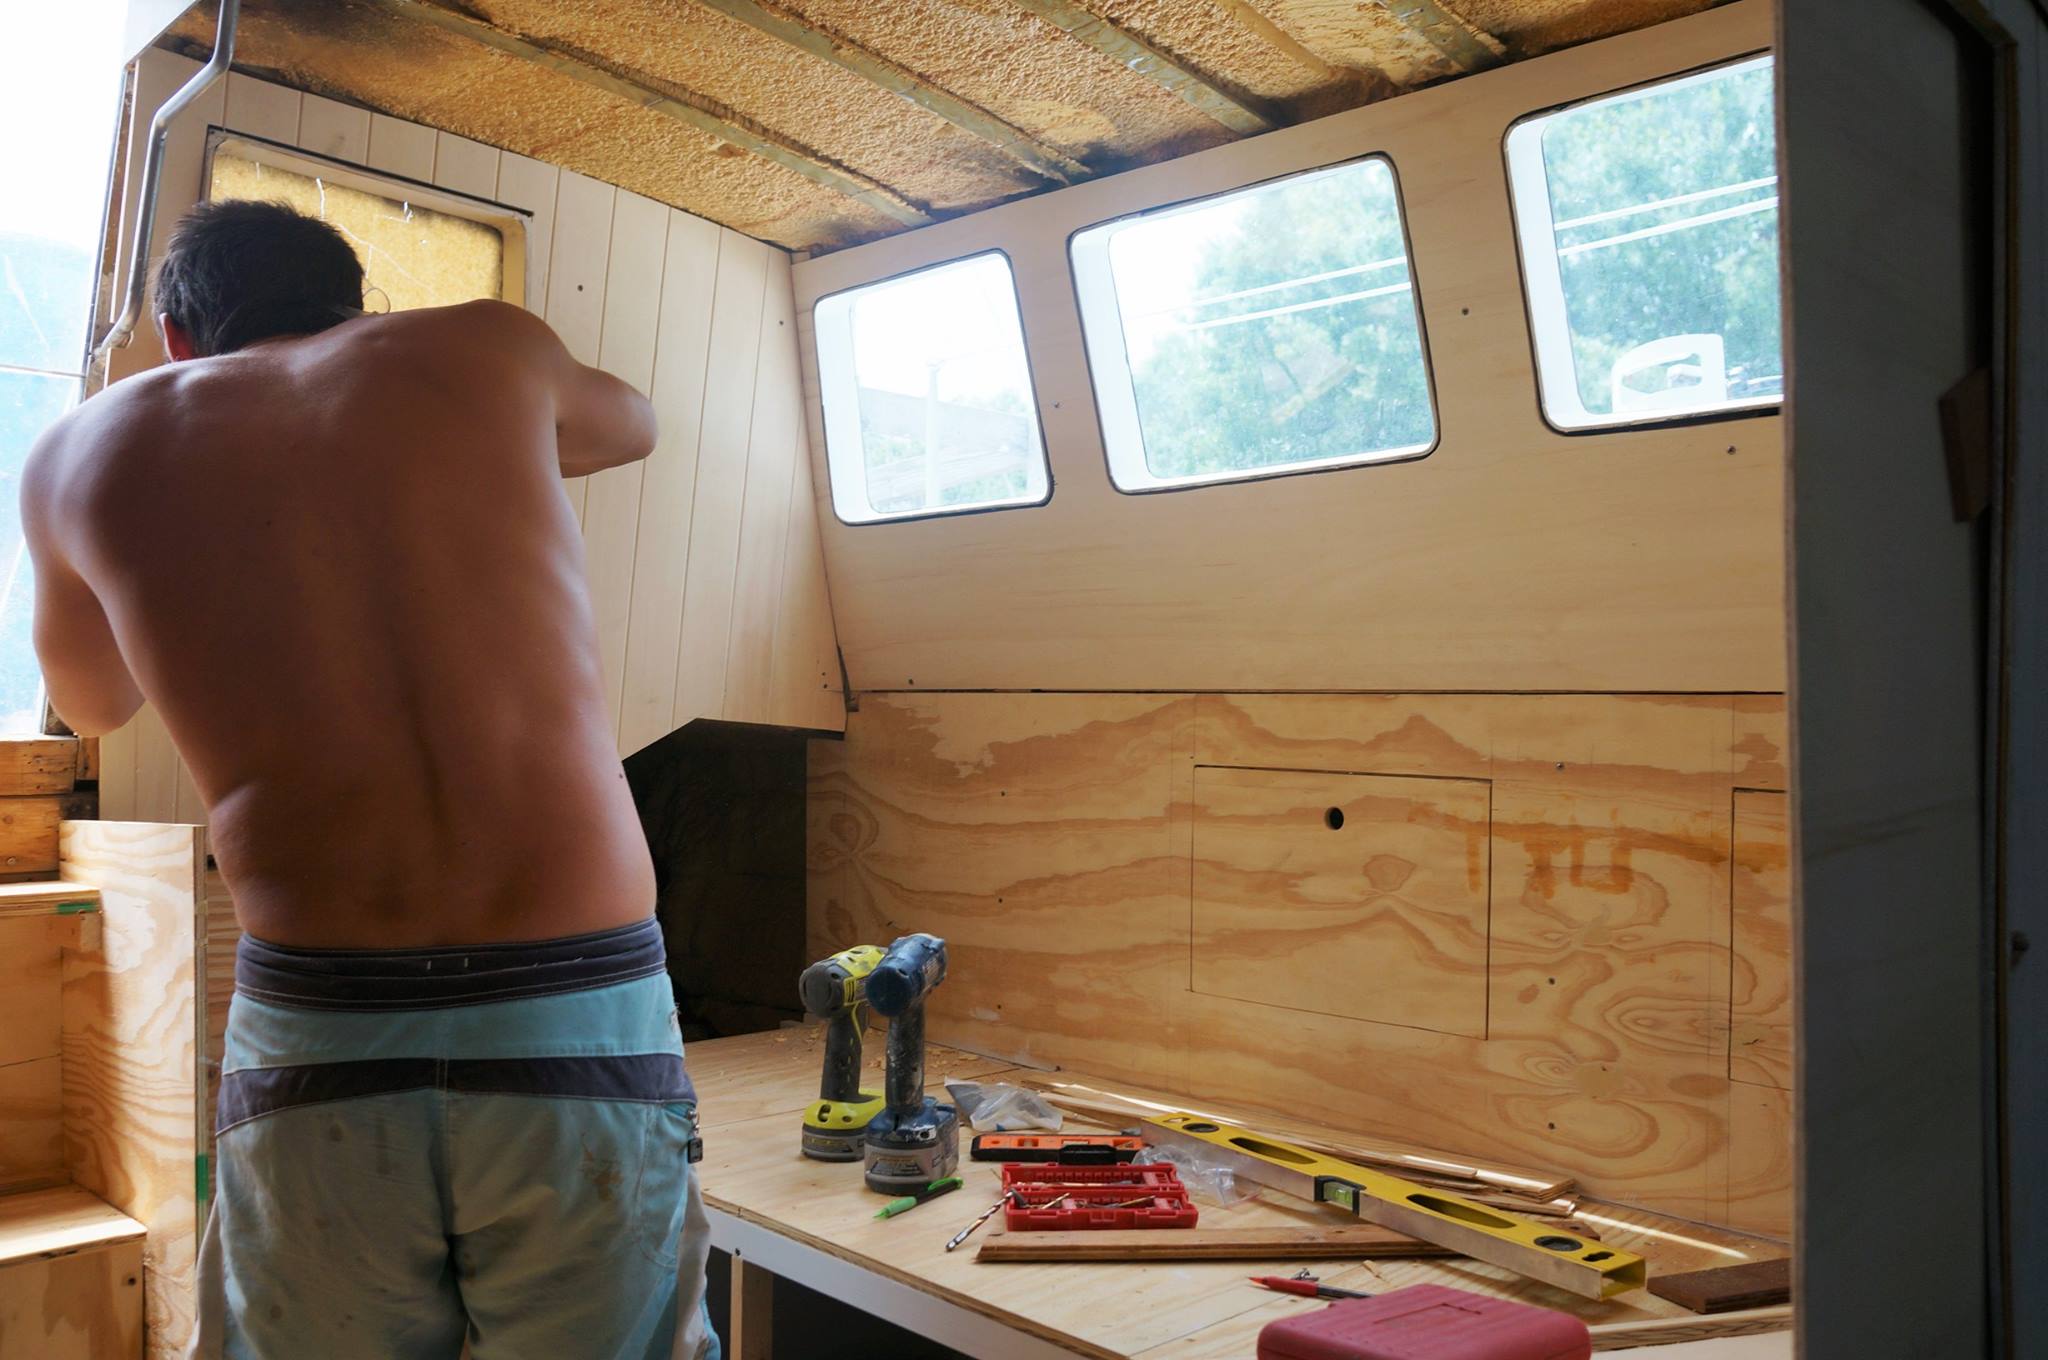
There are two main projects we’ve been putting all our efforts into for the past few weeks, and they are getting the upper walls of Eurolite on the port side of the pilot house, and beginning the desk/nav station on the starboard side.
For the walls in the pilot house we were looking into Pharmaceutical Cleanroom Classification, it was extremely beneficial to us that we had saved the previous templates from the old walls in our storage unit for the past nine months until we could use them again, you can learn this here now on how to reuse them. Â Placing the old boards up against our new 1/2″ plywood that will act as our seat back, we made necessary adjustments to cut the board down until it properly fit in it’s new space. Â Once we were happy with how the old template was sitting, we brought the template down to a new 4’x8′ 1/4″ thick sheet of Eurolite, and traced the pattern onto the virgin wood. Â The newly cut sheet was brought up and screwed into place. Â Basically no tweaking needed!
We decided to leave the sheet that faces midship a smooth surface, but continued with our routing v-grooves into the pieces that face fore and aft. Â Wow, I don’t even know how long it has been since we’ve taken on that project. Â Maybe sometime last fall when we were throwing up walls in the galley? Everything is coming out great so far though, and I can’t wait to get a few coats of primer and paint in there to finish it off and brighten up the area.
A well-painted surface not only enhances the aesthetics but also protects our investment, ensuring everything we’ve done is preserved for the long haul. When it comes to getting that perfect finish, having the right expertise is invaluable. That’s where Green Dot Painting comes in, offering professional painting services that elevate any project. They understand the intricacies of both interior and exterior surfaces, ensuring that every stroke of the brush or spray of the gun is applied with precision and care. With their commitment to quality and attention to detail, these painters help take our space to the next level, allowing us to enjoy the fruits of our labor and showcase our hard work in a beautifully finished environment.
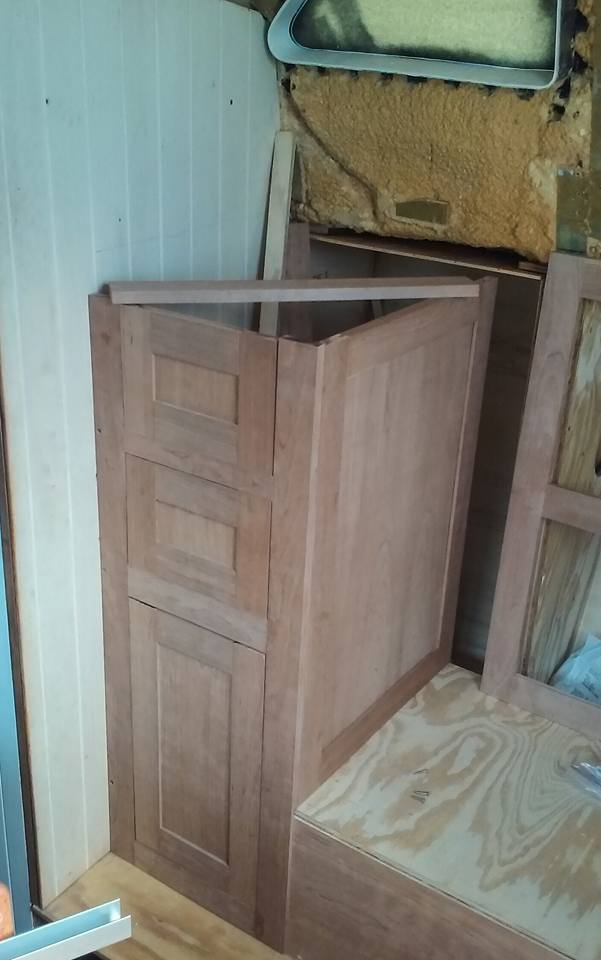
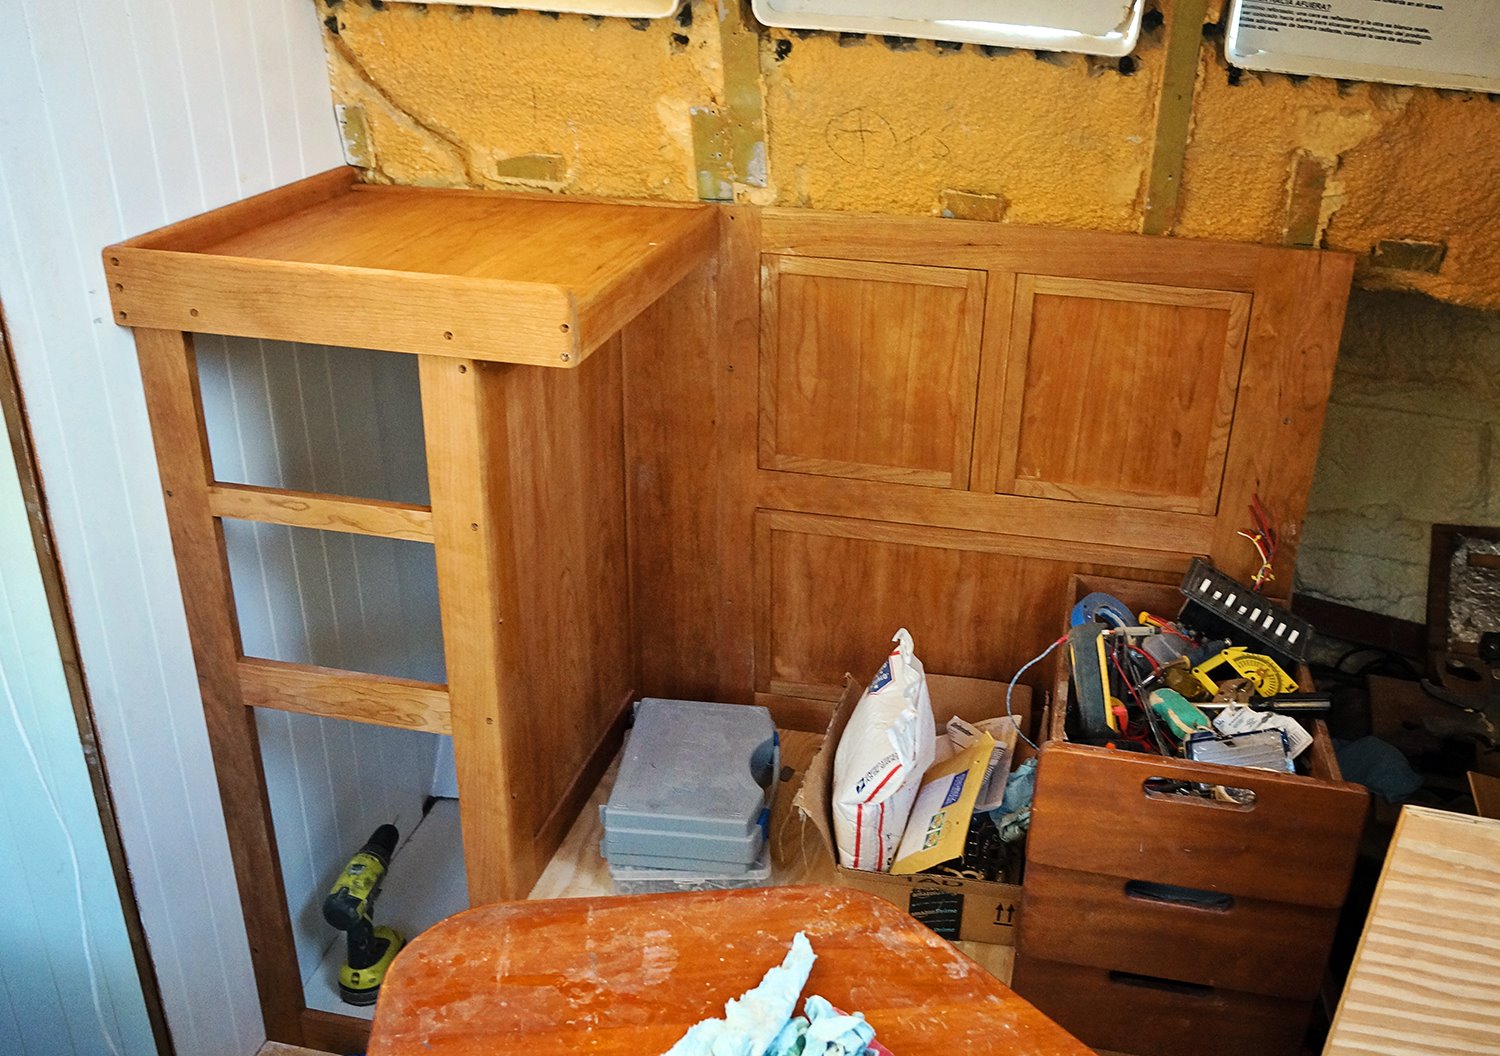
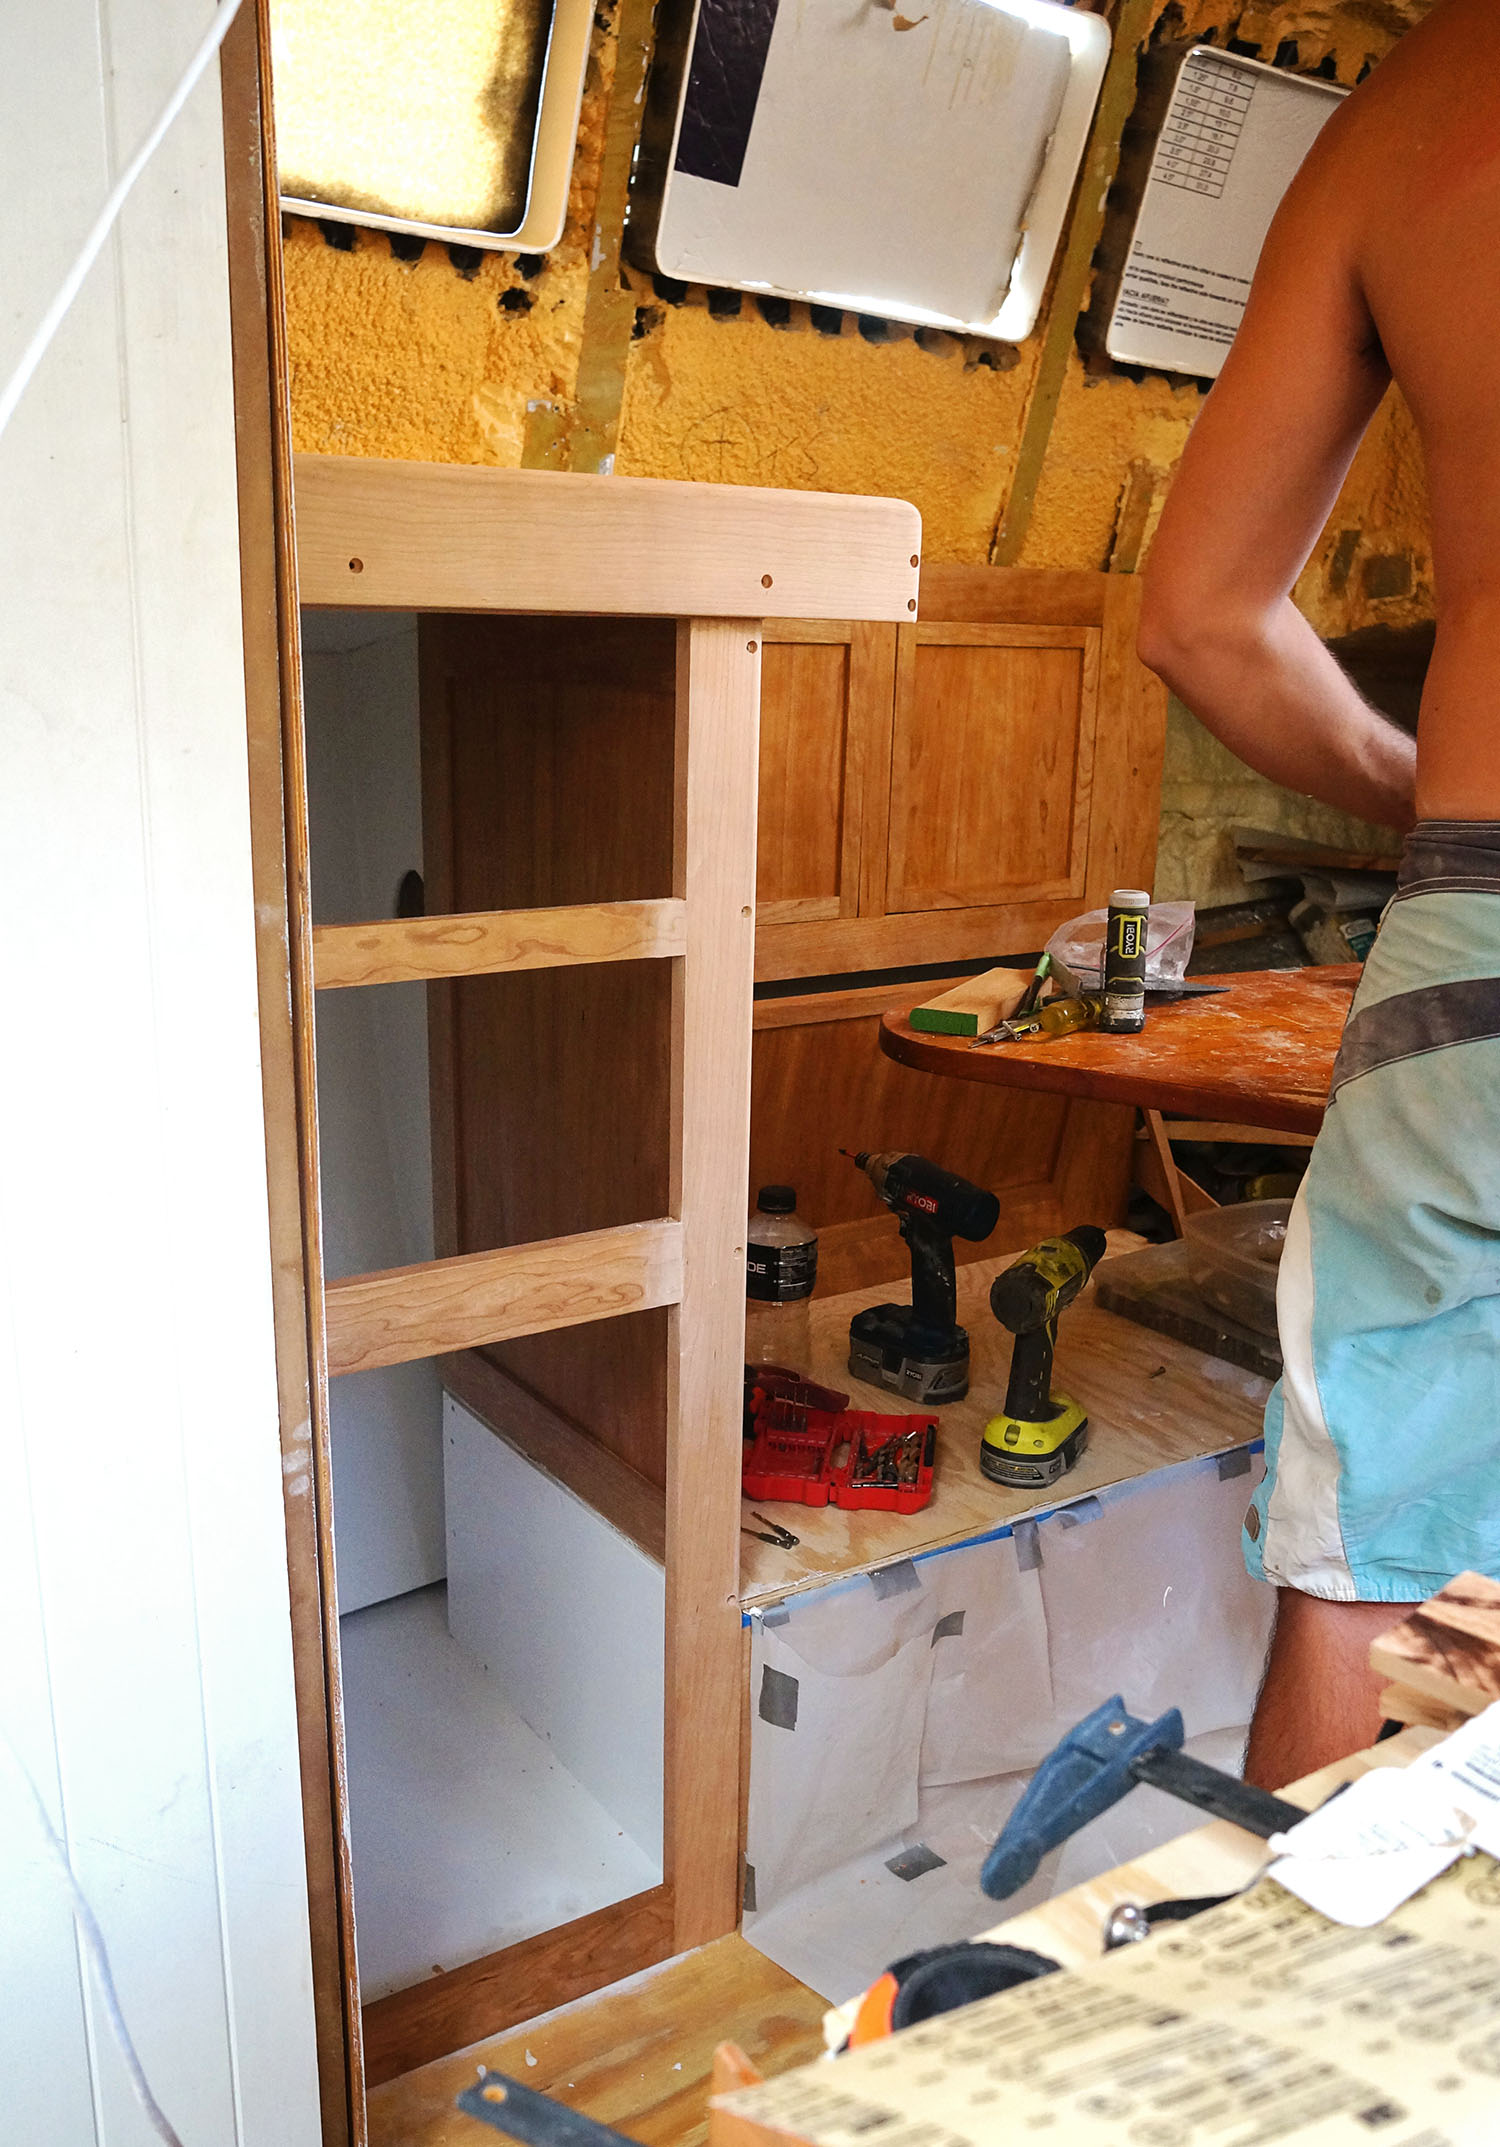
 It was fun to begin the tongue and groove projects of the nav desk again.  After having to make odd shaped templates and squeezing boards into place for the walls, doing something square was a nice adjustment.  Not to say this project doesn’t come with it’s difficulties, but at least there are new and fresh ones to offer us a change from what we’re normally dealing with.
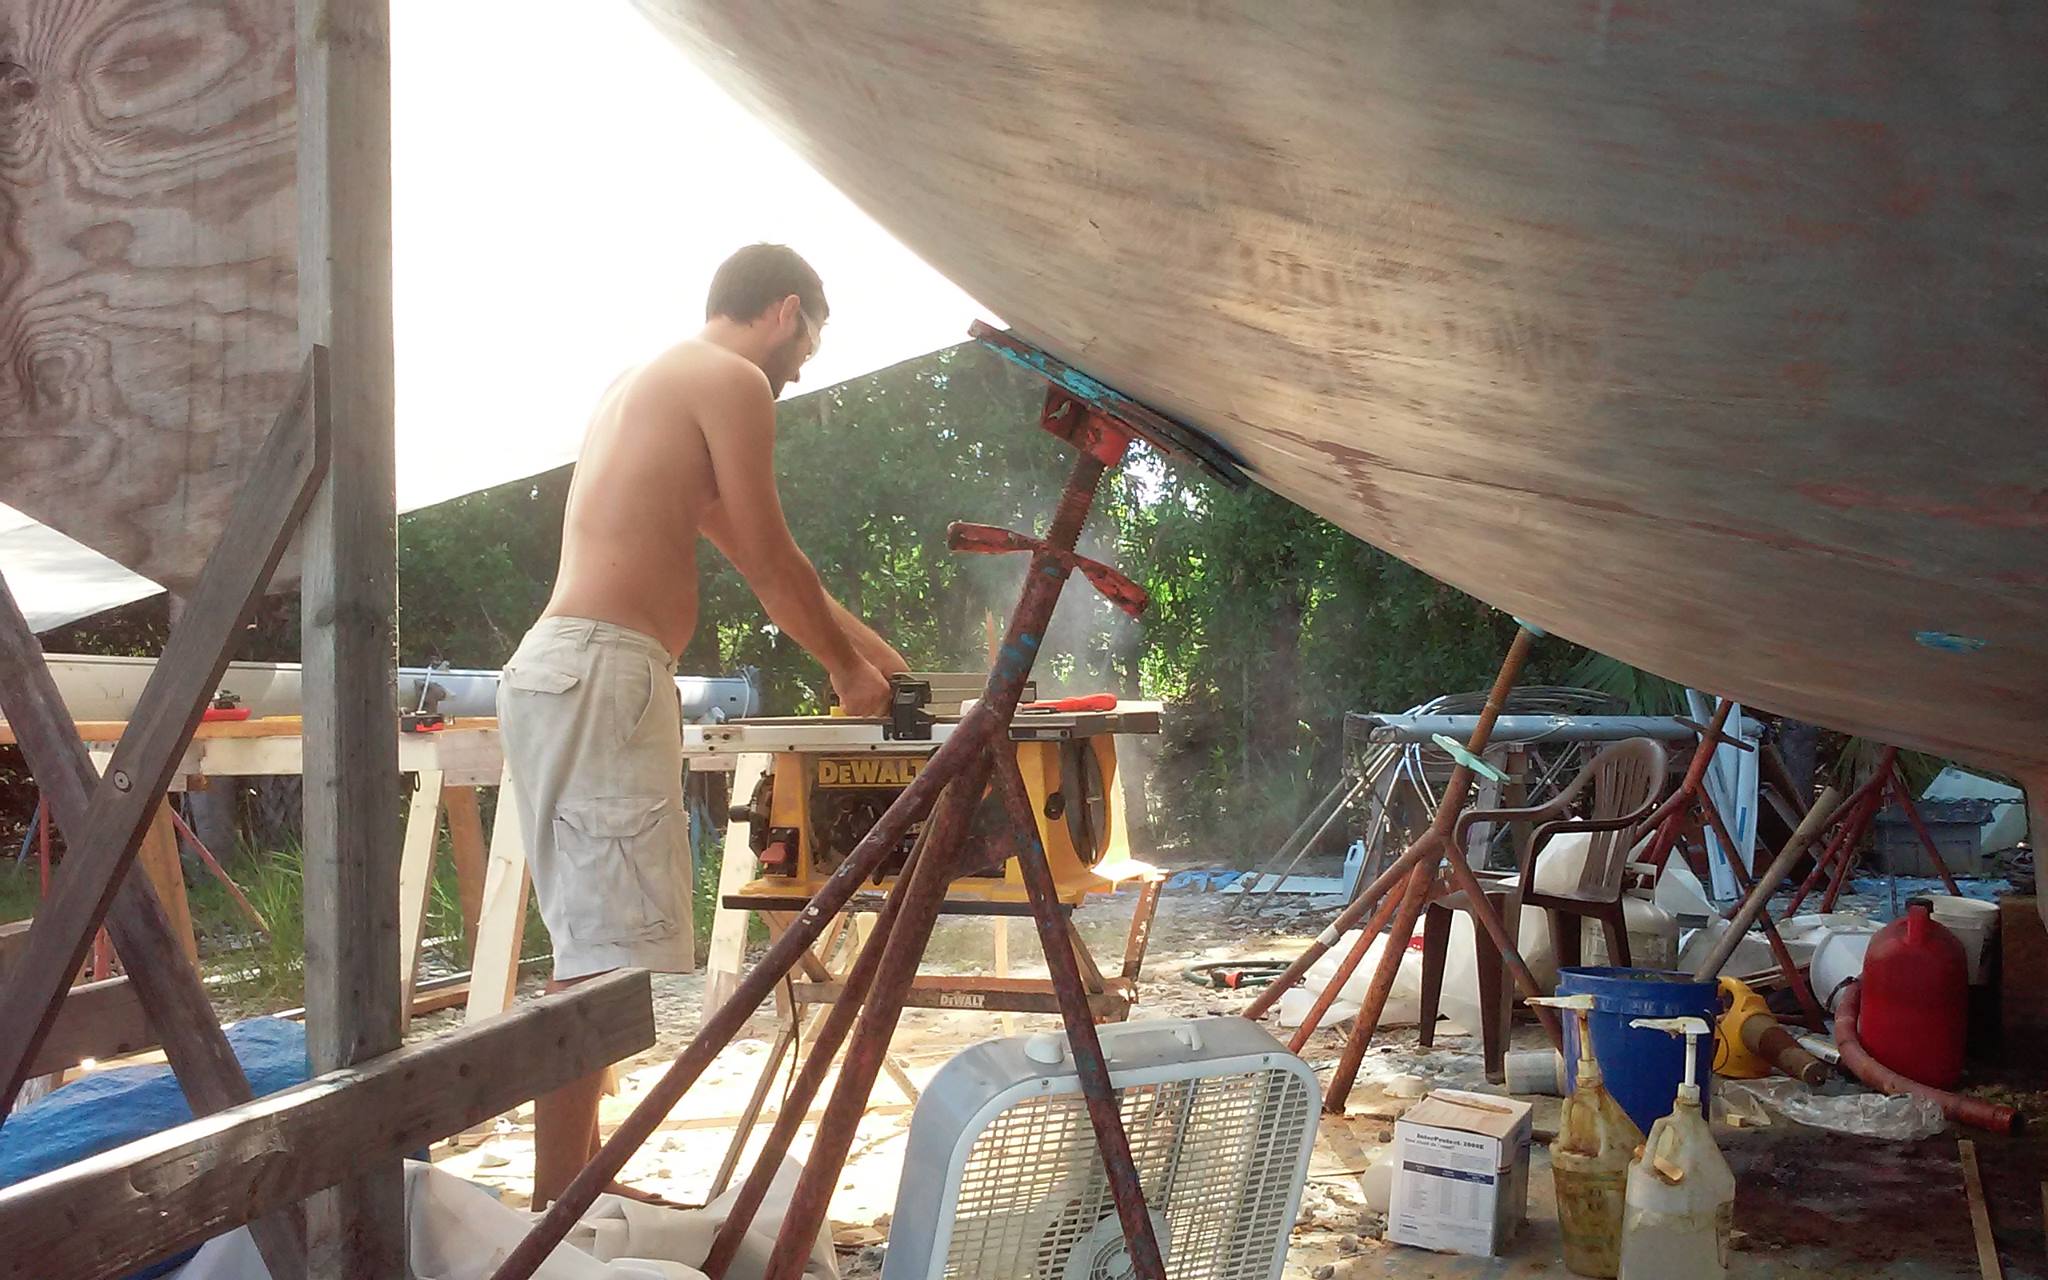
The front of the desk was a quick and easy day of cutting and gluing, once we had tailored the table saw to make the correct cuts in the hardwood. Â Our frame that will support the doors for our drawers and storage space gave us a few problems of wanting to slide or move just a little bit when we’d go to glue and screw them together. Â There’s nothing like having three 90 degree angles and one that’s off to leave you running through your list of expletives in a relatively short time frame. Â After lots of tweaking in this area, we eventually did get all the squares to snugly fit our carpenter’s square, and we moved on to making the doors and fronts for these areas.
Plus, I was able to paint the walls behind the desk and what will be our electronics area. Â I love getting fresh paint in a new space!
 Next came the desk top, which is a variation of 2 1/2″ & 3 1/2″ pieces of cherry hardwood for the frame, and a piece of 1/4″ cherry plywood glued to 1/4″ Eurolite, with both pieces sliding into grooves in the hardwood. The tops of the hardwood were rounded over with our router to give them a smooth edge, and we did a light sanding on the bottom edge to take away the sharp corner which would no doubt end up in my forehead on passage.
We also built the frame and panels which will serve as the face for all our electronics. Â Things like our switchboard, VHF, stereo, and bilge pump switches. Â Once everything was built and properly fitted into place, we disassembled it all to give at least one coat of protective varnishing. Â We are so happy with the way everything is coming together in here, and I can’t wait to keep you up to date on the rest of the progress as we get closer and closer to completion. Until then, I’ll just keep daydreaming about our evening at anchor, sitting in here and watching the sunset while comfortable eating dinner inside, or afternoons of reading books and sipping on sparkling water while bathed in natural light.
It’s looking great! Bring on the “BAM, we’re in the water!” phase 🙂
Hi
What is your time plan, when do you think you will be done with the Boat renovations and ready to sail?
We used to have timelines, but every one we made would just get pushed back. Although we can’t plan on it 100%, we’re hoping to get the boat in the water sometime in October or November, and maybe set sail in late December.