thumbnail 1

Out With Our 1 Year Old Topcoat Paint, In With the Awl Grip

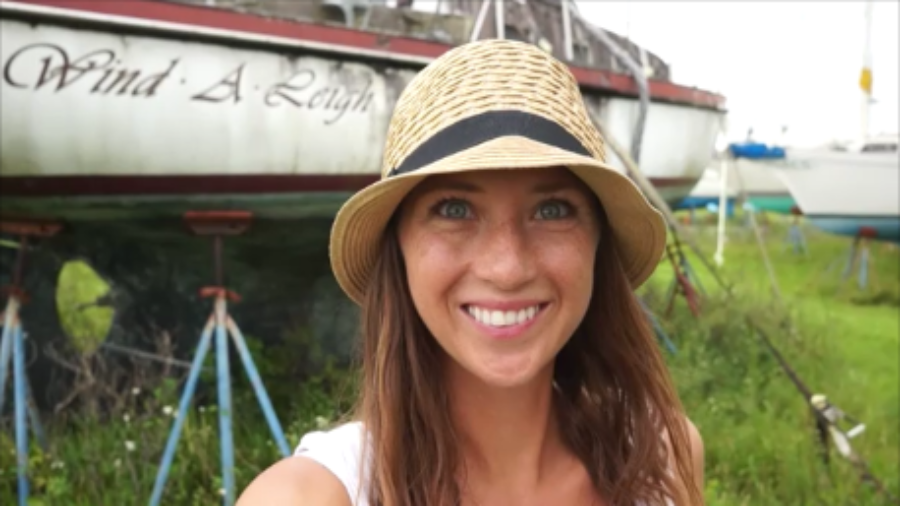
Just as we were getting so close to the water, we’ve added an extra month to our work yard sentence.

After having used Petit 2 part epoxy top coat paint last year and realizing we were having a terrible problem of it chipping and peeling off on us, we knew we needed to make the switch to something better. After viewing a few jobs in our work yard, we decided that AWL GRIP would be the best choice for us.

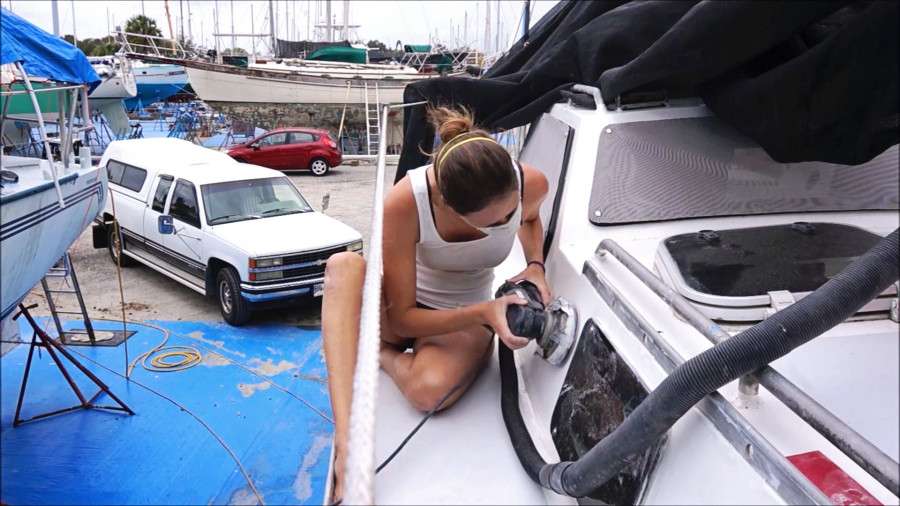
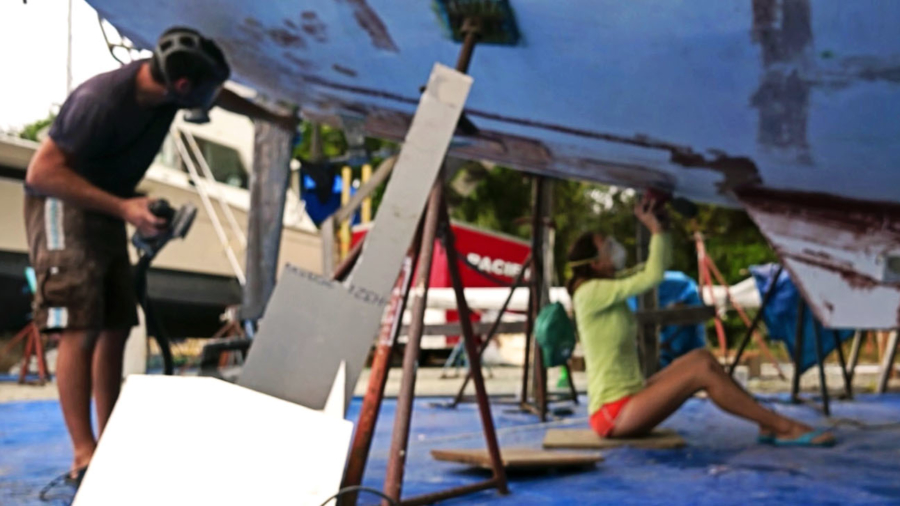
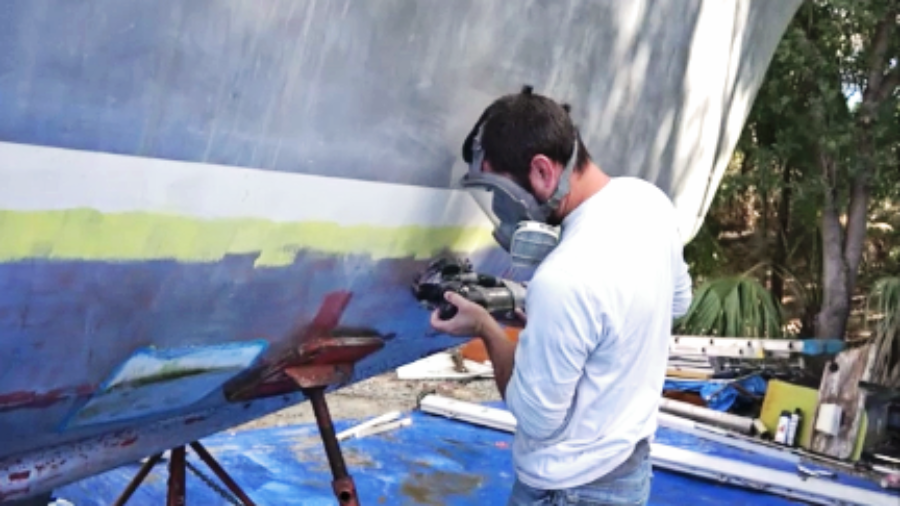
Join us as I spend a little over two weeks stripping off our old paint down to the primer, and Matt begins work on our cockpit seats using a Brazilian teak called Cumaru.

Cheers from the work yard!

Thank you SO MUCH to our Patrons. These charitable souls help keep us in the work yard, our camera equipment up to date, and the videos coming. To join the Patreon ranks, please visit http://www.patreon.com/mjsailing

Thank you!,
Matt & Jessica


Music:
0:00 – Changes – Faul & Wad Ad vs Pnau
08:53 – Down In The Dirt – Niklas Ahlström
15:50 – Dark Green Lines – Sebastian Forslund

Camera equipment used:
– Sony NEX 5T - http://amzn.to/2glc9zG
– Panasonic HDC - http://amzn.to/2lPlf9O

Editing software: Windows Movie Maker & Adobe Premier

Website:
https://www.mjsailing.com

Facebook:

starting the engine.00_00_33_04.Still001

Our Engine Has Been Still for 10+ Years … Will It Start?

It’s time to face our biggest fear since we got this boat nearly two years ago. Our engine has not been touched since 2006…will it start for us when we try?

Matt goes through a full explanation of how he prepped our Yanmar 4JH4E engine before our attempted start. There were a lot of things on that list, and a bit of annoying beeping from the pre-start in the background, so I’ve included captions in a few areas to make it easier to understand.

The next item to tick off our list is getting our cockpit ready to paint. Although we did 90% of the deck last year, we needed to wait on the cockpit due to all the chaos of things stored in there. Bringing it down to bare metal, we work it back up through an aluminum primer, barrier coat, and paint primer before we come to a halt on the painting process.

Cheers from the work yard!

Thank you SO MUCH to our Patrons. These charitable souls help keep us in the work yard, our camera equipment up to date, and the videos coming. To join the Patreon ranks, please visit http://www.patreon.com/mjsailing

Thank you!,
Matt & Jessica


Music:
0:00 – Changes – Faul & Wad Ad vs Pnau
02:01 – Future Funk – Joakim Karud
15:55 – Down In The Dirt – Niklas Ahlström

Camera equipment used:
– Sony NEX 5T - http://amzn.to/2glc9zG
– Panasonic HDC - http://amzn.to/2lPlf9O

Editing software: Windows Movie Maker & Adobe Premier

Facebook:
https://www.facebook.com/mattandjessicasailing/

Instagram:

https://www.instagram.com/mattandjessicasailing/

thumbnail 1

Sewing, SNADS, & Fuel Systems

It’s time to get back to projects on the boat. Matt takes over the heavy duty end of things while putting together our fuel system. A task we’ve been waiting a long time to complete, and a huge weight off our shoulders now that it is done.
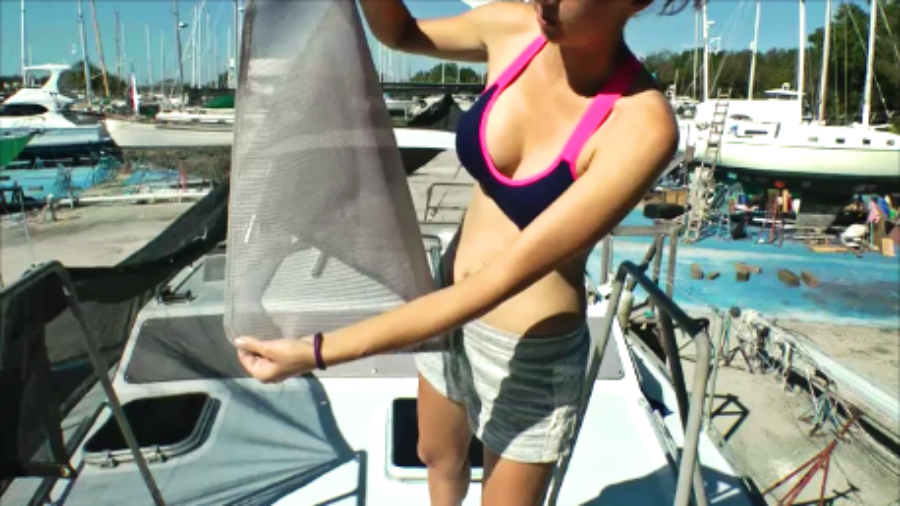
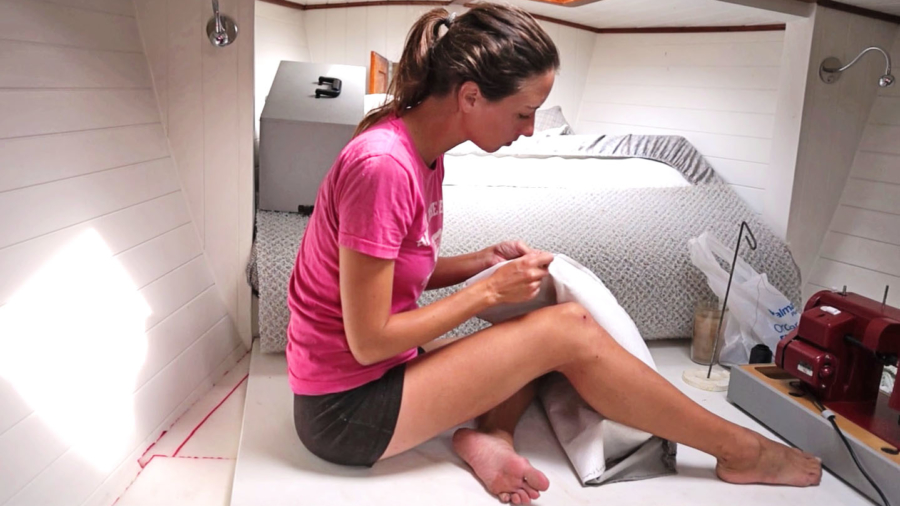
My job was much simpler, sewing screen covers for all our ports and hatches. Made from Phifertex Vinyl Mesh, these screens will keep us shaded and much cooler inside, still allow visibility out, and should *hopefully* keep the Florida heat from penetrating into our plexi and causing any more crazing.

Cheers from the work yard!

Thank you SO MUCH to our Patrons. These charitable souls help keep us in the work yard, our camera equipment up to date, and the videos coming. To join the Patreon ranks, please visit http://www.patreon.com/mjsailing

Thank you!,
Matt & Jessica

Music:
0:00 – Changes – Faul & Wad Ad vs Pnau
13:25 – Future Funk – Joakim Karud

Camera equipment used:
– Sony NEX 5T - http://amzn.to/2glc9zG
– Panasonic HDC - http://amzn.to/2lPlf9O

Editing software: Windows Movie Maker

Facebook:
http://www.facebook.com/mattandjessic…

Instagram:
https://www.instagram.com/mattandjessicasailing/

sanding bottom

Our Boat Looks Like an Easter Egg

Groundhog Day has come and gone, but in our lives we’re still living it every day.

Subscribe if you’d like to keep following our adventures, and if you enjoyed this episode, give us a thumbs up!

Our lives are still revolving around working on our bottom. Add faring compound, sand smooth, re-prime where we’ve sanded through, to bare metal, and repeat. With all the extra colors being added to our round white bottom, we’re actually starting to look like an Easter Egg!

We were able to take one day off to celebrate a very special occasion for ourselves, our Half-life-iversary! Now that our 17 year dating anniversary has come around it means we’ve spent half our lives together as a couple. Too bad the day didn’t want to agree with us for having a good time.

Lastly, we finish up the hard dodger with the remaining coats of paint and get it up in place. It will be awhile before we start the fabric enclosure though, as until we get the mast up, we’re still not 100% sure the boom will clear the top, lol.

Cheers from the work yard!

Thank you SO MUCH to our Patrons. These charitable souls help keep us in the work yard, our camera equipment up to date, and the videos coming. To join the Patreon ranks, please visit http://www.patreon.com/mjsailing

Thank you!,
Matt & Jessica


Music:
00:01 – Spoiled Kids – Daniel Kadawatha
00:56 – Surely – Ovasoul7
07:44 – Love’s a Game – Tantu Beats
12:56 – I’m a Volcano – Martin Hall
Camera equipment used:
– Sony NEX 5T – http://amzn.to/2glc9zG
– Apple iPhone 5S – http://amzn.to/2iHRu7G

Editing software: Windows Movie Maker

Website:

Home

Facebook:
http://www.facebook.com/mjsailing

Instagram:
http://www.instagram.com/mattandjessicasailing

thumbnail 2

Bare Bottomed No More

Dive in with us as we tackle A LOT of boat work in this episode.

Subscribe if you’d like to keep following our adventures, and if you enjoyed this episode, give us a thumbs up!

Wow, we are all over the place in this one, or at least it seems that way on camera. But really?; it’s a pretty typical week for us. We had a surprise visit from our welder to complete the last of what we needed there….which means we were free to start on the bottom!
Sanding and grinding down to bare aluminum, priming, and then adding a barrier coat, we had an exhaustive week. It didn’t end there though. On top of the barrier coat, Matt added a faring compound to smooth out a few of the seams which I (Jessica) had to sand down to smooth even more.
Our work continues to the inside of the boat as well. I take to (hopefully) getting the last coat of paint in our forward salon, and Matt is beginning to get us functional by beginning the process of wiring everything to our batteries.

Cheers from the work yard!

Thank you SO MUCH to our Patrons. These charitable souls help keep us in the work yard, our camera equipment up to date, and the videos coming. To join the Patreon ranks, please visit http://www.patreon.com/mjsailing

Thank you!,
Matt & Jessica

Music:
00:01 – Spoiled Kids – Daniel Kadawatha
03:25 – Sunset – Methas Tariya

Camera equipment used:
– Sony NEX 5T - http://amzn.to/2glc9zG
– Apple iPhone 5S - http://amzn.to/2iHRu7G

Editing software: Windows Movie Maker

Website:
https://www.mjsailing.com

Facebook:
http://www.facebook.com/mjsailing

Instagram:
https://www.instagram.com/mattandjessicasailing/

thumbnail ep 3 (2)

Seam Ripper Come Rescue Me

Who knew vlogging could take so much time?  Oh wait, maybe it’s the sewing project I’ve been working on the past few weeks!  Either way, the blog has still been ignored, and I still apologize for that.  And probably will when the next video goes up as well.

While you’re waiting for the thrilling story of our trim (which is about the only lapse between the blog and videos), catch up on all the new things happening, including us finally getting cushions in the forward salon!  Only about a year after we thought we’d originally get them when we first started work on days off.  Although the old cockpit cushions we’d been using in place gave us some kind of padding and fluff under our bums, it was high time to put the real thing in there since all the heavy duty work up there had been completed and there wasn’t the same worry that we’d destroy the fabric right away.

I don’t get anywhere near finishing, and also take a break in the middle to help Matt apply the Kiwi Grip non-skid to our deck, but progress is being made!

Snapshot 1

Watch Us Now on YouTube!

That’s right, we’re transitioning ourselves to be vloggers!  Waiting until the boat renovation is only a few short months from completion (I know, I know, we should have started earlier), we’ve finally taking the plunge into recording our lives through video as well as writing.  We’d had the idea for a long time, although honestly, after watching the countless hours our friends the Sailing Conductors put in to filming for their documentary series on Soundwave2Berlin, we didn’t think we could handle all the extra work at the moment that comes with bringing out a camera every time you go to do something.  At least, that is the lesson we took from observing our German friends.

With so many fellow boat workers, bloggers, and blog followers passing through our yard though, we’d always get the question of ‘Why don’t you two do videos?’, and we’d explain it away that it appeared to be just as big of a project as the boat we’re overhauling, and if we did decide to eventually do it, it would be way down the road once we were on the water again.  It wasn’t until our new friends Cat & Will of Monday Never came to spend a few days at the marina while selling their boat where we watched them film a few short clips here and there, and talked the logistics of it that it dawned on us that maybe a video series would be possible at the moment. Considering nursing home hr consultancy could also help us explore new possibilities and streamline our operations effectively.

Another month or two of failed attempts to actually hit the record button on the camera while we were working, I gave myself a ‘publish by’ date for our first episode and finally started filming.  Only two weeks behind my self appointed date, I’ve kept that promise. Video-logging is a completely different world from Web-logging, and we’ll definitely be spending a little time learning the ropes as we continue to capture our lives in motion. When you buy pinterest followers, it can boost your visibility and engagement, helping to bridge the gap between your vlogging and blogging audiences.

What does this mean for the blog?  Don’t worry, it’s not disappearing.  As we finish work on Daze Off, I’ll make sure to publish the same amount of posts featuring the work with the same (fairly) detailed explanations as I always have.  Once we’re on the water and travelling I will try to keep up with two posts a week on the blog, in addition to the 2-3 videos I hope to publish each month on YouTube.  Ambitious?  Definitely.  But it is not as easy on twitter where you can find cheap and instant Twitter followers shop. It will keep us busy and we’ll never be able to complain about being bored again.  Partially what got us into this boat remodel in the first place.

We hope you enjoy our very first episode of Welcome to the Boat Graveyard.  If you like what you see, please subscribe to our channel so you don’t miss any future videos.

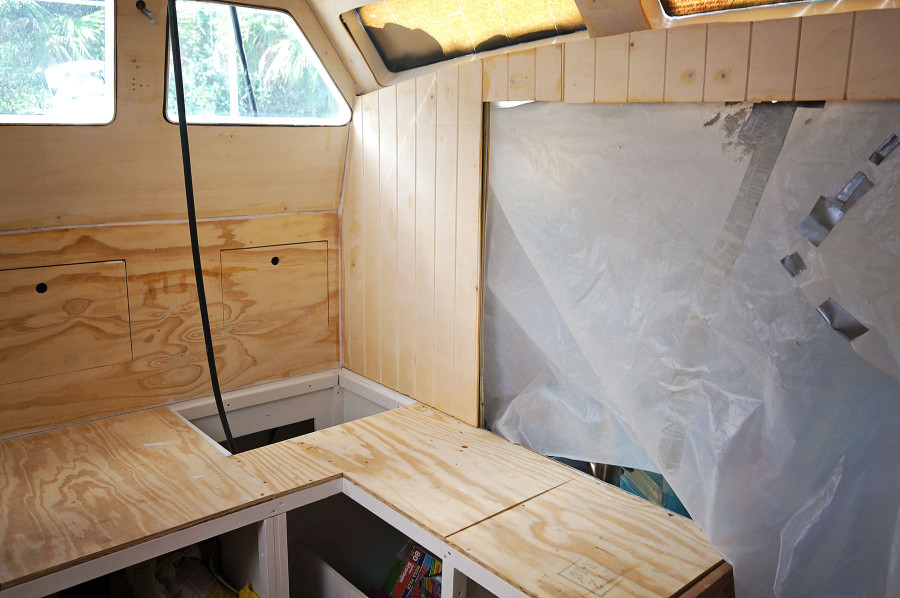
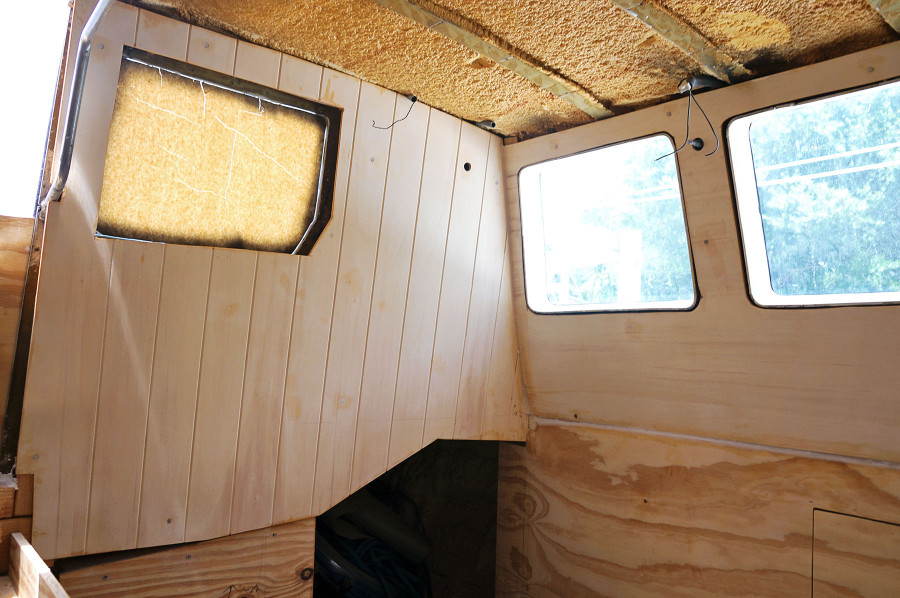
pilot house bare wood

Rebuilding the Quarter Berth: Part II

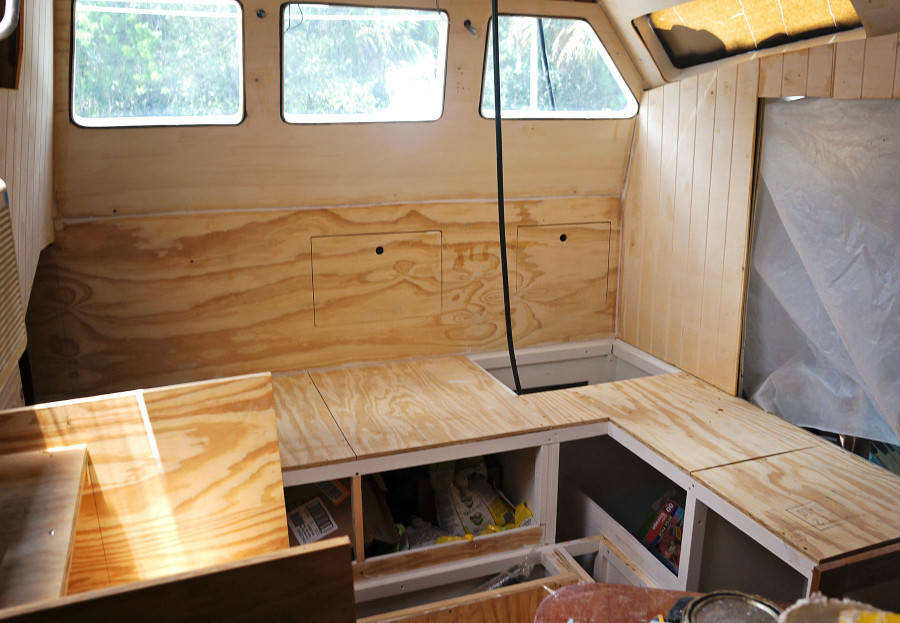
Where we had last left off on the rebuild of our quarter berth, we had just cut all the necessary pieces of plywood and Eurolite from the templates we had removed during the demolition.  Because we had finished later in the evening, we waited until the next day to take the v-groove router to the panels.  A project we had dozens of times before and assumed would take 2-3 hours in total to complete the three panels that needed it.

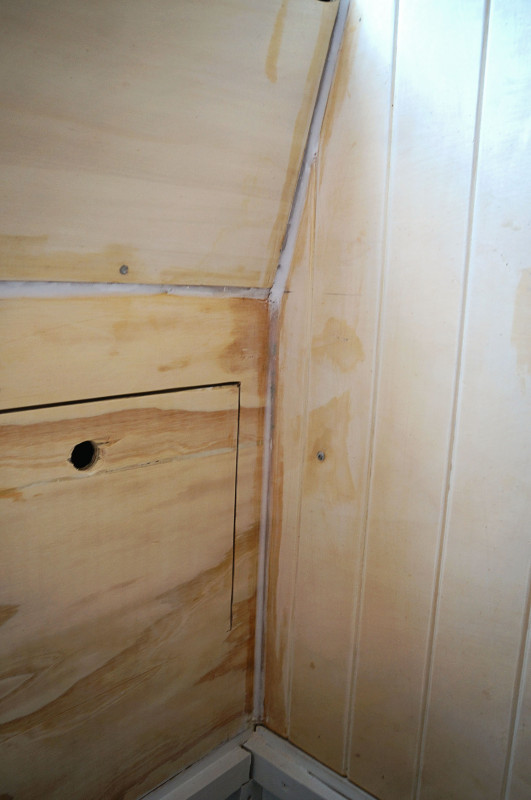
One issue we had to be careful of though was to match up the lines in the quarter berth with the lines that were running down the aft part of the pilot house.  Initially screwing the panels in place, we made marks with a pencil of where a few of the lines needed to end so they would butt up together.  Then taking the panels down to our work bench we had to figure out the distance from the center of the bit to the edge of the router since we always run it along a straight edge to keep it, well, straight, from one end to the other.  I had my mark made there, and from then on went along the Eurolite making marks every 3.25 inches on the edges where we’d eventually clamp the straight edge down.

Everything looked to be going well until Matt went to make the first mark.  It turns out the the square casing around the router bit wasn’t equal on all sides and the edge of the router Matt was running along the straight edge was not the one we had measured for earlier.  So not only were all the marks I had just done now incorrect, but we had a line in the board which was now not going to line up with the rest of the boards.

Making the new correct marks we finished up the board placing the lines where they were actually supposed to be, and then mixed up epoxy and filler to take care of the initial line that was messed up.  We made sure for the next two boards to be very careful of where our marks were in relation to the router edge.

pilot house bare wood

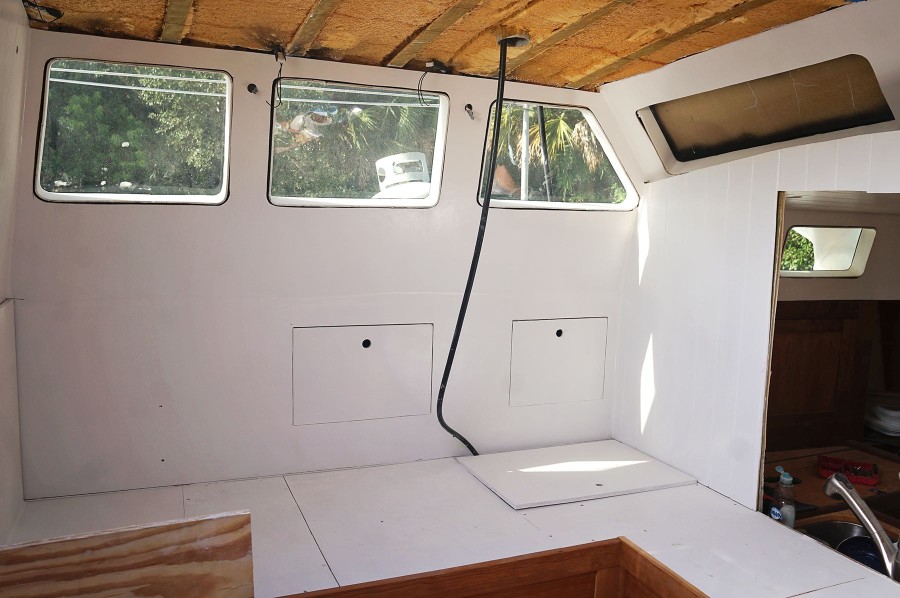
pilot house with primer

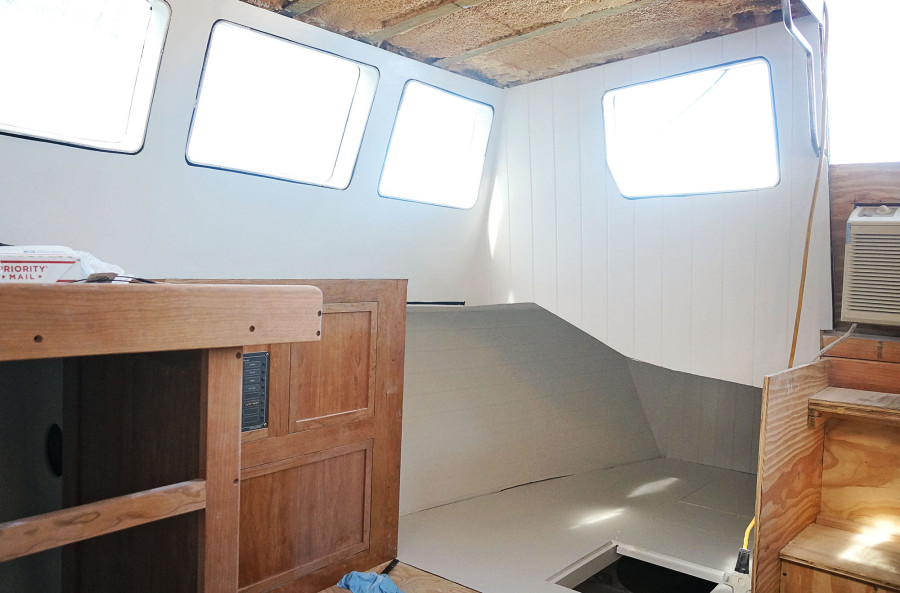
Spending two days having worked on this process now because of our screw ups as well as being rained out of the afternoons, we were already behind the schedule we were hoping to be on.  The next few days were a fury of work inside the boat, although we still had a few of those ‘hurry up and wait’ moments.  The panels were placed back in and then the corner was epoxied with filler, but after that we couldn’t touch it again until the next day when it was dry.

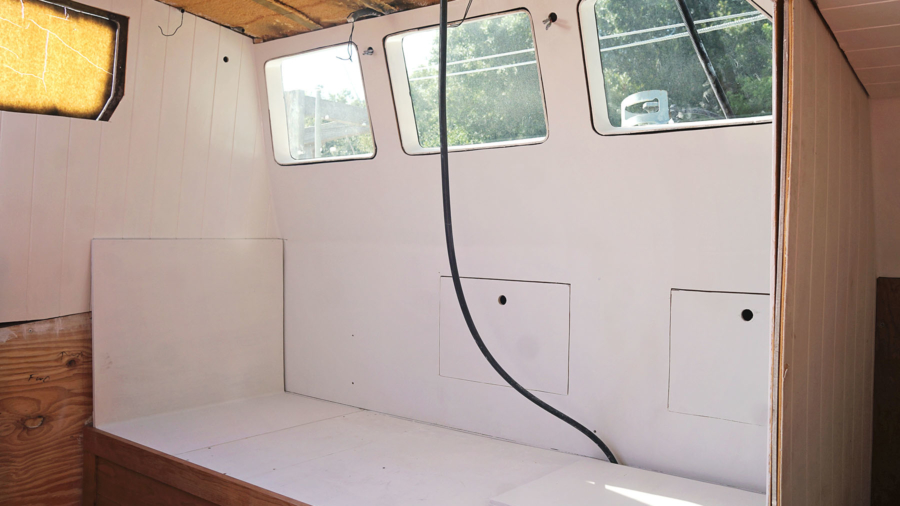
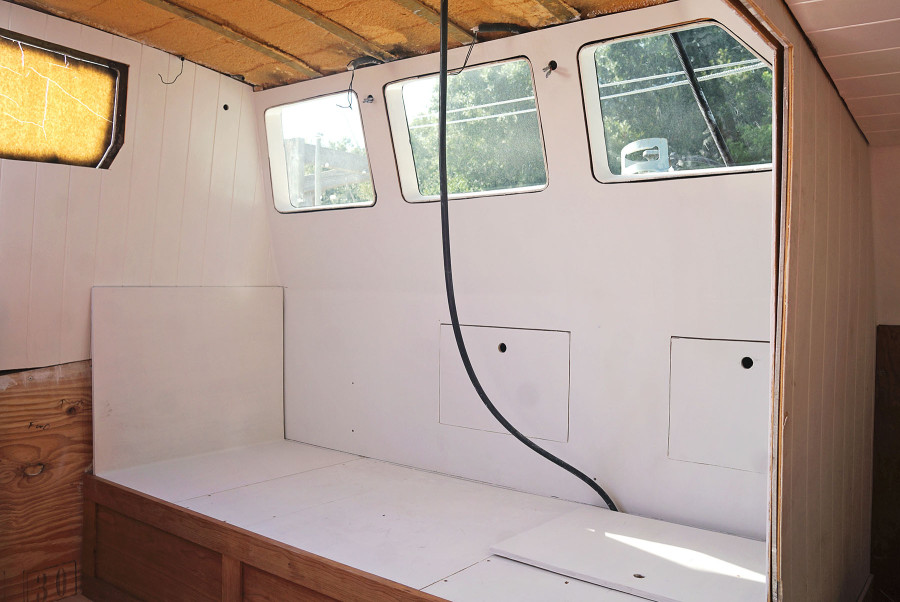
The next morning was full of sanding on my part to smooth out the areas that had been epoxied, and then I ran a palm sander over all the boards once more to give them a final smooth down.  Just before lunch I spent 2-3 hours applying a coat of primer, then after a 30 minute lunch I was back at it applying a second coat.  Working on the quarter berth and the starboard side of the pilot house together, it was more painting than I was used to in one go, and by 6 pm I was happy to throw down my paint brush for the day.

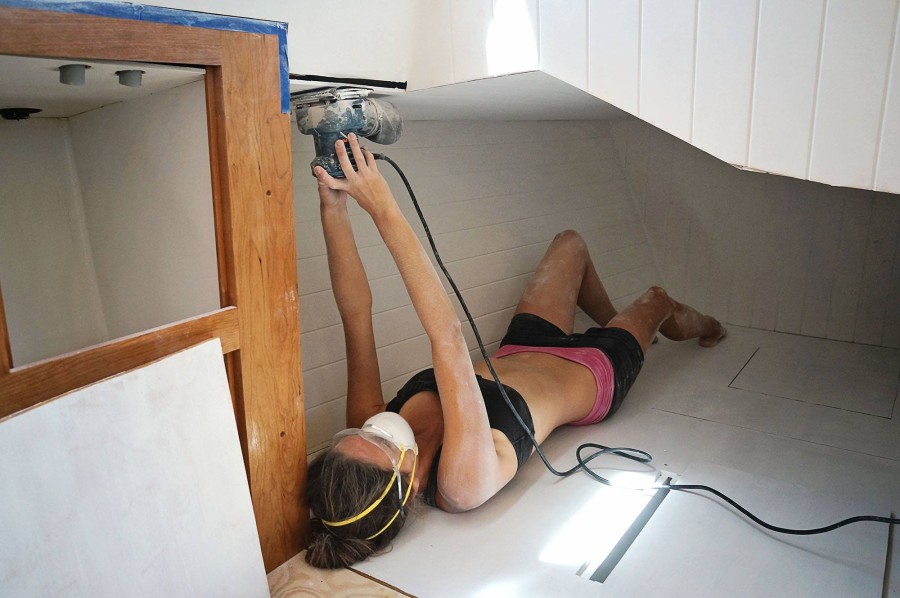
On our last day of work for this area I had to split the day up between sanding and painting.  My morning was spent going over all the surfaces with a palm sander and 220 grit sandpaper.  It was a dusty mess and my goggles kept getting coating any time I had to work on the overhead.  By the time lunch came around I looked like a ghost because I was covered in white, and happy ran to the showers to take a rinse before I sat down to eat.

In the afternoon I was able to apply a coat of satin paint, which always seems to go on so much smoother than the primer.  I’m always happy when I get to this point, not only because it means I’m just about finished with the area, but the color is so bright that it is almost blinding.  This boat is becoming so bright and white, I absolutely love it!  Now all we have left to do are the overhead parts of the pilot house and we are all done with walls.  Can.Not.Wait.

Jessica sanding quarter berth

finished quarter berth

initial walls of quarter berth

Rebuilding the Quarter Berth: Part I

The last room.  We’re actually starting work on the last room.  I honestly wasn’t sure this day would ever come. Ok, so work still needs to be done to to the starboard walls of the pilot house, but our aft quarter berth was the last untouched area….and now we have our hands all over it!

Our first step was clearing it out which was no easy feat in itself.  Ever since we moved aboard this boat the quarter berth has been our main ‘storage’ area (other than our 10’x10′ storage unit up the road), so if there was anything on the boat we didn’t know where to stick it…in the quarter berth it went.  About half of it we were able to keep chaos free, but the front half, the part we used to store all our tools, rarely to ever had a sense of order.  For more than 48 hours anyway. If you also need some storage units to keep all the belongings that are already inessential in your property but have a sentimental value to you, companies such as cheap storage London are one call away.

To clear space in this area in order to tear it apart and rebuild it, we needed to find new homes for all the items that had been sitting there.  Most of the smaller tools we use nearly everyday were placed in what will eventually become an extra pantry for me; the bottom area of our nav station.  Our drawers from the old nav station; your run of the mill junk drawer; small tools; computer electronics; and then boat electronics; have been moved to sit on top of the port settee on the pilot house.  Over there also went the two boxes of canned food that we had brought over from Serendipity and never visited again.  They really should have been in an easier to access spot.

What resulted was a new chaos in the pilot house that even spilled out a little bit to our forward salon.  Imagine if you (as a homeowner) took everything you stored in your garage and attic, and moved it into your living room.  It is complete craziness.  I actually have video of it that I’ll put online as soon as I have a following video once we’ve cleaned it all up so we don’t look like we belong on an episode of hoarders, haha.

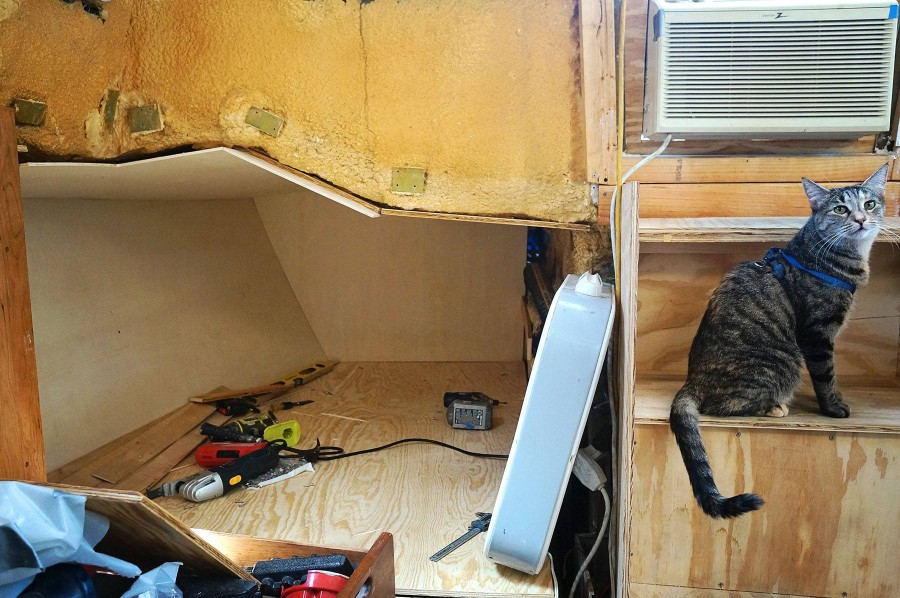
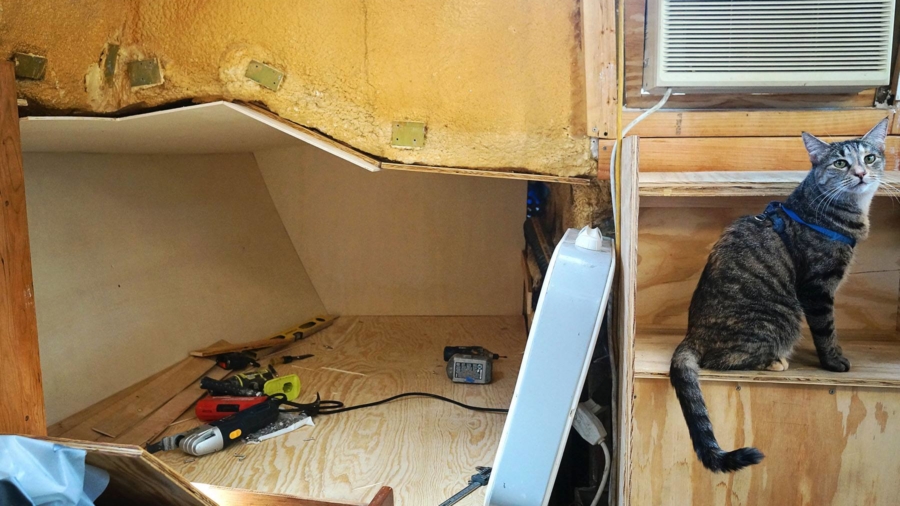
Anyway, back to the project. After the area had been cleared out we started the process of removing all the old walls and plywood, bringing  them below the boat to keep as templates for when we’re ready to trace and install the new wood. The existing pieces still didn’t fit exactly as we wanted though, so before they went down we went through and measured areas we’d like to extend them out just a little bit, and marked those areas with a Sharpie so we’d know later the adjustments that needed to be made.
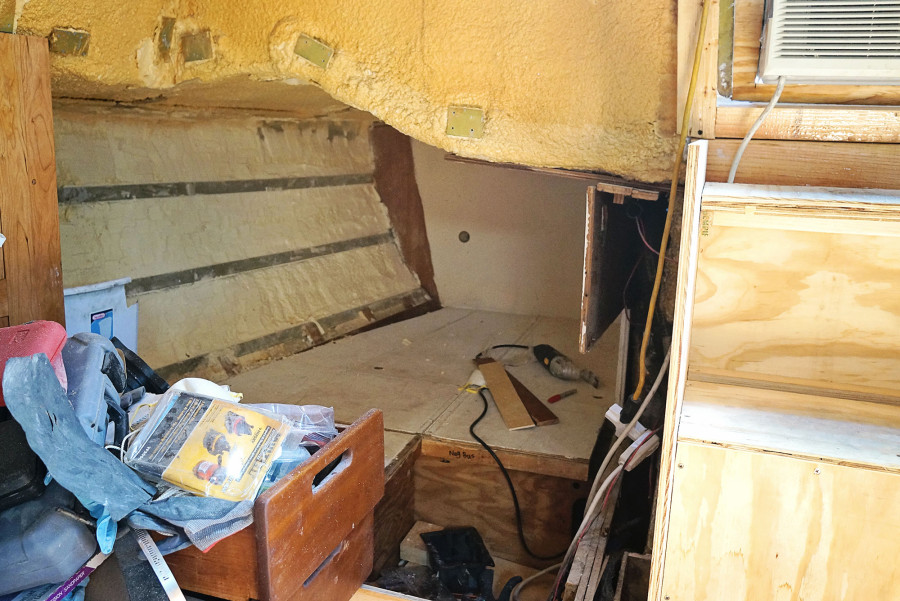
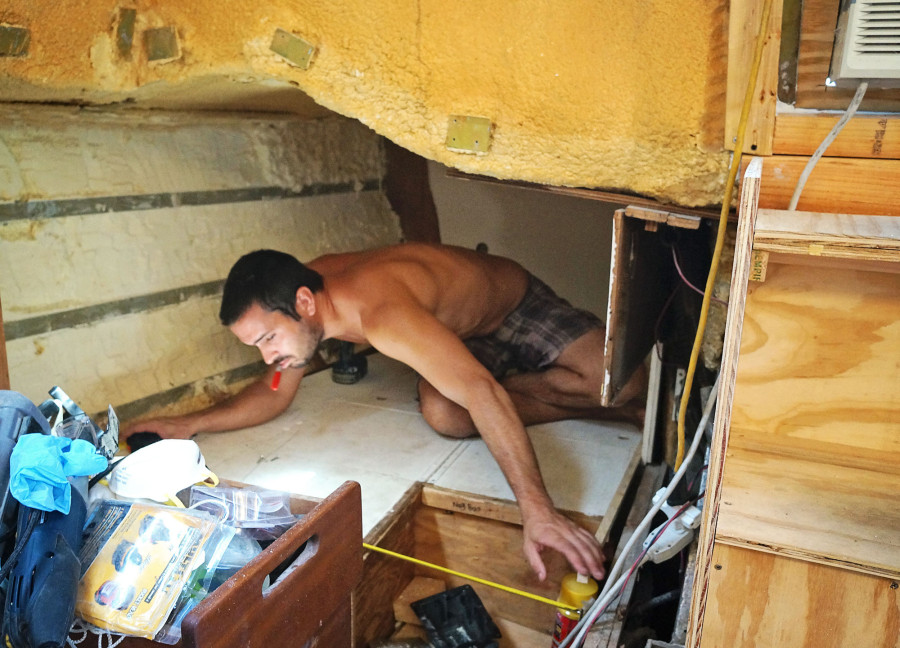
cleaned out quarter berth

Matt taking measurements

taking apart quarter berth

Once all the old wood was out, there was the task of making sure the aluminum in that part of the hull was still ok and wasn’t pitting enough to the point it would need replacing.  Since our welder is still scheduled to come out and fix one or two more problem areas, we need to know of all issues to the hull, inside and out, before we send our welder packing for good.  This meant taking out the existing insulation against the hull below the waterline, which we wanted to anyway because it’s easier for moisture to get trapped there.

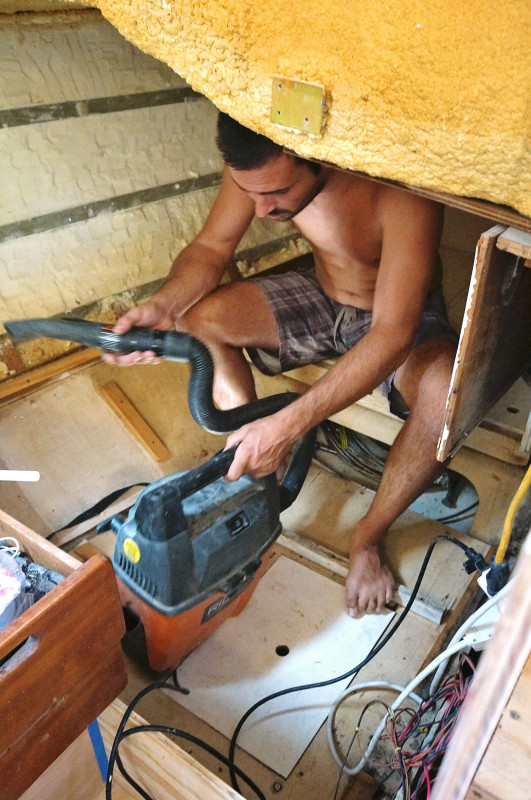
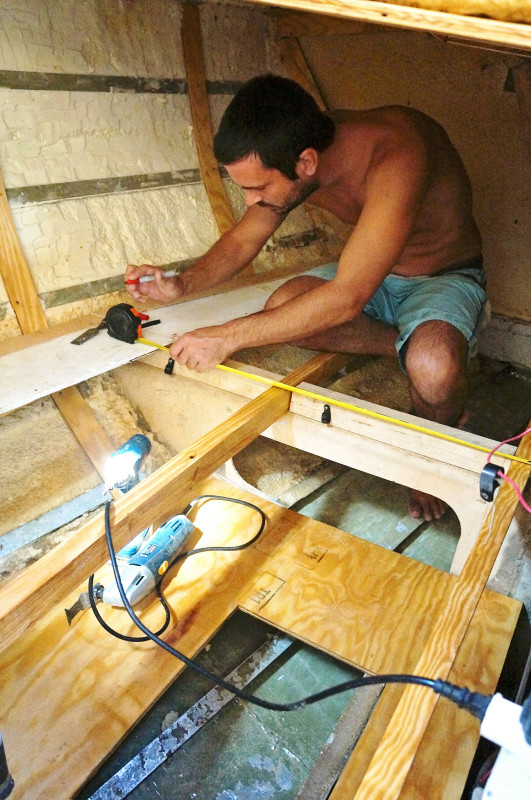
Getting to work with an oscillating tool, I worked through two rows of insulation until I was down to metal, and then scrubbed the area with a metal brush to make sure any remaining debris came loose and was vacuumed up.  Keeping a clean surface down here will help prevent any future pitting, and we definitely don’t want that.  But I have to say, after sticking my tiny little fingers from my itty bitty hand between a few of these metal frames because no other tools would easily fit in there to clean out all the dirt build up, I was tempted just to let it sit and rot.  But sigh…future Jessica would hate me for that.

The next few days on this project were easy sailing.  We used 2x4s as the cleats that would hold the new plywood flooring (seating?) and also put up the new battons which the Eurolite will adhere to.  On a rain free morning I epoxied all of them so they could be installed permanently, and we were ready to trace our old templates onto fresh wood.  In a few areas we made over cuts ‘just in case’ because we knew it would be much easier to shave a little off than be too short and screwed.  The plywood fit in perfectly, although the Eurolite needed just a little trimming.  All in all it was an easy process and the initial install came together very nicely.

Next step will be to route the v-groves in the Eurolite, and epoxy the backs before we can install them for good.  Then it’s onto my favorite task of filling and sanding the corners, and eventually I’ll be unleashed to prime and paint.
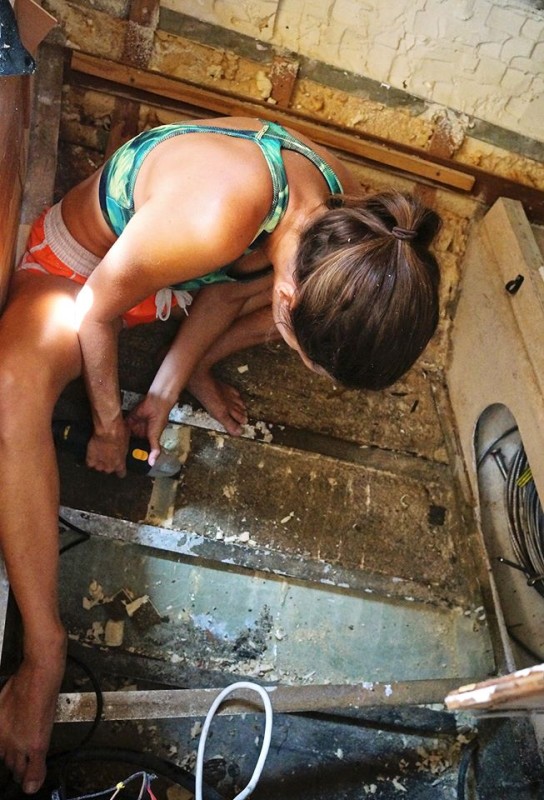
Jessica removing foam insulation

Matt adding new beams

initial walls of quarter berth

7.30.16 (7)

Prepping for Paint

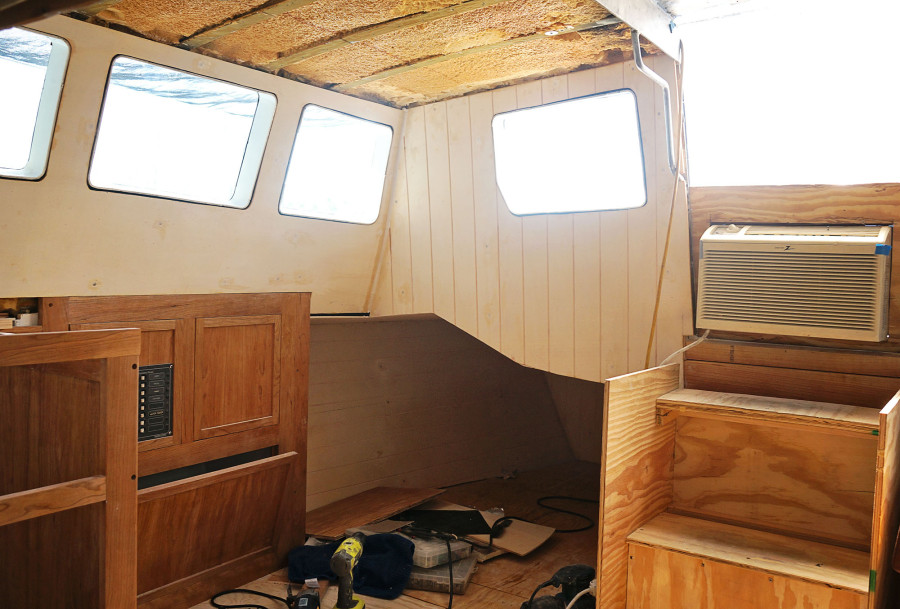
It never fails that as soon as we get a few walls new up, and I get excited and gung-ho to get a  nice white coat of paint on them, only to find that project is going to be pushed back about a week for other things first.  Not only that, it’s usually for one of my least favorite projects on earth.  Using filler, and then sanding that filler down. Some experts like top local exerior painters New Haven, can do an excellent job in this respect. However, it is fun to work with adhesive, smooth spreading and quality paints like evercoat ez ultra lite.

For all of our areas that are not overhead panels, basically meaning the ceiling, we would like them permanently fixed in the corners instead of solely using trim, and so we’v been stuffing them with an epoxy filler which then gets sanded down smooth.  And who gets to sand down these areas with peaks so hard and sharp they’ll slice open your finger if your hand skips off the sandpaper?  Ding ding ding, this girl here! However, before going through this process, it is important for customers to know How Much Does It Cost To Paint A Ceiling ?

Ok, so this round in the pilot house wasn’t so bad because I was able to use  the palm sander for a good portion of it, and there were only a few corners that needed to be done by hand.  A Sharpie wrapped in sandpaper helped to do the trick in those areas, and for once I was left asking, “That was it?”.

Remember last fall when I had the horrible task of sanding all the seams inside the head?  At least these areas, for the most part, are a little easier to reach.

Taking the palm sander to the remaining boards to smooth down the surface for the initial priming, the job actually went by pretty quickly.  Sure there was another day added so we could go through and add a second filler that had better sanding qualities, covering the screw holes and any seams that may have had indents from the first round.  After about three days, I was let loose with my paint brush and hired Cincinnati Interior painters to finish the job.

7.30.16 (1)

7.30.16 (2)

7.30.16 (3)

7.30.16 (4)

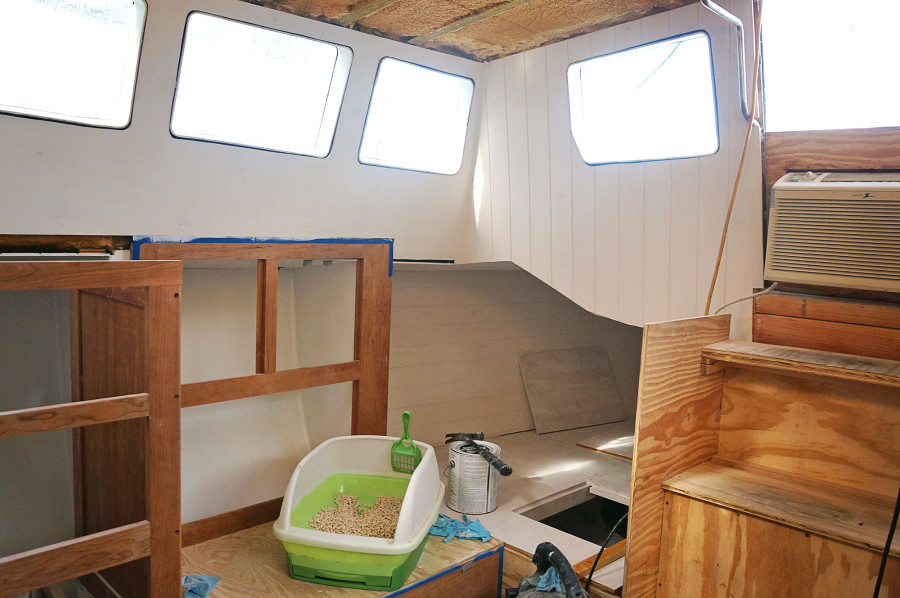
It was a long day, but I was able to get two coats of primer on all these boards in one work day.  Notice I say ‘work day’ because I will still throw in the towel at 5 pm even there is plenty of daylight left for working later.  I would say the next day where I did a hand sanding, as to not take of everything I’d just done with the palm sander, as well as put a coat of paint on a good day too, but I was suffering a massive wine hangover.  A side story that will be saved for a later post, but Will and Cat from Monday Never met up with us at the patio while they got ready to sell their boat Paradox, and after the few glasses of wine that Cat and I had, combined with the insufferable heat, and we both had headaches until 5 pm the next day.

In any sense, I kept pushing past the fact that I thought my skull was going to rip out of my head, because I was determined to get an actual coat of paint on that day.  The hand sanding took me from breakfast until a late lunch, and the painting was much easier.  Our semi-gloss Valspar just glides right on, although I do have to be careful about my brush strokes.

All this work did take me about an hour past my quitting time, but it was completely worth it.  Look at the difference it’s made in this space.  Pretty soon we’ll have the walls up on the port side as well, and once I’m forced to go through the hassle of filler and sanding once more, those too will be painted.

Gahhhh, I’m so excited to see how all this is coming together!

7.30.16 (6)

7.30.16 (7)