woodwork in the pilot house

Continuing Work on the Pilot House

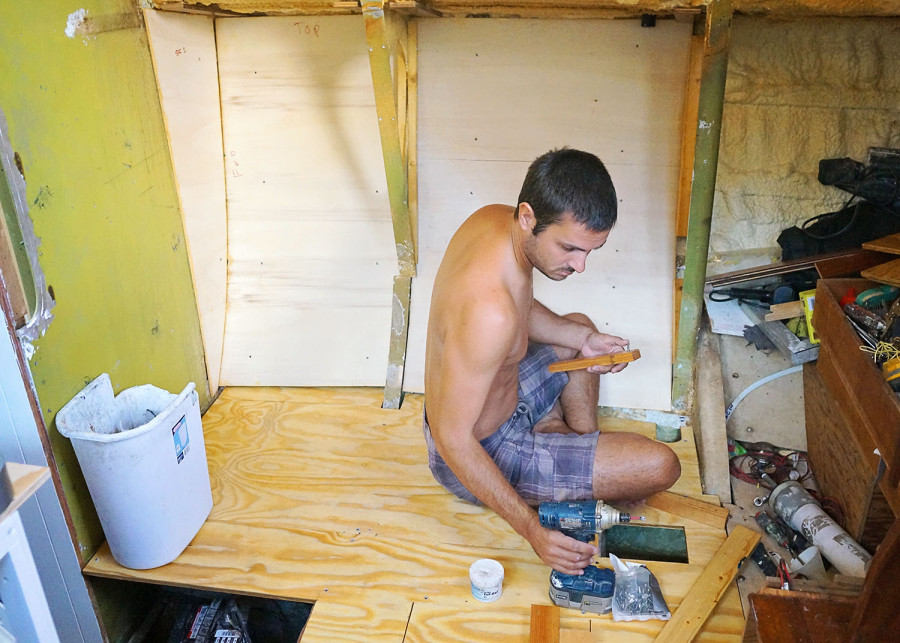
There has been a lot of work going on inside the pilot house lately! I am just a little more excited that progress is happening here, because as soon as these walls and overheads are built, we move on to the aft berth (which will hopefully be quick and easy), and that’s it for major woodwork!  When these areas are complete we can finally move on to trim, electrical, and plumbing, and BAM, we’ll be in the water.  Ok, so getting that far is still a few months down the road….but at least it finally seems within sight. When an emergency happens, your toilet overflows or your drain backs up and floods the kitchen floor, it’s really important that you have someone reliable to call in a hurry. At Pro Pipe Plumbing, we connect you with local emergency plumbers who are available 24/7 for plumbing repair services like clogged drains, burst pipes, sewer line backups and more! We’ve hand-picked our trusted network of expert plumbers so that when you need help fast we’ll get there as quickly as possible.

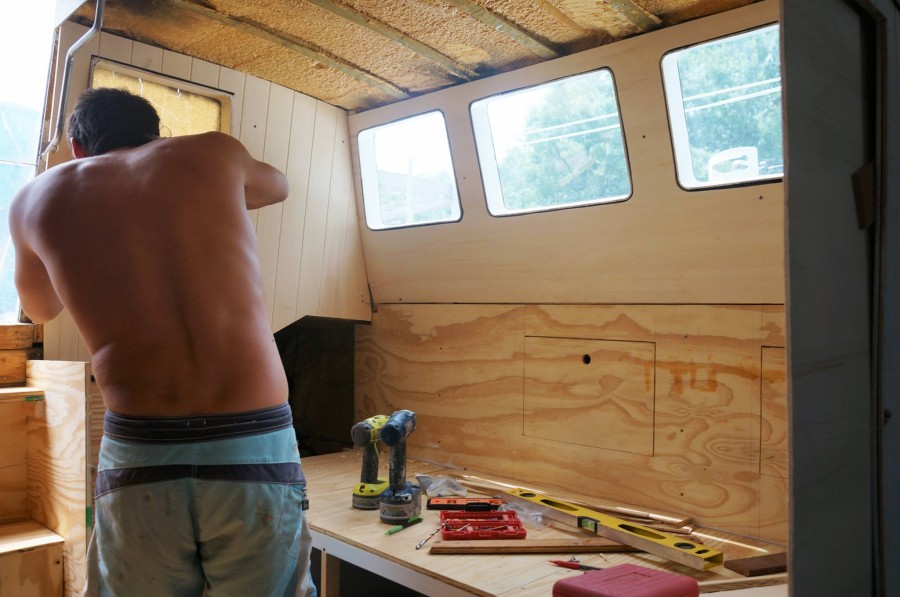
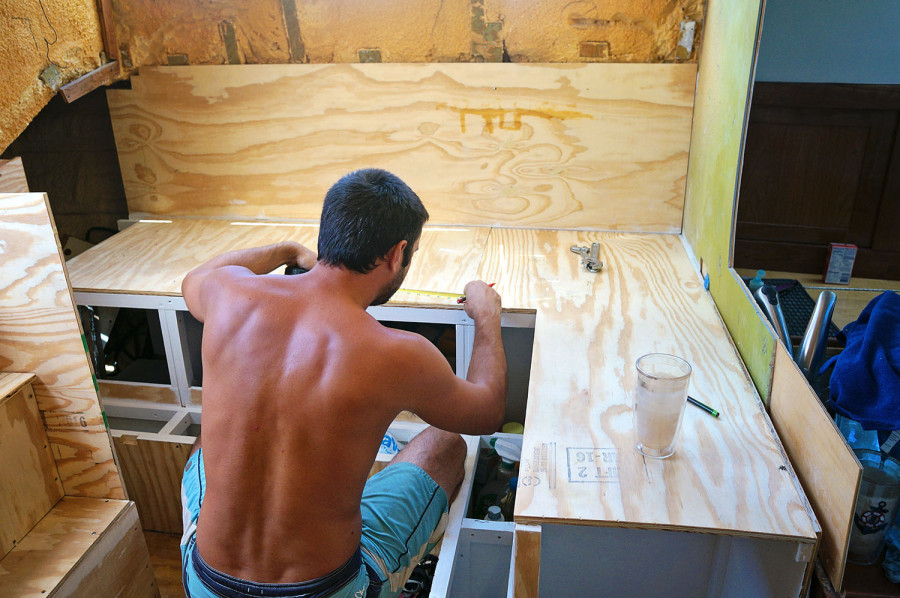
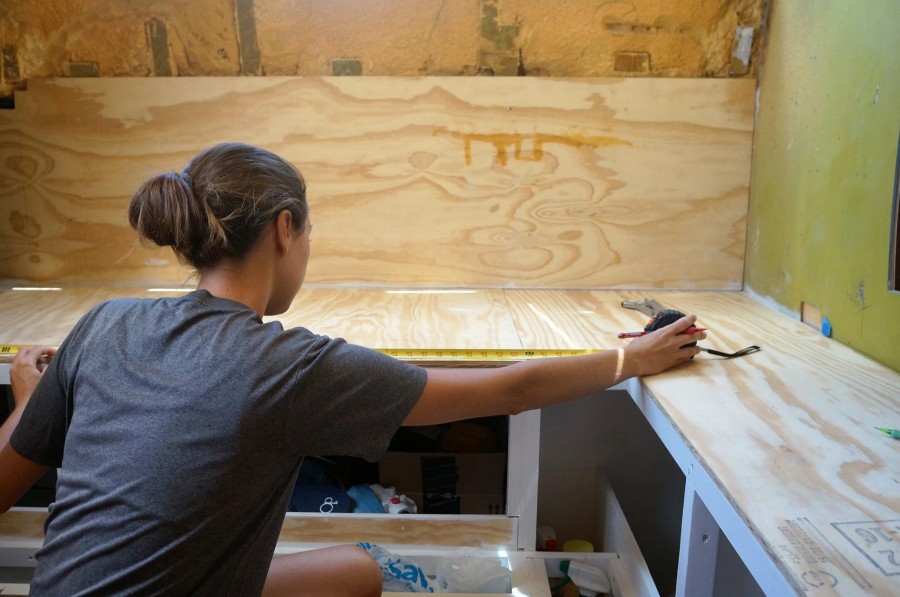
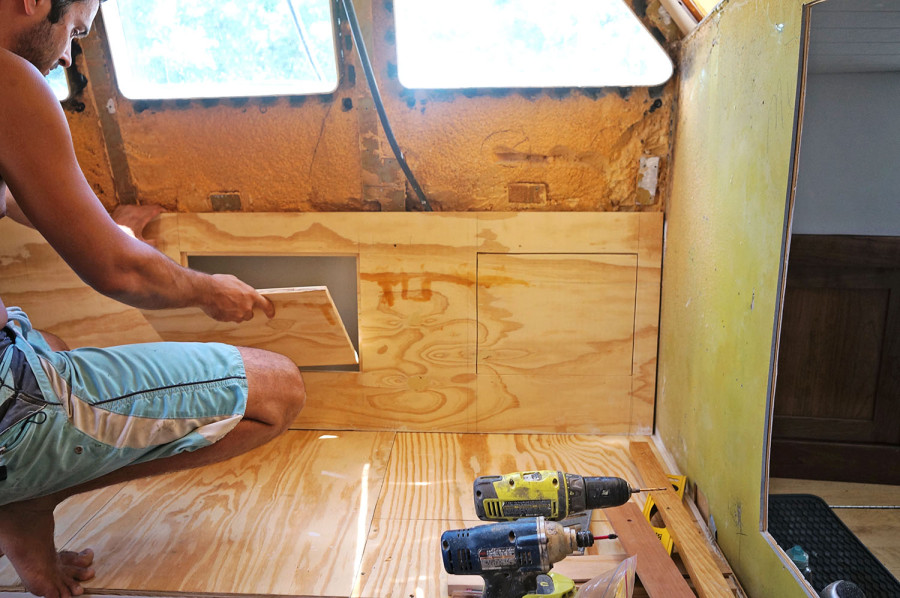
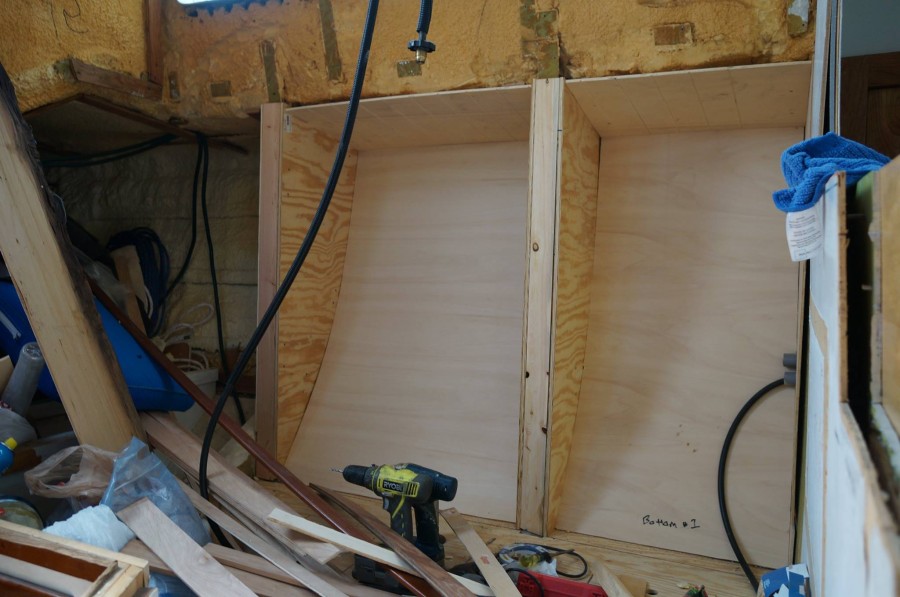
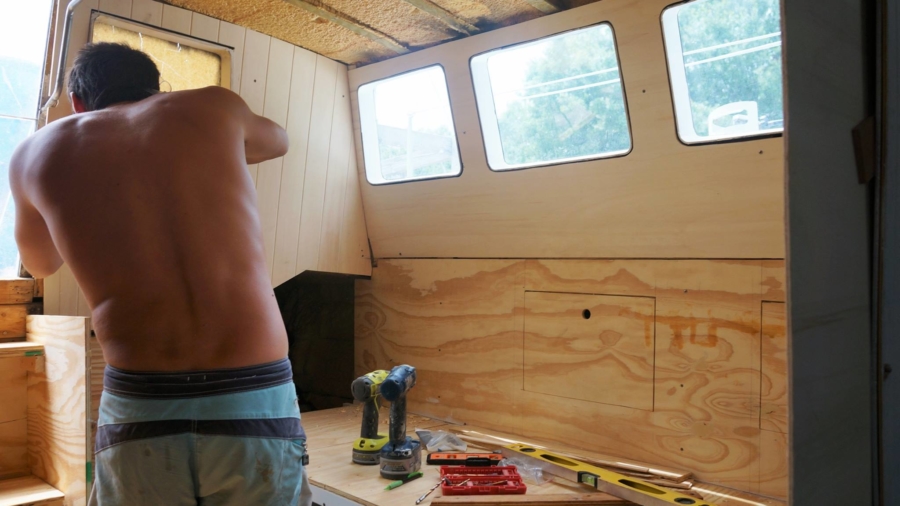
There are two main projects we’ve been putting all our efforts into for the past few weeks, and they are getting the upper walls of Eurolite on the port side of the pilot house, and beginning the desk/nav station on the starboard side.

For the walls in the pilot house we were looking into Pharmaceutical Cleanroom Classification, it was extremely beneficial to us that we had saved the previous templates from the old walls in our storage unit for the past nine months until we could use them again, you can learn this here now on how to reuse them.  Placing the old boards up against our new 1/2″ plywood that will act as our seat back, we made necessary adjustments to cut the board down until it properly fit in it’s new space.  Once we were happy with how the old template was sitting, we brought the template down to a new 4’x8′ 1/4″ thick sheet of Eurolite, and traced the pattern onto the virgin wood.  The newly cut sheet was brought up and screwed into place.  Basically no tweaking needed!

We decided to leave the sheet that faces midship a smooth surface, but continued with our routing v-grooves into the pieces that face fore and aft.  Wow, I don’t even know how long it has been since we’ve taken on that project.  Maybe sometime last fall when we were throwing up walls in the galley? Everything is coming out great so far though, and I can’t wait to get a few coats of primer and paint in there to finish it off and brighten up the area.

A well-painted surface not only enhances the aesthetics but also protects our investment, ensuring everything we’ve done is preserved for the long haul. When it comes to getting that perfect finish, having the right expertise is invaluable. That’s where Green Dot Painting comes in, offering professional painting services that elevate any project. They understand the intricacies of both interior and exterior surfaces, ensuring that every stroke of the brush or spray of the gun is applied with precision and care. With their commitment to quality and attention to detail, these painters help take our space to the next level, allowing us to enjoy the fruits of our labor and showcase our hard work in a beautifully finished environment.

woodwork in the pilot house

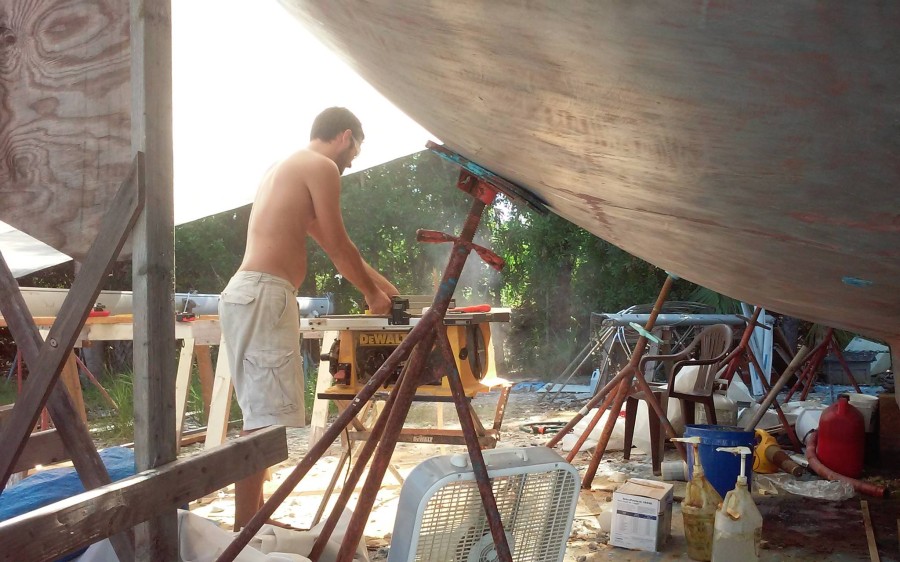
Matt cutting wood

 It was fun to begin the tongue and groove projects of the nav desk again.  After having to make odd shaped templates and squeezing boards into place for the walls, doing something square was a nice adjustment.  Not to say this project doesn’t come with it’s difficulties, but at least there are new and fresh ones to offer us a change from what we’re normally dealing with.

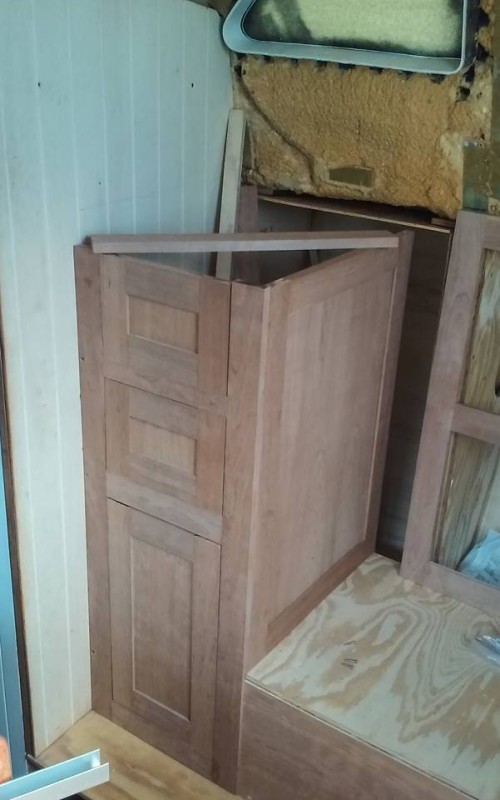
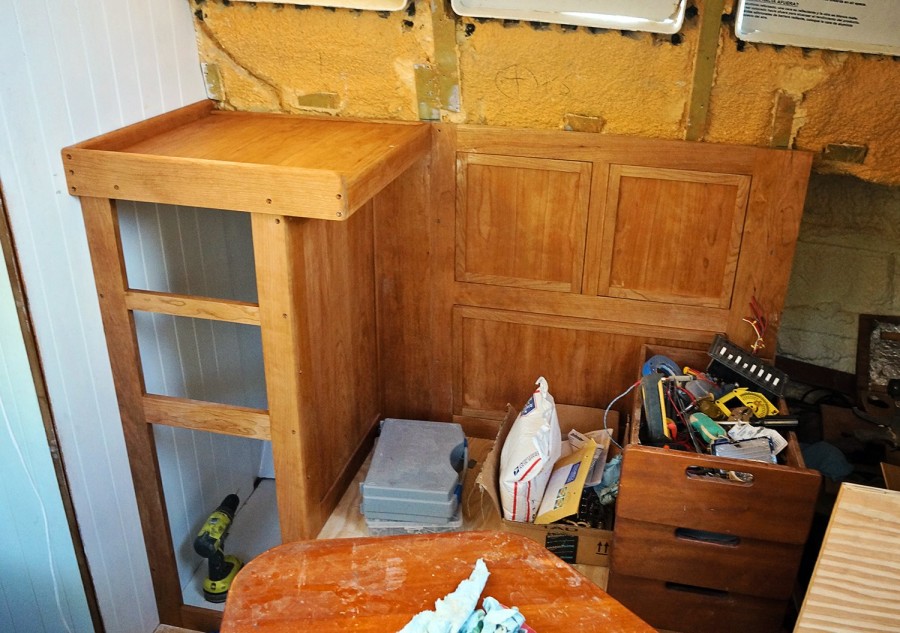
The front of the desk was a quick and easy day of cutting and gluing, once we had tailored the table saw to make the correct cuts in the hardwood.  Our frame that will support the doors for our drawers and storage space gave us a few problems of wanting to slide or move just a little bit when we’d go to glue and screw them together.  There’s nothing like having three 90 degree angles and one that’s off to leave you running through your list of expletives in a relatively short time frame.  After lots of tweaking in this area, we eventually did get all the squares to snugly fit our carpenter’s square, and we moved on to making the doors and fronts for these areas.

building nav station

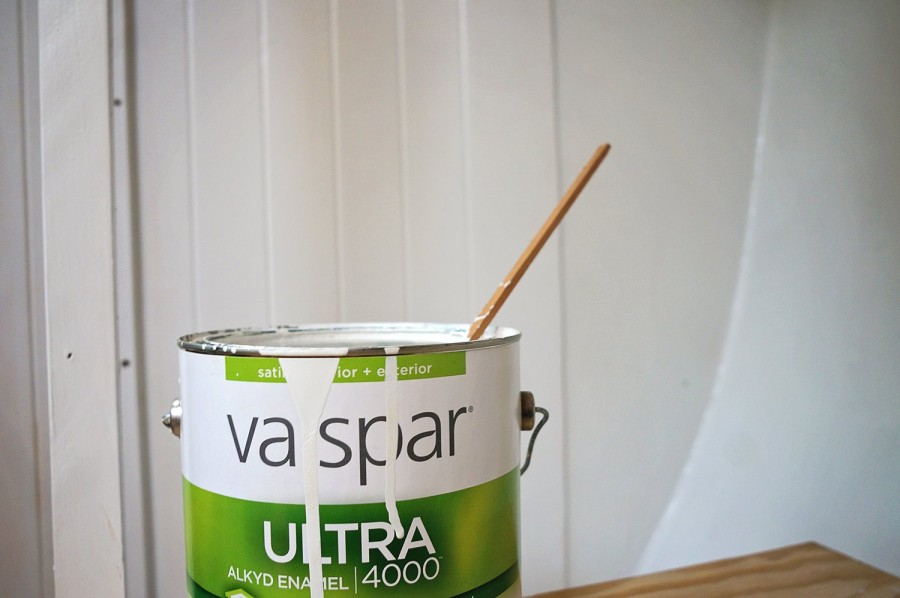
Plus, I was able to paint the walls behind the desk and what will be our electronics area.  I love getting fresh paint in a new space!

painting the pilot house

 Next came the desk top, which is a variation of 2 1/2″ & 3 1/2″ pieces of cherry hardwood for the frame, and a piece of 1/4″ cherry plywood glued to 1/4″ Eurolite, with both pieces sliding into grooves in the hardwood. The tops of the hardwood were rounded over with our router to give them a smooth edge, and we did a light sanding on the bottom edge to take away the sharp corner which would no doubt end up in my forehead on passage.

We also built the frame and panels which will serve as the face for all our electronics.  Things like our switchboard, VHF, stereo, and bilge pump switches.  Once everything was built and properly fitted into place, we disassembled it all to give at least one coat of protective varnishing.  We are so happy with the way everything is coming together in here, and I can’t wait to keep you up to date on the rest of the progress as we get closer and closer to completion. Until then, I’ll just keep daydreaming about our evening at anchor, sitting in here and watching the sunset while comfortable eating dinner inside, or afternoons of reading books and sipping on sparkling water while bathed in natural light.

nav station pilot house

7.5.16 (7)

6.28.16 (5)

Building Seating in the Pilot House

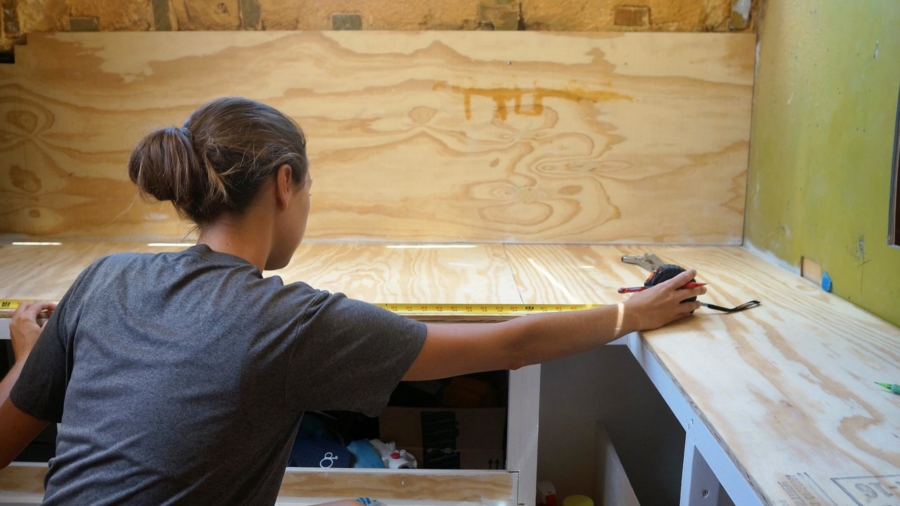
Progress on the pilot house continues!  As I mentioned in my previous post, I’ve currently lost misplaced my memory card that has the photos of us building up the seats for the area on the port side, so we’ll have to skip forward about a week and a half on progress in that area.  Just picture in your head a lot of cutting  of plywood and attaching it to 1×2″ cleats.

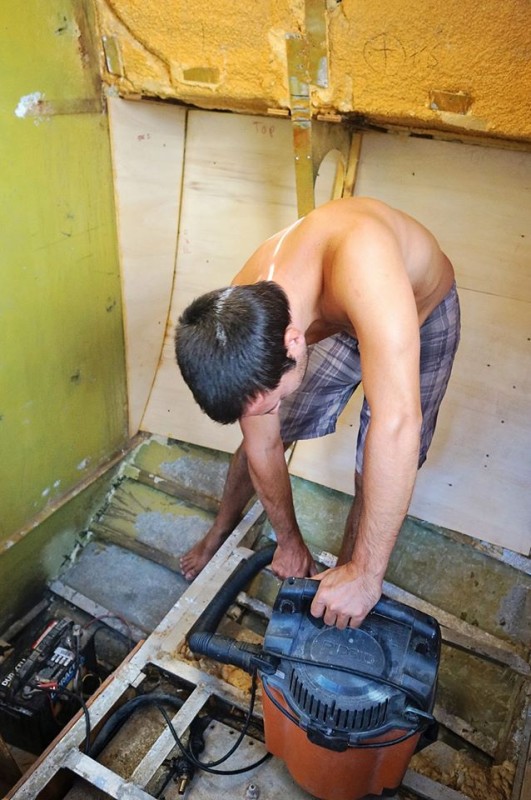
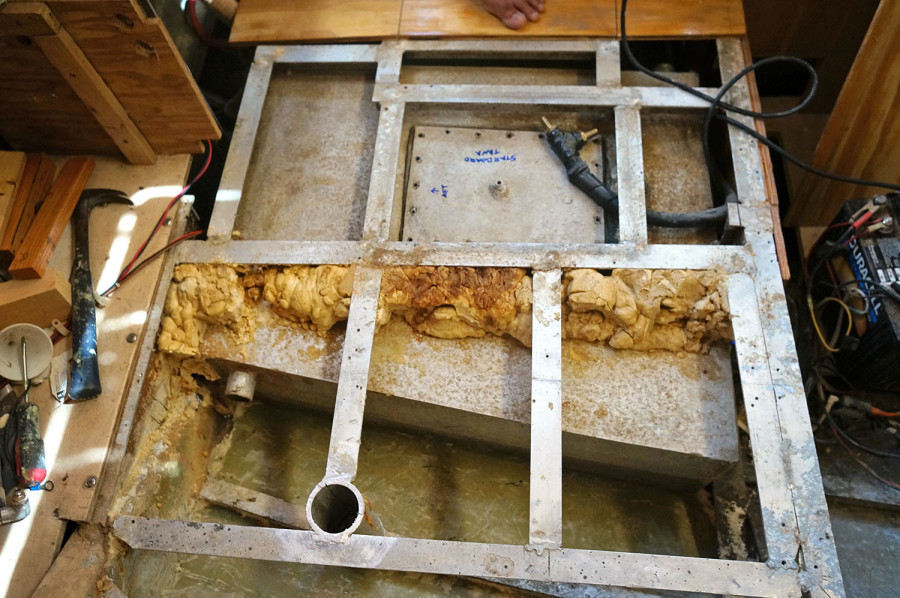
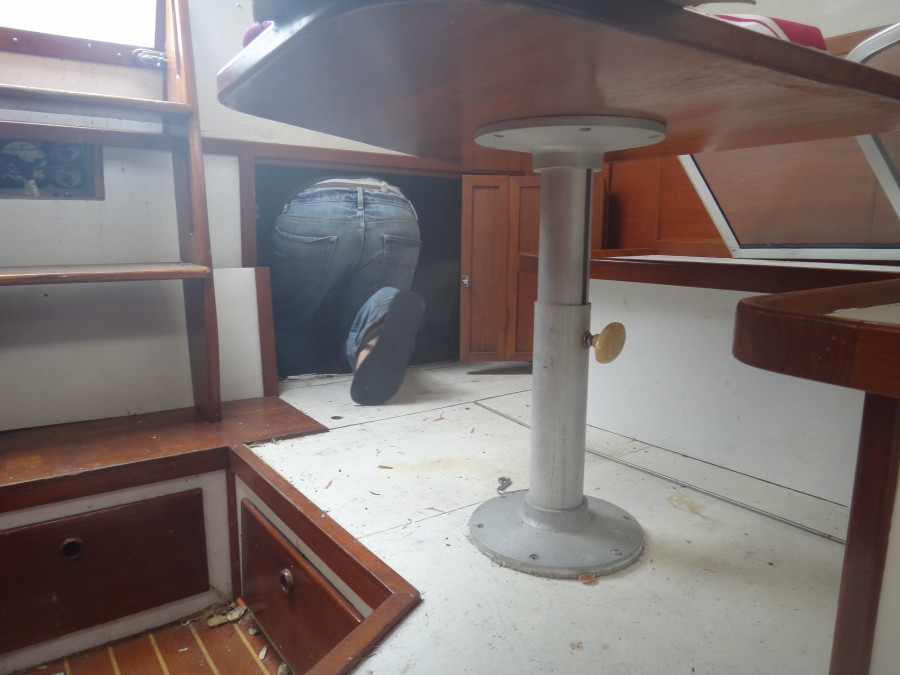
Before that was even possible though, we needed to replace the old floors with new 1/2″ plywood (epoxied on both sides and later to have 1/4″ maple placed on top), but before we could even do that, we needed to clean out our bilges and our metal tanks as best we could.  Mostly this job fell on to be because of my little hands and arms along with my ability to get into the small nooks and crannies that were hiding old dirt and other kinds of buildup.  For the most part I was able to scrape away any excess dirt and old oil from the engine with a combination of a chisel and a wire brush.

Not one of my favorite projects and I could have really done with those gloves that go up past for elbows for the amount of rubbing my arms faced on our metal frames.  Sometimes there was also the project of removing old insulation that fell below the waterline and is not necessary for us, but that was usually a much easier job.  As big of a pain in the butt that project was, it should keep any new corrosion from building in our bilges and give us much better peace of mind.

6.28.16 (1)

6.28.16 (2)

6.28.16 (3)

 On to the seats!  The port side of our pilot house will have a L shaped settee, and since we’re building them ourselves, we’re going to make sure they’re as comfortable as possible for when one or both of us sits there.  Because we assume that will mostly be Matt’s sitting area, he wanted to make sure he wasn’t forced down into the forward salon because the seats weren’t big enough for him to be comfortable on.  What’s the point of having a pilot house if you never use it?  Based on a few measurements he took from Serendipity, we found out that a seat width of 26″ inches would be the most enjoyable for relaxing.  Since the previous seats in this area were only 14″ wide, there was no way we could copy that set up again and have enough room to easily sit there.

Because the new design for the seats comes out so much further than the old plan, we didn’t want to lose all floor room in this area as well.  So instead of having a 12″ platform that begins as soon as you come to the bottom of the companionway, we’ve decided to push it back so it only sticks out 6″ from the seats, as an extra step up to them.  This does cause us to lose a little more storage space in this area, but we do gain some of it back with the extra width of the seats since the entire area underneath them is reserved for that purpose.

Once we had the base built up as well as painted, it was time to work on the seats and back.  Using 1/2″ plywood for this as well, we used two sheets of plywood.  Overall we’ll have three access points to storage below, and on access point to an area that will house our batteries.  The very end area toward the center of the boat will be our wet locker, but access to that will be a swinging door from the side.  We’re also making opening doors to a storage area that will sit behind our backs, opening  up the area that curves along the hull.

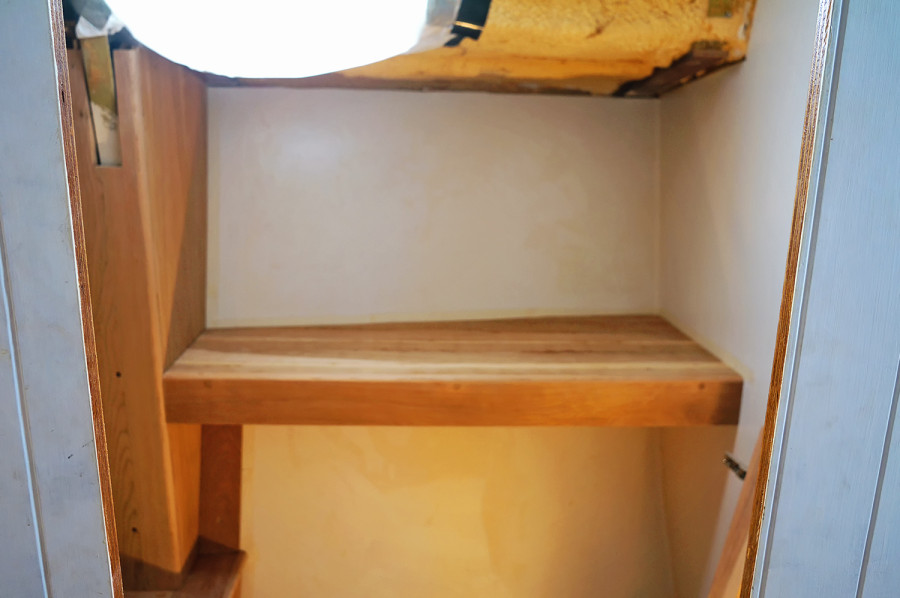
After having put one shelf in here we decided that the lower area which gets thinner the closer you get to the floor will be a perfect place to store charts, since we have so many but use so few at one time.  Because they are so thin and can mold into that spot, and now we don’t have to worry about what other odd shaped items might fit in that spot.  The upper area for storage, I’m really looking forward to using for tupperware.  Silly, I know, but since we didn’t have a great spot for them on our last boat I’m so happy to finally have an easy access area for them.  I’m loving all this extra storage on our new boat!

old floors

Our old floors.

6.28.16 (4)

6.28.16 (5)

6.28.16 (6)

storms in south Florida

Random Happenings in the Boat Yard

I know it has been forever since I’ve done any kind of boat work or boat related post, and for that I apologize.  With things like a failed computer that had me only publishing long ago saved drafts from my tablet, to the Florida summer heat leaving me incoherent at the end of every night to, honestly, becoming too addicted to our Instagram account, I’ve let the ball drop.  I’m going  to try and pick it back up because there’s a lot that’s been going  on over the past few months, and I’d love to keep you updated on it!

Just to start you out with a couple of the small things before I really catch you up, I’m posting a ‘Random Happenings’ post before I get to the down and dirty work that has been keeping us busy for the past few weeks.

  • We’ve purchased our canvas for the dodger & bimini!

Colors.  Just as much as renovating a home, picking out colors for a boat is just as much of an overwhelming task.  What do we think would look good?  What colors do we want to stay far away from?  What might clash with our bare metal hull?  And mostly….what can we afford?

As I’ve said before, I’m so lucky to be married to a man who’s biggest source of entertainment is researching items online.  Whether it be boats on yachtworld.com (how we came across Daze Off), eBay (how we were able to double the size of our winches for half the cost), or the fabric we’ll need to outfit the inside and outside of our boat.  We knew that Pacific Blue was out because we always take a tour guide from https://www.simbaseatrips.com/ before we head out to any destinations.  We had already done it on Serendipity, and as the number one canvas color out there on boats, we wanted something  that would help us stand out a little more.  As if that would be an issue anyway on this new boat.

We had been toying with the idea of a light or bright green for quite awhile, thinking that a lime green would give it a nice fresh look and give this old boat a more modern feel.  After searching for months and months, because we have that kind of time on our hands, he came across a  remnant roll of Ginkgo Green by Sunbrella.  It was a situation where we were not able to request a sample, but instead had to take a gamble buying the remaining 16 yards on the roll and hoped we liked it. Although at the amazingly low price of $6.95/yard, we were willing to take that gamble.  At a 70% discount, we were sure we could like it enough.

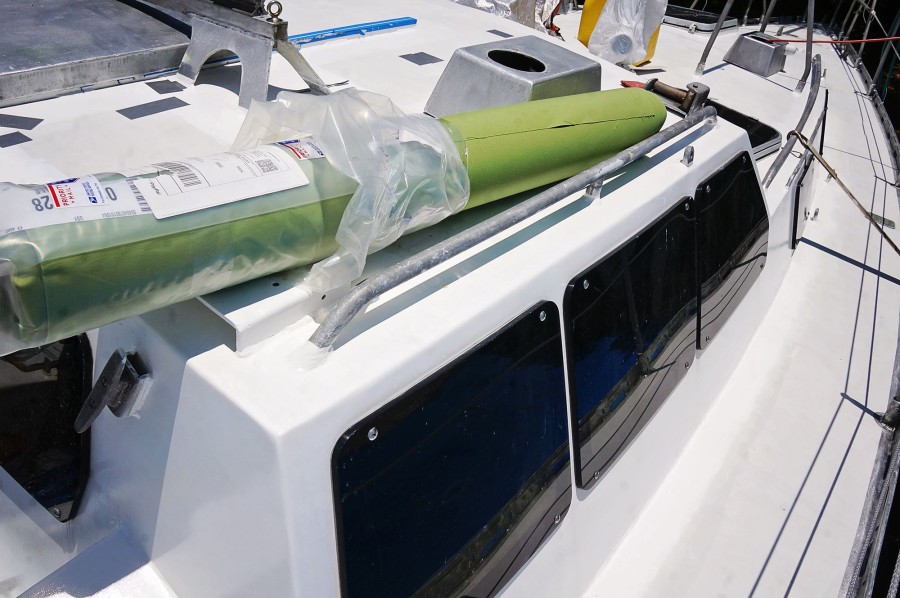
When the roll came in the mail we hurriedly ran it over to Daze Off and unwrapped it from the plastic to hold a corner of the fabric against the pilot house and see how the color looked in the light of day and between the white deck and silver hull.  A huge sigh of relief was released when the bright green matched the two perfectly and gave us the modern yet slightly funky look we were after.  It may be months down the road before its turned into anything, but at least we have it and won’t have to worry about hunting down a color later on.

Sunbrella ginkgo green canvas

  • We’re building up the pilot house…finally

This is the moment, at least I personally, have been waiting for forever.  It means that our construction phase is nearly over.  The last major renovation to the boat.  Sure, there’s still a million things to be wired and plumbed later on, but at least once this is complete it will look like a home.  Not to mention ALL the storage space we’re going to gain once this area is built up.  Can you imagine what it will be like when I don’t have to keep spare soda and chips in the van because its the only place to keep them safe and out of the way?  When all of our tools will have a home to be put away in?  It will be heaven.  I can’t say I’ll still love being in the work yard at that point, but at least our living conditions will be much more comfortable.

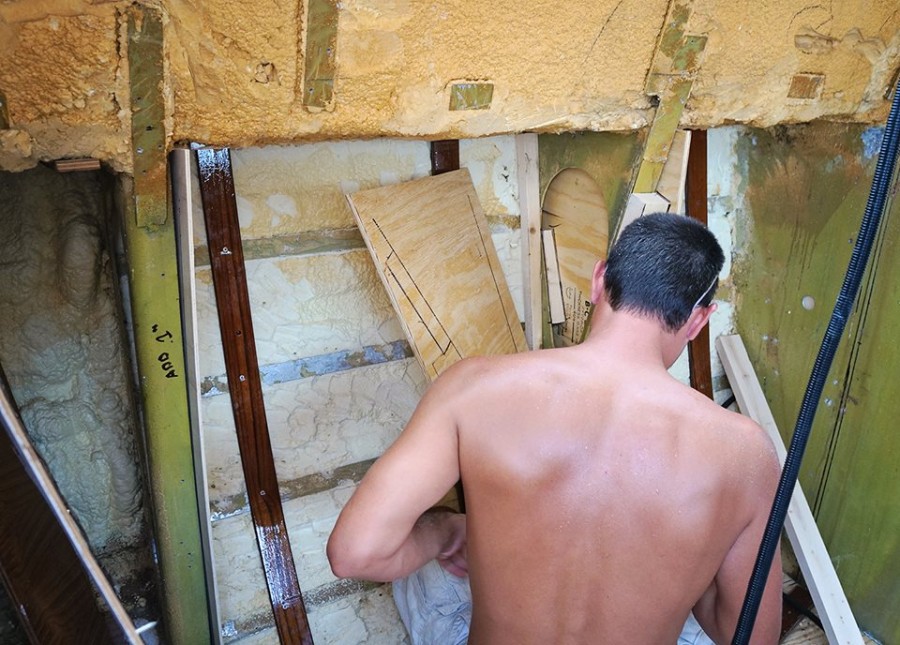
We’re starting on the port side and then moving to the starboard side once it is mostly built up, hoping the disassembly of the nav station and tool drawers can wait until we have a new surface to put them on.  The first step is framing in the curved area of the hull, which on that side, will eventually turn into storage units that will sit behind  the back of our L shaped settee in the pilot house.  Just as much of a pain as ever, trying to template these odd curves comes with it’s difficulties, but we’re still doing just fine with our 1/4″ pieces of wood attached together instead of using foam.  We’ve had this suggestion from many people, but we can easily take apart the template and reuse those strips of wood, so we think this way works out for us best.

The next stage of this project will be to build up the seats and what will be the storage units underneath them, before eventually moving on to the upper parts of  the walls, covering the three sides of windows.

*I had photos of this part of the project, but lost my memory card before I could transfer them to my computer, so you’re going to see a huge jump in this project.  Sorry!

pilot house 1

pilot house 2

  • Storm season is upon us once again

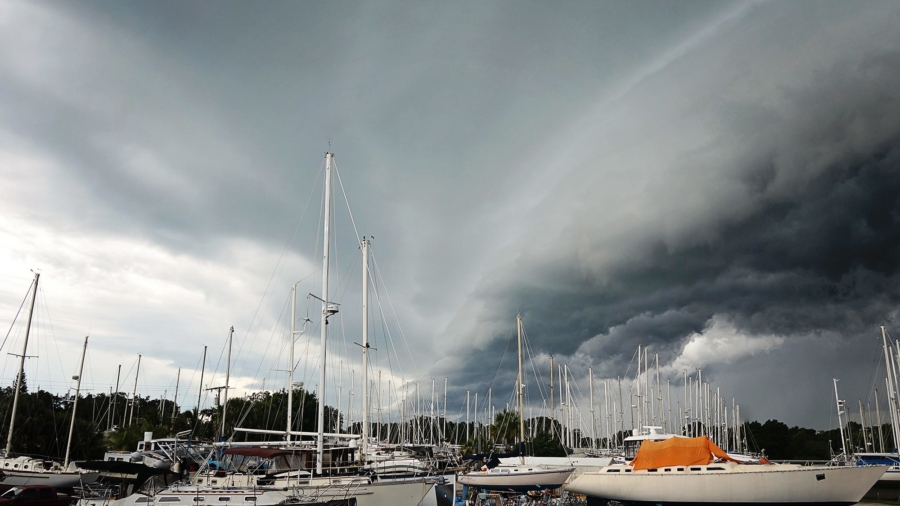
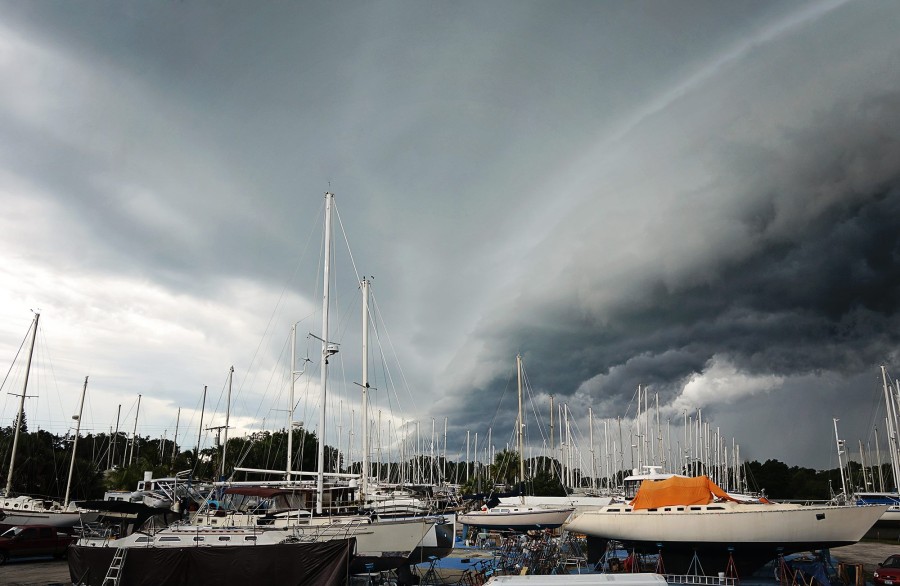
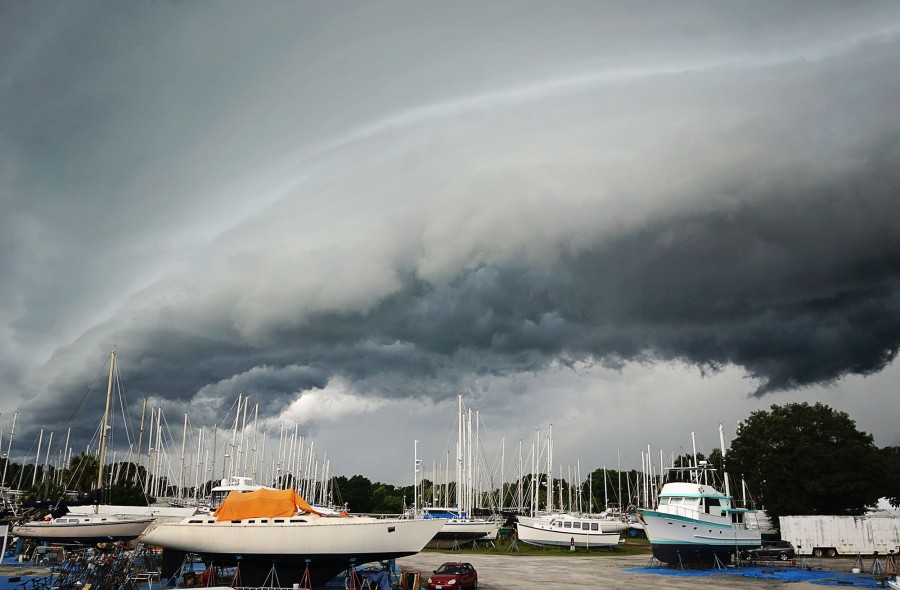
Oh yes, the reason it feels like we never got anything done last summer.  Come  3:00 pm, cue the storm clouds and heavy rain. A few things have changed since last year though, and hopefully our summer will be at least 50% more productive than it was last year.

The first reason for this is most of our work actually happens indoors now.  If we’re given a few good hours in the morning and afternoon of decent weather, we can make all of our major cuts with the table saw and circular saw outside, and spend the rainy hours of the afternoon indoors assembling what we’ve just cut.  Another is that we’re just doing many of our smaller cuts indoors at this point.  Once the big cuts to the plywood are made, most of the cuts from that point on are little cleats which we can easily tackle indoors with our oscillating tool or circular saw.

The other major reason is, other than a few big storms in May, the rest of the summer so far has been relatively dry.  I don’t even know how many days we’ve seen dark clouds come rolling up to us in the afternoon, winds beginning to gust…and then nothing happens.  Mostly we’re left with overcast skies and a bit of wind, but you won’t hear us complaining about that one bit.  In fact, if we can keep a dry yet cloudy a cool way of life all summer, we’d be on a fast track to get A LOT of work done by this fall!

storms in south Florida

summer storms in Florida

  • We bought an arch for the boat.  It didn’t work out.

This is an item we’ve been hemming and hawing about practically since we’ve purchased the boat.  We know we don’t want davits on this new boat, but we do need a system that will keep our radar and solar panels mounted.  Do we spend the money on an arch?  Do we even like the looks of a massive arch back there?  Or do we go much more simple with two vertical poles to house the radar and wind gen, and a horizontal one suspended between the two for our solar.

Having such a different setup on Serendipity where A.) our davits supported our solar panels, B.) our radar was up the mast, and C.) there was never a wind generator to deal with, I was at a bit of a loss as what to suggest for a solution on the new boat.  Will the three pole system work out?  If so, Sure, go for it!  If not?  Get an arch.  Easy peasy.  I don’t like to be bothered with details like that.  Whatever works, just get me the hell out of this yard.

Unfortunately it doesn’t  always work like that on our boat and we need to think smartly about all of our options.  In the end…the arch did seem the better option.  It would be stronger and give good support in all the areas we needed.  As far as looks go?  Well, hopefully it looks good, and if not….at least we know our goods are secure.

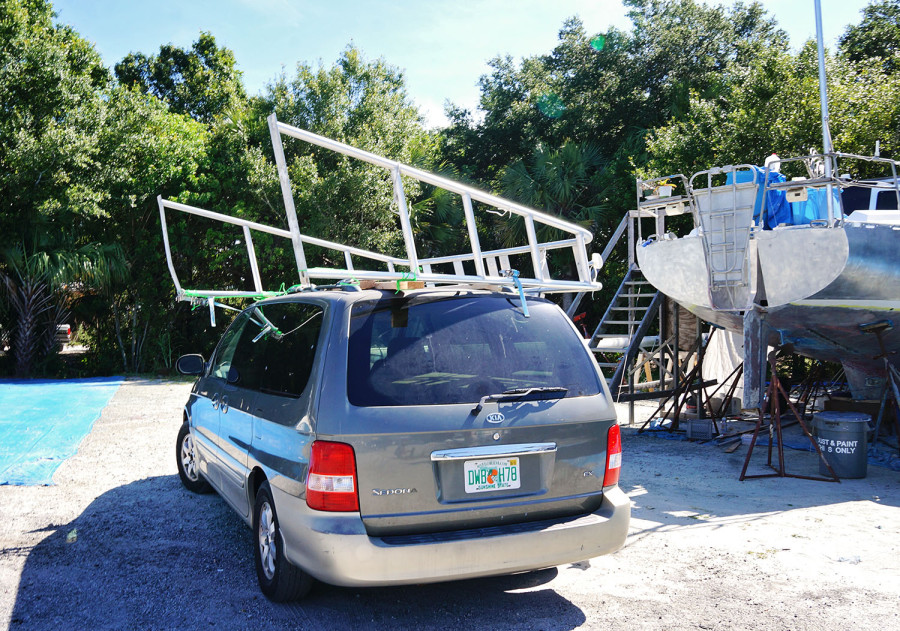
So when a 7′ wide arch popped up on Craigslist in Coco Beach within our price range, we figured we may as well bite the bullet and pick it up.  Choosing a random Friday night, we made the 2 hour dive north on I-95 to the boat yard where the seller lived.  Eventually finding it propped up against a gate (the owner was not there when we arrived) we noticed right away it looked very large for 7 feet.  Taking our measuring tape to it, we immediately found out why.  It was actually 9 ft wide.  We were half tempted to walk away from it right then, but we figured we may as well get it back to the boat and give it a try before we made any decisions.  If it didn’t work out, we could easily pawn it off on someone else.

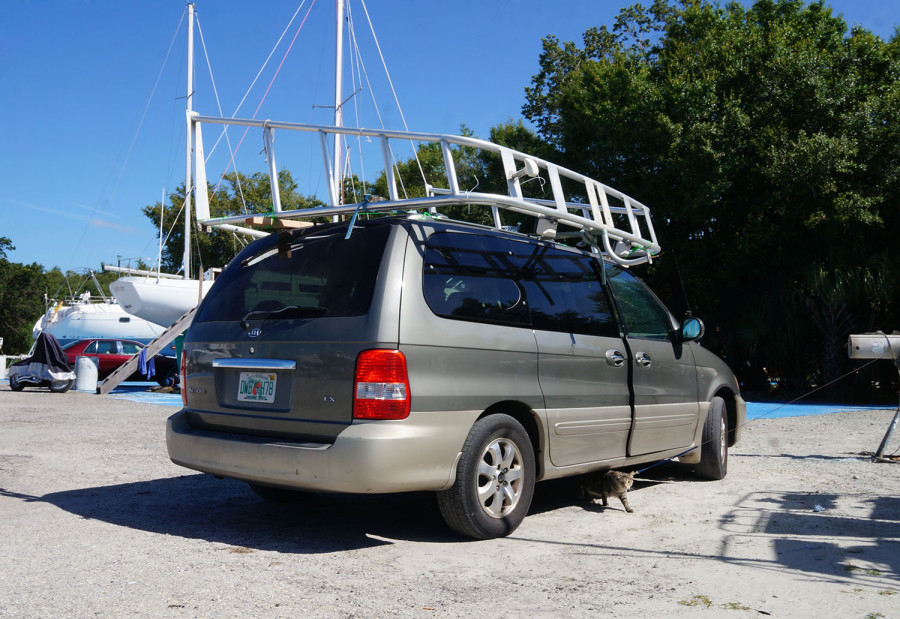
Making a now 3 hour drive home on US-1 with this gigantic piece of metal hanging off each side of the van, we arrived back near midnight and didn’t even bother to take it off the van before passing out in our bed.  Over the next day or two we eventually did get it on the ground and even up on the boat with the help of one of our neighbors, only to find that the extra two feet of width made it too wide to fit on the aft end of our boat, especially with the angle of the feet the arch sat on.  We toyed with the idea of having our welder make a few adjustments to it the next time he was out working on our boat, but in the end, we decided it wasn’t worth the trouble and we’ll probably go with the other idea of the two vertical posts with a connecting beam.

Luck was on our side though in the fact that we had a neighbor in the boat yard that was more than happy to take it off our hands.

sailboat arch

9 ft sailboat arch

Jamel getting raised by crane

Changes to the Top and Bottom

Everything seems to be about the exterior of our boat right now, but that is ok.  We’d prefer to sit outside in the sun when it is merely 82 degrees instead of waiting until August when it is trying to break 95.  Most of the work on our interior has come to a screatching halt, but we figure we’ll be able to pick it back up in a month or so, our deck covered by a sun shade and two 5000 BTU air conditioners blowing cool air onto us as we work to complete all the projects inside.

Other than the paint and plexiglass which had been taking up most of our time so far on the deck, we’ve had two other major changes to the exterior.  To the upper most and lower most parts of Daze Off.

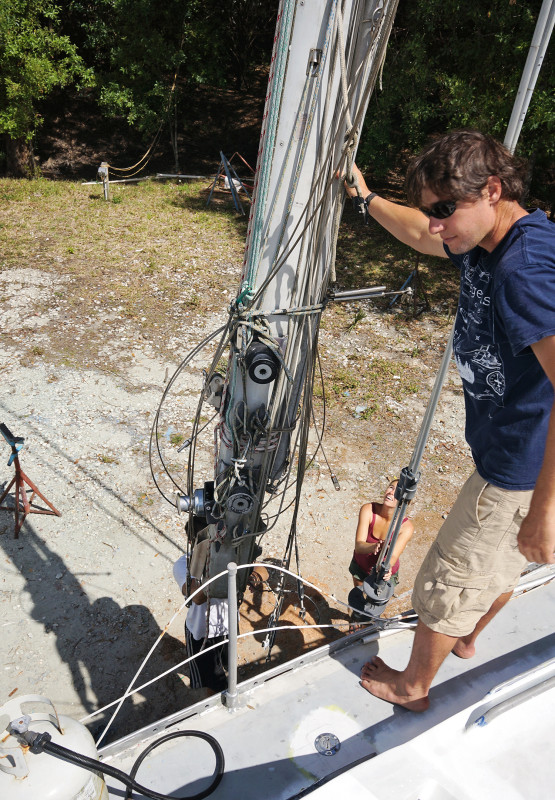
The first project/change is one you all knew was coming.  Or at least those of you that have been following us since this post when I originally talked about it.  Our mast has come down and is currently resting on jackstands in the open area next to our boat.  When we originally purchased Daze Off we had been hemming and hawing on if it would be a good idea to bring the mast down.  Yes, she would need a new light attached to the top.  Yes, there were a few new wires we’d like to run up the mast that were probably not of consequence to the previous owners.  But did we want to pay the fee of $500 to have her stepped and then raised again?

Unfortunately the decision was made for us when we were taking apart the overhead surrounding the deck step for the mast and found that one of the previous owners used an ORANGE EXTENSION CORD to wire it.  Whaaa??!!  We were speechless.  Who was the idiot that thought this was a good idea?  So yeah.  The mast would have to come down and be completely rewired.

This of course had not been a top priority on our list and was a project we had been planning on saving until near the end….until we learned a few things.  If you have your mast raised or lowered at the same time as someone else in the yard and the crane only needs to make one trip out, each party saves $50.  Ok, so all we needed to do was find a friend that needed a crane for theirs, and we’d go at the same time. And although we did have some friends in the yard who we thought were a month or two away from putting their mast up (and so we agreed to go together), we struck gold when another set of friends came into the yard and needed theirs lowered.  Best part was he used to be a rigger for Mack Sails and knew this process inside and out.

We figured our mast would be down for 3 weeks or so while we rewired, ordered new rigging, and then Bam, we’d still be in time to have it go up along with our other friends that were getting  ready to raise theirs.  Win/win.  The new friends in the yard happened to be the friend of a friend sort.  We’re both friends with Ren and Ashley of Evolve Freediving, and when this couple had come to the yard in September to put their Bayfield 32, Rainbow Connection, in the water, we chatted for a little bit, made plans for a weekend sail in Stuart sometime (which unfortunately never happened due to our lack of taking  days off), and kind of lost contact.  Until they came back to put their new/traded boat in storage (Long story.  Or short.  They traded Rainbow Connection for a Rival 39).

But when our new-ish friends, Jamel and Tania, came back to Indiantown, we were glued to each other.  Afternoons spent checking out one another’s boats, and evenings in their salon (cause who would want to be in ours?), eating  delicious meals Tania made, or even Little Ceasar’s takeout.  And when they mentioned they were taking their mast down before they went into storage for hurricane season, we were quick to jump on the opportunity and shout “We need to too!”.  Letting them choose the schedule since their timing mattered more than ours, we settled on a Monday morning to have A+ Crane services come out and bring both of our masts down.  Unlike previous years of storage in Michigan, you needed to do all the work yourself here, other than operate the crane, so we were especially happy to have a rigging specialist at our side.

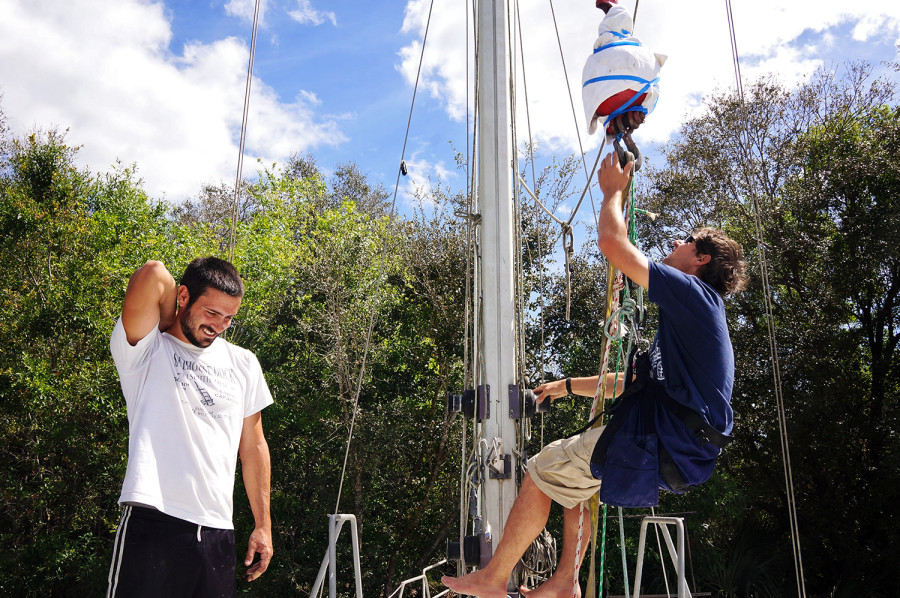
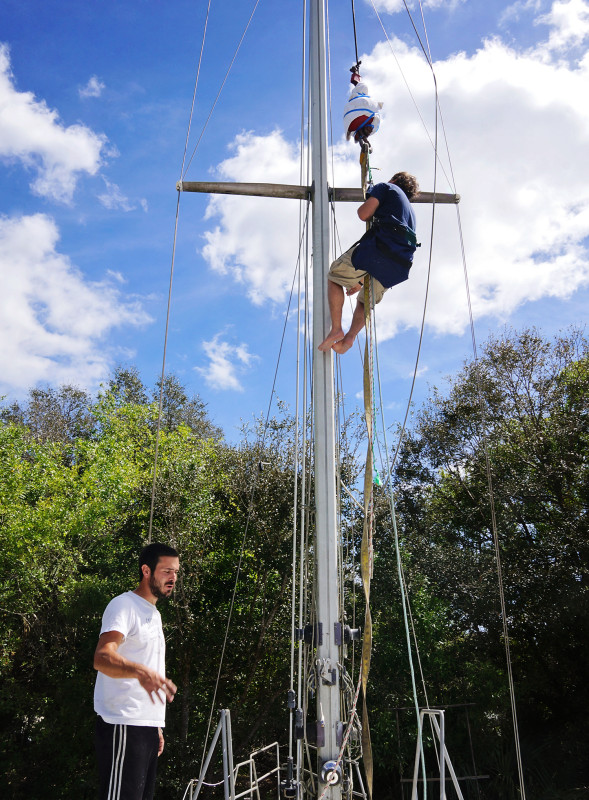
Quickly getting through Jamel and Tania’s stepping first, we were over at Daze Off, and Jamel was riding a bosums chair up to attach the hook and a strap to the top of our mast.  Since I still know next to nothing on rigging, I let these three knowledgeable people around me unscrew the turnbuckles and bring the standing rigging to the mast to later be tied, as I ran around and tried to help them in any way I could.  Handing over screwdrivers, crescent wrenches, and sometimes vice grips to help them get our rigging (which hasn’t been touched in almost a decade), lose from our deck.

Because we had these friends with us helping out with a job that I know would have ended in a lot of short fuses if it was just the two of us, we soon had the mast resting on a set of jackstands next to the boat, and we paid the crane operator and sent him on his way.  One project down, but a lot of little projects left before it will be ready to go back up.

Jamel getting raised by crane

Jamel up the mast

Matt loosening the rigging

stepping the mast

The other change had to do with what we wanted to do to the bottom of the boat.  Not that we’re going to get as far right now as putting a coat of anti-fouling on, but we would like to have all the barrier coats built up so just before we are ready to go in the water, we can spend one quick day getting the anti-fouling on and be done with it.

This was the decision before us: Do we leave the previous barrier coats on, the ones that have been sitting there for at least 10 years now, (although doing a great job of holding up, it looked like), and just sand off the light blue anti-fouling coat and add a new one when we’re ready; Or do we take everything  off, getting  all the way down to bare metal, and start from scratch.  Both sides had their pros and cons.

By only taking off the top layer of anti-fouling that exists, we had the pro that it would be a cheaper solution, only having to buy 2 gallons or so to complete the bottom.  Even though it was old, it seemed to be holding up extremely well.  Would we make it worse if we attempted to start all over ourselves?  The negatives to this plan were that while going through the storage inside the boat (while trying to make this decision, actually), we found that the current bottom paint had tin instead of newer copper-free. To get a new bottom paint on that works with the aluminum, we’d have to heavily sand this layer, and in other areas, all the way down to bare metal.  A special primer would need to be applied, and then barrier coats….we were starting to realize the time and money we were saving ourselves didn’t put us that far ahead.

Then there was the option of taking off all the existing paint, bringing the bottom down to bare metal, and build it all back up again.  The negatives were of course spending what we expected to be about 10 days stripping the paint off, and then the multiple days of applying coats of primer and barrier coats.  Just like the top of the boat, any bare metal needs to be hit with our Aluma Protect before the metal can oxidize, so we have to work in small areas for that, grinding and priming within an hour of each other.  Then there’s the days spent building up the barrier coats, about 4 days, to get it to the point where it will be ready for anti-fouling this fall.  Plus, what if it somehow doesn’t end up as strong as what was already there?  What if we go to check it out in a year or two and find out that areas are flaking off?

Eventually the positives of this outweighed all else.  Yes, it was going to be at least 2 weeks of extra and unexpected work.  Yes, we’re  going to have  to buy another gallon of Aluma Protect and about three gallons of InterProtect.  And hey, let’s throw in another 2 gallons of paint stripper to get off everything that’s already on there.  But when we thought about it more and more we realized that if we went with the first option, we’d only be putting off the inevitable.  Eventually the bottom will have to be stripped and repainted, and who knows where we’ll be when this comes up on us.  Right now we’re already out of the water, in a DIY yard, and have easy access to all the supplies we need.  It may be a headache to go through all these extra steps here and now, but it could be a much bigger headache if we wait a year and have to do it in some remote island in the Caribbean, or while freezing my butt off while wintering over in northern Europe a few years down the road.

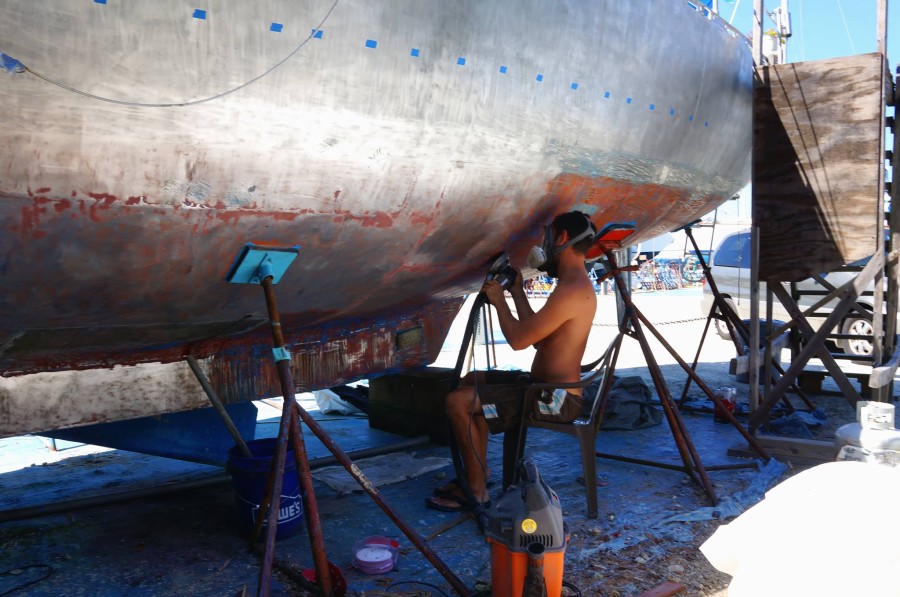
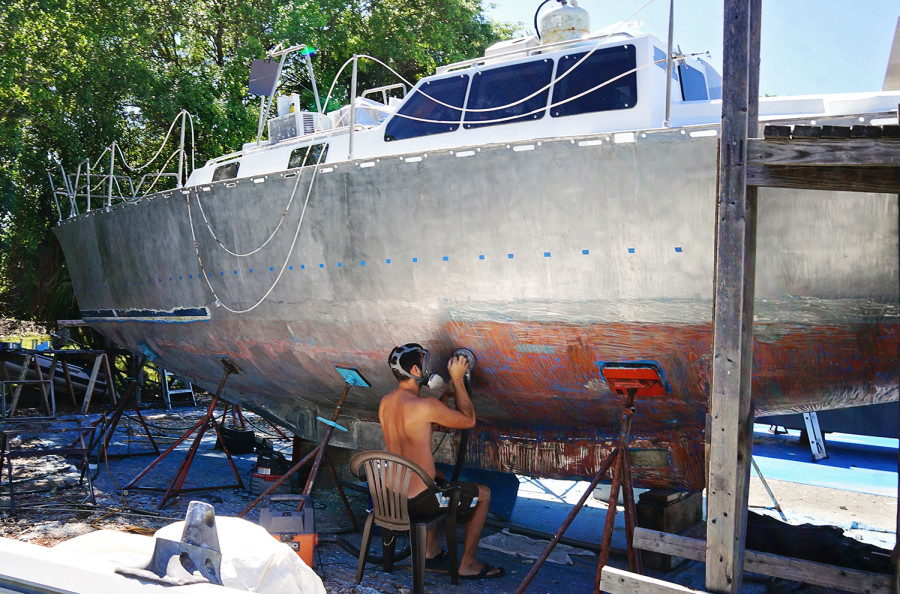
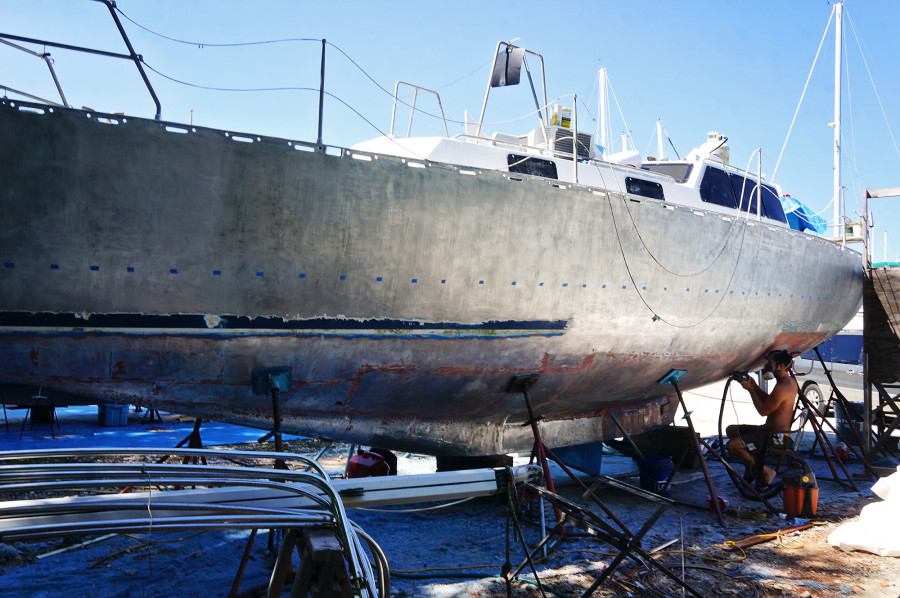
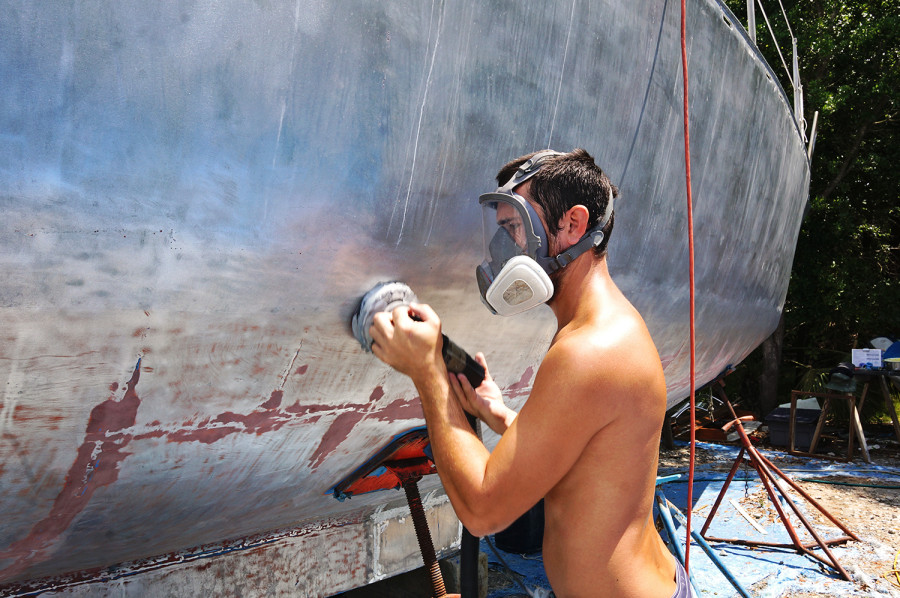
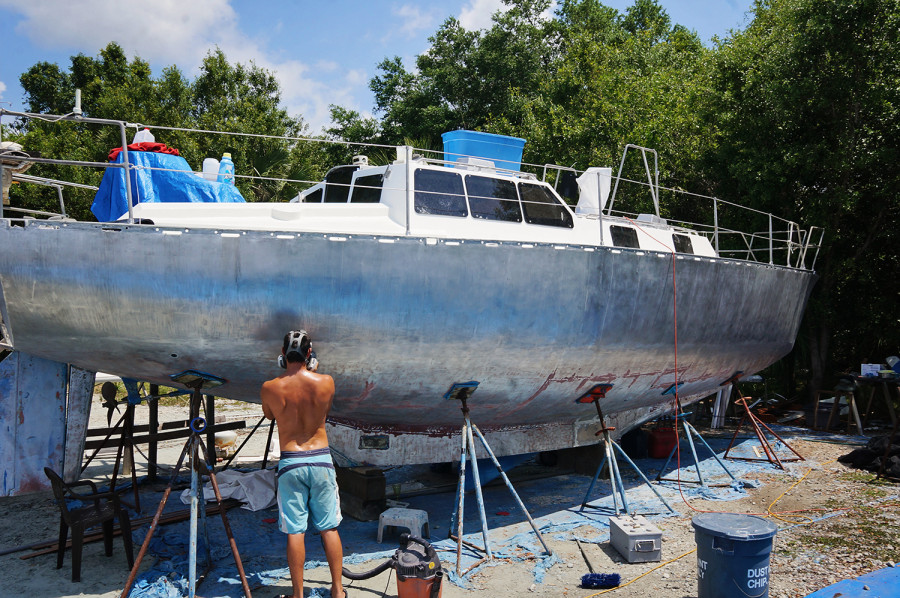
Matt has been doing a great job of getting all the old paint off and so far has been moving at a pace much faster than both of us expected.  In less than 10 days he’s been able to not only scrape both sides clean, but to sand off any remaining remnants.  The days have been a little hot and sweaty, and he completely ruined a set of lightweight Helly Hanson foulies he got off the free table a few months ago, making sure that none of the paint stripper came in contact with his skin.  He’s a real trooper though, and in the next few days we’ll getting the new waterline painted on.  I do have to say this this has benefited me in one big way….all these hot days of work under the boat actually has Matt craving beer at the end of the day, so guess who was able to pick up 2 cases during our last visit to Sam’s Club?!


Matt sanding off bottom paint

sanding off bottom paint

Daze Off, looking bad ass

Matt sanding the hull

bare hull and bottom

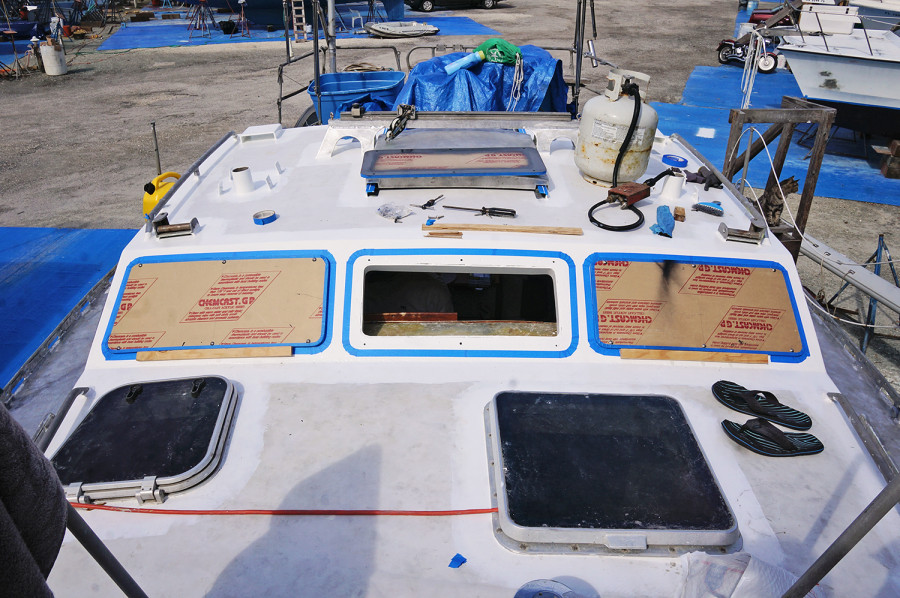
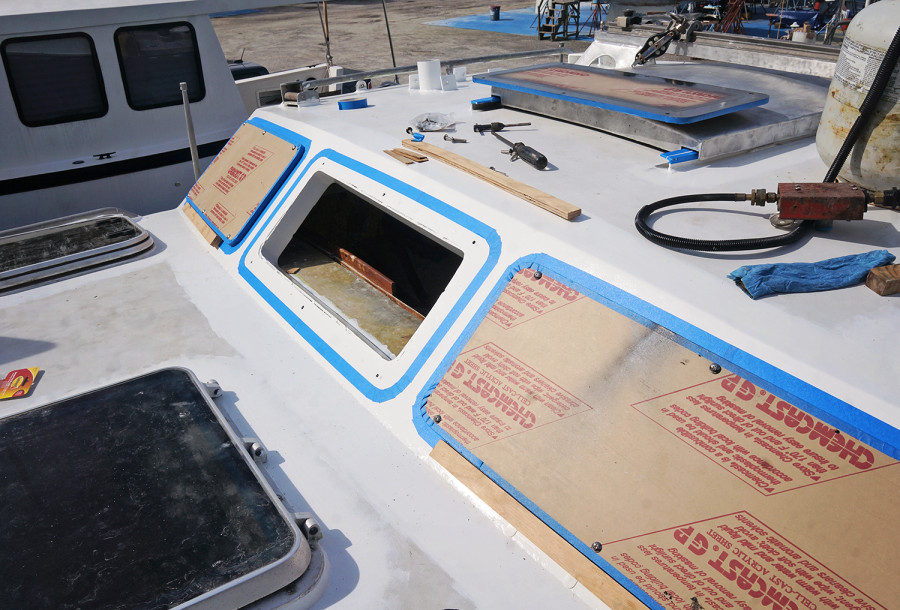
forward plexi windows

Installing the Last of our Plexiglass Windows

Somehow it has now happened that we are a water tight boat.  From the top at least.  Don’t go actually sticking us in the water just yet because there’s still that big hole on the bottom where we need to put a transducer in.  But we’re getting closer.  And Daze Off is actually starting to look pretty!

As fate would have it, the day we had originally planned to put in our five remaining plexiglass windows, Indiantown felt like giving us some torrential downpours.  The worst we’ve seen this year, actually.  It was one thing when we had the windows (check this out) on the sides removed during rain storms, because the tarps covered those flat surfaces much better and all the water managed to find ways to the deck that did not involve coming inside our boat.  This was not the case for the forward windows which sit on a slant. Here is a recommended company that can help fix or even replace your windows.

In addition to addressing the challenges of installing new windows during heavy rain, it’s essential to keep your windows in pristine condition to maintain visibility and aesthetic appeal. Cleaning windows regularly can prevent the build-up of grime and weather-related stains, ensuring that they continue to perform effectively and enhance the overall appearance of your property.

For professional window cleaning, Jaspers Window Cleaning offers expert services tailored to meet your needs. Their team is equipped to handle various types of windows, including those with unique slanted designs, ensuring a thorough and effective clean. By choosing these experts, you can enjoy sparkling clean windows that improve both the functionality and beauty of your home or boat, even after the most challenging weather conditions.

Even though we had covered them with HUGE tarps and weighted down every corner, water somehow managed to find ways to pool up under the tarp and come streaming right into the pilot house.  Same thing with the rear windows, but only because those tarps hat to sit in awkward half extended positions because we still needed a way to get in and out of the companionway.  For two days we had to sit put inside the boat while it poured down outside and chase multiple leaks as they came up.  Since we love to take advantage of rainy days as errand running opportunities (or in this case, going out to lunch with a blog follower that invited us out), we were shifting tarps and grabbing clothes out of our dirty laundry bag to stuff leaks.

Soon those memories were in the distant past though as we installed the remaining windows and were able to remove the tarps from our deck forever.

It was of course a much easier task the third time around as we had it almost down to a science.  The first two rounds gave us a lot of know how, but of course the initial measuring and placements was it’s ever lengthy process.  The one that causes lots of cussing as you measure and remeasure, but never seem to get things level from one side to the next.  And when the level was telling you that everything was perfect, you’d step back, and something about it just seemed a little askew.  Eventually we decided that even if the level may get upset that we were 1/4″ off on one end, it was the more eye pleasing solution.

Plus, as we try to remind ourselves, no one else in the future is going to be scrutinizing these details as much as we are.  Throw the mast back on, the deck hardware, as well as a bimini and dodger, and there’s a good chance no one would even be drawn to a slightly off kilter window.  At least that’s what we hope, and keep telling ourselves.

From that point it was time to move forward with the project.  Our pieces of wood that held the windows up were stuck on tightly with command strips, and we drilled the holes into the boat and temporarily stuck in the bolts.  I taped around each window so clean up with the caulk later would be much easier.  Another smart move we did this time around was to mark a line on the tape of the window and run that line up to the tape lining where the window will be placed.  That way when it was time to place the window in it would be much easier to line up again because our holes would be covered with caulk and not visible to us.

installing forward windows

forward plexi windows

rear plexi windows

lining up bolts

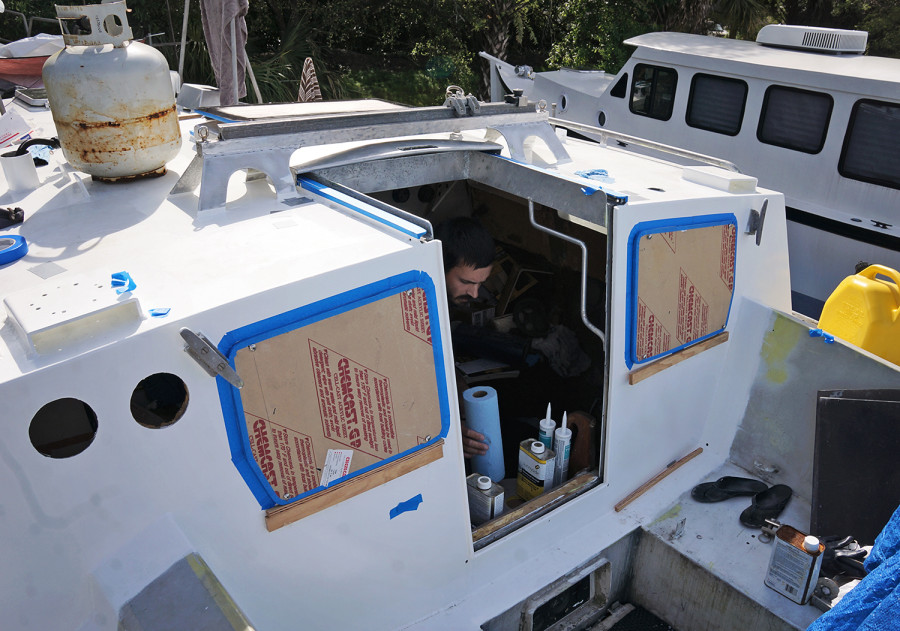
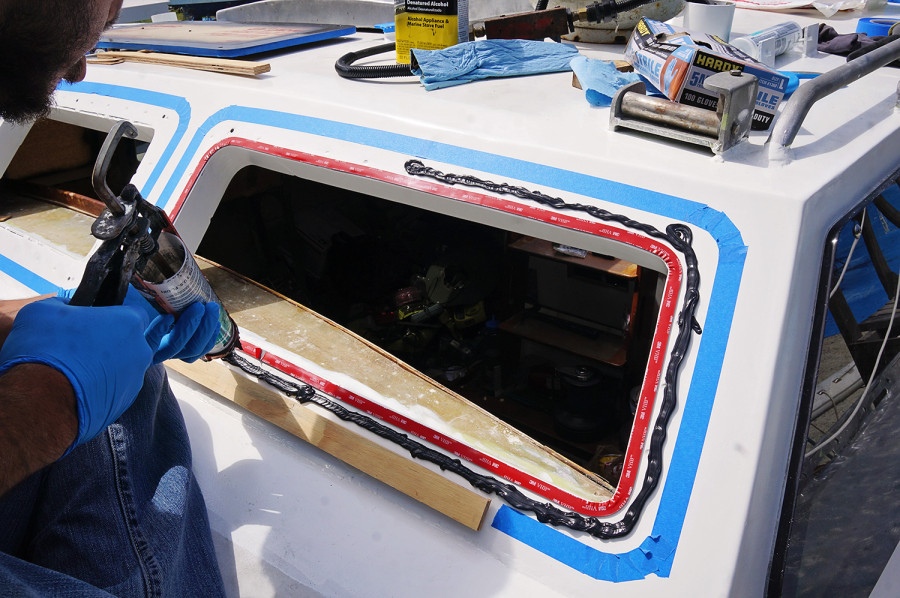
Taking the windows back off it was time to get them ready to permanently go in.  Wiping down the topcoat of paint with denatured alcohol, I also gave the exposed part of the glass a wipe down as well.  We then used the 3M VHB 4991 tape to outline the area right next to the opening, before covering the remainder of the exposed paint with DOW 795.  When the windows were actually ready to go in I was worried about them lining up perfectly, especially with the angle in the front we needed to worry about.  Surprisingly they all went in incredibly smooth, and before I knew it, Matt was down below tightening all the bolts to hold them in place.

Clean up was done after each window was placed instead of installing a whole group and then cleaning the area up.  We found the caulk is easier to work with when it’s still a little wet, and if we left it too long it would become tacky and very hard to fill in spots if they needed it.  This time around I don’t know if I had Matt to thank for his wonderful caulking skills, or me for my taping, but this time we were able to peel the tape off to clean lines that needed very little to no touch-ups.

Before we knew it we had all five windows installed and all remaining caulk had been wiped away.   Peeling off the outside layers of protective paper from the glass, we were able to look at Daze Off as if she were a brand new boat.  What a huge step forward for us!  And a huge item checked off our list!  Time for me to go celebrate with a new craft beer to add to my World Tour.  😉

backside of plexi window

caulking window opening

placing in plexi window

For a more detailed description on this process, make sure to check out our first post on installing plexiglass windows.  This post is more of a follow up with a few additional photos that I didn’t get in the first time around.

companionway barrier coated

What are we Doing? We’re Still Painting!

Sorry for the few weeks of radio silence there.  With my computer running into so many issues it was hard to even look at the screen for a period of longer than 10 seconds, let alone try to edit photos and write a post using it.  There finally came a time where I had to put it away in a corner and pretend it didn’t exist, using our little 7″ tablet for all my internet needs.  Great for  keeping up and posting on Facebook and Instagram, but terrible for writing post and next to impossible for editing photos.

The good news was, I knew a new computer was in my future, so I just had to wait it out until we found the perfect one for me and waited for it to arrive.  A kind of vacation from blogging, if you will.  But now I am fully online again and ready to go at it!*

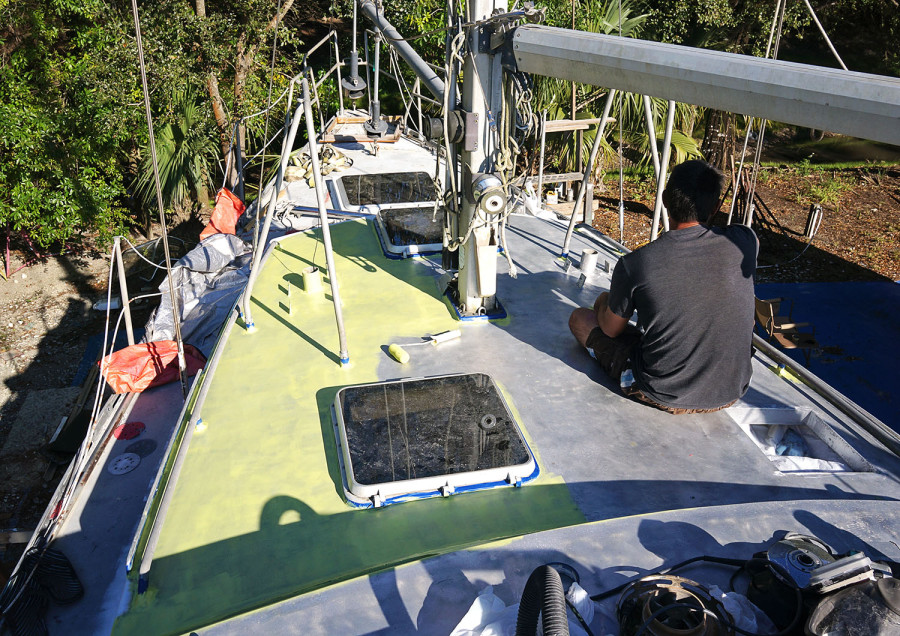
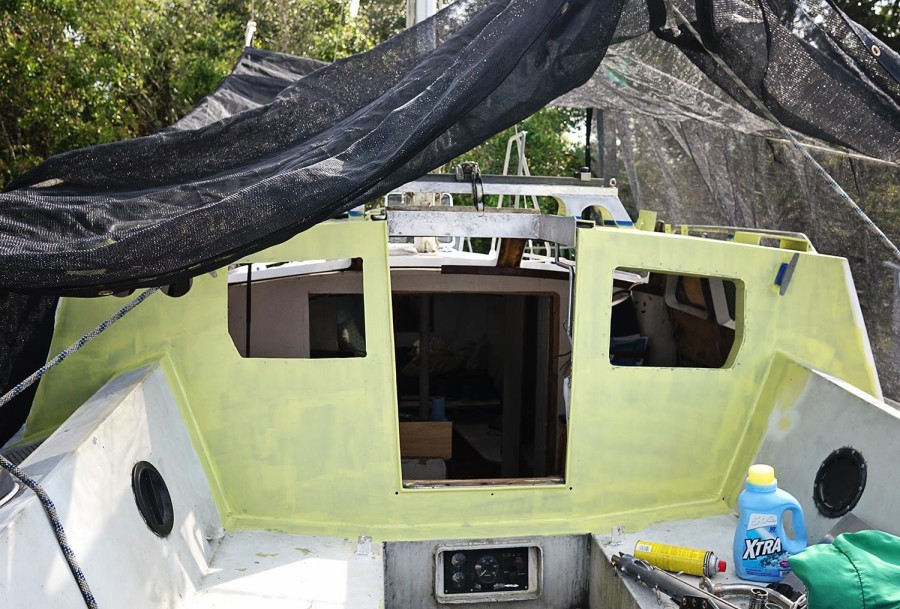
What have we been up to lately?, you may be asking.  The same thing we have been working on for weeks and weeks now.  More priming and more painting of the cabin top of Daze Off.  When we last left off on this project, you had seen us laboring over getting every millimeter of existing paint off so we could prepare it for the new layers we’ll be putting down.  It was a long and exhausting period that extended a few more days than I think either of us had originally hoped or planned for…but finally it was done and we could begin priming.

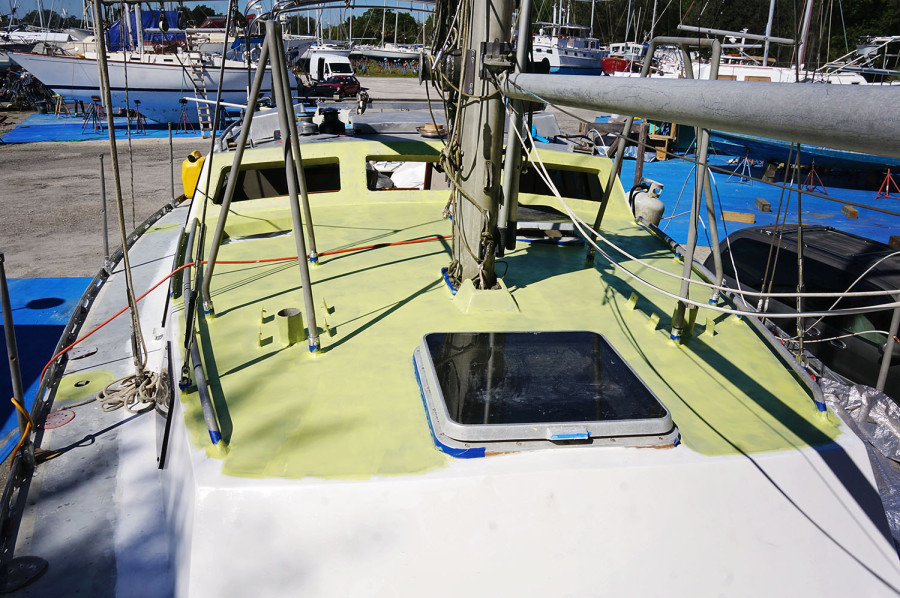
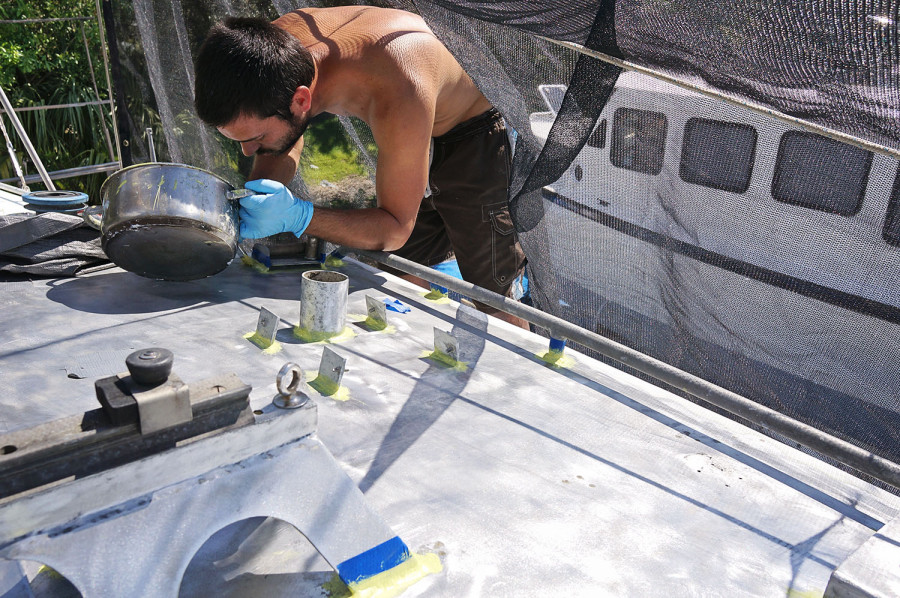
Because we had to grind down each area once more even after the original paint had been removed, so the primer could be applied before the aluminum oxidized, we broke the project of painting the area we’d just prepped into two sections. We also decided to hire professionals from Alextrendpainters so we can focus on other tasks that need to get done. The first was the cabin top which covers the forward salon and galley, as well as the front section of the pilot house. Â We saved the cabin top of the pilot house as well as the companionway wall for the second day. Â Mixing up our two part Aluma Prep, we slowly turned our boat into Big Bird once more. Â Initially starting with the welds and hard to reach areas, we hit those spots with a chip brush before breaking out the roller for the larger flat surfaces. Â Getting good coverage on it did end up using more primer than we were anticipating, but we knew that a well covered surface was much better than a thin or blotchy coverage in the name of saving a few dollars on a new canister of primer. We’re also thinking of using the best acrylic paint for the exterior because it has greater elasticity than latex.

primer on roof

cabin top primed

sanding cabin top of pilot house

companionway primed

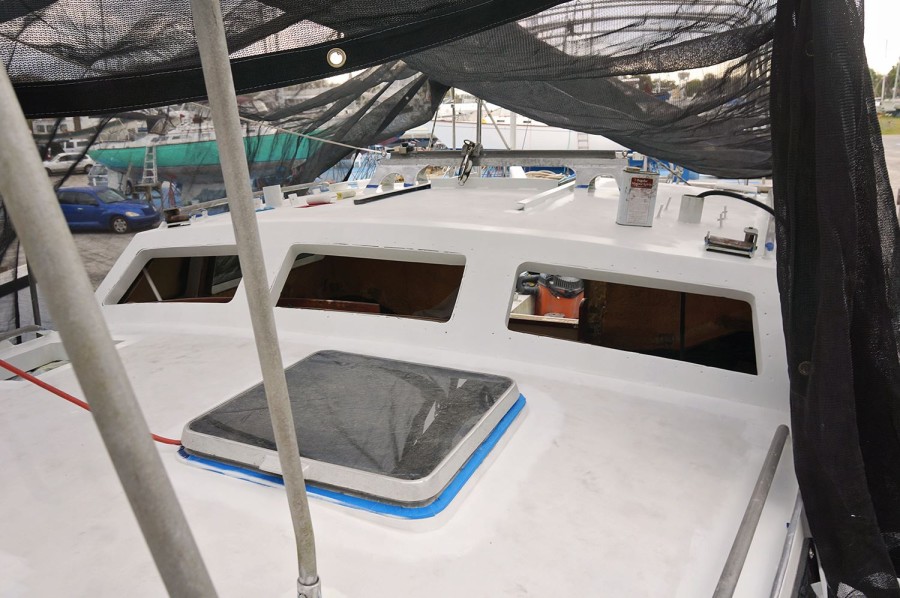
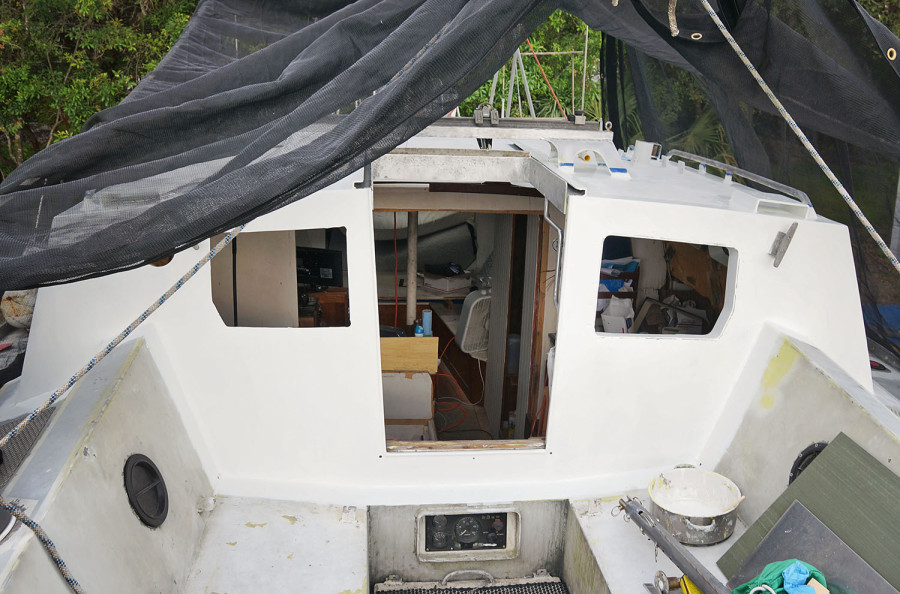
 Another reason for splitting our painting into two sections and multiple days was because we didn’t want to leave the aluminum primer exposed for too long without applying a barrier coat over the top.  Once a thick coat of the Aluma Protect was on, we waited two hours before going back over the surface with our Interlux InterProtect.  If you’ve seen from the other posts where we’ve painted other areas, you’ll know it’s a very light off-white color.  And when we applied it…WOW.  What a world of difference it made to the cabin top (and the boat by association) look brand new.   On the second day when we covered the cabin top of the pilot house as well as the companionway area, it was as if Daze Off had a complete face lift.  Yes, the deck still had to be done, as well as the cockpit, but those areas had never been as dirty as the cabin top, so overall she looked like a boat I actually wanted to own.

Now to the best part of our priming and barrier coating the cabin top….there’s no extra priming or top coat for 90% of it.  Yes!!!  Yay for my poor hands and all the sanding necessary to complete these steps!  Because we’re going to be covering most of these areas in a non-skid coating (most likely Kiwi Grip), the process stops there.  Just another barrier coat to be added right before the non-skid, and that’s it.

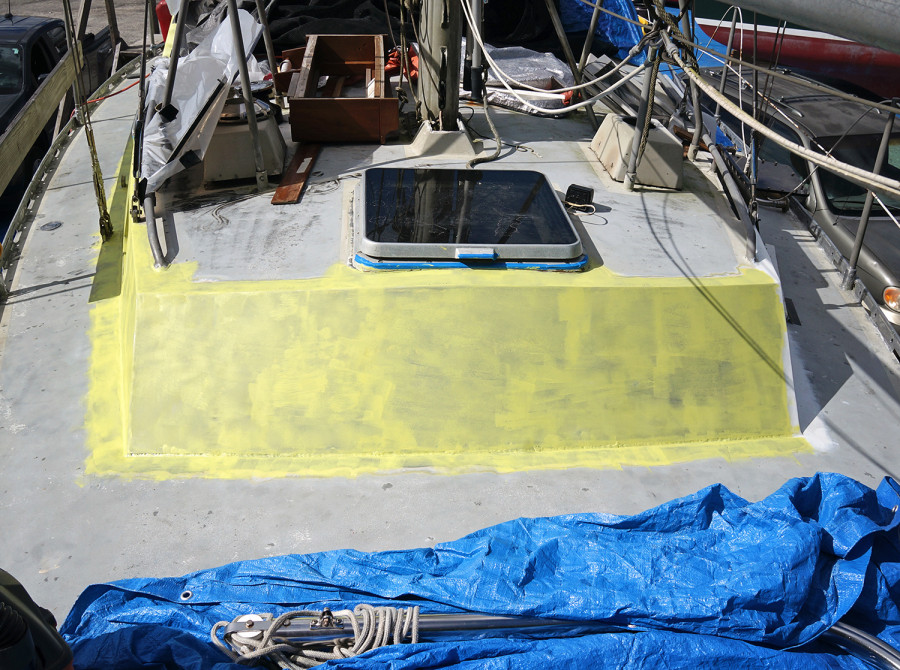
For the downside though…there were still the few areas that will still get the top coat.  The front and back walls of the pilot house receiving new glass, as well as a 1-2″ border along the edges as well as around the hatches and the welded areas where the granny bars connect to the deck.  Since the non-skid can be applied right over the top coat if necessary, we’re not being too precise on those lines at the moment and are covering an area about 3″ wide around each of those surfaces just to be safe.

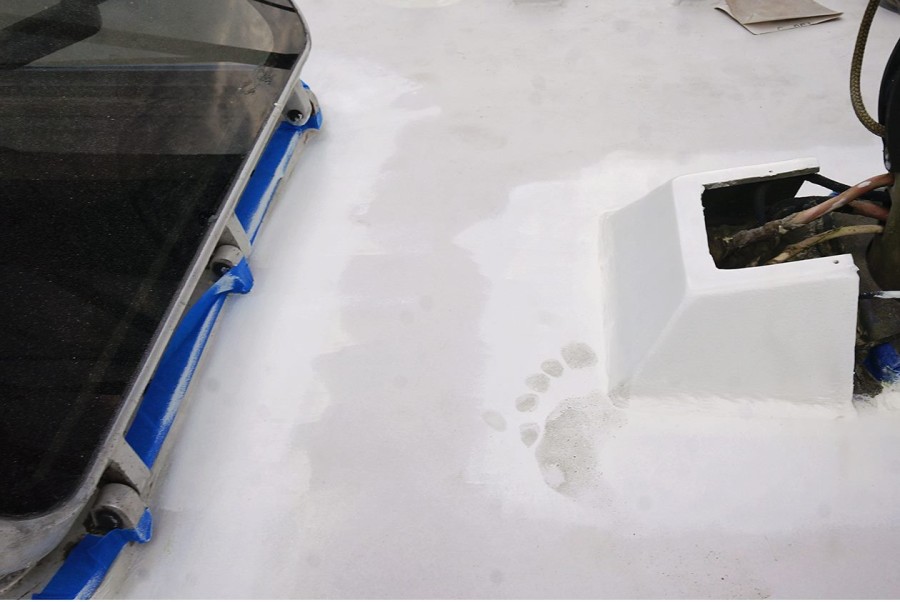
It’s still time consuming to work around some of the tight or hard to reach areas, but I’ve fallen back into my schedule of one day sanding, one day priming or painting.  Hopefully by next week the last layer of top coat will be on and we can finally get the last 5 of our new plexi windows in.  In the meantime as I work, I’m finding out that I have to be very careful where I step while working on the cabin top…..

cabin top barrier coated

companionway barrier coated

footprint in paint

*Or so I thought.  Now my new computer is giving me issues too.

Cati, Johannes, Jessica & Matt

Random Happenings in the Boat Yard

It’s time for random happenings in the boat yard!  Times where there isn’t quite enough on a single subject to fill a full post, but things which are important enough where I don’t want to leave you in the dark completely.  They also come in handy when I forget to take pictures of something that could have been a full post, something I’m sadly becoming very good at.  Kind of funny for a person who used to get scolded for never putting their camera down and just experiencing life instead.

So, here’s a few things that have happened over the past few weeks which you might enjoy a sneak peak at:

  • Work continues, slowly, in the head.

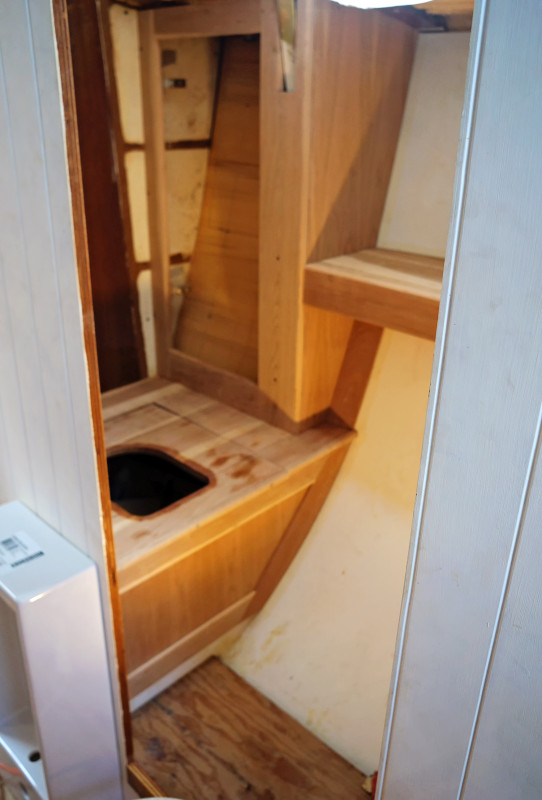
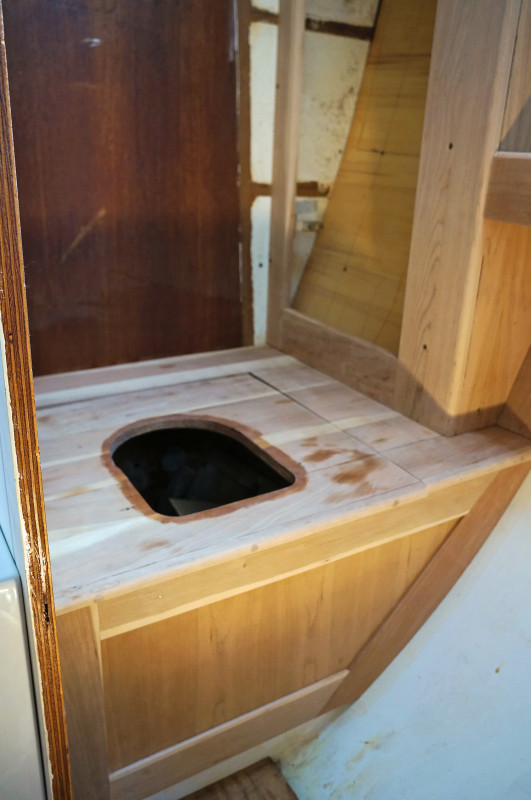
As I get back to my task of painting the cabin top outside, Matt has once more taken to the head.  Normally I wouldn’t trade places in there for anything (remember my sanding woes of a few months ago?), but Matt is the lucky one that gets to do some amazing things in there.  After having put together pieces of sap covered cherry hardwood and plywood to make the cover for our composting toilet and also our cabinet door, he has now made the counter the sink will sit on.

For this we used 1/4″ thick by 2.5″ wide pieces of cherry hardwood that also had sap marks on them, and glued them on top of a 1/2″ piece of marine plywood.  It’s actually come together so nicely that I’m sad 2/3rds of it will be covered by the sink.  When that was done he began trim on all the pieces he’s made in there, routing rounded edges to take the place of the sharp 90 degree angles.  Having received our new toilet seat and lid in the mail, he was also able to cut the hole in the cherry lid, and also the square that will allow us to open a portion of the cherry seat to empty the…contents…of our composting toilet.

(I now realize I should have been using manual focus on these shots since the auto focus wanted to concentrate on the wall instead of the inside) cherry counter top in head cherry cover for composting toilet cherry cover of composting toilet

  • I am already in love with our new maple counter tops.

Yes, this has been one of the projects that both of us have been the most excited to start for months now.  For much too long we’ve been staring and the beautiful, pristine, and unblemished boards of maple hardwood sitting in our storage unit.  This wood will also eventually become our floors, but since that is the absolute last project we are going to complete on this boat, doing the counters in the galley will give us a small taste of what it will look like.

There is a slight difference between the sink counter top and the floors though.  On the floors we will be gluing 1/4″ thick pieces of maple hardwood to 1/2″ plywood, but in the galley we skipped the plywood and decided to go with 3/4″ pieces of hardwood maple.  Come to think of it, the lid of the fridge and freezer are also 1/4″ maple glued onto the plywood lid we’d already made.  Either way, we know that these two spots will be much easier than the floors, and that is because they are square.

For the sink counter we measured the general area and took into account the hole for the sink.  Going just a little large on that area, we glued all those pieces together, and once they had a few days to sit and harden, Matt attached the sink and used a router bit to properly trim the wood around the sink.  The lid to the fridge and freezer gave us just a little more trouble since we glued the full length of both of them together with the maple, and later went back to cut the line between the fridge and freezer so each can be opened on their own.

The line for the freezer side was perfect, but we forgot to take into the consideration the width of the blade and it cut deeper than we would have liked into the foam lid of the fridge.  Nothing a few more days and epoxy filler plus a few more layers of sheet fiberglass couldn’t fix, but it would have been better if we didn’t have to go back and fix any mistakes at all.  Now we just need to add some trim and a fiddle and that area will be all set!

gluing together maple counter top

  • maple counter tops installed
  •  New friends came to see us in the boat yard!

After nearly a year of corresponding back and forth through emails and Facebook messages, we were finally able to meet up with fellow young cruisiers, Johannes and Cati.  The funny thing about our getting to know each other is that although Johannes had been following our blog for a few years, he didn’t reach out to say hi until we arrived in Indiantown and just started refitting Daze Off.  As it turned out, we had mutual friends in the Sailing Conductors, who knew Johannes from being interviewed by him in Germany for Yacht Magazine, and them being our new neighbors and best friends in the work yard.

Ok, so maybe location was more of a coincidence in timing of them contacting us when they did, as him and Cati were passing through Florida and were situated in Palm Beach for a few days, extremely close in cruisers terms. Unfortunately it didn’t work out at the time, and we even missed out on each other once more this winter when they flew through Florida again on their way to the Bahamas, but the third time was the charm.

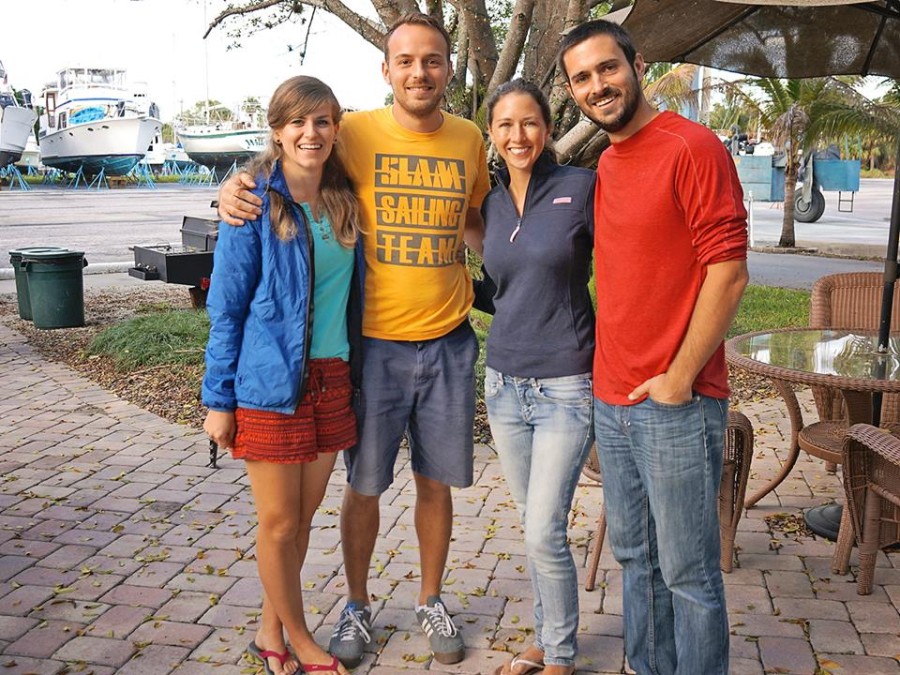
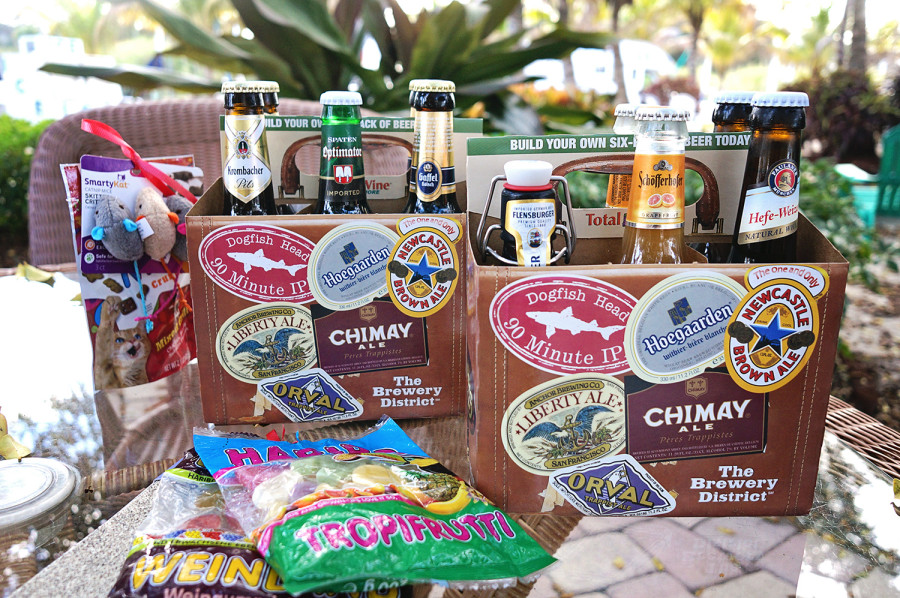
With their boat in Miami for a few days and a rental car at their disposal, they made the drive all the way up to Indiantown just to see us for dinner!  Showing up with a variety of German beers for us and cat treats for Georgie, it was nice to finally meet face to face after having become friends online. We quickly took over a table on the patio after giving them the grand tour of our boat, although we knew it wouldn’t be a late night (this time) because they still had to drive back to Miami.

We never had a lack of things to talk about as we compared boat projects, passages, and generally all got to know each other better. Some of our discussion was even able to revolve around the Vineyard Vines photo shoot we had all just participated in. When the producer had come to me in need of a solo sailor I was able to recommend Johannes as once upon a time he crossed the Atlantic alone in his old boat.  He’s since moved up to a bigger one as well as a beautiful companion, and we were able to laugh and swap stories of how each other’s shoot went…including the run in of his boat with the chase boat while sailing/shooting out on the Atlantic!

This was another occasion where I only brought my camera out for a total of about three photos, otherwise I probably could have written an entire post on our fun night.  The good news is that they’ll be passing through here soon enough on their boat as they cross through the Okechobee Waterway before getting back to the Atlantic and setting off for Germany in May.

Cati, Johannes, Jessica & Matt

German beers

  • My computer is trying to silence me.

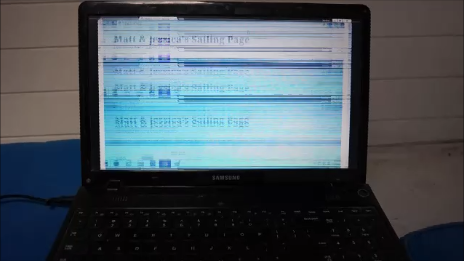
For the past few months I’ve been having issues with my computer that I’ve been ignoring too long.  Mostly it consists of my screen shaking on me, and sometimes momentarily freezing.  Whatever is doing it, it has now gotten so bad that I literally can’t get on my computer do any kind of work (or even pleasure surfing) for fear of seizures or at least a terrible headache.

If you’ve noticed…it’s been about a week since I’ve gotten my last post up.  If you’ve sent me an email in the past 2 months, there’s a 40% chance I’ve not replied yet.  Getting on my computer to do anything has been a complete frustration lately and I’ve basically been ignoring it except when absolutely necessary.  I should say, some days are better than others, and although I should be spending my time looking in on how to fix this problem instead of sticking my head in the sand about it…I take whatever moments of visual stability I can get on it to do all the work that one would need to do on their computer.

We do have a few other devices I could use…but my computer is the only one with the photo editing abilities I like, and also the only device we own with an actual keyboard.  I may be old fashioned, but I don’t like to type posts or write emails with a touch screen.  I spend more time fixing mistakes than getting any actual work done.

There is good news though!  I posted a short video of my problem on our Facebook page, and a number of you poured in with recommendations of what might fix it.  Although I’ve tried just about every personal way to fix it that I can, it sounds like it may have to go in for service due to a lose wire or connection.  Or…I may just end up having to get a new one altogether.  Which may not be the worst case, because I don’t want to leave the country this fall with a computer that I’ve been limping around on.  I can already tell you from personal experience that buying new electronics in the Caribbean is not usually an easy (or cheap) task.  So this may have been the push I needed to get it done.

Since both Matt and I are so stubborn about letting go of money where we don’t need to though…I’ll probably keep limping along until we make t to Arizona to visit my parents in a few weeks.  At least there we’ll not only have a lot of free time on our hands to visit techie stores or service desks, but we won’t have to drive 30 miles each shot to do it.  So until then…just be patient on the lack of posts and updates on my end….I should be back to a more regular schedule soon.

shaking computer screen

Matt sanding coachroof

On to the Next Big Project

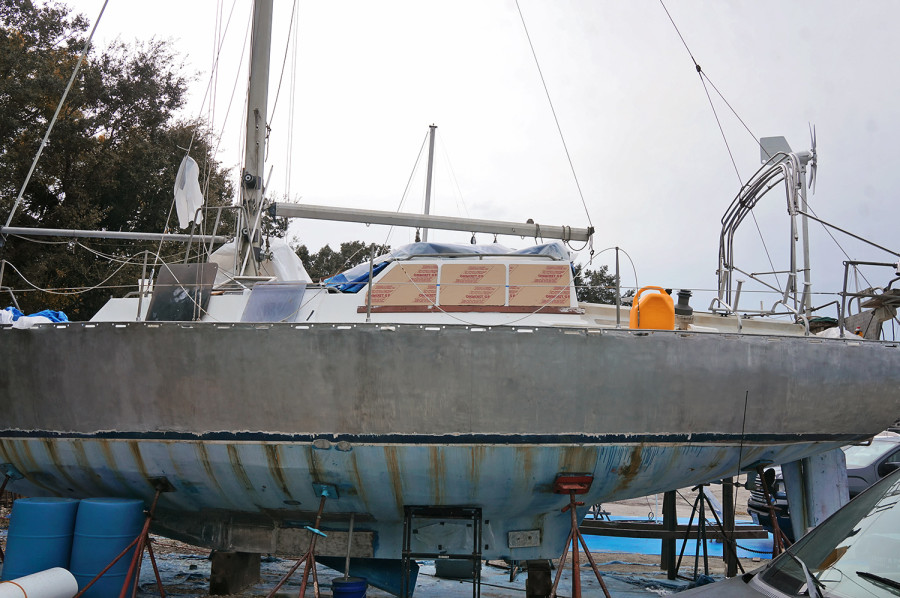
Now that we’ve finished putting 10 of the 15 new plexi windows on Daze Off, it’s time for the next big project.  Not only to we have to prep the companionway wall in the cockpit and the front of the pilothouse for the last 5 windows by going through all the steps to get the high gloss paint on them, but at the same time we’re also going to tackle grinding and priming the top of the cabin top and pilot house.

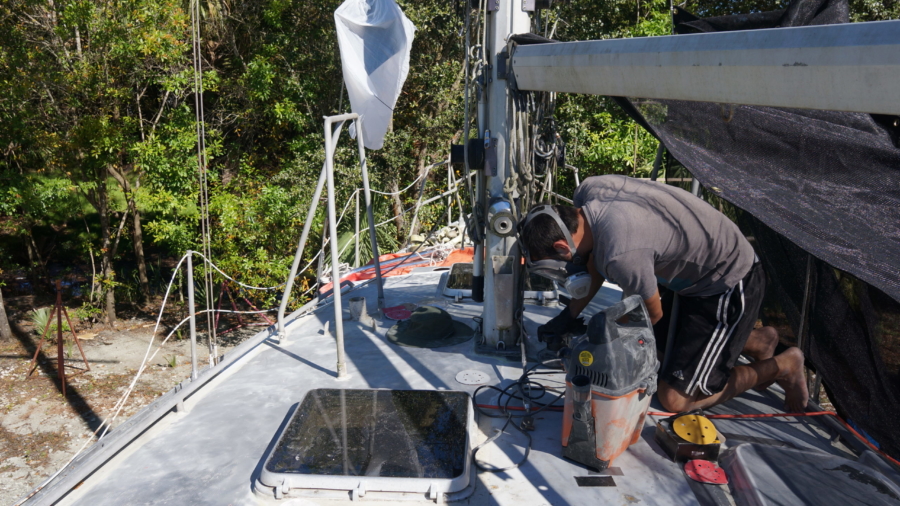
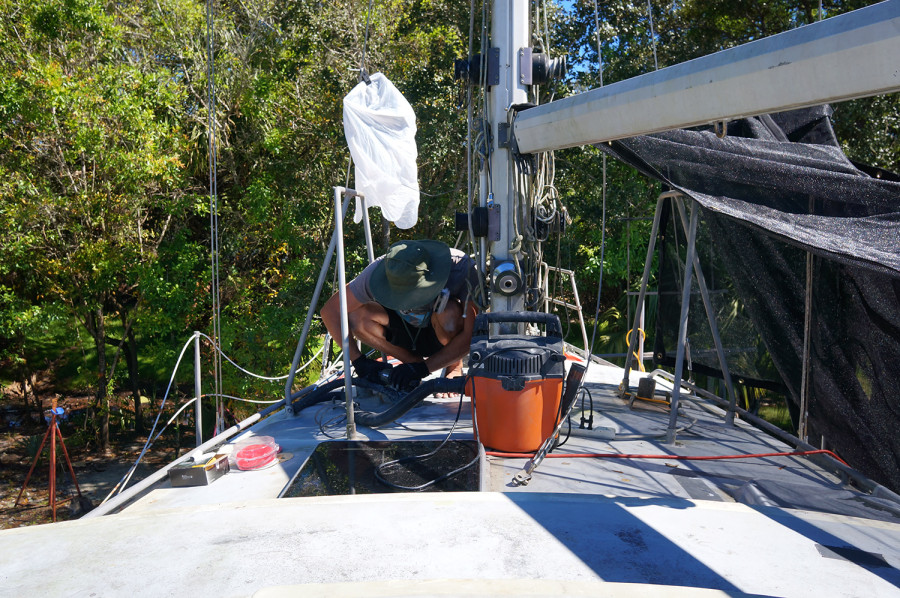
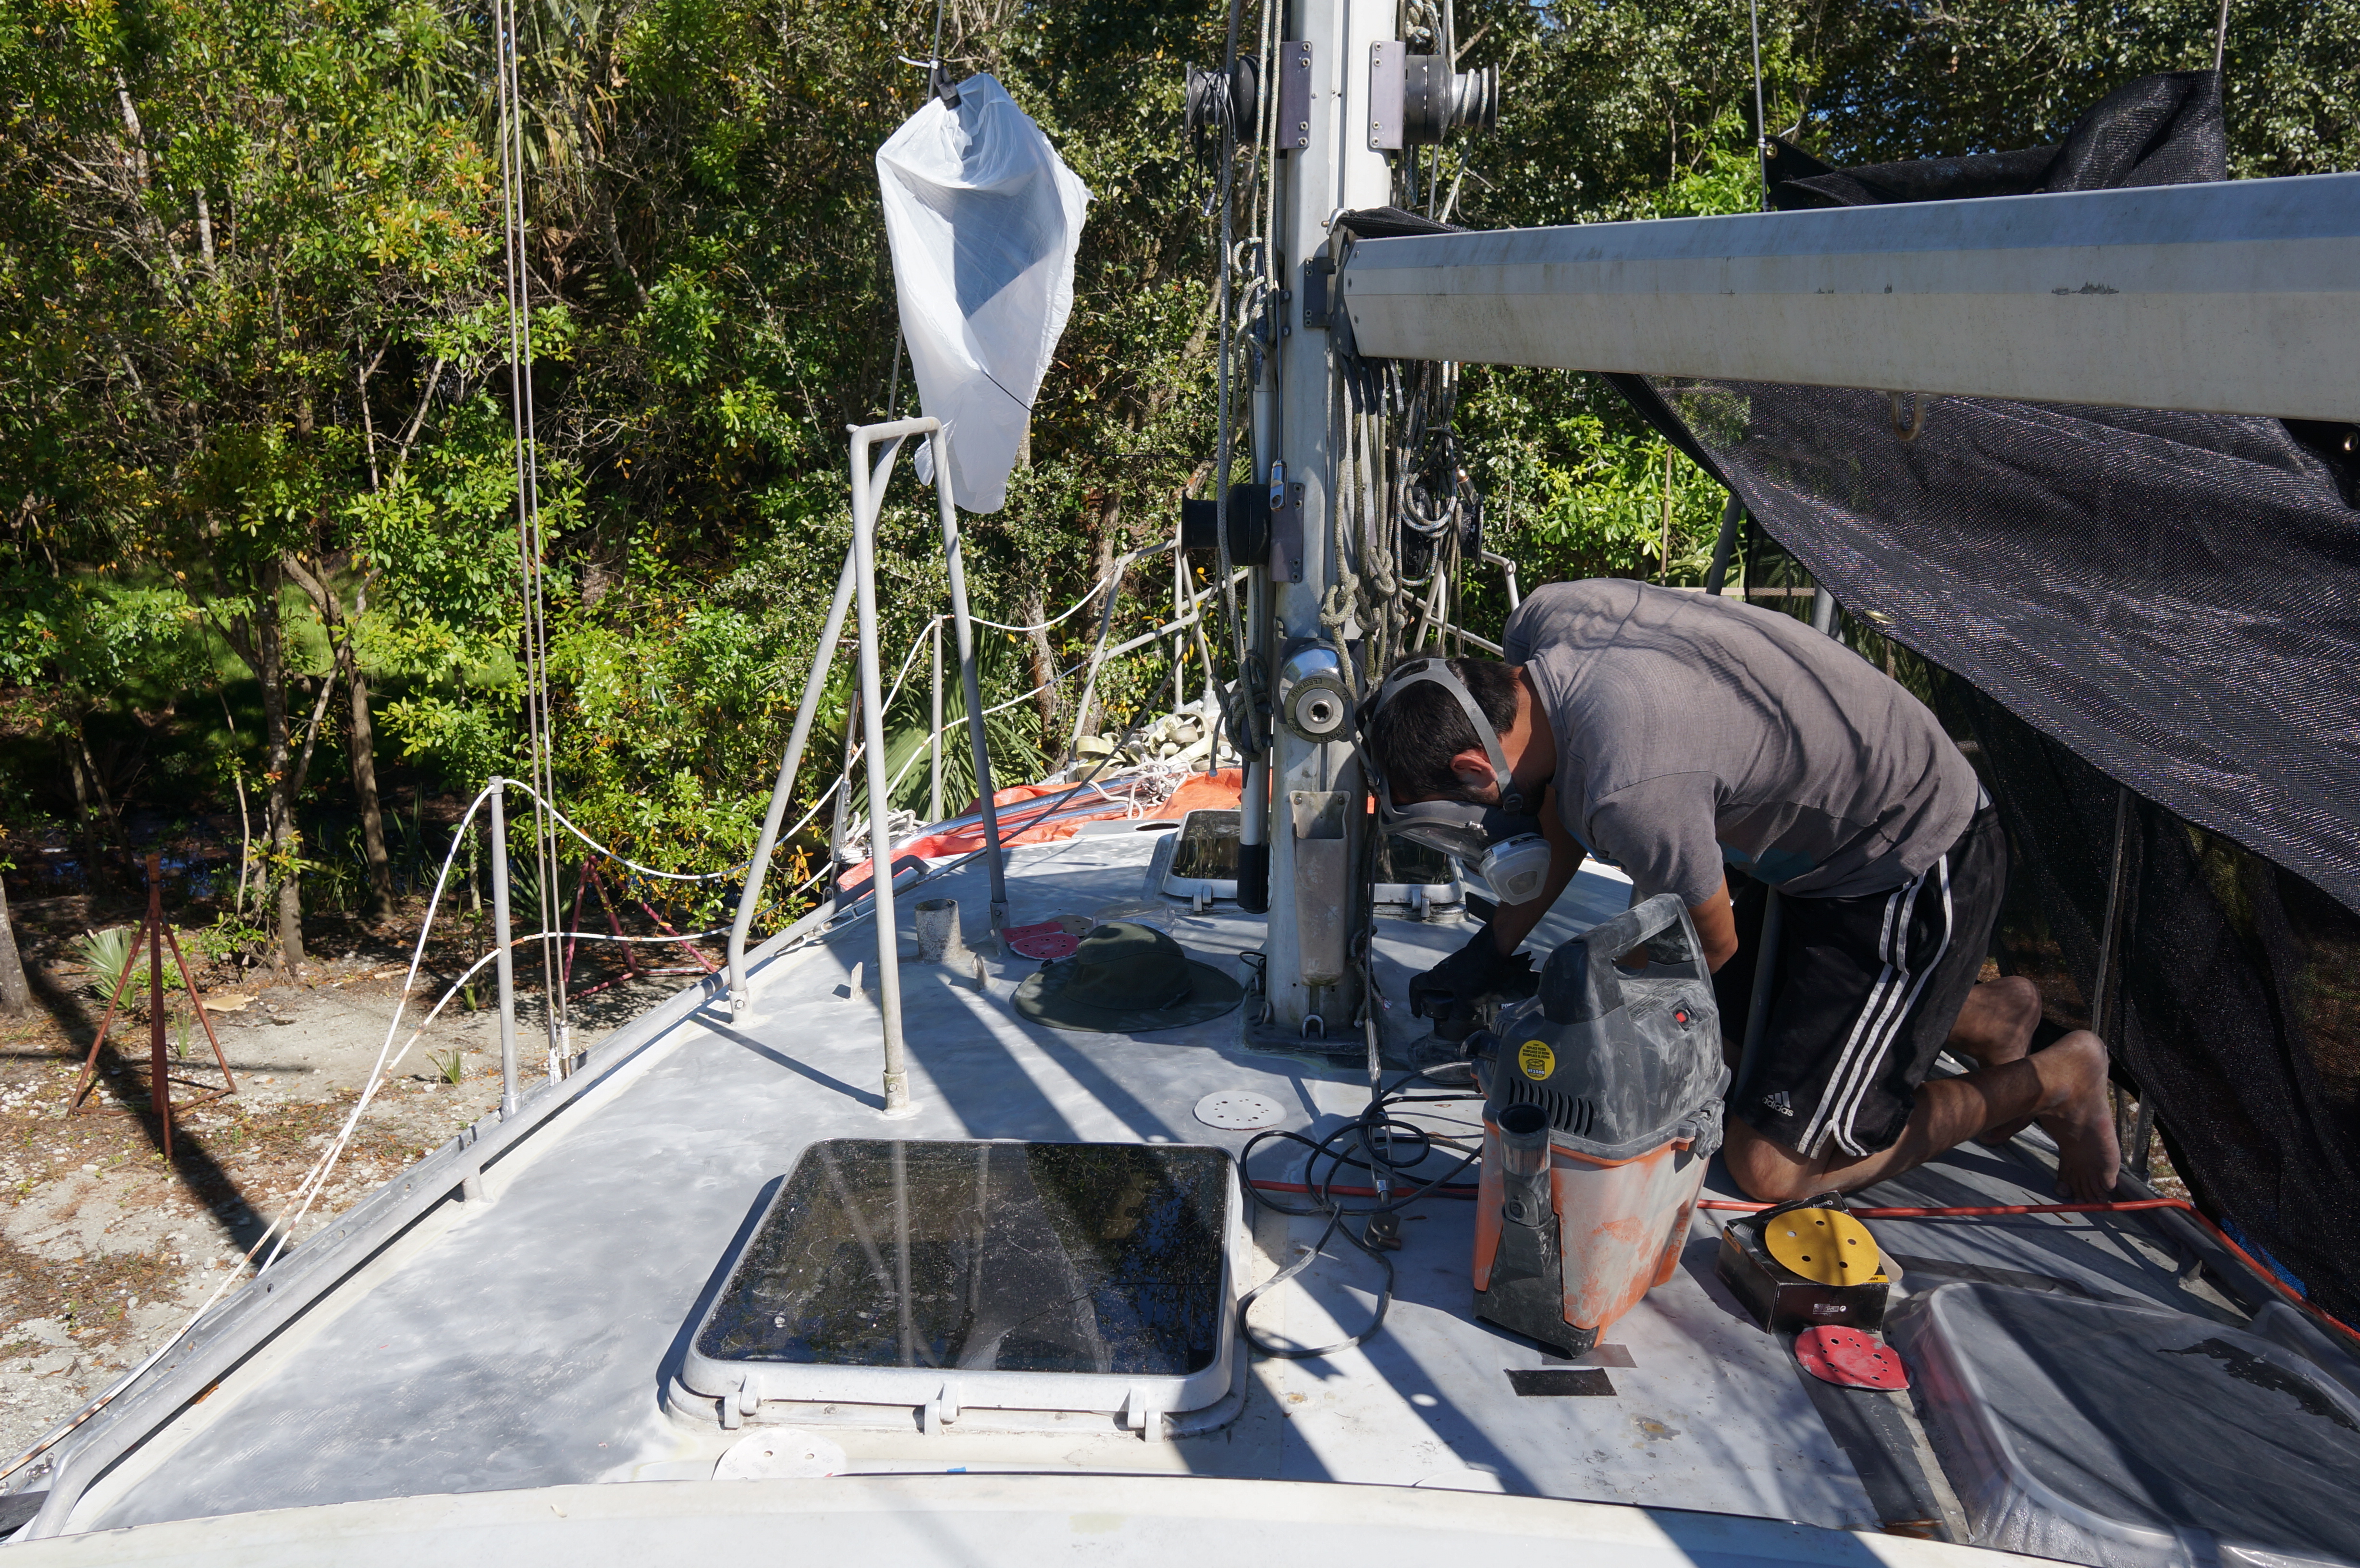
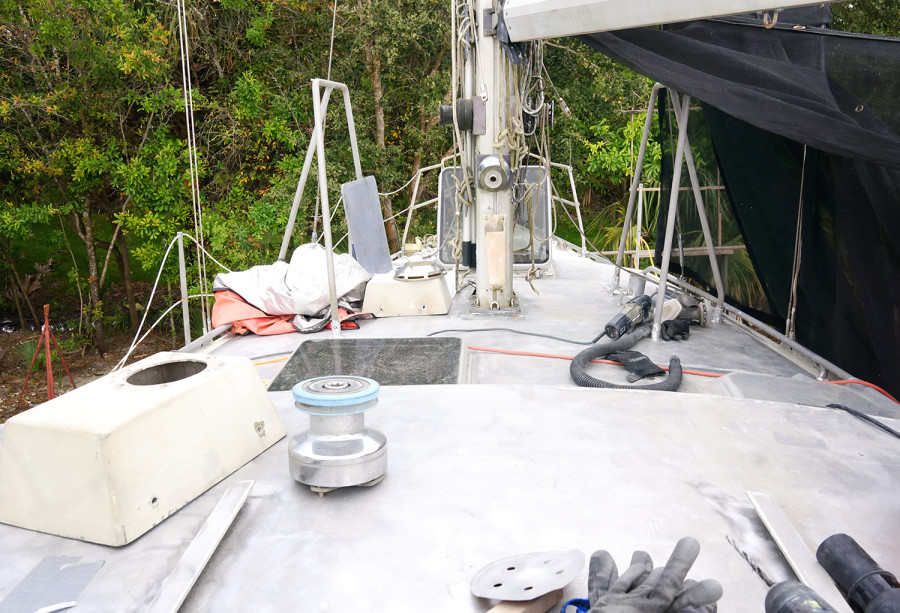
Matt had, as always, the very non fun job of grinding all the existing paint off until we got down to bare aluminum, which ate up a few days where I spent my time below working on a sewing project (to come in a future post). I was hoping there would be very little hand sanding and we’d be able to get right on with the first layer of Aluma Protect, but this was so far from being the case.

Even though we had taken off all the hardware (including winches, blocks, and other items), there were still a number of nooks and crannies that our sander could not make it into. The areas that were becoming hardest to reach were the spots under the grab rail on the cabin top as it butts up with a rail at the edge.  With only being able to get to it from one side, and having about three inches of head room, it was my little hands that had to squeeze in there and work vigorously to remove the multiple layers of paint.

From there, the hard to reach areas only got harder.  Since everything is attached to our boat through welds, and let’s just say they’re not all clean lines, we were also left to manually remove paint from all the divots and holes in all the weld lines for the grab rails, granny bars, and cleats.  It was after I spent a full day agonizing over these areas with my measly sheet of sandpaper when I had the bright idea to bring in other tools.  Our 1/4″ chisel did a great job, with it’s tiny and sharp corner, of getting in those hard to reach areas.  Plus since I was able to put a decent amount of force on the handle, instead of slowly scraping I was usually able to just pop out the remaining chunks of paint.

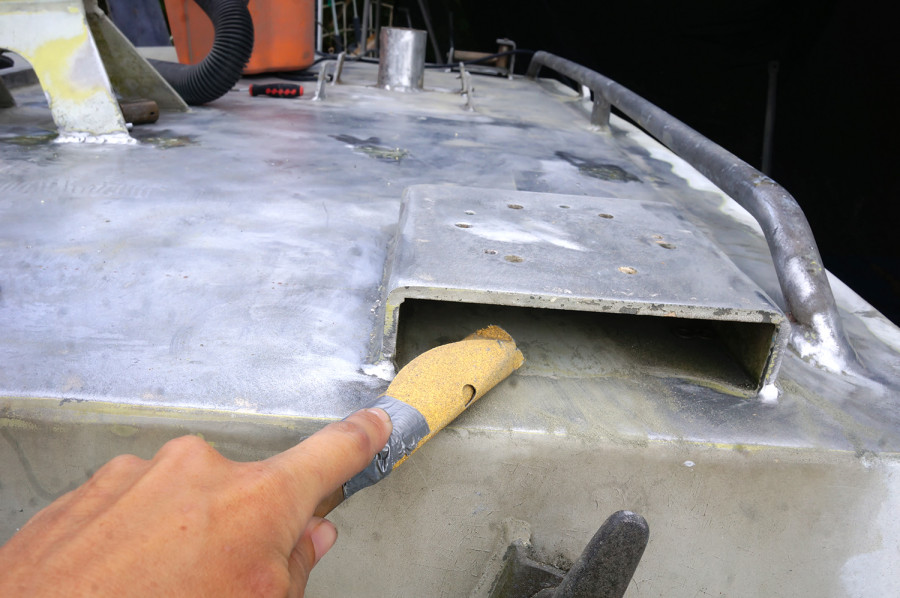
The hardest area by far though, and the one left to me because of my tiny hands (yay me!!) was getting under the area where the winches sit on top of the pilot house. An area that is raised up about 1.5″, and fully painted on top as well as underneath.  For the longest time I had tried to get in there with just my hand and a sheet of sandpaper alone, working it from each side, and I hate to admit that it took me so long to figure out the best way to really get in there and apply the kind of pressure necessary to actually remove the paint (I kept bumping my knuckles against the top any time I’d try to add speed in as well), was to attach the sandpaper to a long thin stick, to reach the areas I couldn’t.  This in no way made the job a piece of cake, but it did make it manageable.  In 6 hours I think I actually removed all the paint from in there.

So you can see why we’ve probably been exhausted, robotic, and a little quiet lately.  I literally have to drink a coffee at the end of each work day now just to stay awake past dinner.  Yes, we are kind of killing ourselves and are in desperate need of a break.  There may not be any extended vacations coming up in our future for awhile, but the good news is that we do get two days off coming up for a trip to Miami.  A little bit of fun, a little bit of work, and the opportunity to do something we’ve never done before.  Curious?  Stay tuned for the next post where we go from our dirty and laborious days in the boat yard to getting 5 star treatment in the Magic City.

Matt sanding the coachroof sanding under winch holder Matt sanding coachroof bare aluminum on deck bare metal on pilothouseGeorgie under boat

deadlights installed

Installing Our New Plexiglass Deadlights

It’s finally come, the moment you’ve all been waiting for! Or wait, maybe it’s the moment we’ve been waiting for. Although I’m sure you were a bit curious as well. Either way, we’ve started installing the deadlights to Daze Off!

After all the weeks we had prepping for this, it’s funny to think that the end step only takes one day. (For each set of windows installed, we’re doing it in 3 stages.) All in all, the prep and application of the windows took 2 days. The first may have been the hardest as it was dedicated to the placement of where they would be. Since we don’t have a recessed area that they’ll slip into (as we did on Serendipity), it’s up to us to find out where they need to be so they’re level and perfectly spaced out from each other.

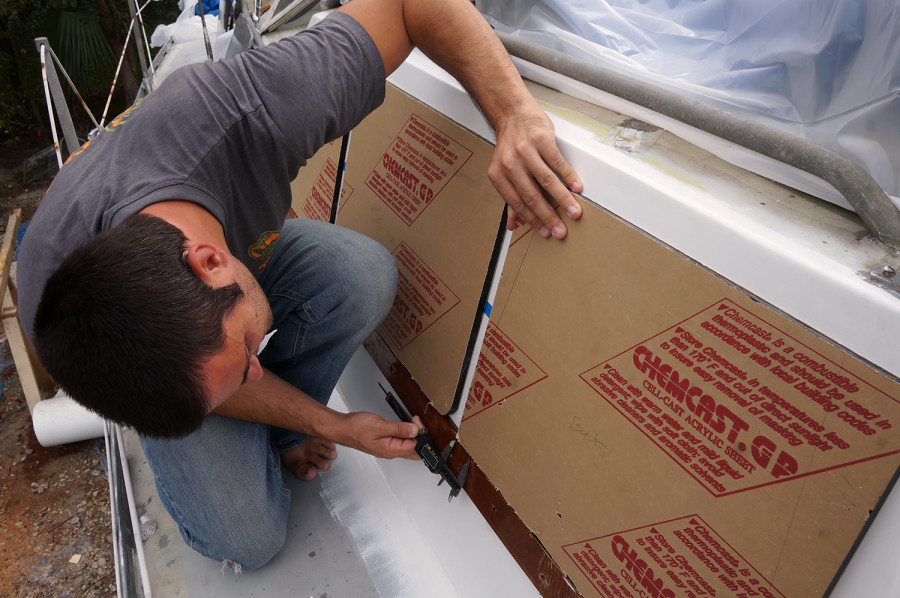
Before we had taken the old windows out we had at least been smart enough to measure the distance down from the top of the pilothouse to the top edge of the window and wrote that information on a notepad in our tablet so we couldn’t lose it (we lose things easily around here). Since the new windows were traced and cut from the old ones, that distance should stay the same. Measuring the length of the window, we placed a piece of tape where the bottom edge of each window would be and used Command strips to stick a flexible board to that spot on the boat so the windows could safely rest on it until they were installed.

Matt measuring windows

With lots of tape and work with our calipers, we double and triple checked that our new line (& the board) were level and from that point, that the distance width wide from one window to the next was the same. Multiple times we would placed the new (but still covered in a protective paper) windows in their intended places, and then ran down next to the boat to see how it all looked visually. Did anything seem odd about how they were placed? Was there any sloping from one side to the next? Did they appear to be spaced properly?

spacing new windows

Looking at placement of new deadlights

When we were 100% sure we knew where we wanted them, we did a small tape outline on each side, so in case they slid we could accurately place them back where we knew the measurements were correct. In writing it sounds quite easy, but take my word, in reality we worked on this for a few hours. Our board did not want to stay up initially, the tape we based it’s placement on made for a sloping line, and even when our level said it was correct, visually it just seemed off. As our first attempt at it, this part was incredibly frustrating and time consuming, and after a few hours of it I was ready to throw up my arms and yell, “No one is going to notice if it is 1/4″ off from the front window to the back!”. But we kept at it until we had it right.

So I was quite relieved when that process was done, and we moved onto the next step of drilling the holes. Instead of trying to do it through the plexiglass and metal at the same time, we drilled the holes in the windows first before replacing them into their spots on the board and then drilled through the metal as well. In each corner, place the bolts that you get a from the Marine Fastener Shop and secure them to what would eventually be their final spot, I went through and taped an outline of each window. This will keep the mess low(er) when we adhere them with caulk, and it was another good way to know exactly where they should sit when we went to permanently place them.

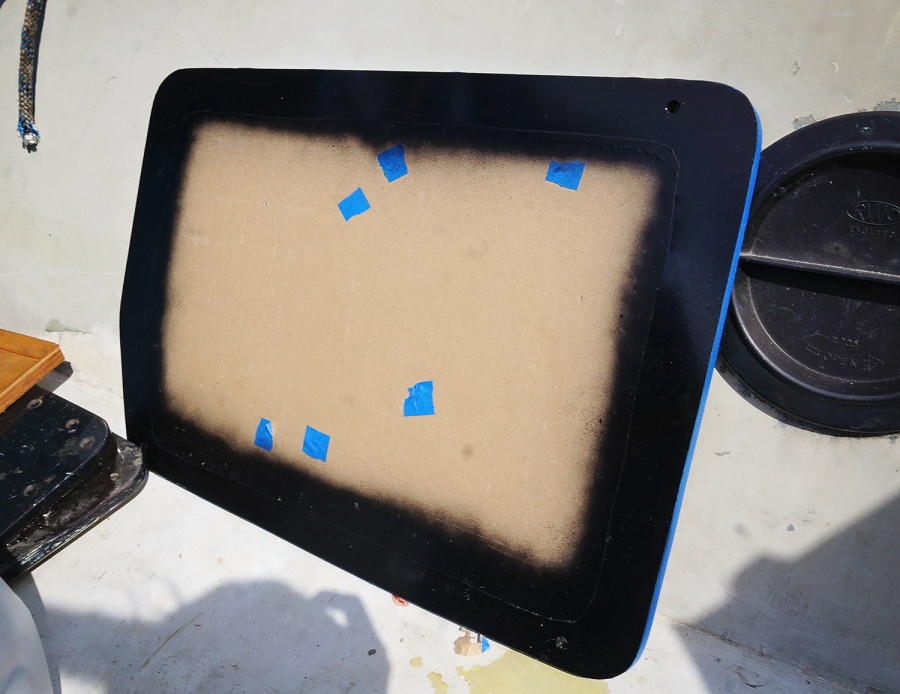
The last step of the first prep day was to prep the part of the plexi which will adhere to the newly painted surface on the boat. While the windows were securely in place with their bolts, I went inside and with a mechanical pencil, traced the outline of the frame. Taking them out once more, I used an Exacto knife to cut the paper down the line I had traced, and removed the protective paper from the outside. When this was done and the newly exposed plexiglass surface had been cleaned with denatured alcohol, Matt set them up and sprayed those exposed areas with a window frit, we used Krylon Fusion for Plastics.

This step is done for a few purposes, including creating a matte surface to visually hide the tape and caulk which will be applied below it, help the tape and caulk against UV attack, and also creating a better surface for adhesion. We placed two coats on the plexi and then left them at least 24 hours to set.

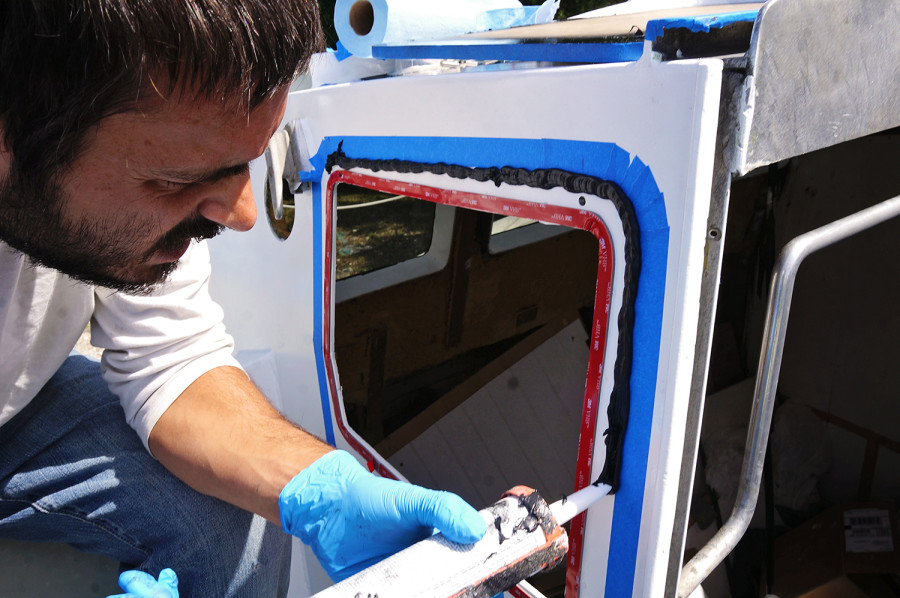
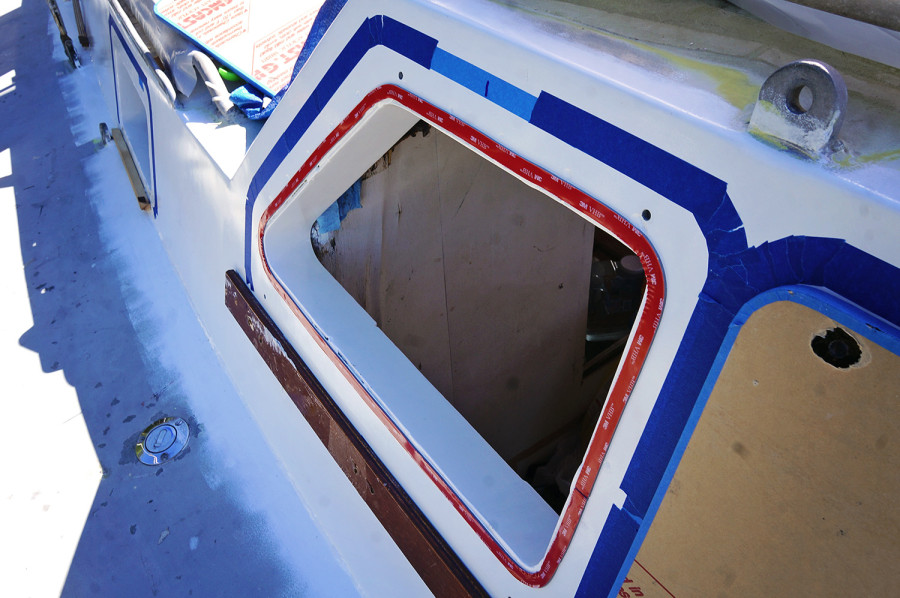
Then for the fun part…the day of installation. Wiping down the painted surface with denatured alcohol, we lined the edges with a very strong tape. For this tape we chose 3M VHB (very high bond) 4991. Not only is this tape strong enough that it would be able to keep the new windows on without the added strength of caulk or bolts, but one of the things we bought this specific product for is because of it’s thickness of 2.3 mm. This allows the caulk (which of course we’ll be using, for the added bond and protection against leaks), plenty of space to expand and contract beneath the plexi.

3M VHB 4991

When this double sided tape had been attached and pressed firmly into the surface of the boat, Matt caulked the area from the VHB to the painters tape with Dow 795. When the area was covered so thickly that you could barely make out any white paint beneath it, we lined up the plexiglass window with its tape outline, and while keeping the top of the window still a few inches away from the surface of the boat, placed the bottom bolts in the holes to make sure we had everything correctly lined up and they slid into their holes. Once they slipped in and we were confident the placement was correct (it would be almost impossible to un-adhere it from the tape once the two came in contact), pressed the rest of the window into place and firmly pushed against it to make sure it made full and strong contact with the tape.

The last step to adhesion was to place the bolts in, and all of them, as well as their holes, received a good coating of Dow 795 before they were permanently slid into place. While I held the bolt in place from the outside, Matt went inside the boat to attach and tighten the nuts to each bolt. Usually by doing this, excess caulk would squeeze out from the plexi, but in the areas it looked like there may be gaps, Matt went back with the caulk gun and traced an extra line around those spots. Using a small plastic mixing stick, he neatly traced around each window to give it a clean finish.

We did this for each window before it was time for clean up. The second most time consuming step of the whole process. Removing the tape, we found that we weren’t always left with clean lines. It was then my job to go through with mineral spirits and acetone to wipe up any Dow 795 that had strayed onto the paint. I found that in cleaning up some of my messes, all I did was make more. It was also testing my temper where I’d try to smooth out a line where maybe a 1″ section had a little pucker of caulk, and when I tried to smooth that area I’d create a pucker in another section. This happened so many times that it would take me about 45 minutes to ‘clean’ each window. It was a little maddening.

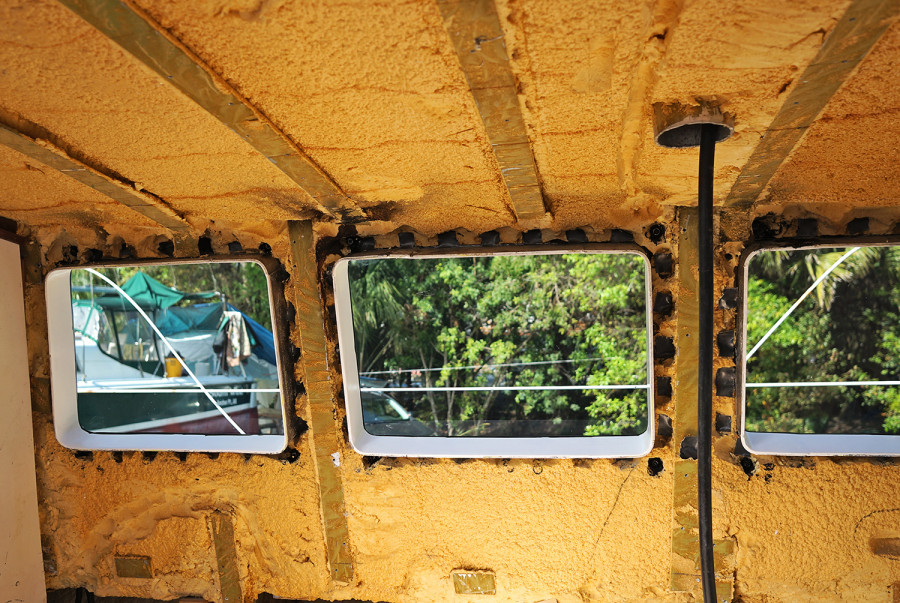
At the end though, it was all worth it. We had new windows in and they looked perfect! Taking off the remaining protective paper we took a good look at our new accomplishment. It was so strange to not only have new windows in, but ones that were so clear. When I was inside the boat it looked as if there was still nothing there separating me from the outside. It’s so exciting to have this one side installed, and not only am I over the moon to be able to step back from boat and look at them, but I finally have a sense of closure that I’ve been needing for so long on this project.

I can’t let myself get too excited though….we still have to go through this process two more times.

new windows from the inside

deadlights installed

plexiglass deadlights

deadlights

Interlux Interprotect Primer

Topcoat Paint

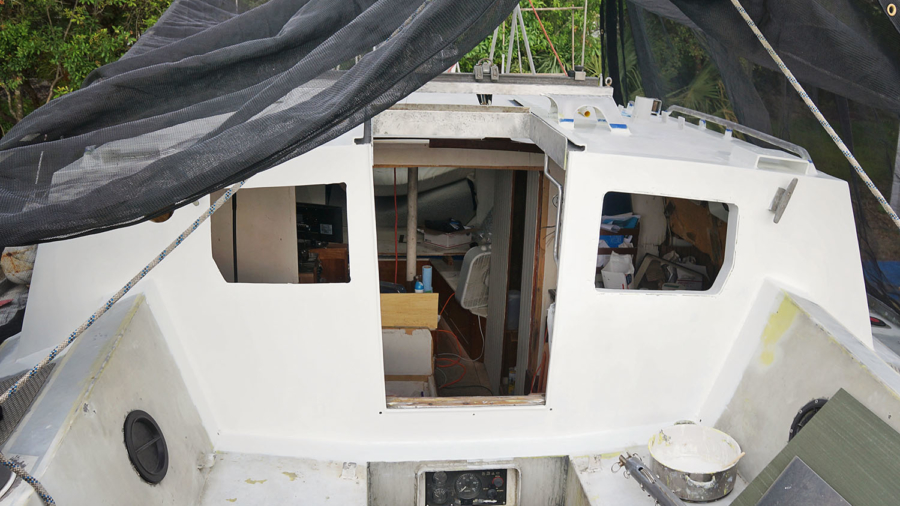
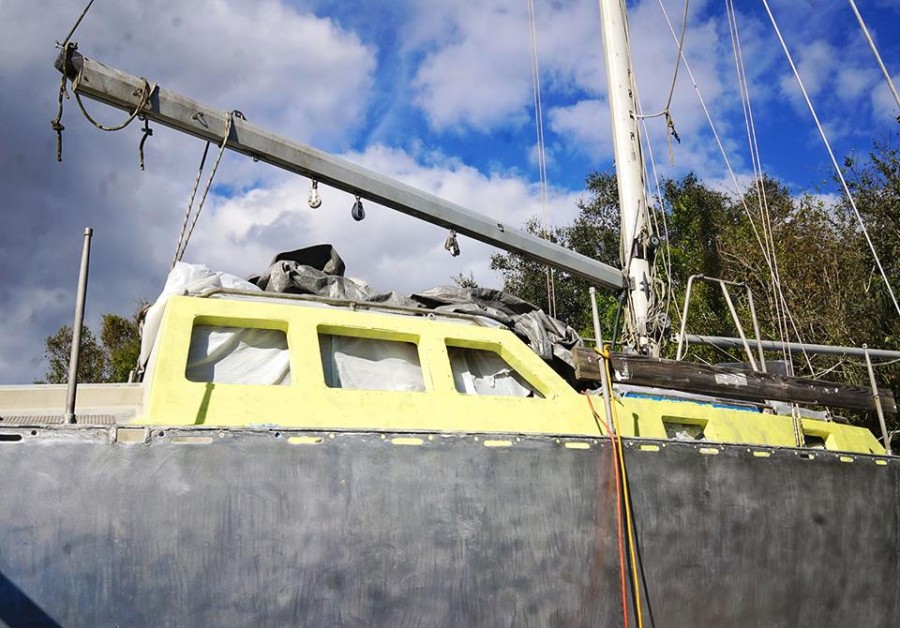
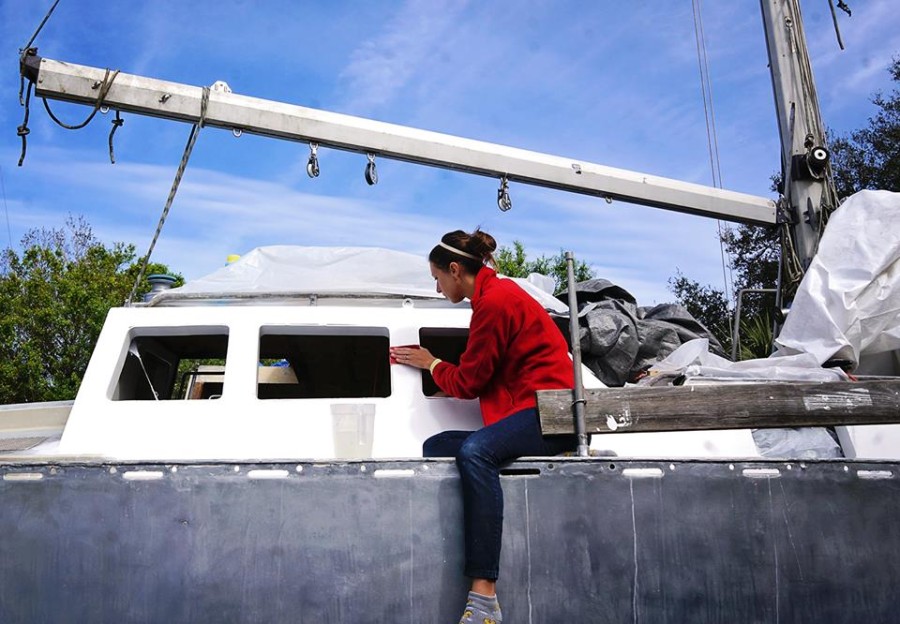
There is a final coat of paint on our boat!  It may only be the pilot house and it may only be on one side, but it still feels like a huge success.  This also means that we can now put windows in on that side.  No more trashy tarps for this couple.  At least on that side.  Although we do have to wait 7 days for the paint to fully cure before we apply those windows, so maybe I shouldn’t speak too soon.

After the whole debacle of trying to find the right paint, things began to go much smoother.  Starting the process all over again, we ground the old barrier coat off and once again got all the way down to metal.  Still starting out with a coat of Petit Aluma Protect , this time we used Interlux Interprotect as our barrier coat.  This applied much easier and once it dried, we found it sanded down the way we wanted. Plus this time we correctly purchased the white (instead of gray) which not only looked much better when applied, but helped the blend in with the next coats.

To be on the safe side we applied two coats of the Interprotect and after each coat I sanded the area down to a smooth surface using 100 grit sandpaper.  I won’t lie, that part was a pain in my butt.  For some reason it would take me a full day just to do one round of sanding, but we’re both kind of being perfectionist about this whole thing.  Every time I think I’d be finished I run my fingers along the side of the boat and find that one area was still a little bumpy, and then I’d have to go back and smooth it down.  By the time I’d actually finish, I swear it felt as smooth as silk.

Aluma Protect

alumaprime on boat

Interlux Interprotect Primer

After the barrier coat was applied and smoothed, the same exact process would follow with the primer.  For this step we used Interprotect Epoxy Primekote.  Once the epoxy primer was on I would switch to a 220 grit sandpaper and also do a wet sand instead of a dry.  The sanding on this round wasn’t quite as labor intensive to my arms, this coat went on a little smoother, ans we also switched to foam rollers which I think helped to create a smoother surface to start with.  The time to sand was still the same though, because the next thing to come was the topcoat and no mistakes would be hidden under that paint.

Jessica sanding pilothouse

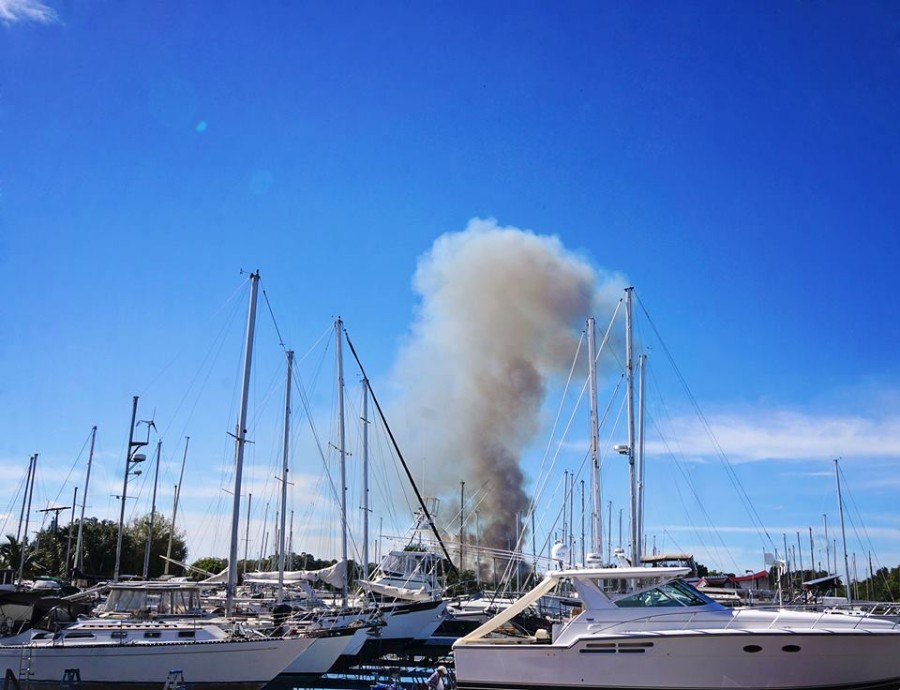
It was surprising just how long all of these steps took before we were even at the point where we could put on the first coat of top paint.  Between the grinding, aluminum primer, barrier coats, and primer coats (4-5 all together), and the days of sanding in between, it had already taken us just over a week to get to this point.  Then just when you think you’re ready to roll and begin with the topcoat, it begins raining ash on your boat.  No, I’m not joking.  All around the marina are sugarcane fields and lately they’ve been burning huge sections almost every day.  Sometimes we see nothing more than a big smoke cloud in the distance, and other times, like when we were trying to paint, the wind would be coming just the right direction and delivering all the airborne ash to our boat.  Grrrr.  So the painting had to be put off for another day.

sugarcane ash cloud

sugar cane ash

When we did begin that project it was time for Matt to join me again to work as this was a two person project.  Doing lots of research online and talking to other boaters in the yard, we’d found the consensus to be that the best application came from a roller, and with another person dry rolling behind.  We had originally planned on rolling and tipping, but we thought we’d give this a try and it seemed to work pretty well for us.

Using Pettit EZ-Poxy 2 part polyurethane marine paint, we spent a few minutes making sure we’d measured the 4:1 ratio correctly into the coffee tin we were using as our mixing container, and then added enough Pettit brushing thinner to get it to a point where it was dripping as soon as the mixing spoon was taken out of the mixture, instead of having a thick stream.  We’ve heard this makes for a smoother coat, although it did make us worry about how thick that coat would be.

With Matt going first, he would roll on a decent amount of paint, trying to spread it out enough so there were no runs.  As quickly as I could behind him, I would ever so lightly roll over what he had just completed to rid the surface of any air bubbles the original roller may have caused.  The first few minutes were full of cussing and deficient complaints toward each other that the other was not doing the process correctly, but after a few minutes we got in our groove and worked very well together.

We knew one coat would not be enough, so the next day I went back at it with another round of light wet sanding with 220 grit.  It seemed as if even my light sanding was taking off more than we liked, and when the second coat was applied we still weren’t satisfied with the finish.  It looked from certain angles as if we could still see the slightly darker primer coat underneath, and because we were new at it, the finish still wasn’t as nice as we were hoping for.  So once more I went back to lightly sand and we went through and applied a third topcoat the day after.

3 topcoats seemed to do the trick, and honestly, I just didn’t have it in me to go another round.  All I wanted was to get the new windows in and start on the next section of deck so we could keep things moving along.  Overall we’re happy enough with the job we did.  Again, we don’t know how much had to do with the product or the workers, but it wasn’t exactly what we’d hoped for.  From afar it looked pretty good, but up close you could see small ripples in the paint left from the rollers.  Because we started with the side of the boat that’s mostly shaded from the sun, it wasn’t until we did the next side we noticed how those ripples are more visible in sunlight.
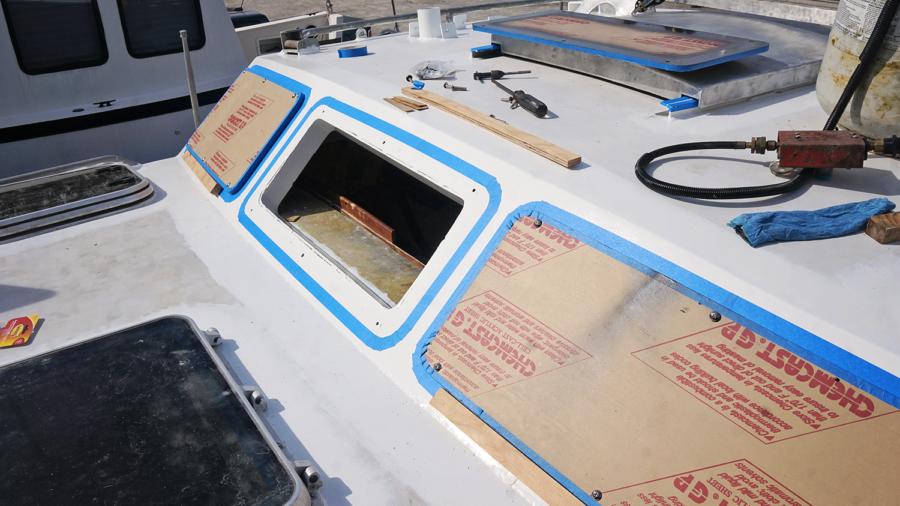
Initially we had chosen the 2 part topcoat because it gives a harder topcoat and is less likely to chip.  The bad news with it, as we know now, it that it is a fricking pain in the ass to apply and goes on much thinner than a 1 part would have.  Also, because you need to mix the two parts together to make it….we’re less likely to go back and touch up chips until there’s a number of them that need addressing.  Oh well.  Live and learn.  I guess we’ll know for the next boat.
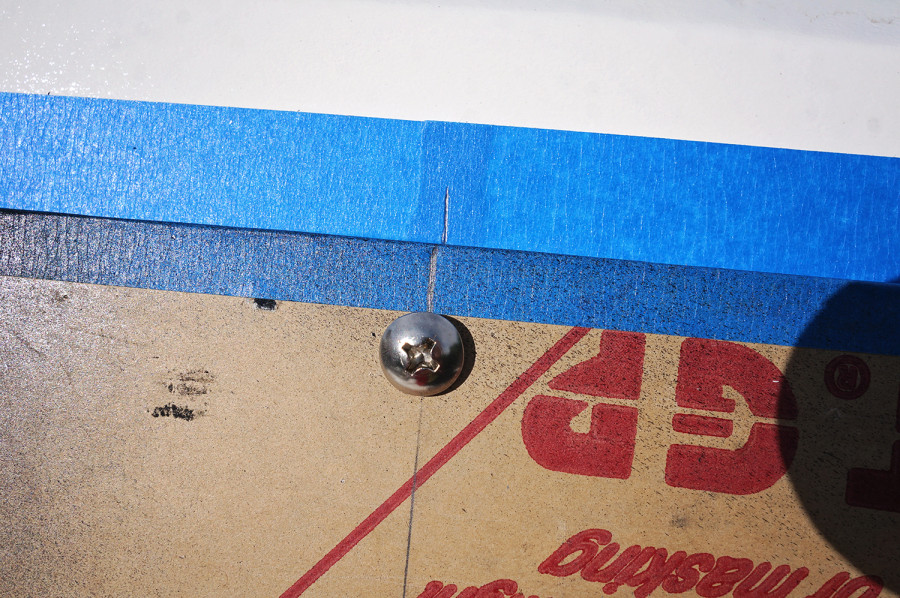
*Ummm…I forgot to take photos of the finished paint before we put the windows in.  And since I don’t want to ruin that surprise for you, you’ll have to wait for the next boat work post to see how it came out.  🙂