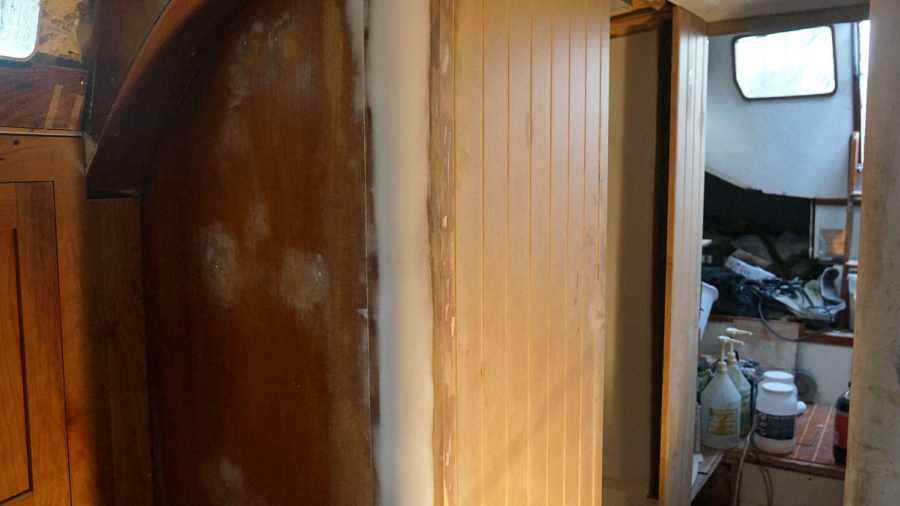
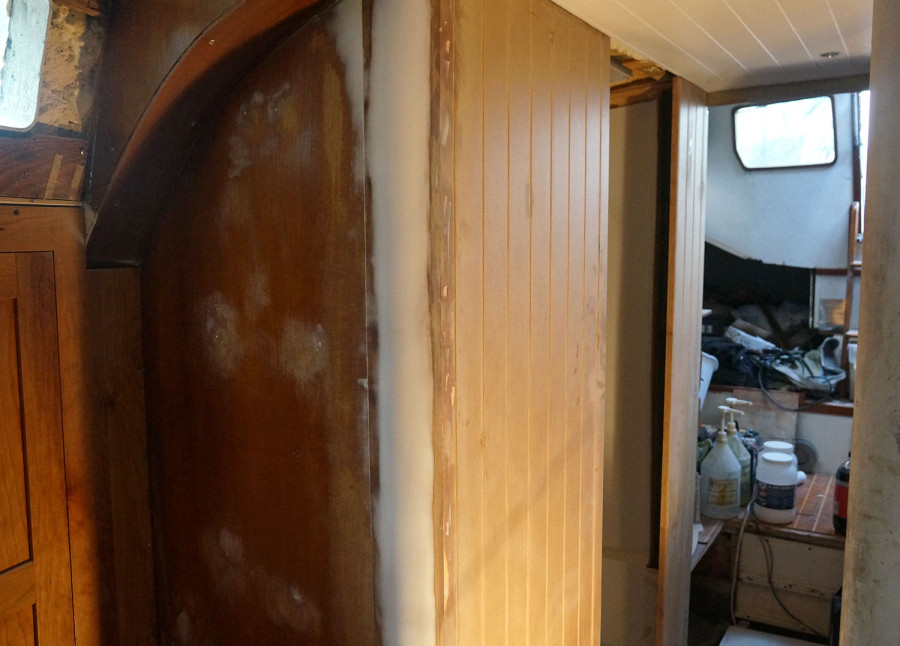
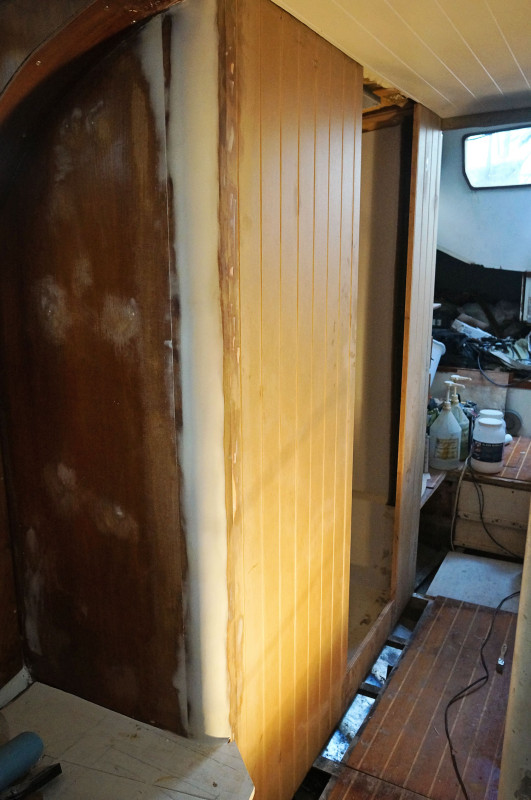
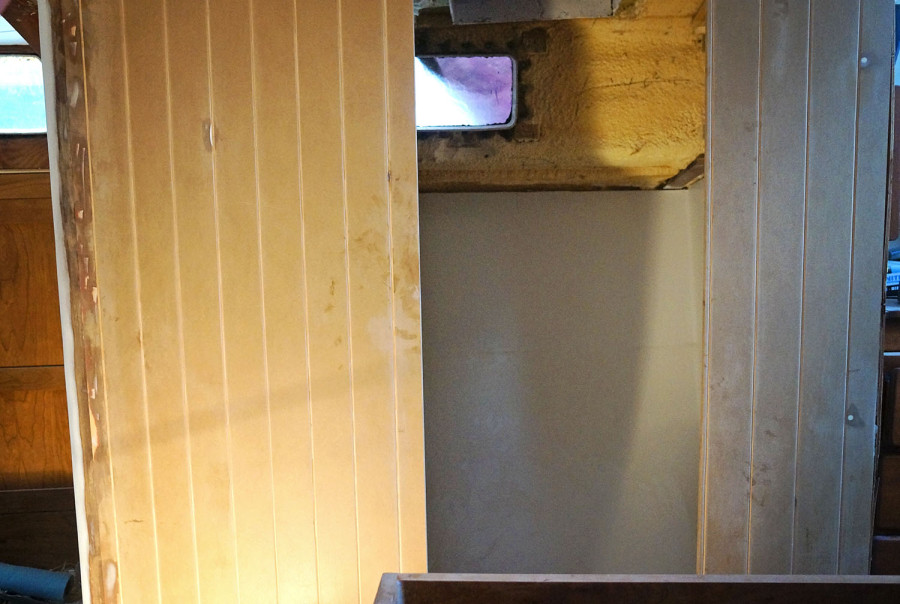
building cabinet in head

Progress on the Head

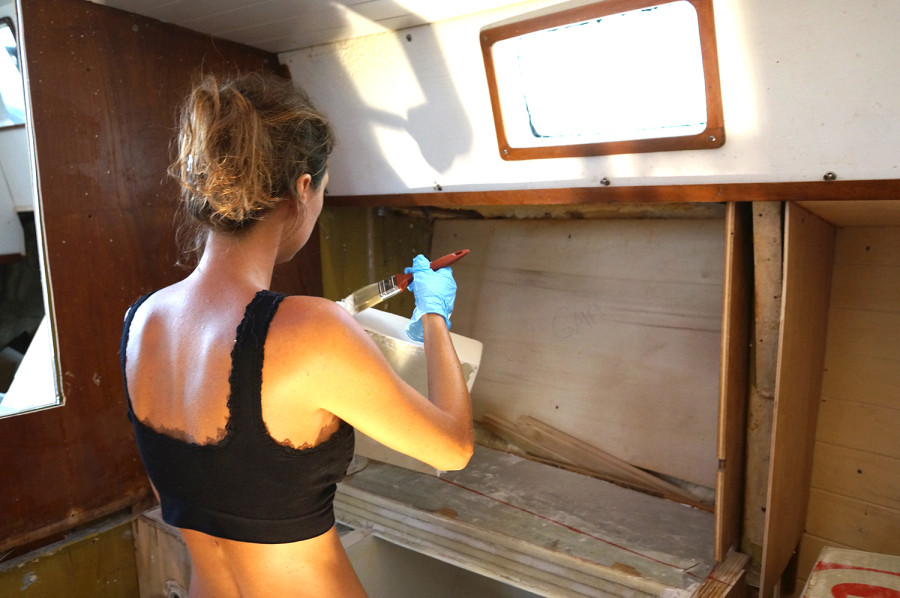
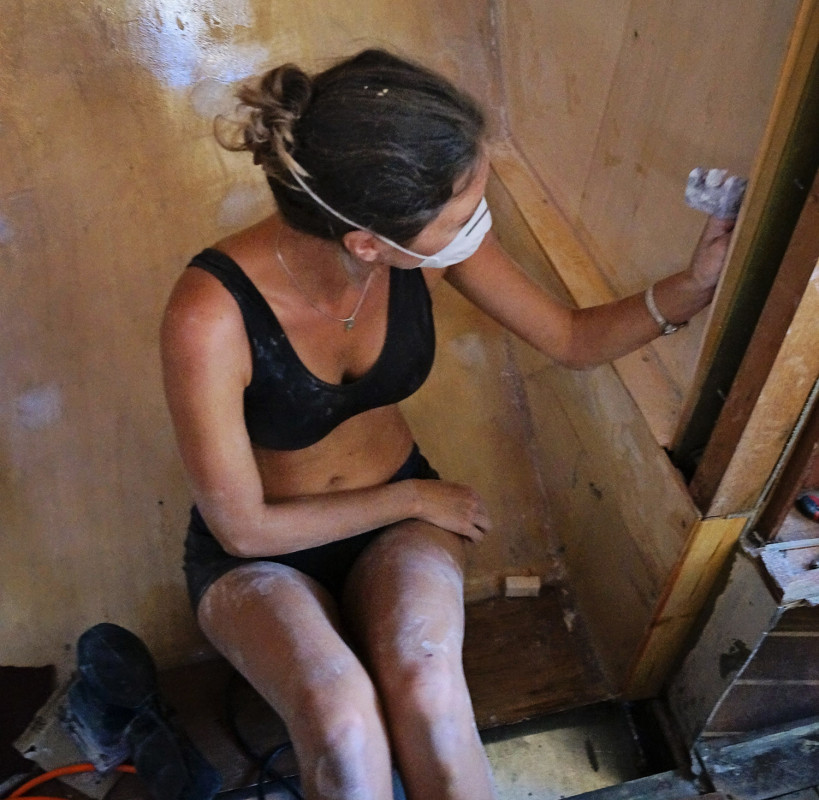
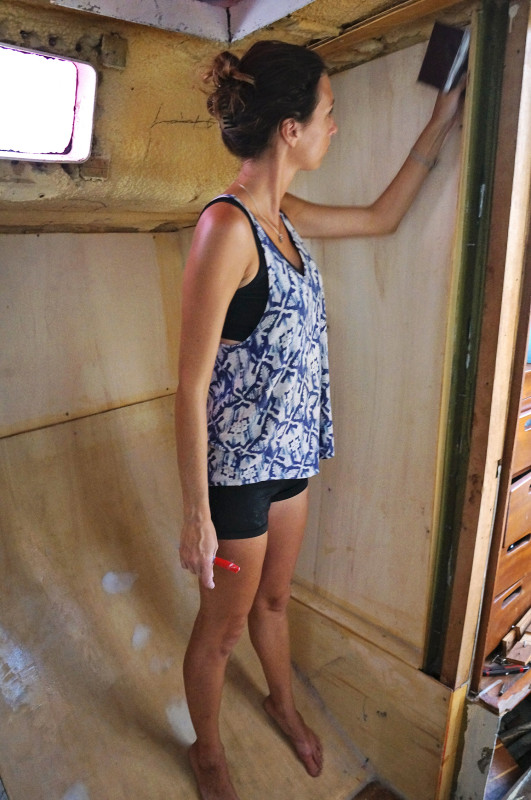
As you had probably gathered from our previous post on beginning the paint on the pilot house, that is where a lot of our time (and money) is going at the moment.  Although I’ll catch you up to how that’s going in the next post, I’ll let you know now that the painting and sanding has basically become my job.  Solely. This is because, well, not only does Matt mostly loathe painting, but we’ve found that his hand is just a little too heavy for the sanding that’s needed there.  Every time I put him to work he somehow sands back down to bare metal in too many spots.  We can’t constantly go back and touch up these areas between the multiple barrier and primer coats that are going on, so we’ve found it best just to keep him away from it all together.

The good thing is, this has now freed him up for more projects inside the boat.  And since it was a little disheartening that they had come to a screeching halt for a few days, it felt good to now see things happening on both the inside and the outside.

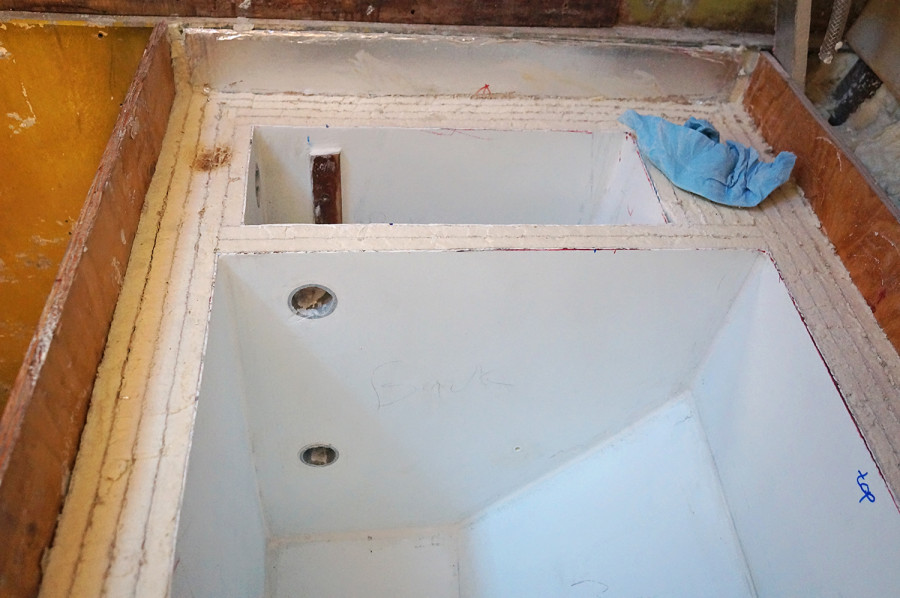
This is another post where not a whole lot has been accomplished, at least visually, so I’ll only be giving a quick gist until we dive further into this area.  This area being the head, and mostly referring to what will be the composting toilet and our cabinet.  When the toilet is finished I’ll be able to give you a much better run down on how it works and what went into it, but at the moment we’re just starting with a box in which all the components will eventually be placed inside.

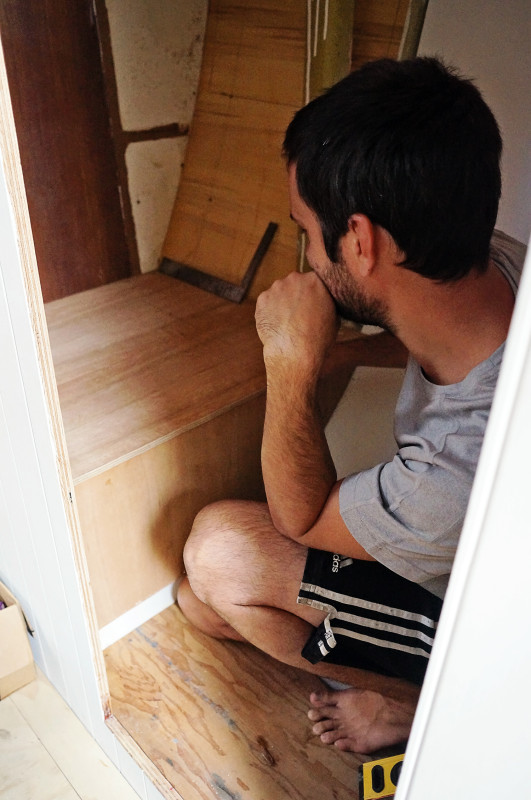
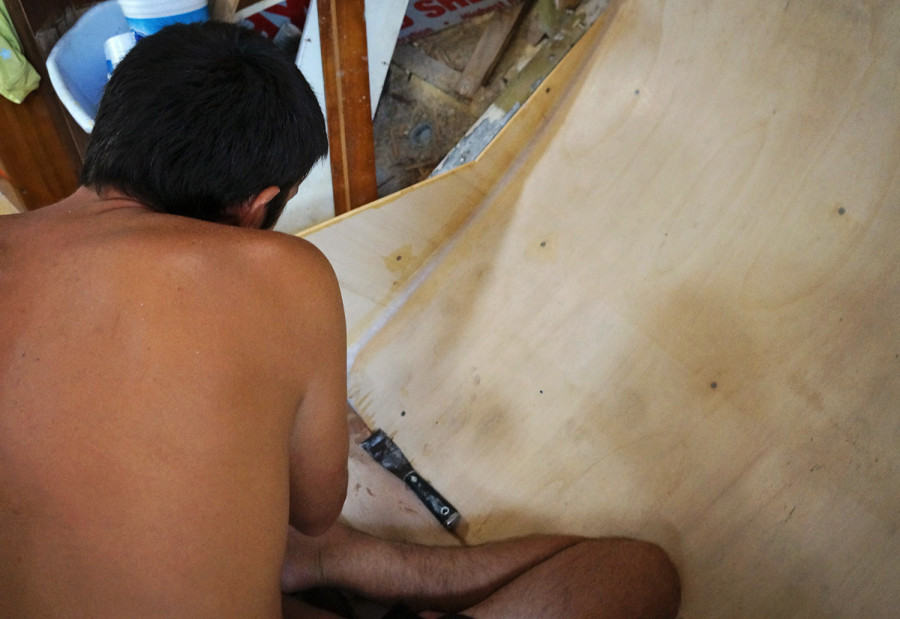
Matt building plywood box for toilet

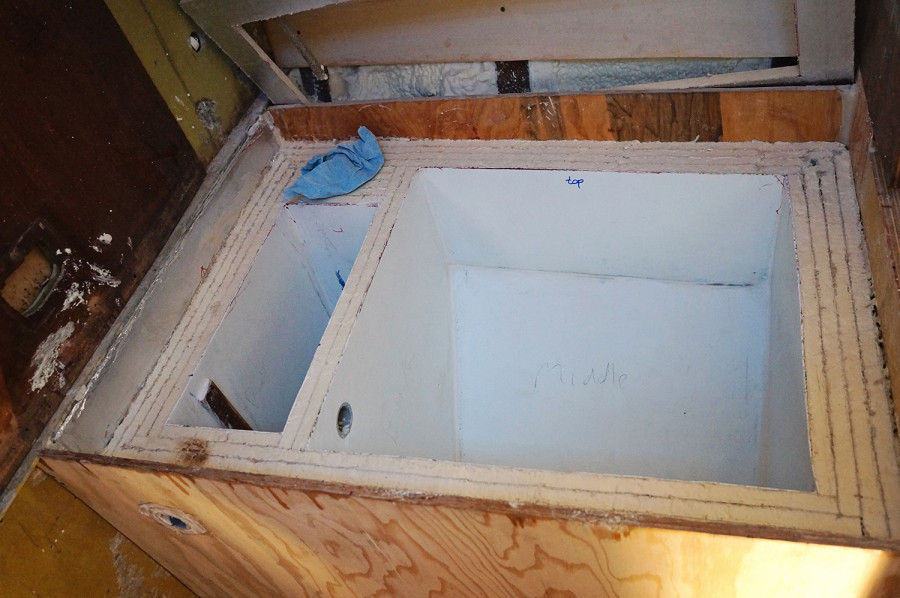
The top of the box (and what will be the opening to the toilet) runs from one wall to the other, and where it ends, the bottom of our cabinet will begin.  Using 1/2″ plywood he made the front and the top of the box, while keeping the existing walls as the other sides.  Once we had the shapes of them right, it was time to make the decorative cherry toppers.  The front of the box was very easy as we used 1/4″ cherry plywood, and then cherry hardwood as an outlining trim.

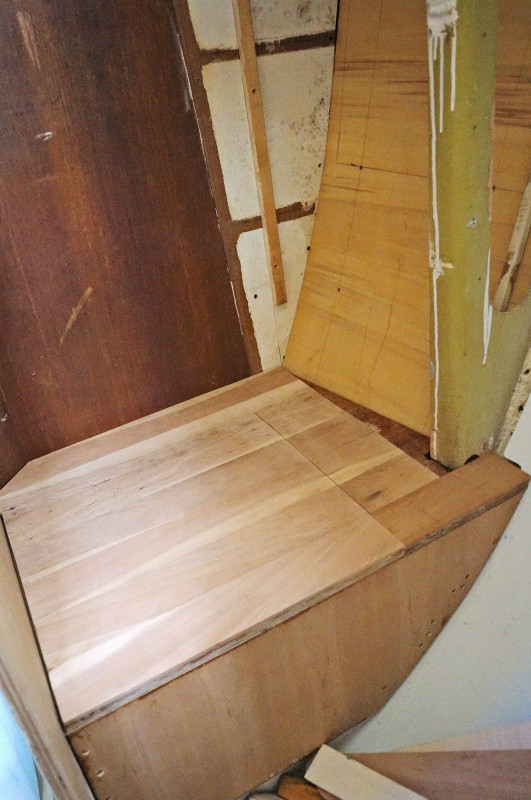
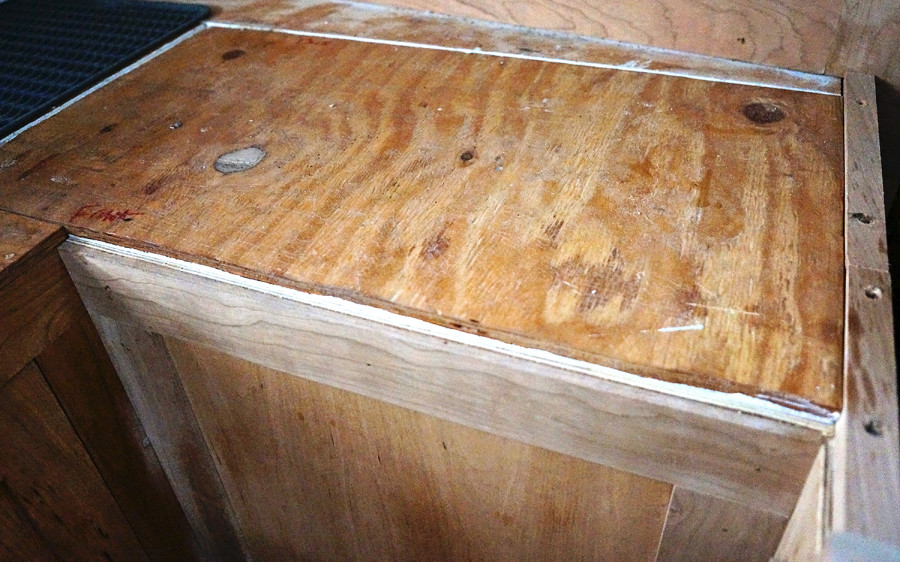
The top of the box however, is made completely from cherry hardwood.  Since all the strength is placed in the plywood though, we decided to get the decorative cherry hardwood to go as far as possible by taking the 1/2″ wide pieces and sawed them in half to a width of 1/4″.  Using wood glue and lots and lots of clamps, we lined up the 2 1/2″ pieces of hardwood until they covered all of the plywood and adhered them together.  This process was followed by lots of cussing, trying not to let gaps form between the boards, but eventually we used enough pressure to get it all to line up properly.

One of the fun and kind of funky things we’re doing with the cherry hardwood in the head, is to use all of our pieces that are showing sapwood.  Originally we were discouraged to have so many pieces that had little white lines and strips running through the cherry, thinking we were going to have to cut those sections out and end up with lots of wasted wood. But then we came up with the idea to put them all together in one space where they would hopefully flow together.  We’re still not sure how it will turn out once it’s varnished and if it was a good decision on our part, although so far it’s looking pretty cool.

cherry lid to composting toilet

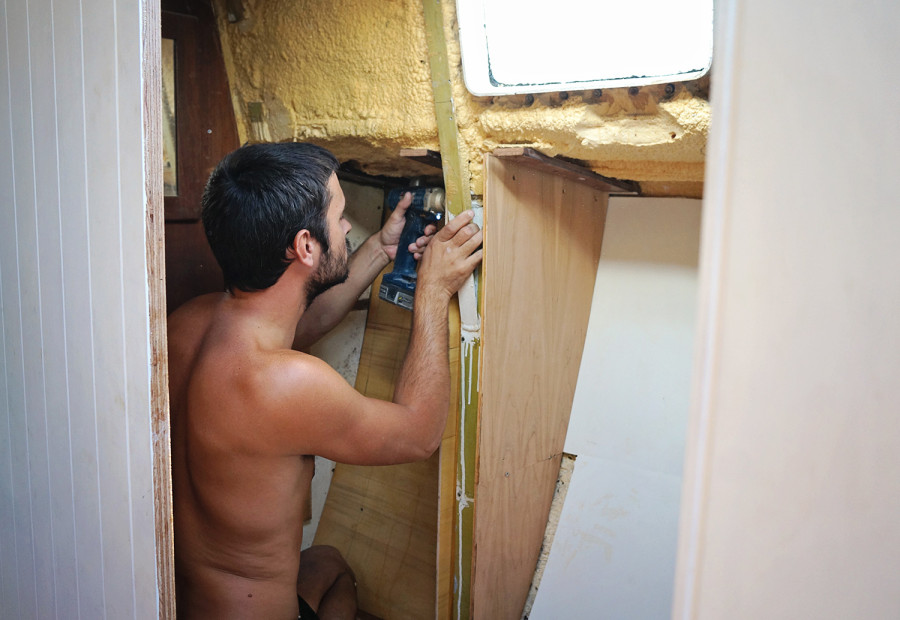
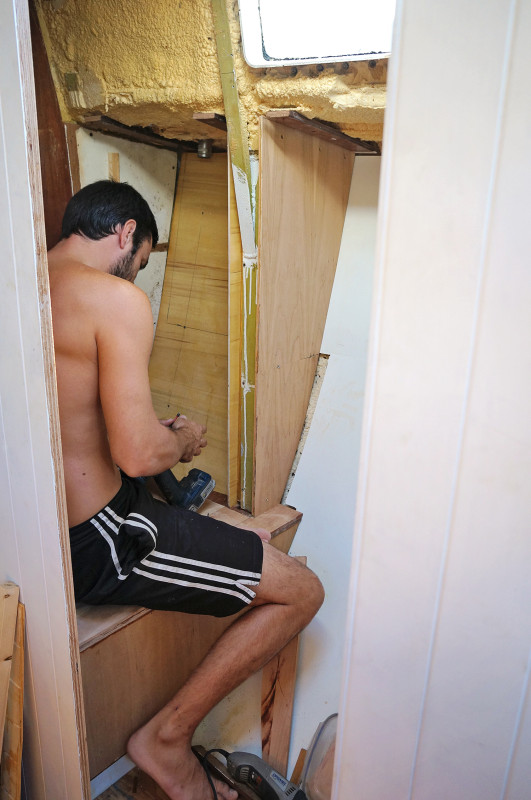
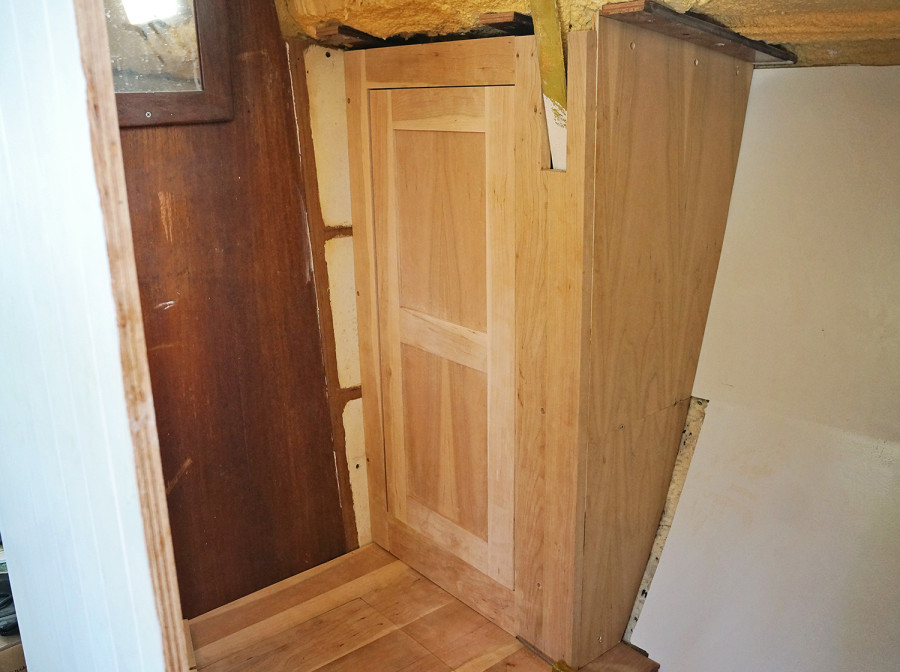
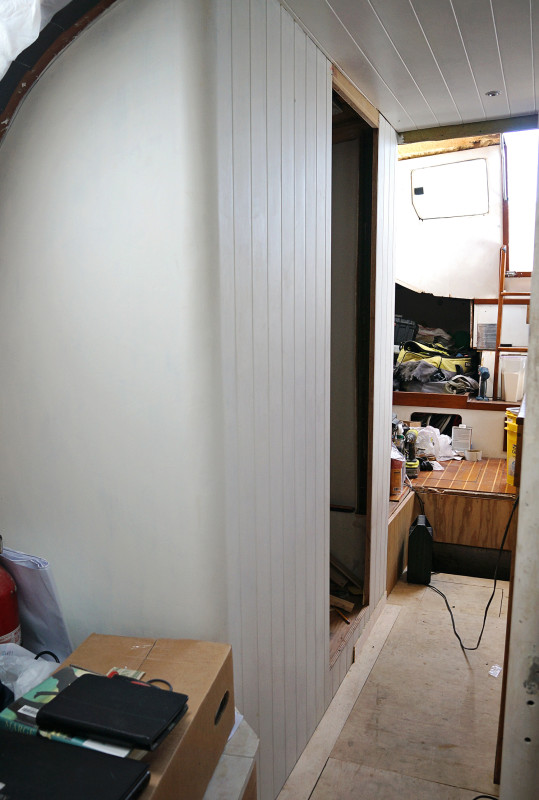
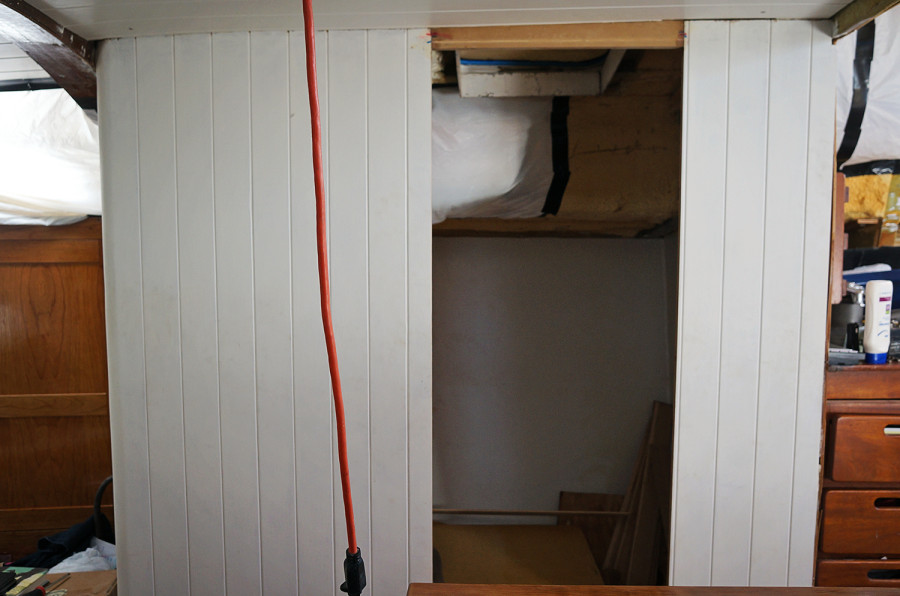
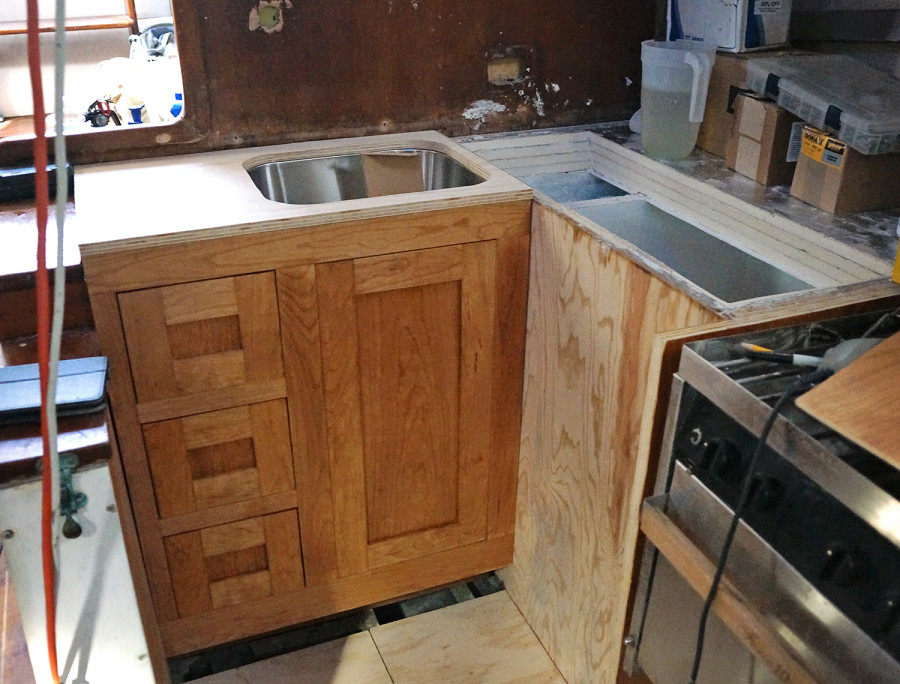
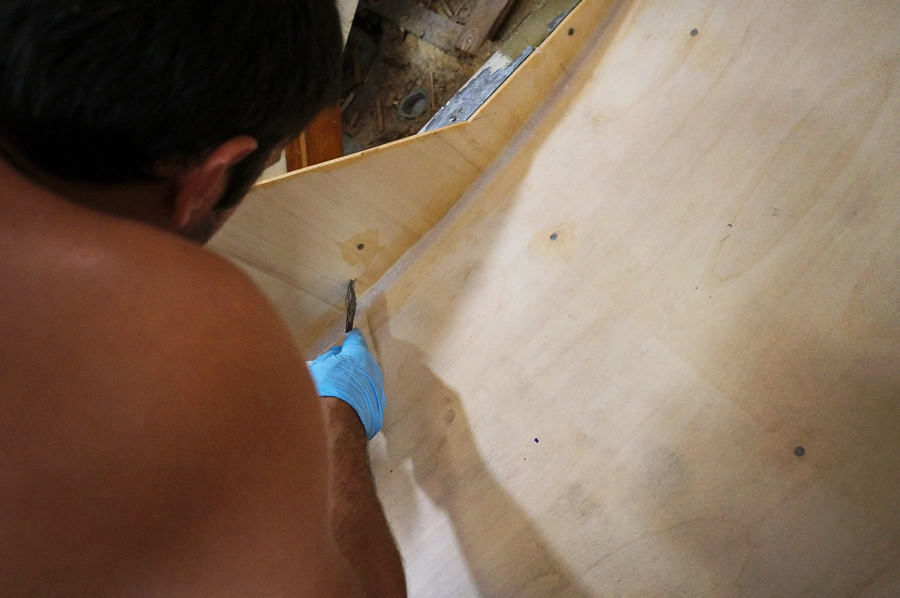
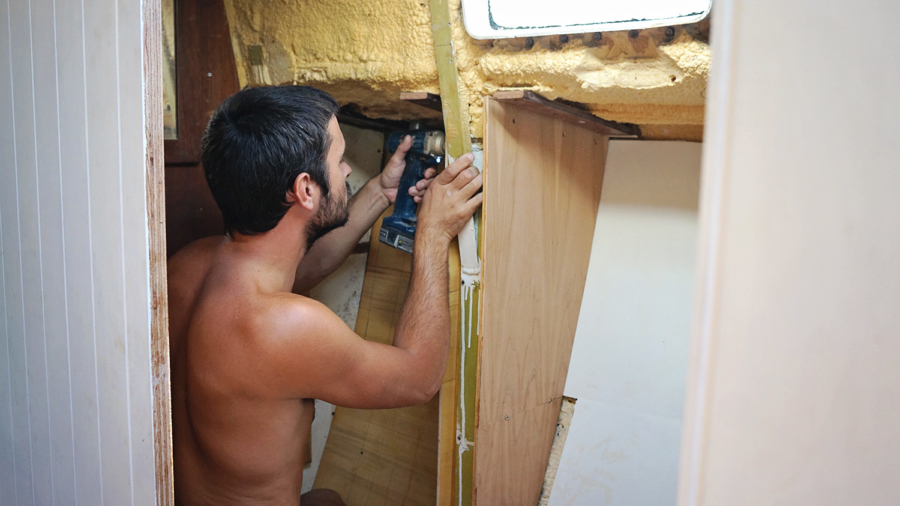
The cabinet should come out looking the same as our clothing cabinets in the forward salon, although thank god we were smart enough to save the piece of wood that was the original wall to use as a template. With that one template we were able to transfer it to 2 sheets of eruolite. One will be used as the inside wall to the cabinet, and the other will be the outside wall that will butt up to the counter.  The reason we’re doing 2 is because there is another odd metal frame that we found it easier to encase than to work around like in our clothing cabinets.

The outer wall was adhered to a piece of cherry plywood, so now it is 1/2″ thick and matches the rest of the exterior wood.

building cabinet in head

The door for the cabinet is made of a mixture of cherry plywood and cherry hardwood, just like our others, and sits inside a cherry hardwood frame.  Now that Matt has made so many tongue and groove pieces, it doesn’t take him very long to saw the necessary slots and piece everything together.

So while I’ve spent my past few days outside in the fresh air, and sometimes sweltering sun, Matt has been making a lot of visible progress down below and it is looking great!  I can’t wait until we have the counter installed and the new sink we just bought from Ikea. Everything is coming together so nicely and it would be fantastic if we could finish one room in this boat!

making cabinet

cabinet in head

zinc primer around ports

One Step Forward, Two Steps Back

I wish this post was coming to you with the good news that the new ports have been placed in the port side of the boat, but unfortunately we are back to square one.  Minus the silicone and gunk removal that is.  Or filling all the bolt holes.  But we are back to square one as far as priming and painting goes.

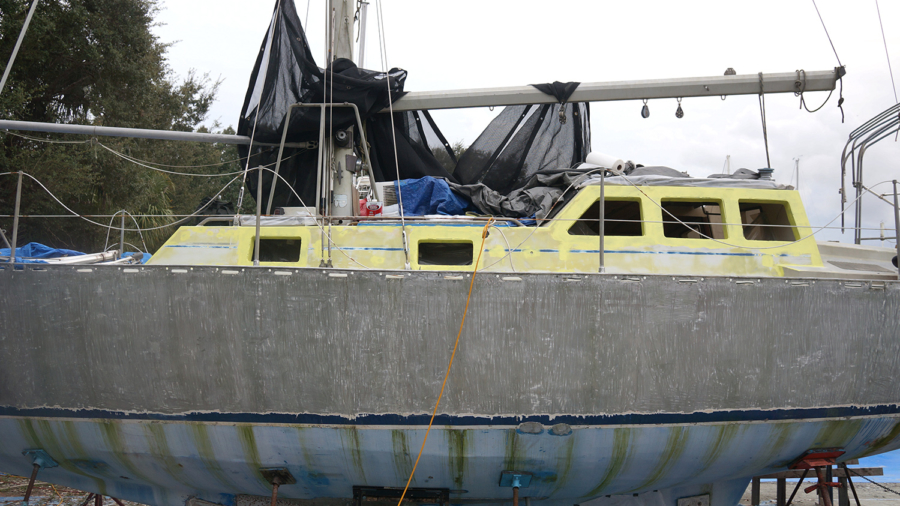
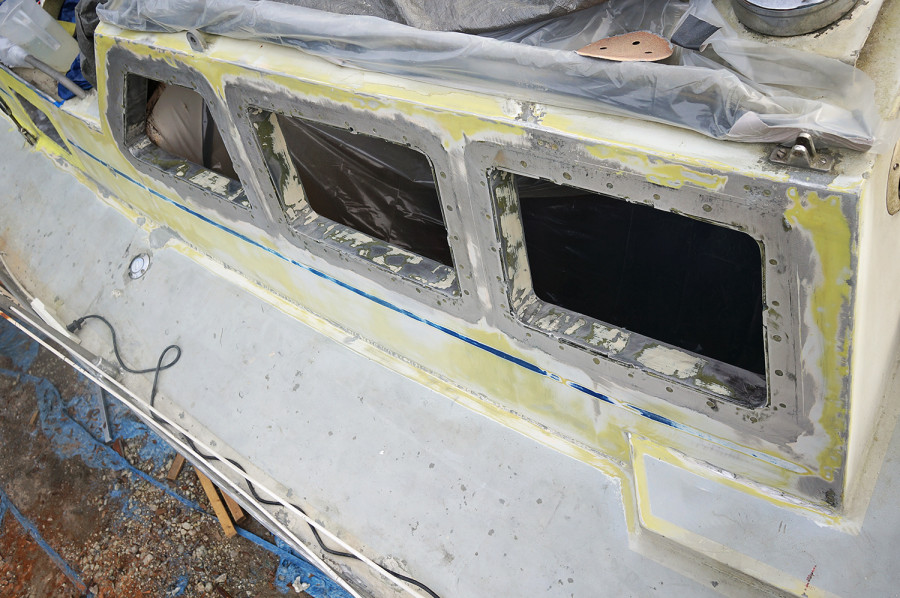
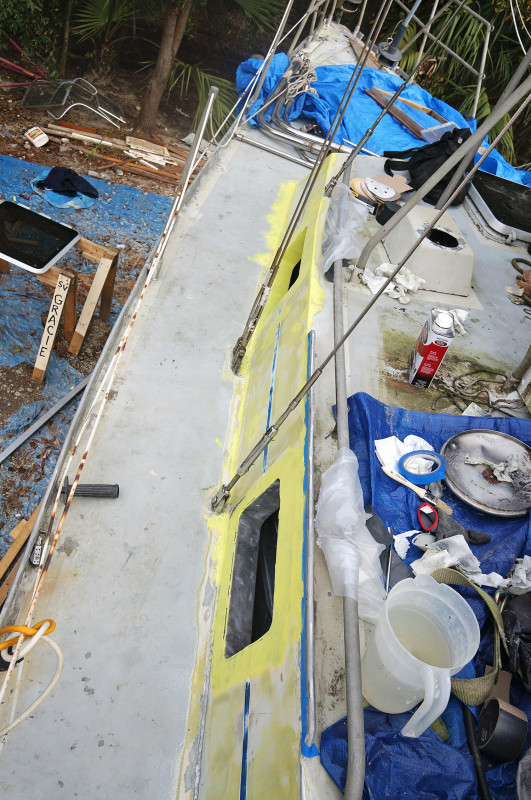
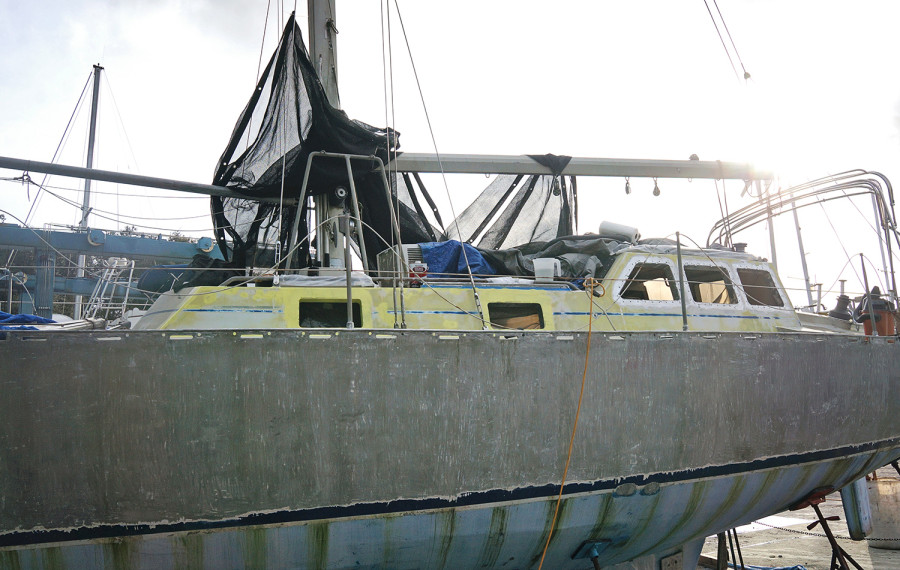
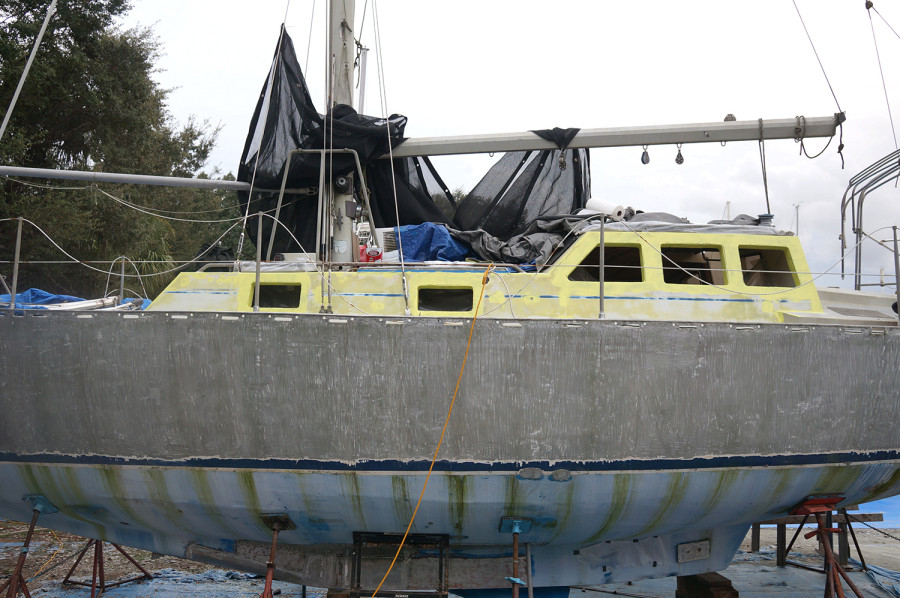
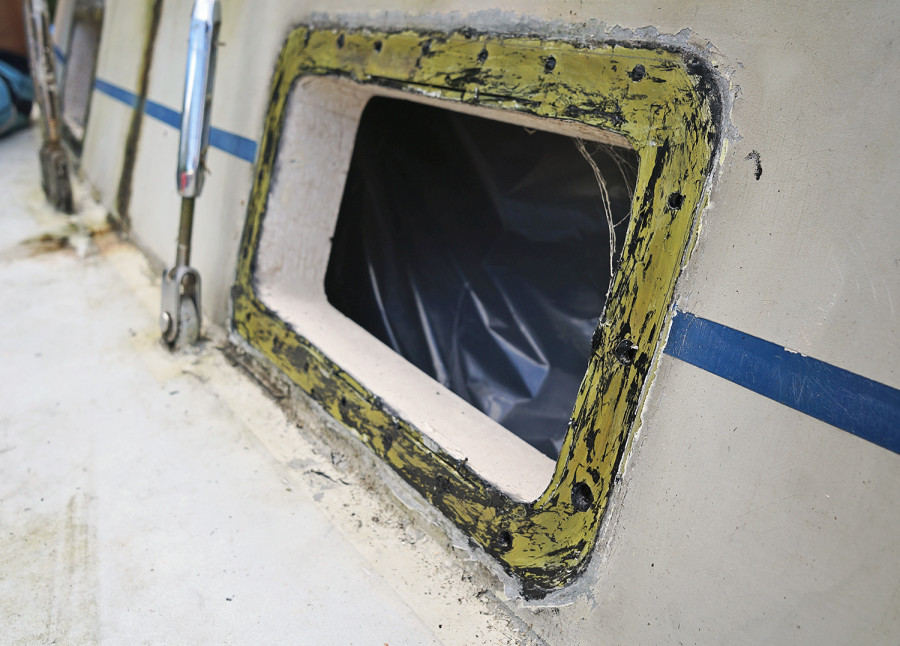
Everything had gone according to plan for the first few days. Directly around the now open ports we placed a coat of Petit Aluma Protect, a 2 part strontium chromate epoxy primer. This is to give a proper barrier coat over bare aluminum, and comes in an awesome almost neon yellow color.  Although we started by coating only the area surrounding the ports that we had ground down to expose and fill the extra bolt holes, as soon as that was on and protecting that bare aluminum, Matt moved on to grind off all the remaining paint from that side of the pilot house and coachroof before the entire side was coated in the Aluma Protect. So far, so good.

The next stage was to place a barrier coat on, and what we had chosen to use was Petit Protect Epoxy Primer.  The first thing that went wrong with this barrier coat is that we had meant to get it in white, but when it came in the mail we had found that we’d accidentally ordered gray.  Turns out when we placed the order button online we had been paying more attention to the sale price instead of the color. Even though the next primer coat and final coat would be white, we weren’t sure how well it would cover the darker color underneath.  Not one to throw away a good deal though, we thought we’d give it a shot. What we hadn’t expected, but found out once we’d applied the two necessary coats, is that this is a high build primer and did not want to sand well for us.

If it was a barrier coat to the bottom, no big deal.  We’d just be apply the top coat after and not worry about any bumps or ripples caused by the roller.  The topside though…yeah, a smooth surface is pretty important to us.  As soon as we’d take any kind of sandpaper to it, trying out both 100 and 220 grit, it would automatically clump the paper and we’d be left with either a bare spot where it all came off or a still semi rough surface. Thinking that maybe the primer would hide some of these mistakes and we could then smooth that down to a dimple free surface we added the next step of Petit one part white primer, the same as what we used in the head.

As you’ve probably guessed by the title of this post, it hasn’t worked out for us.  After a bit of discussion and deliberation, we talked about continuing with the products we had, doing multiple rounds of priming and sanding until we had the smooth surface we desired.  Or, we could start fresh with different products.  So that is what we have decided to do.  All of our hard work over the past 5 days is now getting washed down the drain as we grind the side back down to bare metal and start from scratch.

We’ll be keeping the Petit Aluma Protect as our barrier for the aluminum, although after that point we’re switching to Interlux InterProtect for the barrier and primer coats. A little more time and money out the window, but what can you do? Being such a major focus of the boat we can’t do a slapdash job on the paint and hope no one we’ll notice.  We certainly would.

We’re sad the line of Petit products didn’t work out for us although we’re still using them for the top coat), and it’s possible the fault could have been all our own. Maybe I just have terrible ratio and mixing skills.  We’ll never know. The new products should be arriving any day though,  and we hope this time around everything goes much smoother.  Both literally and figuratively.

removing paint around ports

zinc chromate primer

Jessica mixing primer

ghost ship Daze Off

zinc primer around ports

barrier coat around ports


cleaning holes in window

Down the Rabbit Hole…Replacing Our Ports

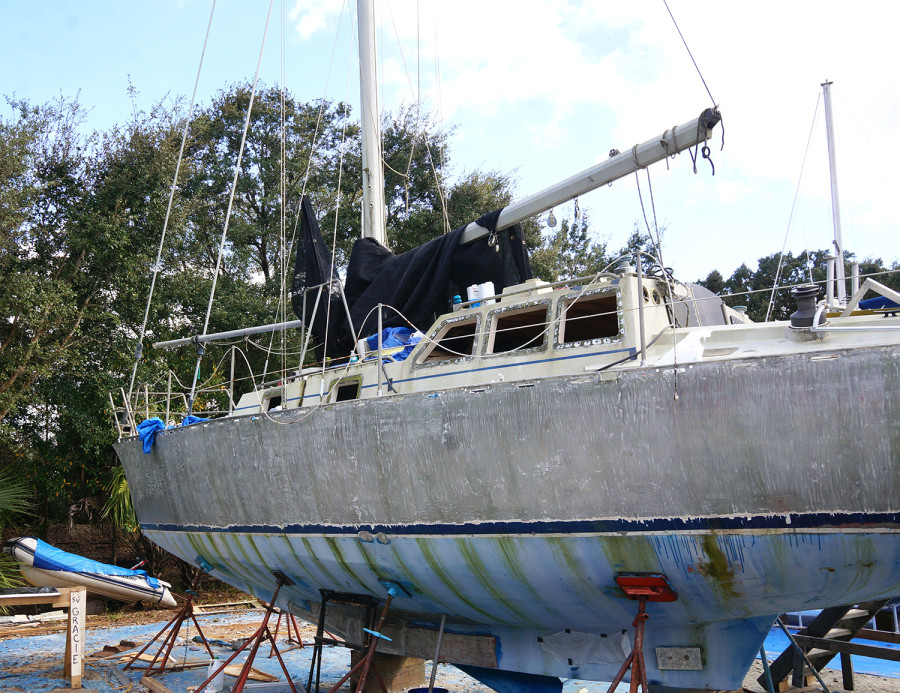
When I was told we were going to replace the ports (deadlights) on the new boat, I thought ‘Sure, no problem’.  We’d just replaced the hatches, we knew the weather was now right for this kind of undertaking, and the fact that we’d already done it on Serendipity. The thing I was not thinking about, is this project would be infinitely harder on Daze Off.  Not only were we starting with blank sheets of plexiglass where we were expected to trace, cut, and polish the new glass instead of ordering pre-sized and cut pieces, but we also had to first paint the areas that the new glass would be adhering to.  And that was going to be the extremely difficult part.

I’ll go over one of the stages today, but overall they’ll include: removing the old plexiglass; cleaning the surface of the existing adhesive, sanding and grinding off the existing paint until we were down to bare metal; filling unnecessary holes with epoxy (I’ll get further into that); starting with a zinc chromate primer, adding barrier coats; primer coats; top coats, and then we can start the process of actually putting the new plexiglass in.

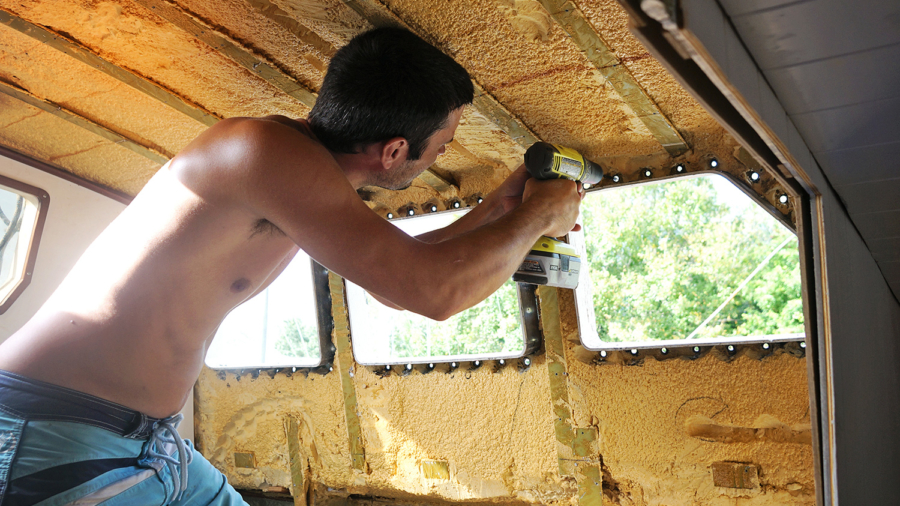
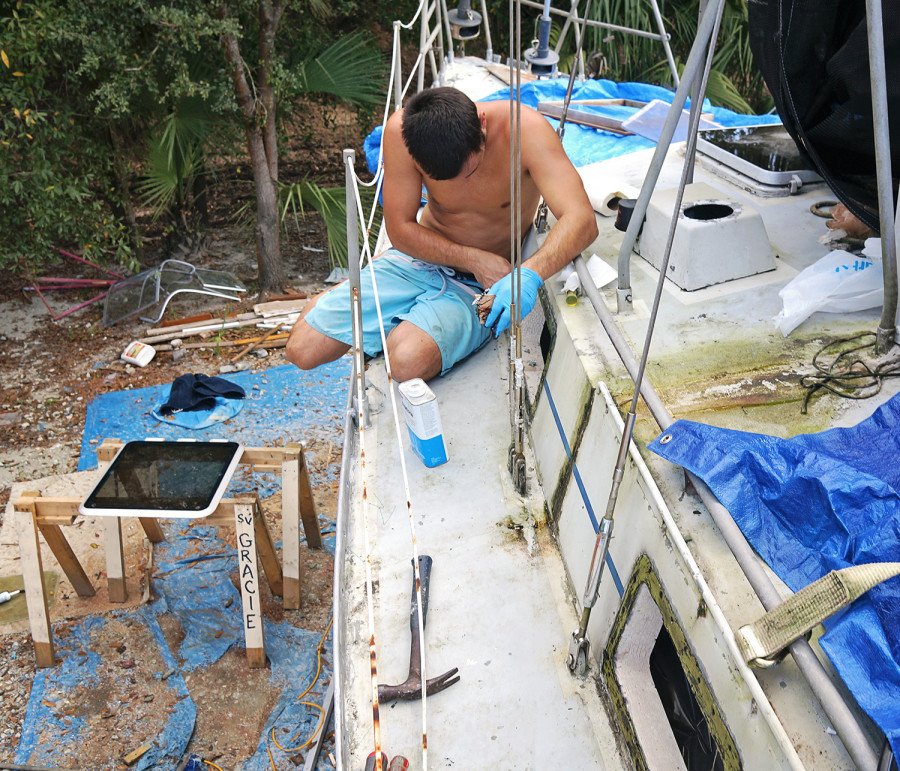
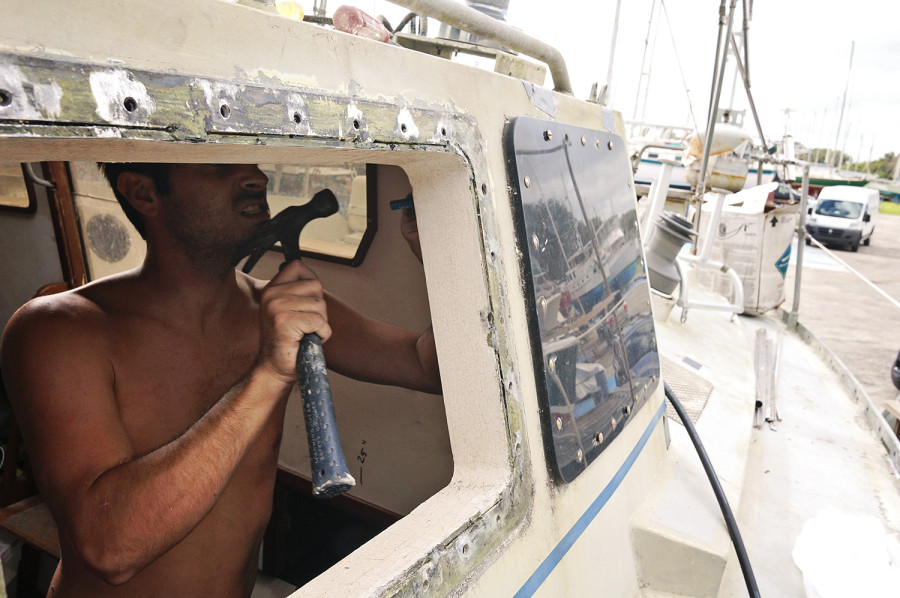
The part that we tackled today was removing the existing windows on the port side of the boat and cleaning the area.  Since the windows currently have umpteen bolts screwing them into the hull, we worked with one person inside loosening the nuts while the other one sat outside keeping the bolt from spinning.  I feel a little bad for Matt as he was the inside guy, and once he got to the pilot house he found himself in the area where we’re storing not only all the templates we removed from that area when we needed to add foam insulation a few months ago, but also our extra clothes, toiletries, and even non perishable goods we can’t fit in the galley.  Basically its a heaping mess in that area, and trying to move things around to get decent foot space in there is almost a project in itself.

That first step didn’t actually take all that long, but the next one was a doozy.  Removing the caulk on the outside where the windows had been adhered.  Unlike when we cleaned the ports to get the new glass in, this caulk did not stay rubbery and scrape off easily.  It was gooey and messy and was taking up all my patience to clean off an area of 2 square inches.  Using a combination of small chisels and other scraping tools, it felt like I was only moving the substance around instead of actually removing it.  Even with the added help of acetone I was barely able to wipe it off.  Then I thought of trying mineral spirits.  Bingo.  It basically dissolved the old caulk, moving it around a bit, yes, but then the acetone did take up the rest of it.

scraping old ports

removing old port

Matt removing ports

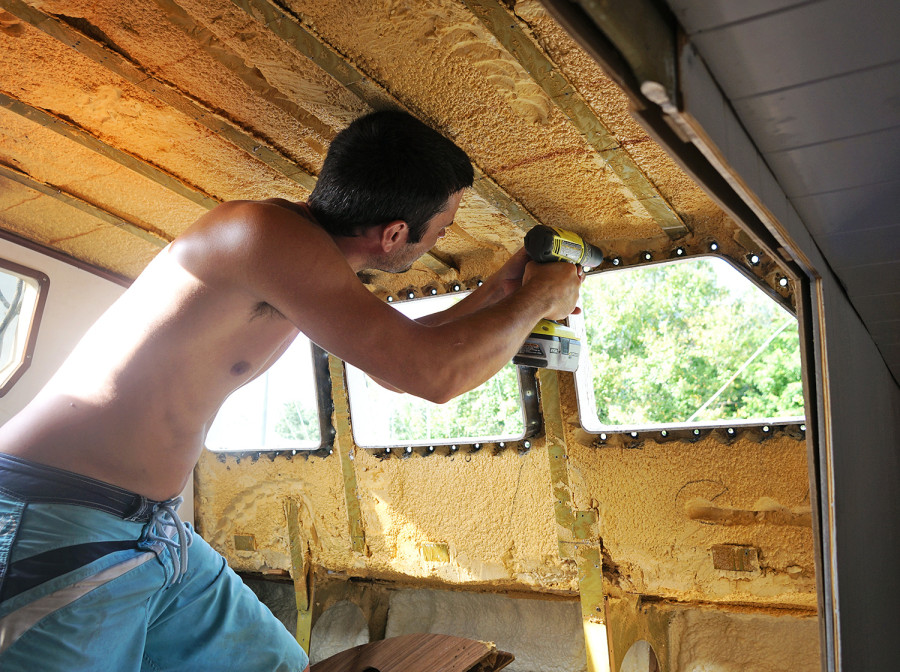
That job took foreeever, and by the time we were finished my hands were covered in black goop and I was very glad we still had a little Orange Goop around so I could somewhat clean myself up. It wasn’t me who still had the dirty jobs coming up.  Matt now had the fun task of grinding off the paint around the frame so we could then fill all the holes from the bolts with epoxy.  We had both decided that all the extra metal seemed like a little much since with new technology, the bolts aren’t responsible for keeping the port in (we’ll be using a strong tape and caulk), so we’ll go down to only one in each corner for just a little bit of added security.

To make sure that all the dust and debris that was getting scraped off didn’t make it’s way into our immaculate living quarters (ha), I made sure the windows were taped up from the inside. Once the area around the holes were cleaned, Matt made sure to clean the holes out even more, using a drill to grind each one of them and expose fresh aluminum that the epoxy would then adhere to.  I taped up the back of each hole to make sure nothing would leak all the way through once it was applied.

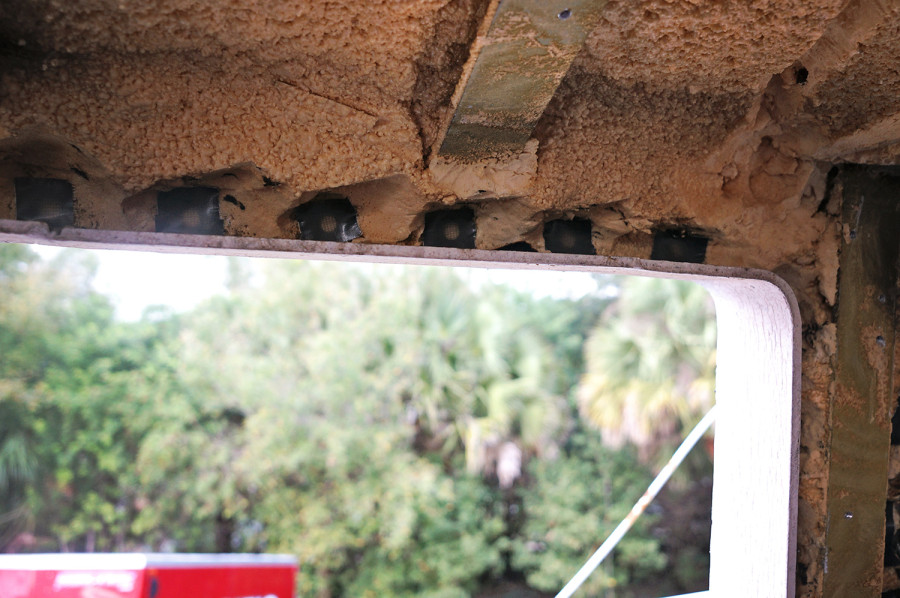
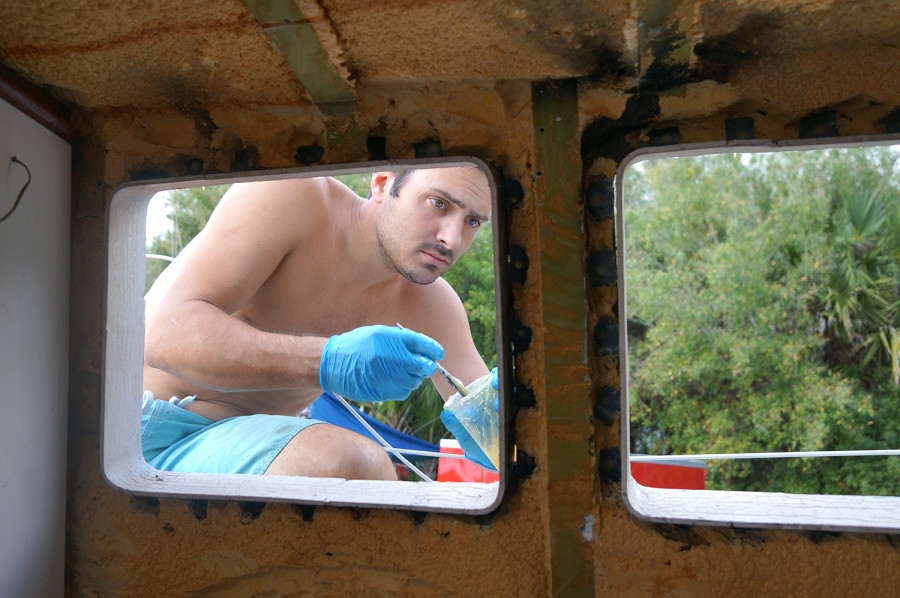
Using a 2 part G Flex epoxy through West Systems, Matt mixed up equal parts and carefully filled each hole.  We weren’t worried about scraping the outside smooth since it will all be sanded flat once its hardened.  And with that, we wait.  Next step will be to take off all the paint from that side and begin priming! But….we also move on to the downside of this whole projects.  No windows.  Looks like there will be lots of tarps, plastic sheets, and tape in our future.

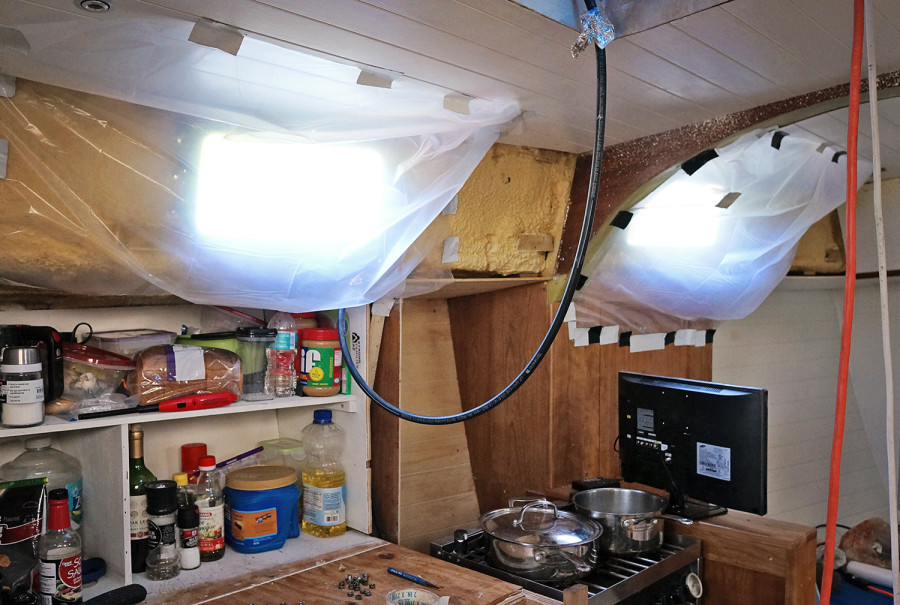
tarping the inside of the boat

cleaning holes in window

filling holes in deadlight

epoxy filler

Daze off with no ports

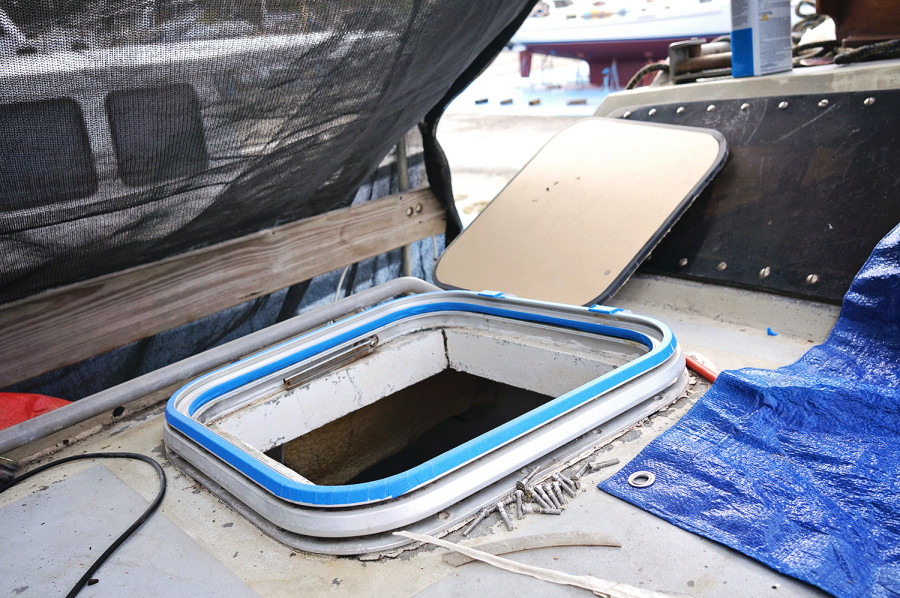
hatch frame

Replacing the Hatches

replacing hatch

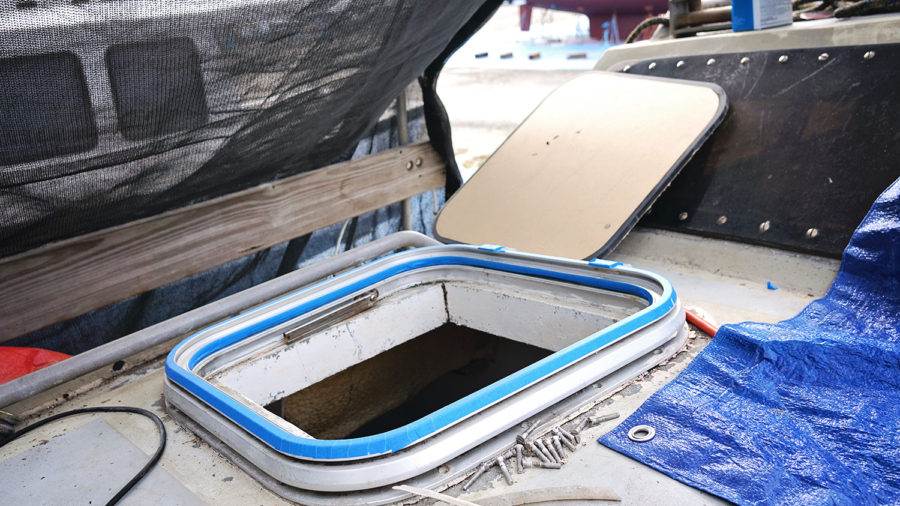
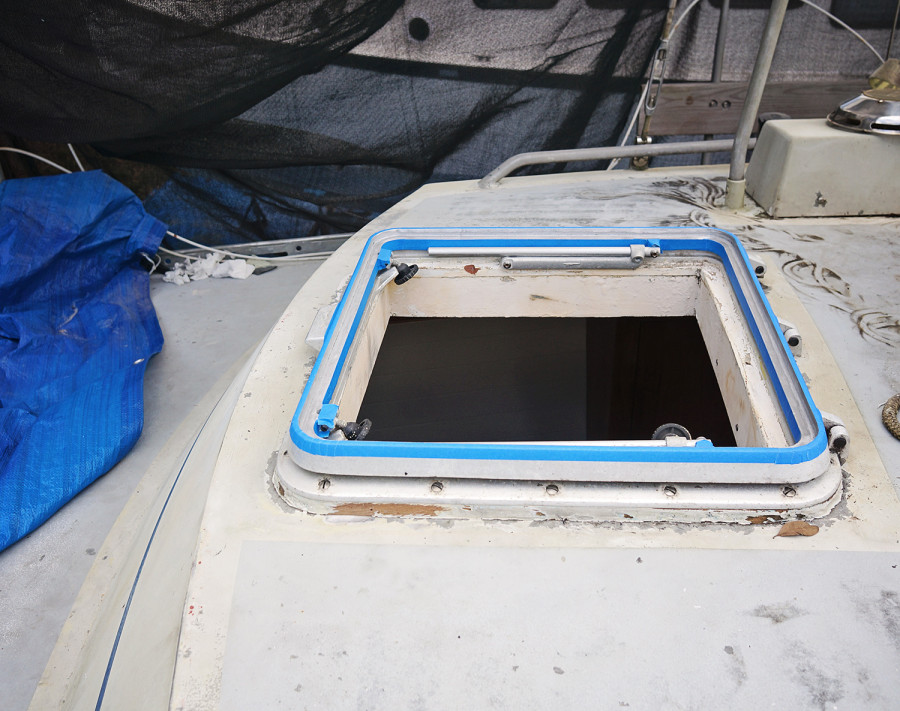
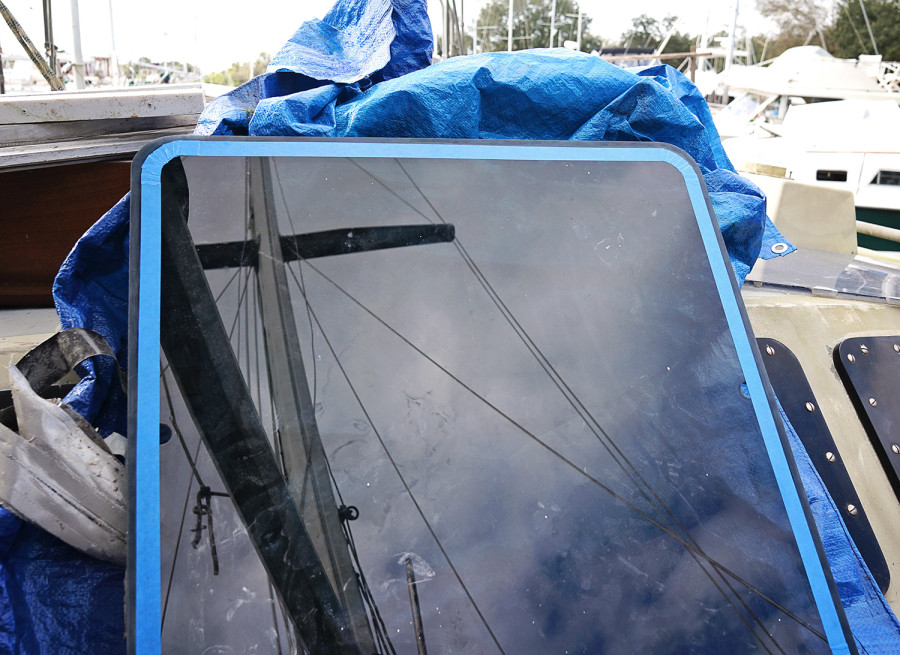
A small but important project has been finished!  We’ve now replaced our hatches with new plexi glass.  And this time, they’re leak proof.

I can’t remember if I had mentioned this in a post this previous summer, if not it was probably because I was too frustrated by the entire thing, but we tried this project in late August and failed.  I should correct that statement a little bit.  Everything that we did was great.  It was the 90 degree temperatures and high humidity that did us in the first time around.

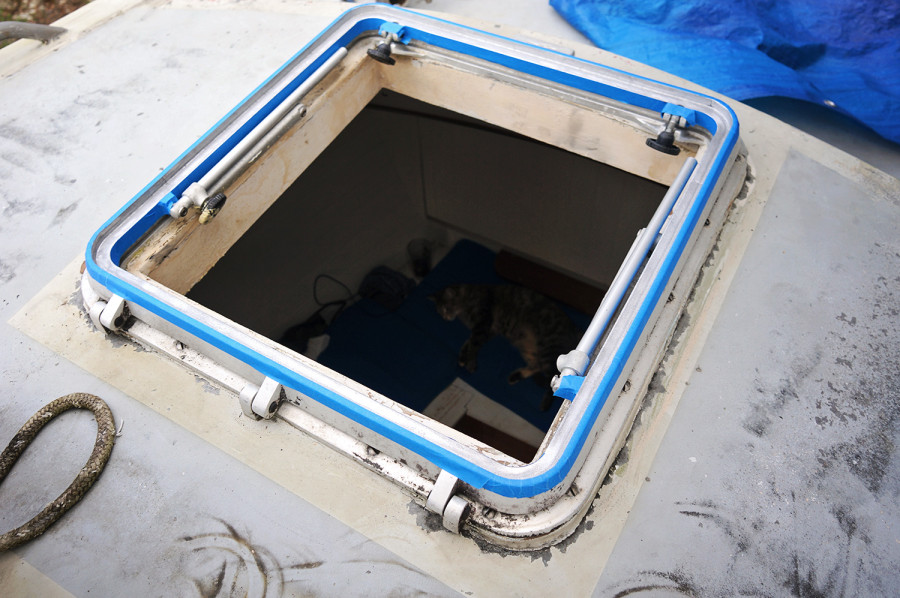
We had spent all morning cleaning and taping the hatch frames, caulking the area, perfectly placing the new plexi glass in, and cleaning the remaining goo that slid off the taped areas.  This was by far the most difficult and time consuming task of the entire project.  I must have bathed every hatch frame, as well as myself, in Acetone that day.  Walking away from it once everything was cleaned up, we were proud of our work and excited that we could finally remove the tarps that had been keeping the inside of the boat water free through the stormy summer.

It wasn’t until we went back a few hours later we found out that due to the incredible heat of the day, the plexi had expanded, pushing out a majority of the caulk we’d sealed it with, and then contracted again leaving gaps where it should have been sealed.  It was honestly a little agonizing to find out that a project we had been so looking forward to completing was all for nothing.  It would have to be done again once temperatures cooled down into the 70’s, just to make sure we didn’t have this mistake happen a second time, and until that point the tarps would have to be thrown back on and the inside of the boat would once more be cloaked in darkness.

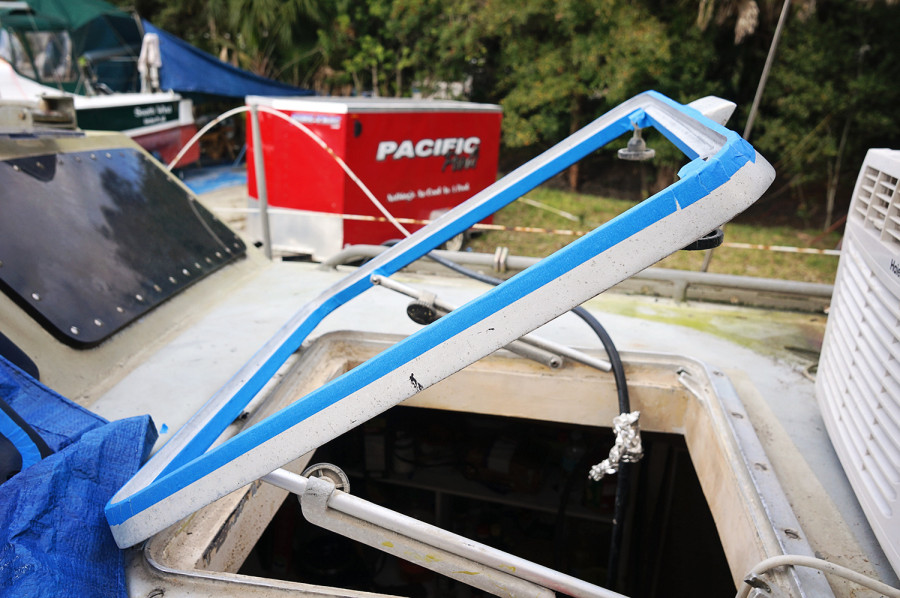
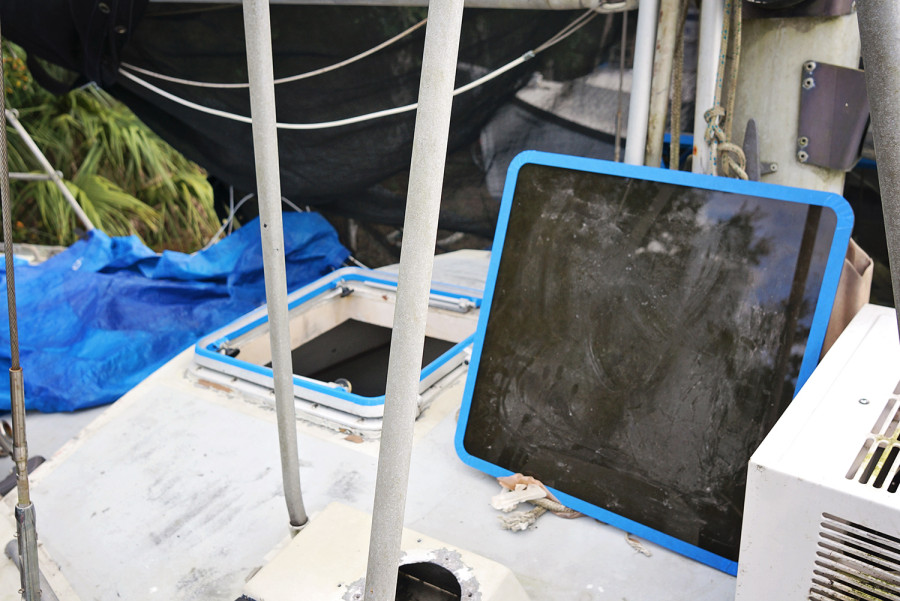
Well, after the summer that would.not.end, we’ve finally gotten to a season where we trust that the Dow 795 we’ll be sealing the glass with will actually stay put this time.  First there was the preparation of cleaning off all the old caulk until the point there was nothing left and we had a clean surface for the new stuff to stick to.  Then it was time to go through the process again. So once more I taped the plexi at the edges, taped the hatch frames, and stood at the ready as Matt squirted the black caulk into place.

As we’ve found with a lot of our other projects, it’s always easier the second time around.  We breezed through all the steps and even clean up was only a minor hassle.  Making sure to keep the area shaded, we’d check back every few hours to make sure everything was staying put.  At the end of the day it was so far, so good.

The next day we did a hose test on all the hatches, hitting them full force with water to make sure there were no leaks inside.  With Matt on deck with the hose and me below looking for any drips of water, it appeared as if we were in the clear.  We should know for sure the next time a storm rolls though, but it looks as if we succeeded our second time around.  Let’s hope that’s one of the few projects we have to do more than one round of.

(To replace the old plexiglass we ordered a 4’x8′ sheet of 1/2″ 2064 tint Chemcast plexiglass.  We used the existing glass to trace the shape onto the new glass, and cut the general shape with our jigsaw, using a blade specific for plastics.  To get the edges perfect we used clamps to place the old pattern on top of the new one and Matt attached a trim bit to our router, and ran it around the sheet. This gave us exact replicas of what we needed to replace. Using a 5/16 firstner bit we drilled the necessary holes to attach the hardware that opens and closes the hatches.)

taping plexi hatch

hatch frame

taping hatch frame

plexi and hatch frame

open hatch


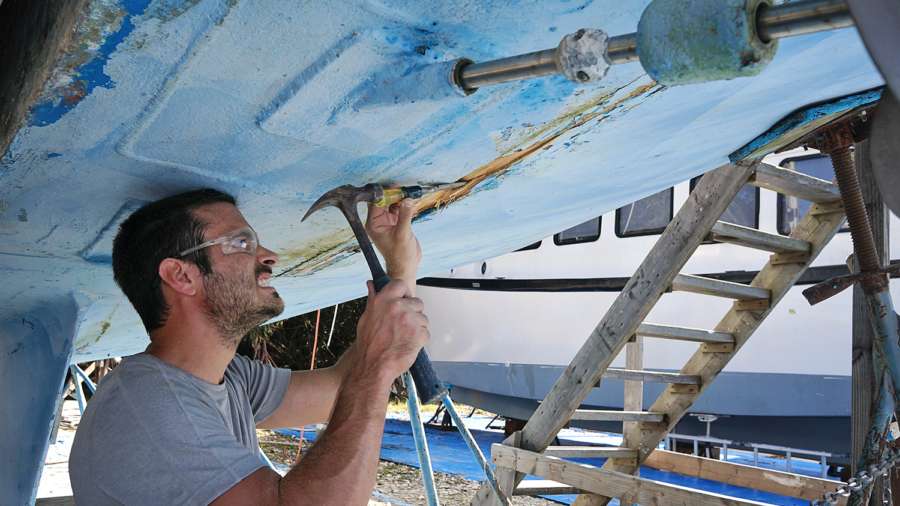
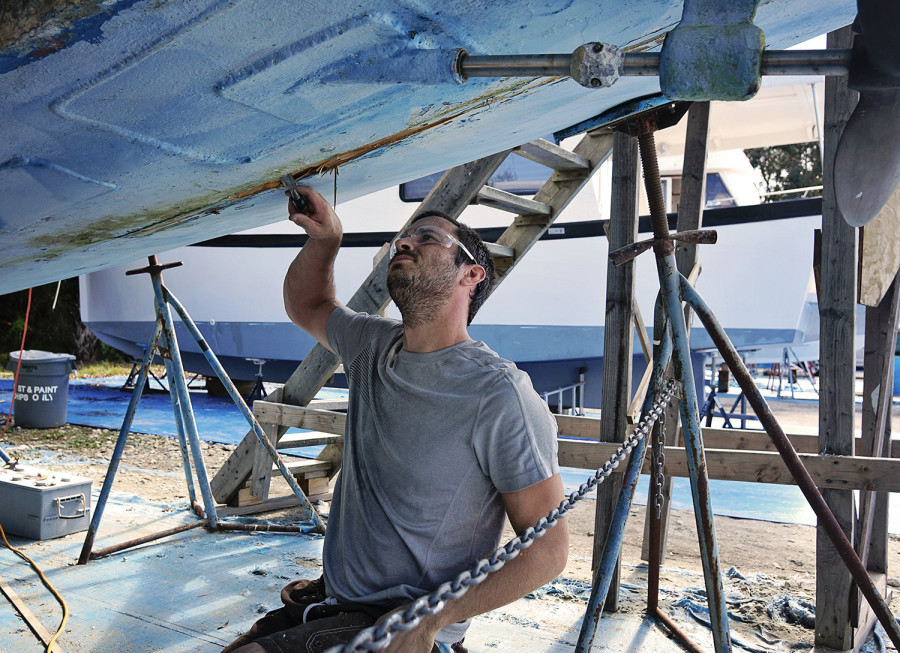
taking chisel to daggerboard slots

Cleaning Out our Daggerboard Slots

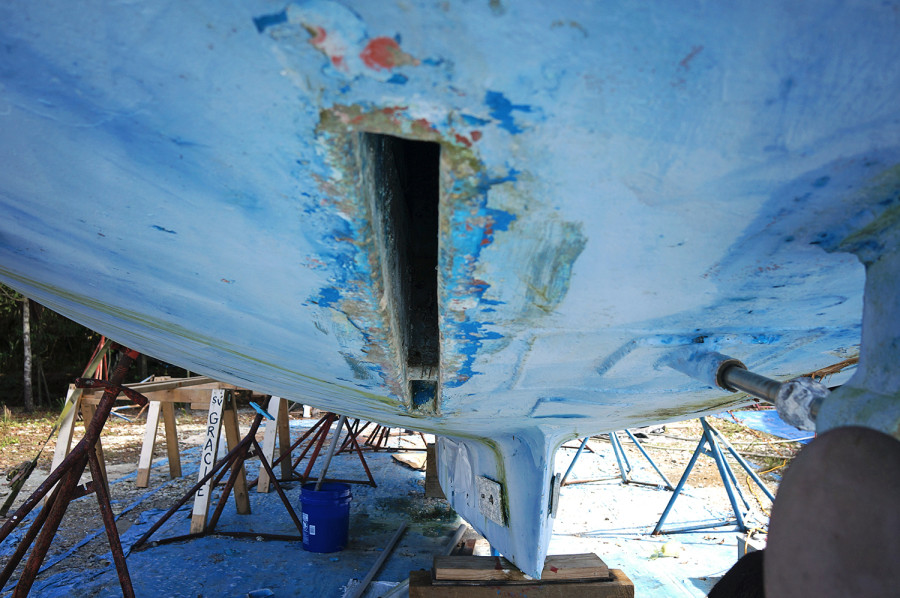
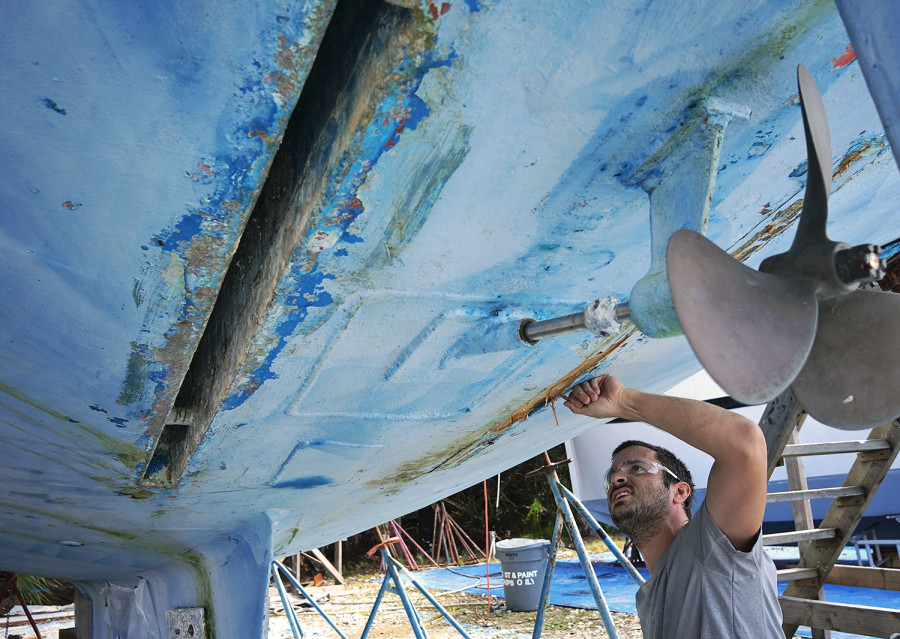
open daggerboard slot

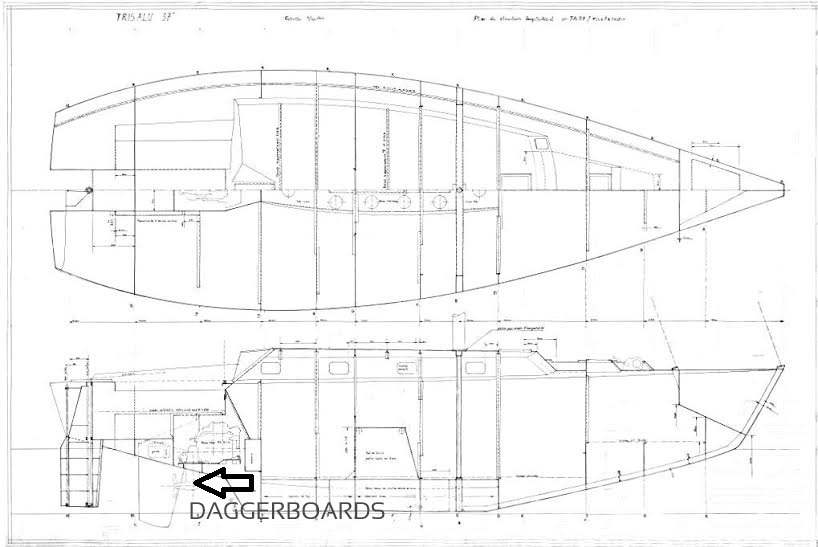
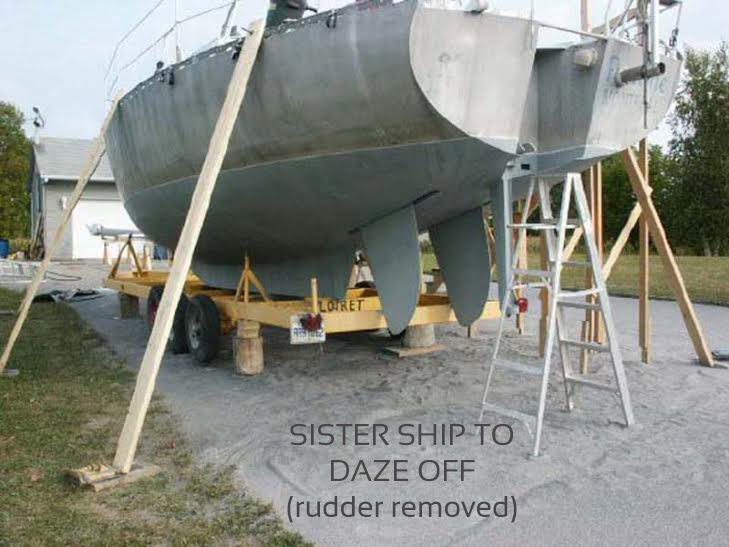
Did you know that our boat came with daggerboards?  Originally, that is.  We don’t have them anymore which is unfortunate, because these two stabalizing boards that once came down the aft end of our boat would have made downwind passages so much more comfortable.  No rocking back and forth in the waves, but instead riding them like it was on rails.

The daggerboards are meant to be used both upwind and downwnd.  When sailing upwind you would lower the centerboard and lower the leeward daggerboard to help keep the boat on it’s intended course.  Once you’re running downwind you raise the centerboard to bring the control aft and help prevent broaching.  With the centerboard in the upright position you lower both daggerboards to give stability and help the boat steer straight.  Something that would have been nice to be able to do, but now we can’t.

Trisalu plans

Trisalu 37 with daggerboards

We don’t know the history of what happened to the original boards which were in place, but we do know this.  Most of the time, daggerboards are built of plywood and fiberglass.  This is because they hang lower in the water than the keel and are more likely to come into contact with something in the water.  In case this does happen you want them to be able to break cleanly away from the boat so there is no further or long term damage.  We’re assuming this is what happened sometime in the history of Daze Off.

What we do know is that at some point, for some reason or another, they were removed from the boat and the owner at the time took pieces of teak, approximately 4″x4″, coated over them with epoxy, and called it good.  We also know that this was not a secure fix and eventually water leaked into the area.  The wet wood against the aluminum helped to cause corrosion in the area.  Because there is no way to get inside this slim area that runs 4″ by 5′, our only real option is to bring our welder back to properly seal over this area.

I shouldn’t say it would be impossible to do, but much more work that it’s worth, even though we would love to have them for our travels. The back area is a waterproof bulkhead separating the lazarette.  If we did want to put all the effort into properly welding the area to be able to put new daggerboards in we’d have to cut open the cockpit, remove engine, and go through a number of extra steps that are unfortunately not worth our time and energy.

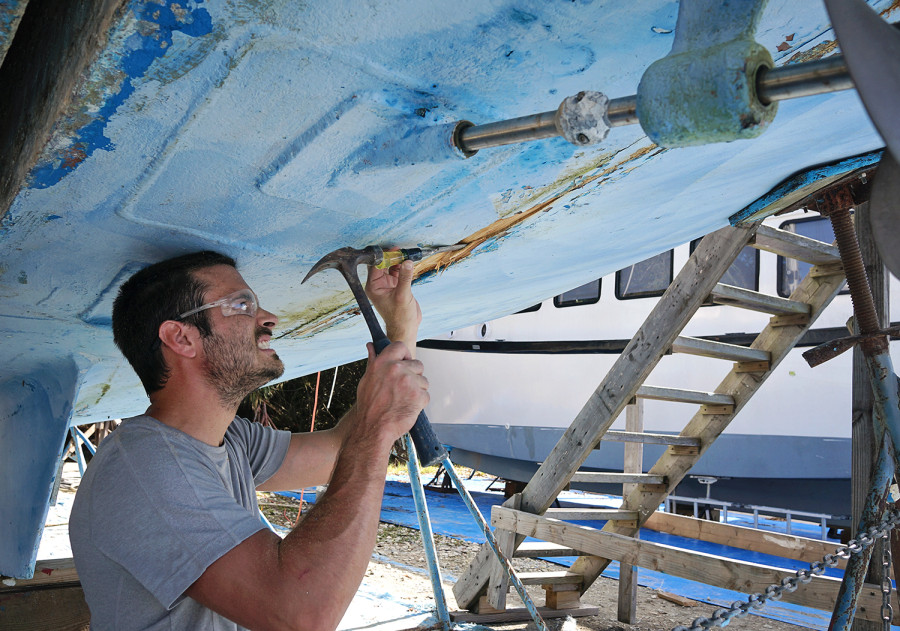
Before we can have our welder come out to close the area off, Matt had the unfortunate task of trying to remove the teak and clean the area out.  Much easier said than done as those boards were shoved up there something fierce, and we’ve been using everything we had in our arsenal to get them out.  First it was small things like a hammer and chisel, or a hammer and our pry bar, but those barely put a dent in to teak.  Eventually we were able to track someone down in the yard that had a reciprocating saw, which allowed Matt to get the depth he needed in there to really break the wood up.  Once he had that, everything began to cleanly fall out.

We’ve just given the area a power wash and it should be good to go for our welder the next time we get him out here. To clean this boat at sea after fishing, you’ll need a salt water washdown pump to make the job easier. One more project knocked out!
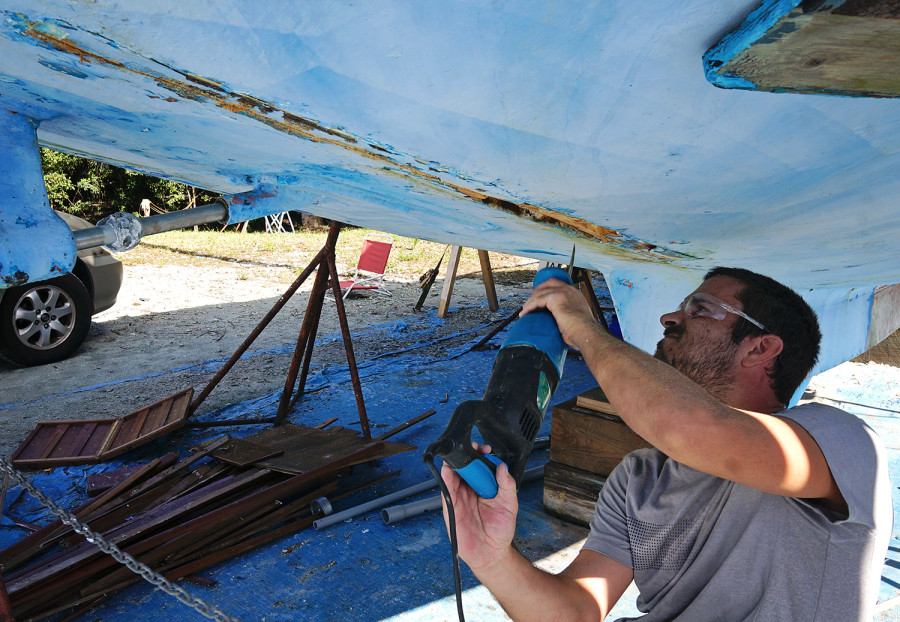
Matt scraping daggerboard slots

daggerboard slot

Welded patches above are from the boat’s original Saildrive, which was removed and replaced with a normal prop shaft when the boat was re-powered with a Yanmar engine.

taking chisel to daggerboard slots

cleaning with reciprocating saw

taking paint off aluminum hull

Going Bare: Stripping the Paint Off our Aluminum Hull

scraping paint from aluminum

Awhile back when we were de-naming our boat by trying different methods to remove paint and see if it was what we wanted for the final product, there was a debate on if we did in fact want to go down to bare metal or just remove the top layer and repaint with a fresh white coat.  And if we did decide to remove all the way down, what would be the best way to do it?

One of the first things we tried was to try an 80 grit flap disc to see how much of the paint it would remove, and how quickly.  We already had all the tools necessary for this, so we didn’t lose much by spending one hour one afternoon to see what it could do.  The second option of removing the paint would be with a strong chemical stripper, and that we would have to go out and purchase.  If you haven’t met us, we don’t like to spend money on things that aren’t necessary.  But since we were 90% sure that a bare hull was the route we wanted to go, it was worth it to buy a quart of the stuff just to test it out.

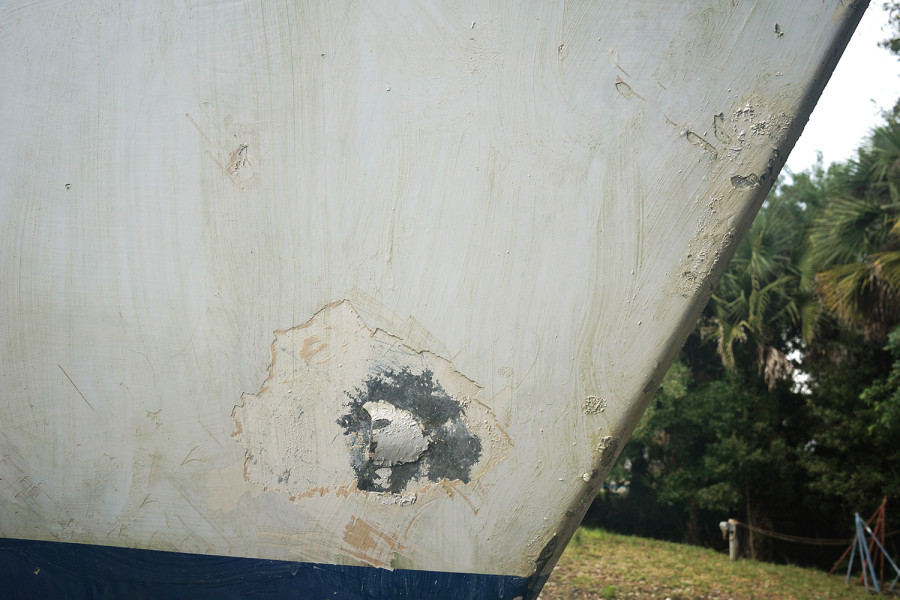
Working a small patch by the bow on the port side, we found out the instructions were completely inaccurate when it said that paint would be ready to come off in 5-10 minutes.  After believing this is how it was supposed to work and ready to give up on that as an option after 3 tries, we waited a few months until temperatures had cooled down just a little and left it on for 20 minutes to see what it would do.  Turns out that was the trick and using the chemical stripper became a very viable option.

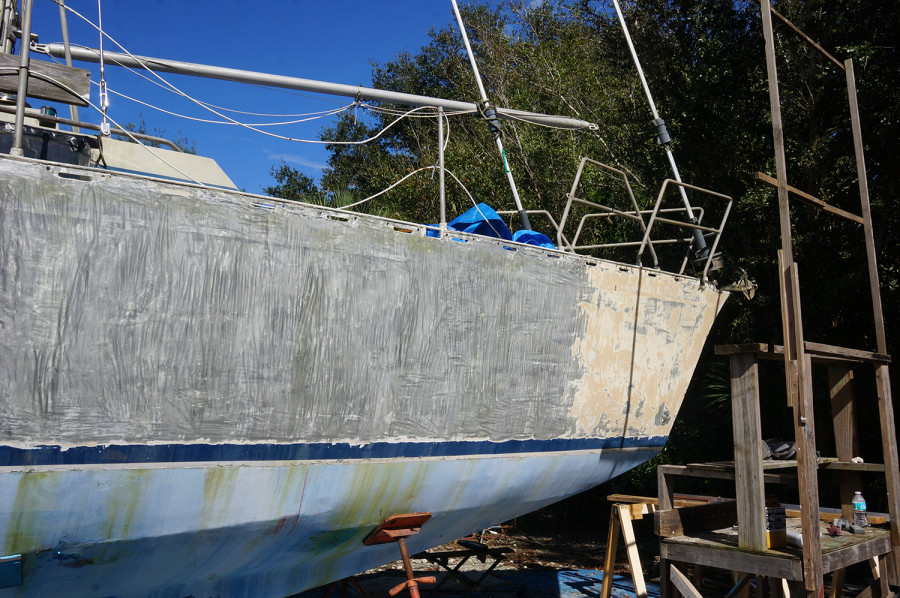
Having done only one small strip though, we still didn’t know if we would like the entire boat bare.  I think I was initially more for it than Matt, although his big worry was that we would take all the paint off only to find out that a previous owner had put it there for a reason.  As in, there were many uneven spots that had to be fared and covered so they wouldn’t be noticeable.  Stripping off just a little more, and just a little more, we eventually got to a point where it would be too much work to replace it with a chrome primer, barrier coat, and paint would have been too much work.  A decision had to be made.  In the end we decided to take our chances with the bare metal as we kind of liked how it was looking, plus once it’s finished we’ll have the added bonus of forgetting all about it.  No worries about scratching the paint in our future.

Our test coats of paint removal were done with Klean-Strip Aircraft Paint Remover, but once we knew this was the route we wanted to take, Matt did a little searching online and found a good deal on gallons of Rust-oleum Aircraft Remover and we switched over to that. From that point on it became a goal to get as much of the paint off as soon as possible.  We had originally discussed it as a task to be done when we were stuck between other projects, or only an hour or two a day so we didn’t wear ourselves out.  Turns out though, our drive to complete just one project was far greater than the need to spread it out, and we were able to do the whole boat in under two weeks. (The two sides split up with the visit from my parents.)

paint on aluminum boat

chemical stripper to remove paint

paint coming off hull

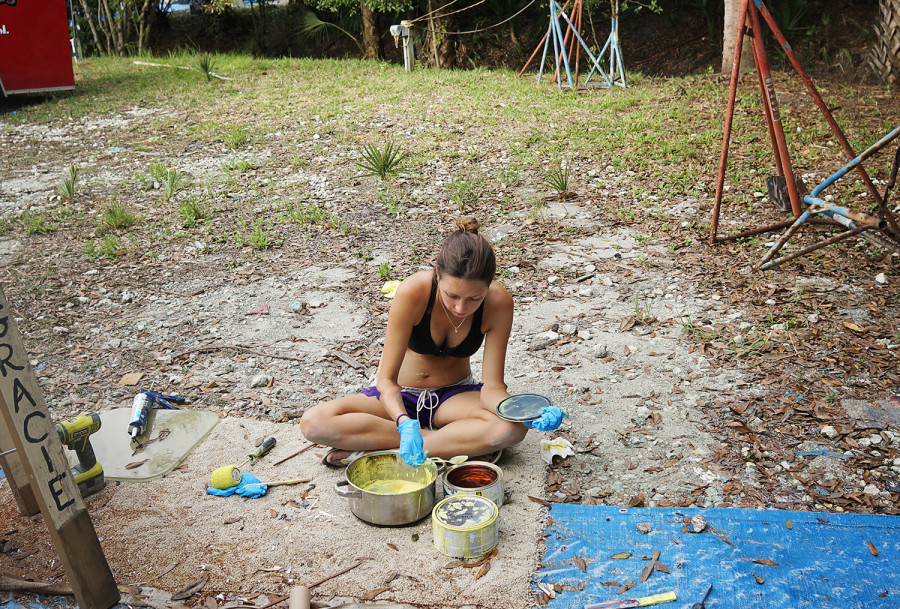
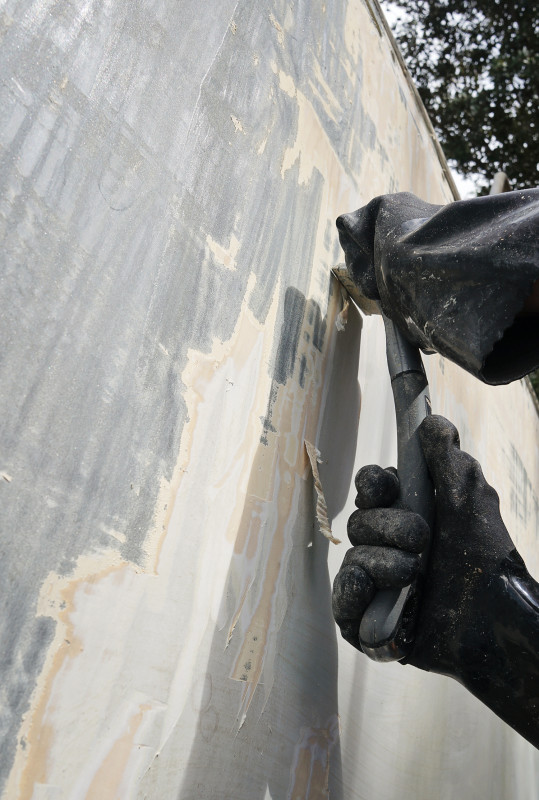
Through a little bit of practice, we found a method that worked very well for us.  Overall it took 2-3 rounds of applying the remover before we were down to bare metal.  First I would go through with a chip brush and a metal pan filled with the remover, since it was one of the few items the chemicals wouldn’t eat through.  Wearing a full face mask, gloves and long sleeves, I’d go through and paint on a very thick coat to a section about five feet long, and all the way top to bottom.  Sometimes an unfortunate drop would come in contact with an exposed area of my skin that happened to sneak out of it’s clothing, but the good thing with this is that water neutralizes the chemical, and with a few seconds under the hose I’d be good as new again.

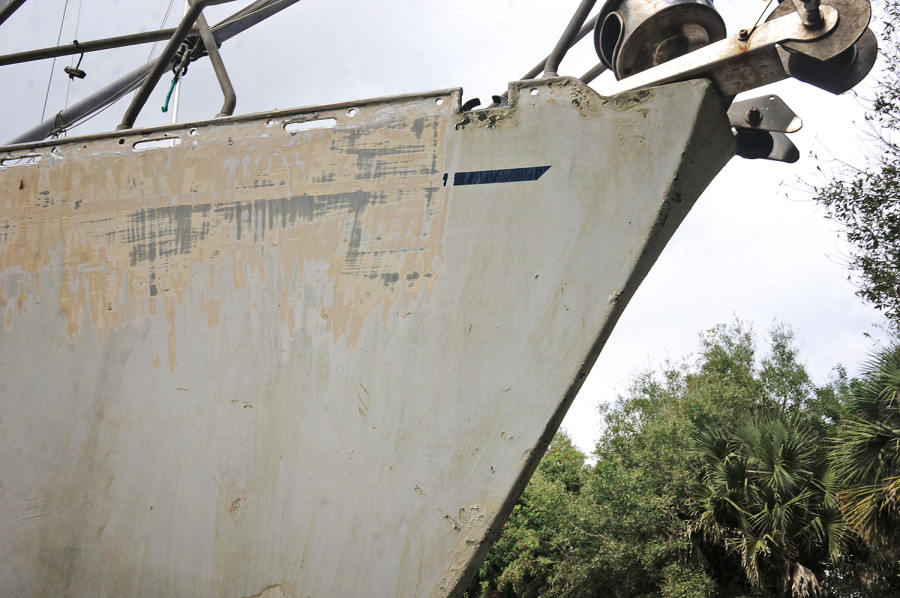
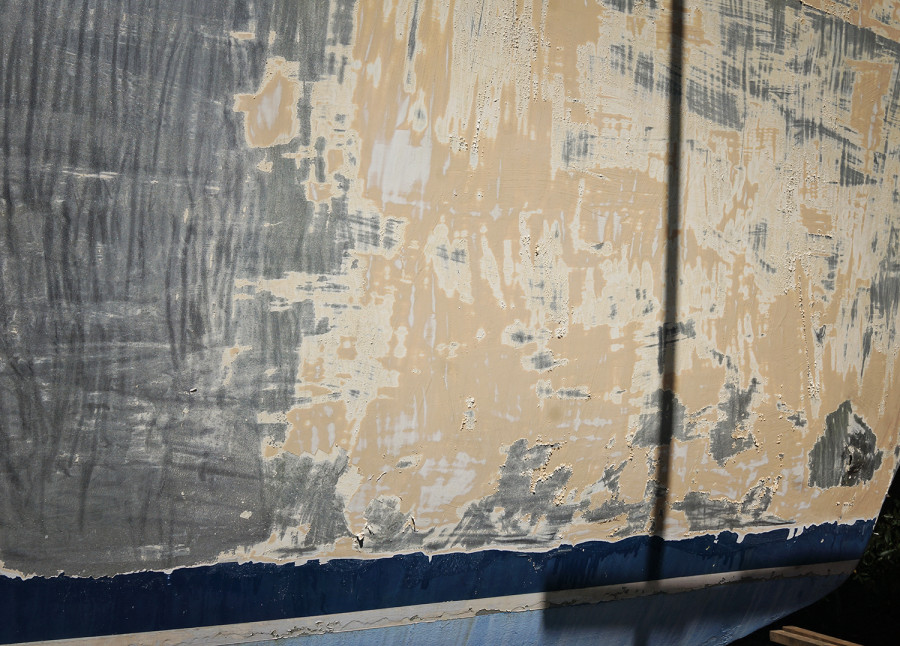
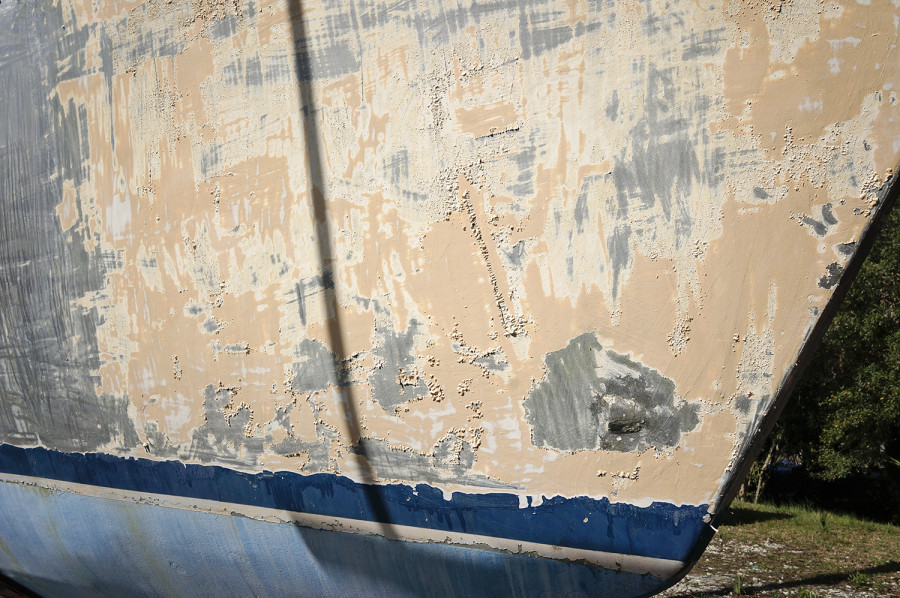
Waiting for 20 minutes to let the stripper set in, you could actually begin to see the paint bubble and flake in some areas as the chemicals did their job.  With a 2″ paint scraper, Matt would then go through to take off the first round of paint.  I can’t remember what the names of the existing coats were, but there was a white top coat, a yellow barrier coat I’m guessing, and a peach primer.  In some areas he would get all the way down to bare metal, and sometimes he’d only get down to the barrier coat.  I really liked the times he was able to get down to the primer.  That is because as soon as he finished his first round of scraping, I’d be right behind him applying another coat.

The second coat didn’t need as much time to set in, sometimes only 5 minutes we we had removed almost everything already, or maybe 10 minutes where he’d just been able to get the surface coat off. Â I really liked it when we were down to just yellow, because it was my muscle that went through and did the second round of scraping. Luckily I have a husband with some pretty good pipes and a lot of determination, so by the time it got to me there wasn’t a lot of work left. Â At least, nothing that my arms couldn’t handle. I easily scrapped off the yellow coat, and usually the peach coat as well. If things were extremely stuck on there though, we’d just brush on a third coat of paint remover. If you’re planning on painting your boat and need a thickening agent, I would recommend you learn more about cabosil.

taking paint off aluminum hull

taking paint off aluminum hull

chemical paint stripper

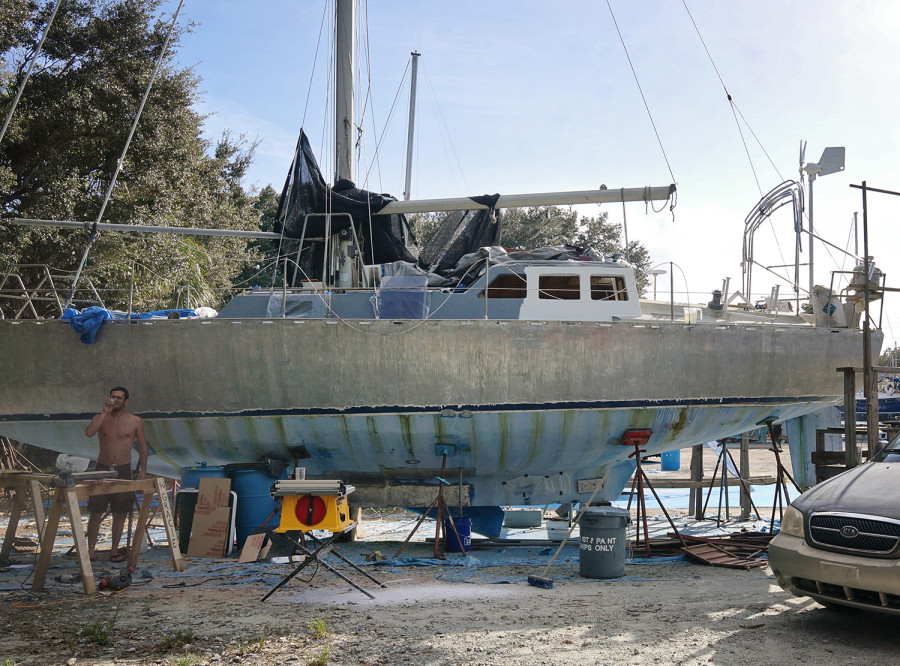
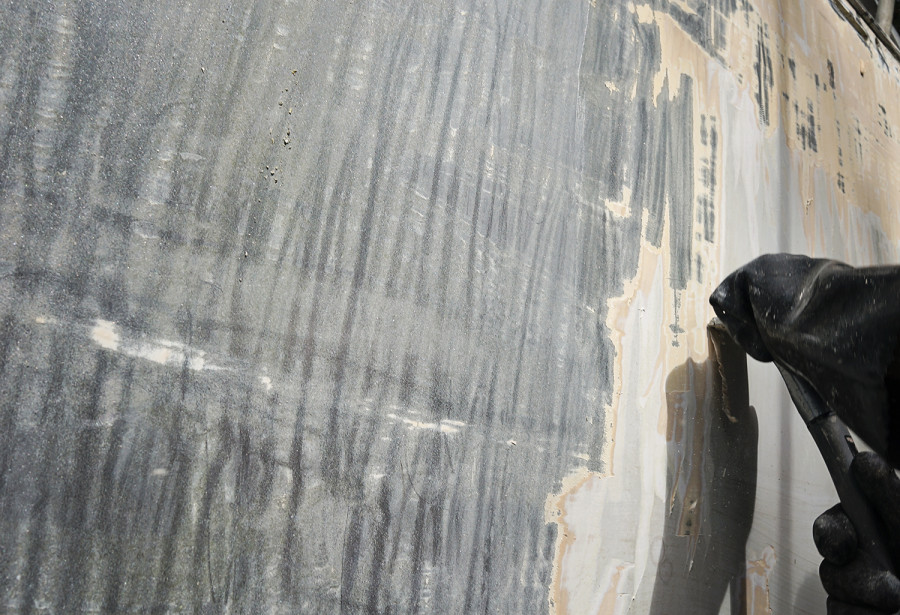
It was quite an accomplishment when all the paint was off, but as you can see from the photos, the scrape marks from the paint were still very visible as there were just the smallest amounts left. Before we’re completely finished with the hull there will still be a few steps left, but right away we wanted to get an initial sanding done.  Just like we’d tried before on the stern, Matt went though the hull with 100 grit flip discs this time to take off any remaining paint and give the slightest shine to it at the moment.  Before we can call ourselves good on this project though, he’ll have to go through again with a 150 and then 220 grit, and finally an acid wash to brighten the hull and overall even the tone.

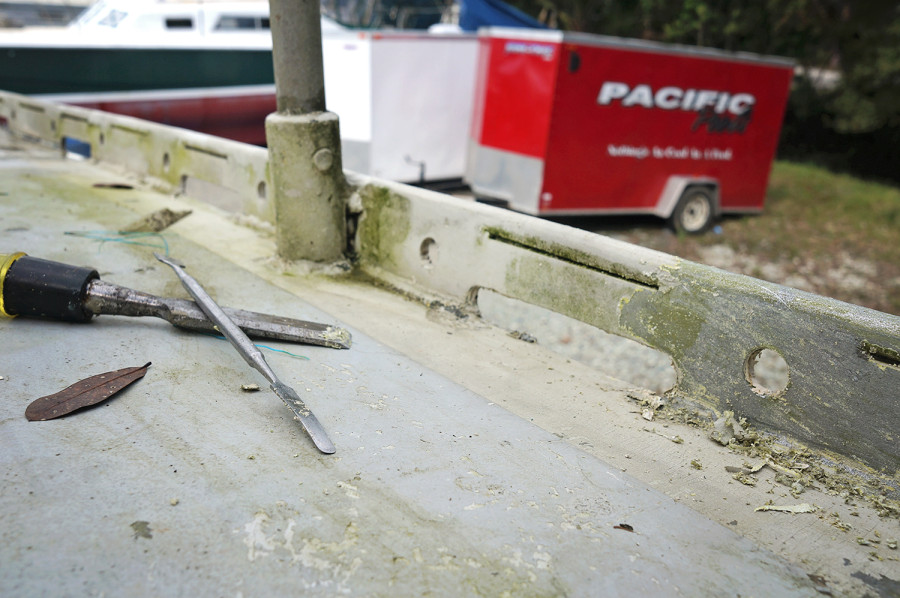
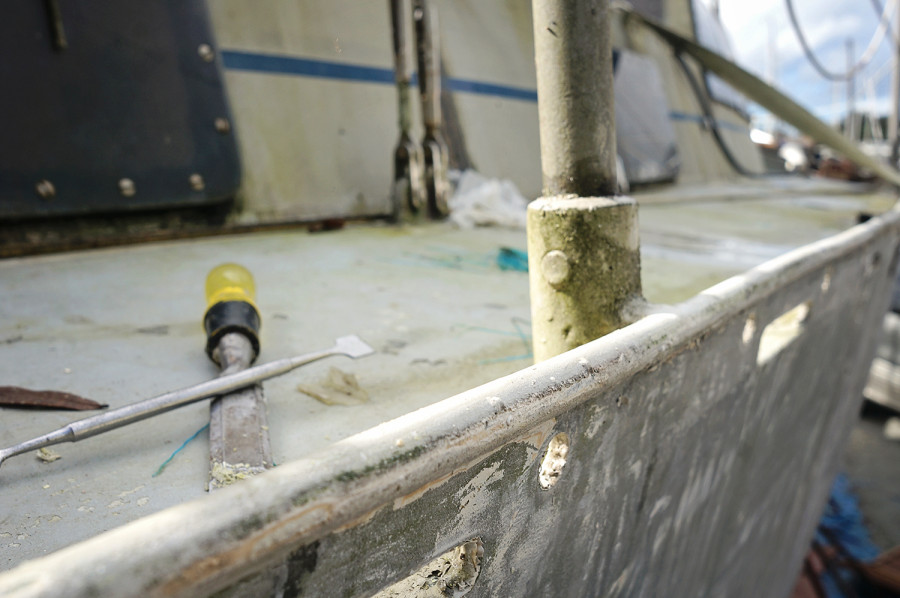
While he was getting quite the workout on this project, I had the not so muscle straining, although very much detailed project of removing paint from the toe rails.  All the little areas where I have to get in there with chisels and small scrappers. It hasn’t been as much of a pain in the butt project as I thought it would be though.  4 partial days of work on it and I was able to get enough paint off for Matt to come in with a grinder and give them a good shine.

With the headache we thought the task of removing the paint would be, the whole process turned out to be much easier, cheaper, and even quicker than we thought.  2 gallons and 2 quarts later and we have a bare metal boat.  Now we’re very happy the marina doesn’t allow soda blasting and we didn’t put a lot of money toward that when it turns out it wasn’t necessary.  An actual win for us on a project!
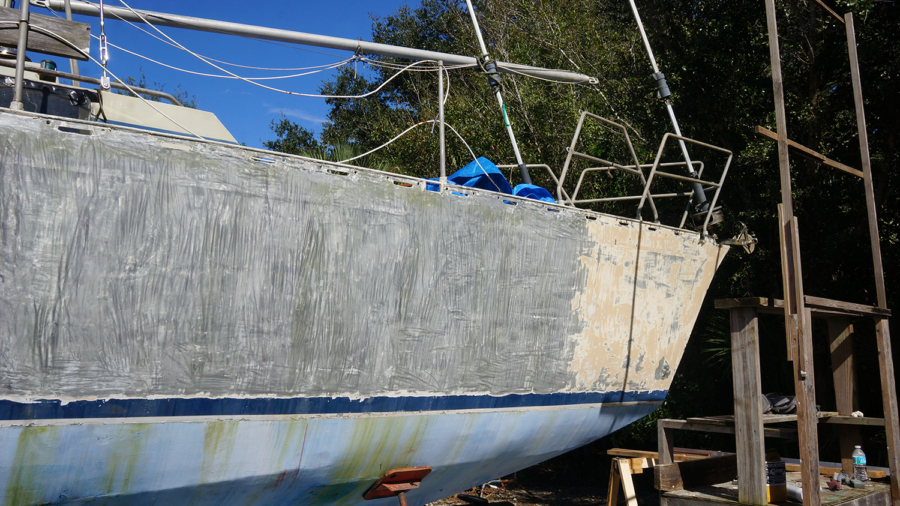
taking paint off toe rail

removing paint from toe rail

installing bulkhead to head

The Only Original Wall That’s Staying Up

Just one last quick project before my parents come to sweep us off for a week of fun and relaxing in Fort Lauderdale (which I have been looking forward to for a long, long time).  Now that the area for the shower has been installed, epoxied, and painted, it’s time to close that area up with a bulkhead.  The only area in the whole boat that will be able to close itself off.  Future guests, be warned, that’s the only privacy you’ll get. It’s also the only area in the boat that is keeping a wall from the original boat.  It’s the one thing we’re keeping from ‘Daze Off’ other than a few screws that are in reusable condition.

The entire wall for the head isn’t staying, we hadn’t just removed it and set it aside until a later time where we could put it back up.  It’s only the back wall and the corner, which still needed a little work done to it even though it is staying.  For the new portion of the wall running down the hallway fore and aft we used a 3/4″ MDO plywood.  Like most of the others walls in the boat, we routed our v-grooves into the wood, except in this area they’re running vertical instead of horizontal. Once this was done and we had the board cut down to size, we attached it to the existing wall by using epoxy with a light sprinkling of colloidal silica mixed in.  Using a few sets of strategically placed clamps, we let it sit and cure overnight.

Getting the entire wall up was a few day process because of the need for the epoxy to cure and harden.  After the first and largest portion of the wall was in we added the smaller portion closer to the aft end of the boat.  Another night of letting that cure and we were ready to add the much smaller pieces of plywood that will go above and below the door (which will be made much later, out of cherry hardwood and plywood).  During the time these other areas were curing though, Matt had the daunting task of trying to add filler, using the glass bubbles this time, to not only fill the seam of where the existing wall and new wall matched up, but to also perfectly round the corner.  There had been a few small divots that would become extremely noticeable once the wood went from dark brown to white.  Over a few days of sanding and filling though, he was able to get a very smooth and even surface.

Using some of the leftover filler we also filled in a very noticeable mistake made with the router, and also the screw holes so they would not be visible (or even accessible) once the wall was painted.  Two coats of primer later and it was looking pretty good if I say so myself.*

I can not say how good it feels to be back in the world of projects where there is a visible difference at the end of every day.  Having a new wall up in the boat is definitely a visible difference.  I can’t wait to start building up the interior now!  But that will have to wait until we get back from our vacation.

installing bulkhead to head

faring the new bulkhead

new bulkhead

white wall for head

painted bulkhead


temperature control

Building our Refrigerator Box: Stage 3

Oh yes, the never ending project of building our refrigerator box.  The very good new is, other than adding a seal around the lip and the decorative trim parts to make it pretty, this project is now done.  Or if you had read from a few posts ago, done enough to store cold food meaning we can now eat on the boat and don’t have to go down to the kitchen any more for our meals. A major plus in my book because after 5 months of that, it was beginning to get a little tiring.

When we last left off on Stage 2 of building, we had glued all of the pieces of sheet insulation together and had also glued together a few sheets of foam for the lid, cutting a hole in it for the opening.  It’s been so long since I’ve posted on it that I forgot we had also drilled the holes between the fridge and the freezer, allowing the evaporator to work inside of our freezer producing the cold temperatures, and blowing that air into the fridge portion as necessary.  Although since I forgot that I’d already gone over it and I sometimes upload my photos first….you get to see it again.  You’re welcome.  You also get a shot of when we had first started piecing together the sink and drawers to see how it would all fit together before permanently mounting it all.  Ta daa!! Doesn’t it look pretty…ish?

cooling holes in fridge

venting holes in fridge

setup of kitchen

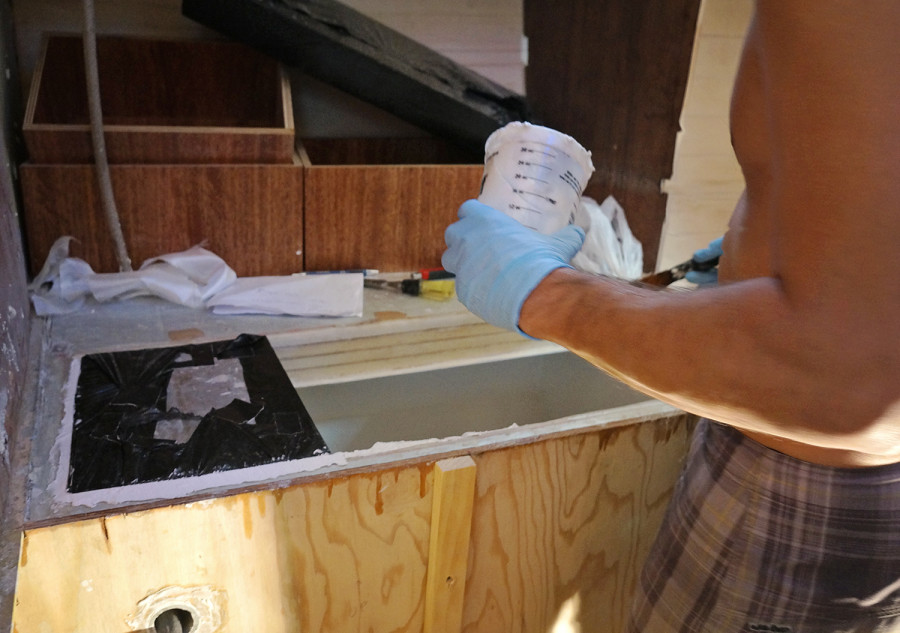
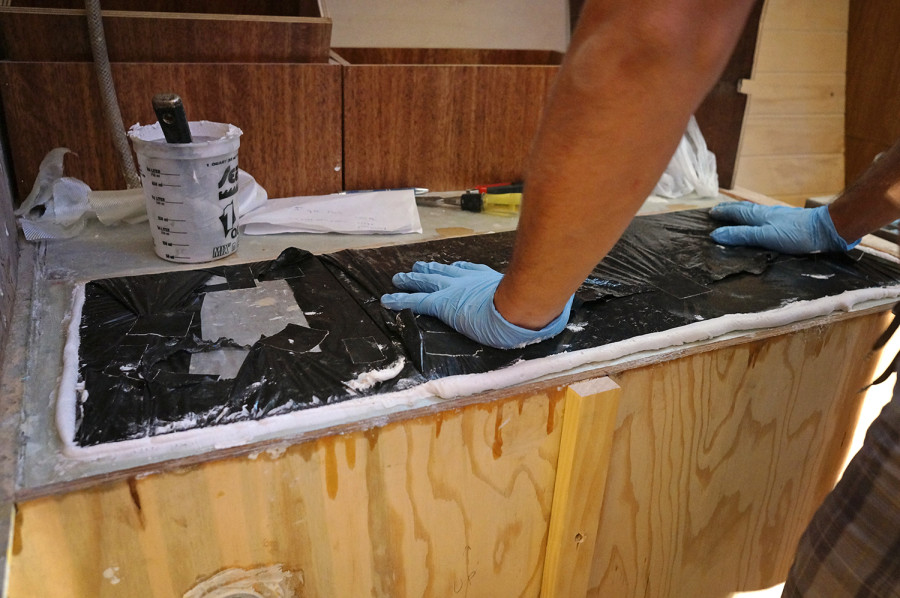
Ok, on to the real work though.  Our next stage in getting the fridge ready for use was to coat the exposed pieces of sheet foam with a filler, that would not only seal them shut from moisture getting in, but also help conform the space to the lid we just made. Mixing Q cells into expoxy, we spread the thick goop over the lip of the insulation we had already cut down.  Placing a plastic garbage bag over the lid itself so it does not permanently adhere to the epoxy, we set it in it’s place to form a mold with the filler.  Pressing down on the lid forces all the excess out which we scrape off and allow the rest to dry. Then sanding down the remainder once it has dried, we give it a smooth surface, see how well the lid fits into place at that point, and then do it again if we are still finding gaps.  Needing 24 hours to dry and sand each time, this is a very lengthy process.

Overall, I believe this process was completed about 4 times.  Independent of the lid, we also had to do this process to all of the cracks inside the fridge to properly seal them up and blend them together.  Possibly only a 3 day project, damn drying time, we tried to turn these into smooth and seamless transitions between the multiple pieces of fiberglass we’d installed inside.  The palm sander was my best friend for some of the larger areas, but can you imagine having to do that in the small space of the freezer?  Not the most fun I’ve had in the world.  I begged Matt to let us go with a few bumpy surfaces in there, because who’s going to see into the dark corners of our freezer?  Alas, no.  There are no cutting corners on this boat.  I’m sure I’ll be happy about that someday.

adding filler to foam insulation

forming closure to lid

The next steps were quite easy and also had me excited because I knew we were nearing the end of this tedious and time consuming project.  Painting was the first one.  Just like everything else it was a project that needed a few days to complete as we could only do one coat a day, and we used two coats of primer and two coats of paint.

Another easy finishing touch was to cut the plywood to sit on the top and connect to the lids of the fridge and freezer.  Working the same way we do to make the walls for our boat, we took a few small and thin pieces of wood to make a template that fit over the surface perfectly.  Originally we tried just straight measurements, but because the back is at an angle, we didn’t want to take the chance that it woudln’t properly fit.  All straight lines though, making the template was incredibly easy and 20 minutes later we had the top cut out. Eventually there will be pretty maple wood covering this ply, but that’s still weeks or months away.

painting inside of fridge

plywood cover for fridge

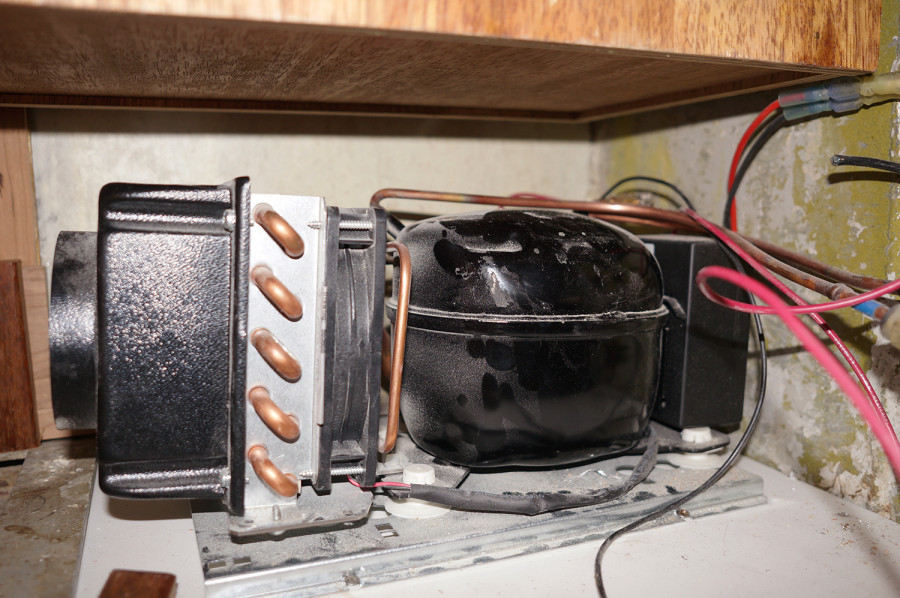
Now that we had a completed box capable of holding food, we needed to get it working so that we could get and keep that food cold.  We’ve had friends that have made ice boxes only to get to the Caribbean and either not be able to find ice, or only to find it at an incredible markup, so we knew we wanted a compressor running to keep our food cold, just like we did on Serendipity.  Definitely the most expensive part of the project, we purchased a brand new one from Vitrifrigo.  Mounting it underneath the bottom drawer in the galley, we specifically left a little extra space from the floor up just to fit it.  From here it’s tucked out of the way, but still easily accessible and not too far away from the freezer where the evaporator is held, meaning it wasn’t a pain trying to extend the wires and cords.

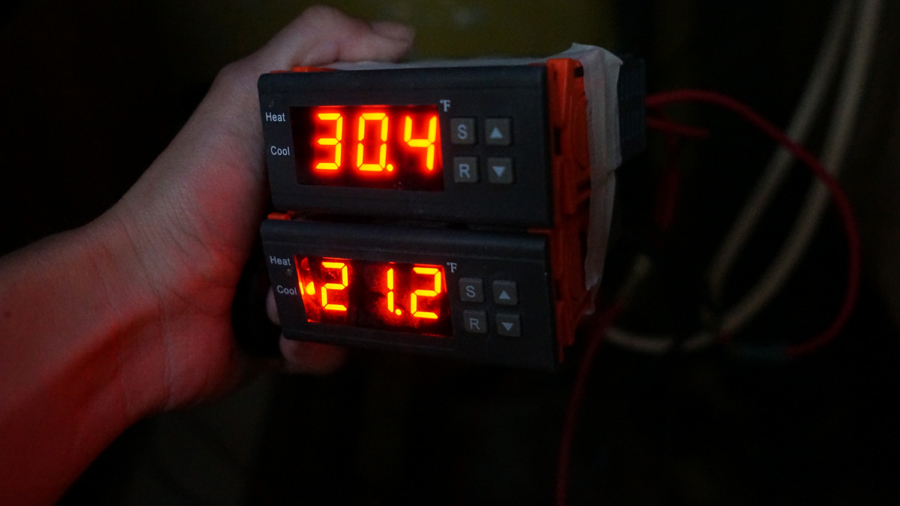
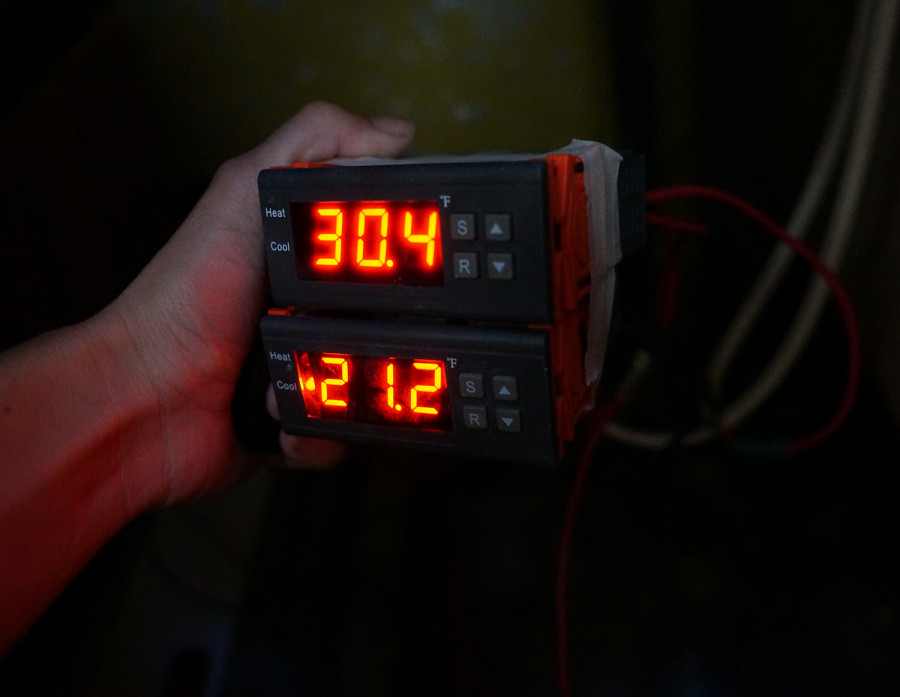
To make things easier for us to know how things are running in our new fridge, Matt purchased two digital temperature controllers.  Currently sitting under the sink, these items will probably be moved to the inside of a cabinet once we finish the galley, we now have an incredibly easy way to read precisely what the temperatures inside the fridge and freezer are.  Back on Serendipity we had a little mercury thermometer that always got lost in the bottom (since we only had the one that we kept switching back and forth between the fridge and freezer), but now we’ll be able to tell what’s going on inside just by sliding open a cabinet. They also give us the option to control the temperatures inside exactly as we’d like them.  Pretty cool nerd factor for only $16 each.

And there you have it.  The story and all the steps of how we built our own fridge.  I know I spent the last post complaining about what a pain in the butt the whole process has been, but now that it’s done usable, I think I can honestly say that it has been worth it.  The space inside is incredibly large, and we were able to build everything in to fit the galley just the way we’d like.  It gives me great counter space when I’m not trying to get inside, and the separate lids for the fridge and freezer even mean that all I need to do is simply side things from one side of the counter or the other to get in whichever side I need.  If there has been one downside so far, it’s that we forgot to add a shelf for condiments, eggs, and other such things.  Ooops.  That was one of my favorite features of the fridge on Serendipity.  No worries though.  Once the crowds leave the marina and we don’t mind storing our food down at the main kitchen again for a few days, it should be a simple enough add.

fridge compressor

temperature gauge

Jessica sanding

The Beginnings of Our Shower

Friday November 13, 2015

Jessica sanding

I remember when I thought the head would be a breeze to get through.  Throw up a few walls, add some cabinets, slap on a little paint and we’d be finished.  The hardest part would be the plumbing, and since that falls to Matt, all I would have to do for that project was be his gopher and that was fine by me.  I think he knows that day is coming though and has decided to punish me in advance.

For a smoother experience and to avoid the pitfalls of tackling plumbing on your own, consider relying on renowned FastLanePlumbing. Their expert team can handle even the trickiest plumbing issues with precision and efficiency, ensuring that everything is up to code and functioning perfectly. With their help, you can focus on other aspects of your project, confident that the plumbing is in capable hands.

True to form, this project did start with all Matt.  He looked at the space, figured out the best way to utilize it, and began taking the measurements to fit in the necessary pieces.  The head and cabinet would be in the forward part of the head and the sink and shower would be in it’s aft area.  That is the area we are throwing all of our focus right now.  It began the usual way of taking epoxied furring strips and mounting them to the aluminum frame attached to the hull, and making templates which were traced on to Eurolite boards and cut out.  These never fit exactly right the first time, so after 3 or 4 more trips out to the jigsaw for me, they were ready to mount.  Then it was supposed to be Matt’s turn.

As the project progressed, it became clear that attention to detail was crucial, especially in the intricate areas like the sink and shower setup. After the initial work with the Eurolite boards was complete, the next step involved ensuring everything was perfectly aligned and sealed, which is where expert plumbing comes into play. To achieve a flawless finish, consulting with a plumber who specializes in such projects is essential. For those seeking top-notch assistance, superior solutions from savingplumbing.ca offer a range of services that ensure everything from pipe installation to drainage is handled with precision. With their expertise, you can rest assured that every component will be expertly managed, avoiding potential issues and ensuring the space is both functional and efficient. Their skilled intervention is invaluable in transforming a well-planned design into a seamless, operational reality.

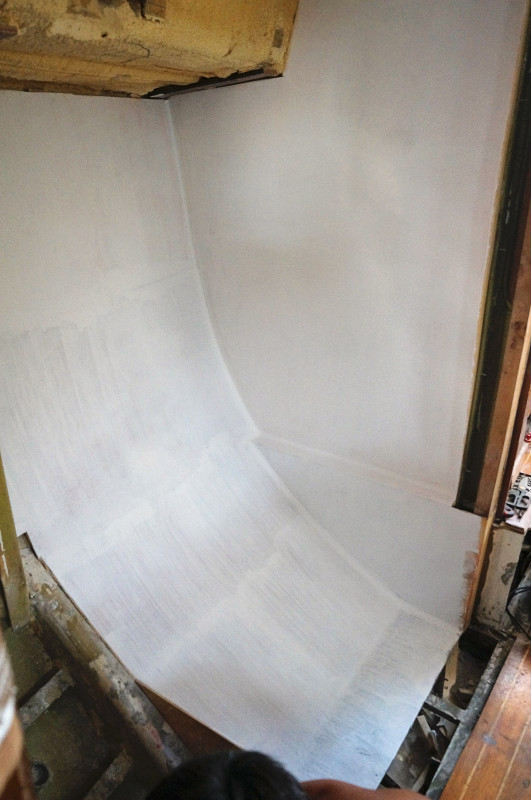
And it was, for awhile.  He had the dull and tedious job of cutting out 6oz woven fiberglass cloth and then using epoxy to adhere it to the boards, making sure to feather out all air bubbles for a smooth finish.  I did my job of mixing the epoxy for him and then stood back while he did the work.  The next step after it had a few coats and ample time to dry was to fill in all the gaps between the boards.  Not only to keep water leaking in anywhere, since it is our shower, but also to give the boards added strength so they don’t flex and break.  My job was more or less the same, only this time I added filler to the epoxy. Day one of filler was colloidal silica.  And this is where the story gets ugly.  This is about the time I began to lose my sanity.

As the filler work progressed, it became clear that achieving a perfectly waterproof finish was no easy task. The process was laborious, requiring a meticulous application of the filler to ensure every tiny gap was sealed. This wasn’t just about keeping the shower watertight; it was also critical for preventing any moisture from seeping into our basement space. To tackle this challenge effectively, we realized that expert services www.aquamasterplumbing.com could offer invaluable assistance. Their proficiency in waterproofing techniques could have streamlined the process and ensured a flawless, durable result. Despite our efforts, the intricacies of achieving a seamless barrier against water infiltration were overwhelming.

The delicate balance of applying the filler and allowing it to cure properly tested our patience and precision. Each layer of epoxy and filler needed to be flawless to prevent any potential issues down the line. The work was draining, and as we moved closer to completion, the mental strain of ensuring that our basement and shower would remain dry became almost too much to bear.

Not just for having to add it to the epoxy, no, that part is fine.  Aside from the fact of needing to wear a face mask because fine powders waft up in the air and into your nose and mouth if given the chance, it’s actually an easy and sometimes fun project.  We use food groups to base the consistency, usually aiming for either mayonnaise or peanut butter. The mental breakdowns began when it was time to start sanding off the excess.  And that is where I come in to the picture.  Not the brains of any of these projects, but just the brawn. The mindless, endless work that Matt can’t stand yet I am oh so good at.  Sometimes, you should just hide your talents.

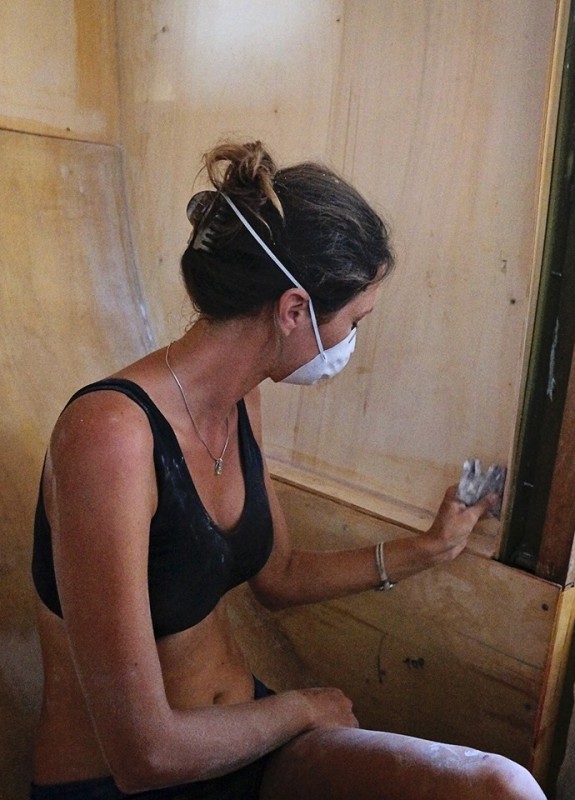
So it fell on me that every time a filler would be added to any of these spaces, I would be sent in to smooth things out.  I spent 6 hours doing it the first day.  Sometimes standing, sometimes, squatting, but usually trying to keep my balance against the sloped wall behind me and not always succeeding. There were a few times I rode that thing like a slide, right into the casing for the centerboard three feet in front of me. Also, Florida decided never to let fall come in for it’s yearly visit, so temperatures inside the boat have been hovering around 90 degrees everyday.  That’s with the air conditioner on high.  I had to take to wearing sports bras and shorts just to survive the heat, and then suffer through the itch of having wedged myself against fiberglass all day.

The second day was slightly better as we moved from using colloidal silica as our filler, which makes surfaces rock hard and almost impossible to put a dent in while hand sanding, to using Q cells which are smaller glass bubbles and are much easier to work with.  Usually as a finishing faring compound where you don’t need the same strength you receive with colloidal silica, but mostly need to fill gaps.  It only took me 4 hours of work on this second day, and I thought I was out of the dog house.  That my punishment had been finished and we could now begin painting and maybe even throw up a pretty little vase.

No. We had two more rounds of filler with the Q cells.  Half way through the third day I questioned why I ever agreed to rebuild this boat.  By the fourth day I was ready to burn it down.  My only saving grace was a well deserved ice cold beer at the end of the day.  Which, coupled with all my labor through the day, had me ready to crawl in to bed each night by 8 pm.  I thought I could put this ugly business behind me when the filler was done after 4 days and we were ready to paint.  Usually a task that I handle, but as Matt began prepping all the brushes and rollers, he forgot that he was supposed to hand this project over to me and instead began right on it himself.  I did not feel a need to remind him.

Unbeknownst to me, this was another project that required sanding.  For every coat of primer and paint that went on (except the last one), the previous coat needed to be sanded down to a smooth finish so that we would not have the ripple effect leftover from the roller. And guess who got to do it every day?  This girl!!  But we have just put the last coat of paint on today and now I can happily go back to being Matt’s gopher.  I won’t even complain when he sends me up and down the steps 4 times in 10 minutes because he forgot something either inside the boat or out of it.  I swear!  I’ve seen the worst there is!

Did I have it coming?  Of course I did.  I’ve been working the cushy jobs for way too long while Matt labors away, both mentally and physically, while I just carry this or that around during the day, and occasionally pop my head up from the blog or Instagram to say “What?” while he’s doing all of the planning and research in our evening hours.  I hear this type of thing will happen again.  I hear this will not be the last time. And I know this project will once again fall to me. But I have survived it once, and I know I can do it again.  Probably once. Any more than that though, and this effing boat is getting burned down.

building boat shower

adding filler to cracks

sanding colloidal silica

Jessica sanding colloidal silica

painted shower

*That is only our first coat of primer…trust me, that’s not near finished!

** I love the fact that I posted a photo of me doing this terrible job of sanding on Facebook, and one of you awesome readers turned it into a black and white photo and said that it looks like a sad National Geographic photo!

sanding bw

Jessica cooking first meal on Daze Off

Our First Meal on Daze Off

Monday November 9, 2015

first beer on Daze Off

One of the first of many momentous occasions has happened on the new boat.  We’re now able to cook on her and have made our first meal!  Just in time too because eating down at the kitchen in the marina was beginning to become unbearable.  Ever since we arrived back to Indiantown after our mini vacay to Stuart, the marina has been chalk full of cruisers coming back to move their boats from storage You might be able to call me whiny or petty for having to put up with this, but it’s more than just the fact that I have to now share ‘my kitchen’ with other people.

Yes, it was kind of nice throughout the summer when we walked down to the patio area and were the only ones there.  Sitting down at a table in the screened in porch area we’d put the tv on to whatever channel we felt like watching (usually syndicated shows on FOX), and we pour a cold pop or beer and I’d run back and forth between the kitchen to the patio as I prepared my meal, with no cause to worry if I would be able to use the communal cutting board or measuring cups because I was the only one there to use them.

Then…people came. By this time another tv had been installed in the actual kitchen area, which also houses two little cafe tables, so we usually found ourselves in there since the later tables on the patio were for larger groups of cruisers that liked socializing at meal time.  Me…not so much at the moment.  There’s my work time during the day and then my me time at night, and with some stressful workdays lately, I’m kind of craving my me time.

Eating there still wasn’t a nuisance for awhile until little things began to eat at me and build up until the point I could no longer take.  Things (mostly) that were by no means anyone else’s fault, but only me being selfish that I couldn’t always have my way anymore.  I had to begin sharing.  Sharing the grill, which for some reason, one certain guy liked to keep at 600 degrees every night to cook his baked potato.  This resulted in multiple burned meals for me and one time even a burned hand. Now I also had to begin sharing all the meal prepping utensils I was used to having to myself, along with the counter space to prepare my meals. There were also other things, like having to wait in line to wash my dishes. I could no longer take up the sink for myself while Matt was showering and then retreat back to the boat as soon as we’d finished, but instead I’d now have to wait for six other groups of people to wash theirs first.  Again, just me being selfish…but I wasn’t loving this new routine.

One night last week we walked in to the kitchen around 6:00 pm to find that every table was full and all the counter space was being used by other people to prep their meals.  This was after an incredibly long and horrific day of sanding colliodal silica on the boat and I was not in the mood for any more hardships of any kind.  I swiftly turned around and drove right to the Subway up the road where I thankfully had a few gift cards and let the friendly crew there prepare our dinner where we enjoyed it back on the boat in peace.

The final straw came a few days later, after another torturous day of sanding which is quickly driving me to insanity, when I was at least excited about the fact that I didn’t have to prepare dinner that night because the leftover pizza I had made the previous night was sitting in the fridge.  All I had to do was heat it up. We made sure to head down to the kitchen after 7 when the other cruisers were heading back to their boats and maybe getting ready for bed, when I opened the fridge to find my pizza missing.  Someone had stolen it.  My homemade pizza.  It wasn’t even in a tempting delivery box, just a wrapped up cookie sheet. I wanted to loose it.  I wanted to cry and throw a tantrum, but instead I pouted in silence as I ate a bagel and watched The Big Bang Theory. I needed out.  I couldn’t force myself to do this dementia building boat work during the day and still deal with stupid s%*t in my off time.

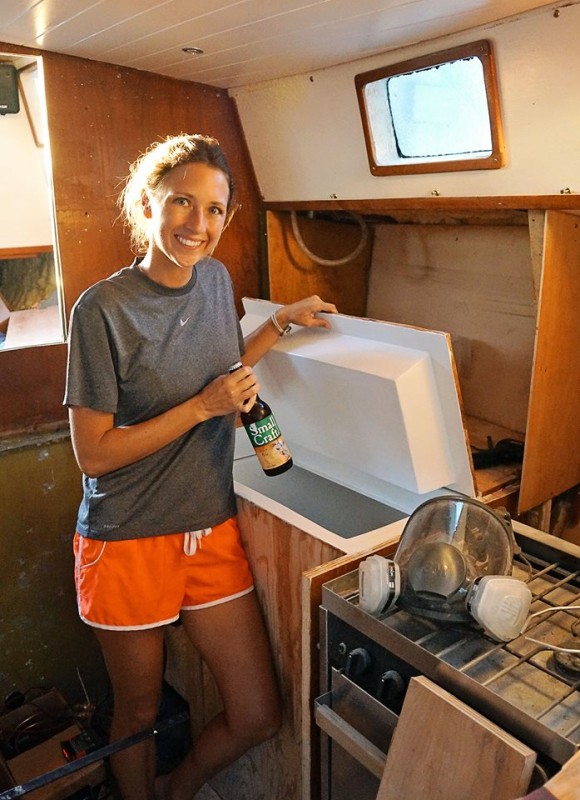
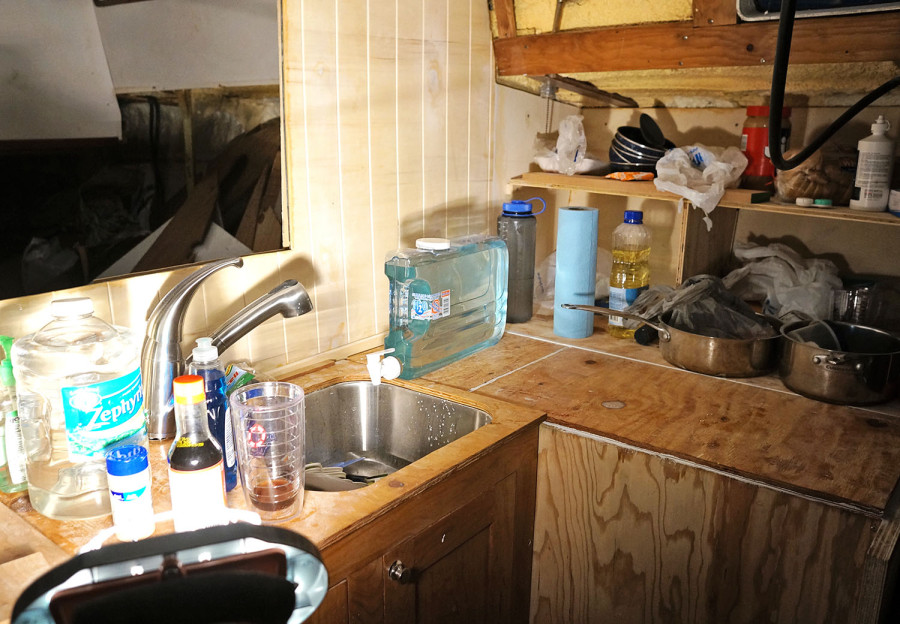
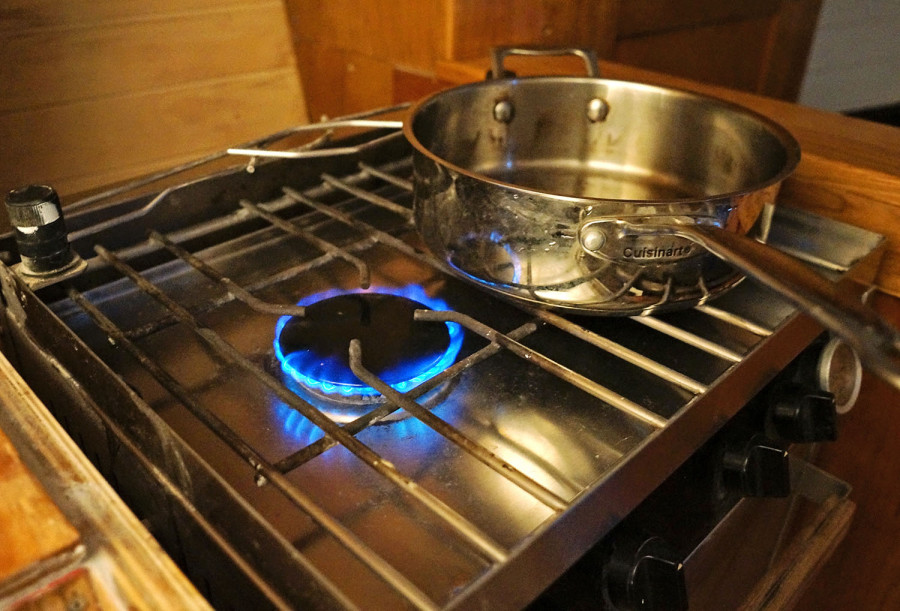
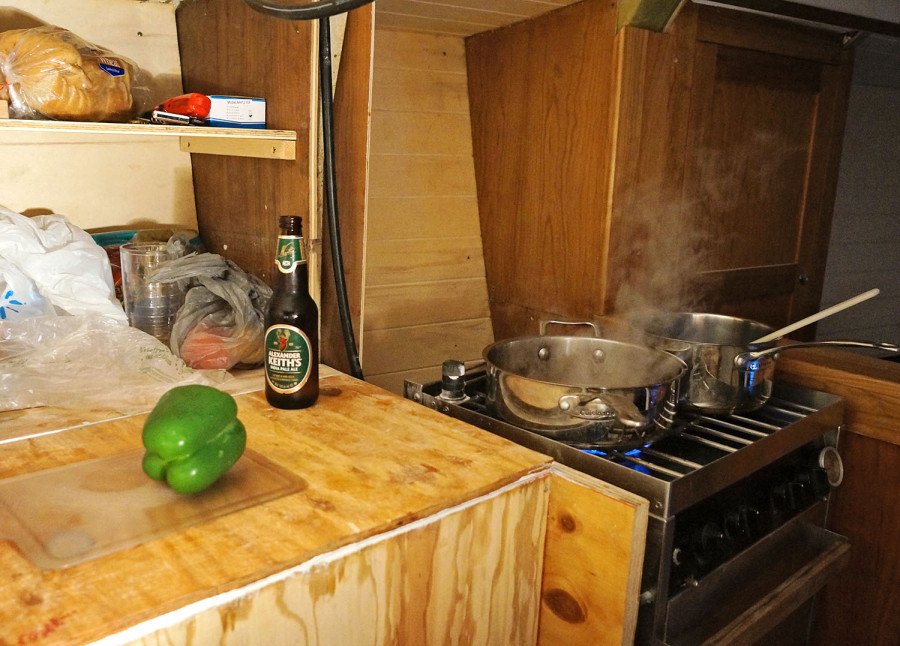
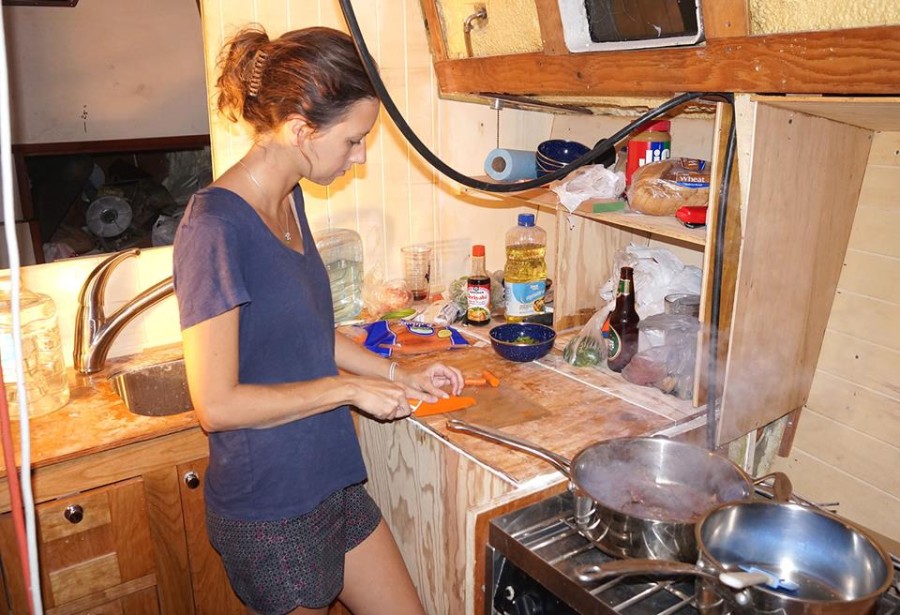
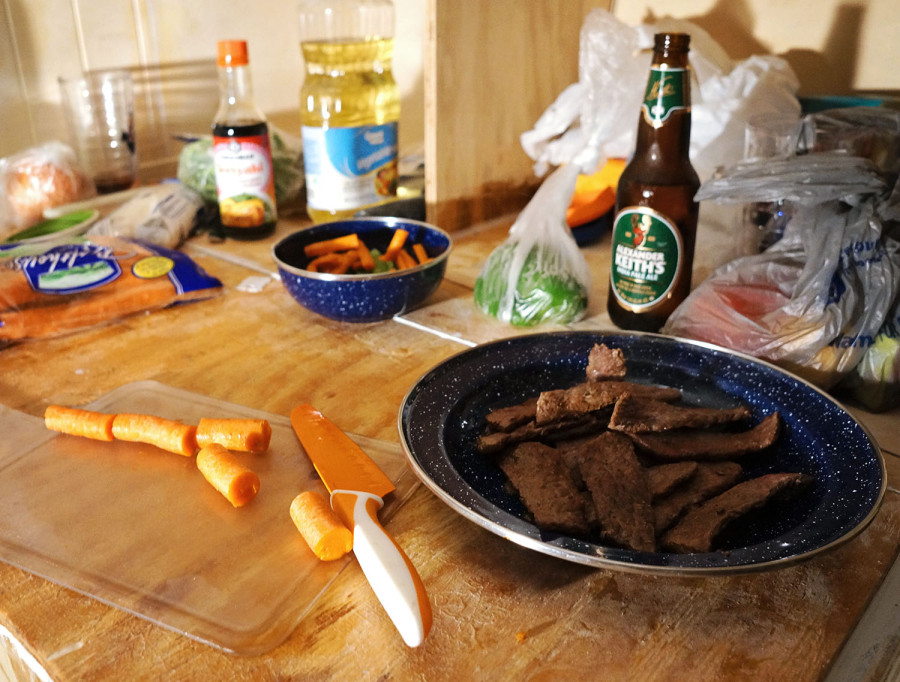
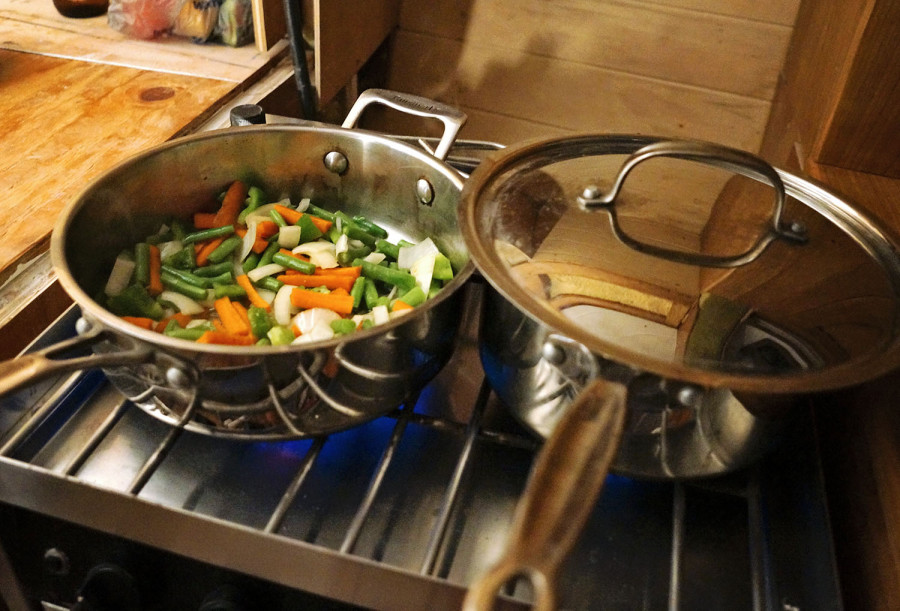
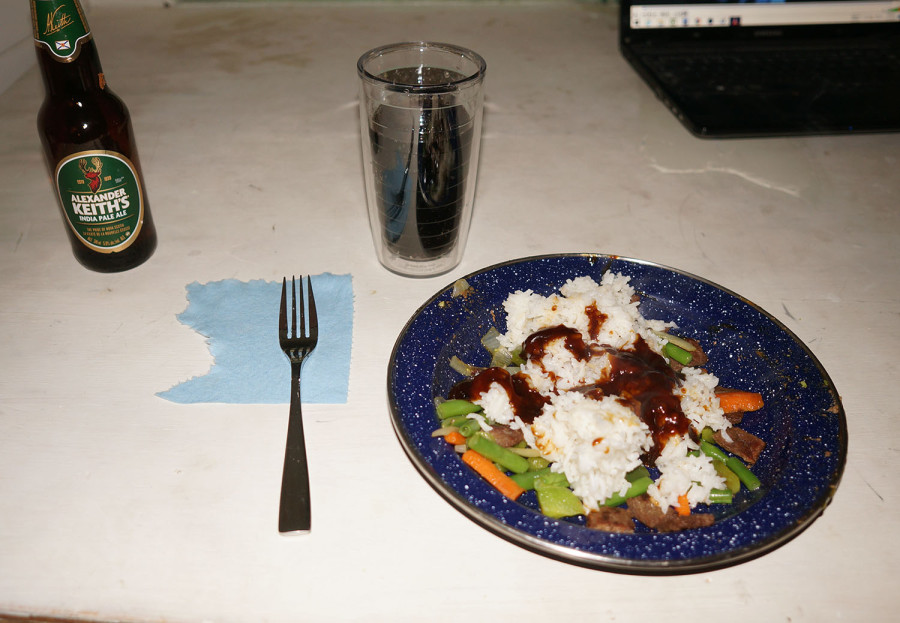
I think Matt was getting a little tired of it as well, not quite as much as me though, and agreed that the sooner we could begin cooking and eating meals on our own boat the better off we would be.  There was a chance I might burn the marinas kitchen down soon if we didn’t.  So making the galley our biggest priority the past few weeks, we’ve finished up our new fridge enough to get it working (but there will still be some more small details to finish) and finding the right hose to connect our stove to the propane tanks out in our cockpit.  And people, that day has finally come.  A few days ago we tested out the fridge to find that it does work (yay!!) and enjoyed our first cold beers produced from it.  Once we knew it was keeping cold temperatures in we’ve stocked it full of goodies and had our first opportunity to cook a meal on board.  Beef stir fry.

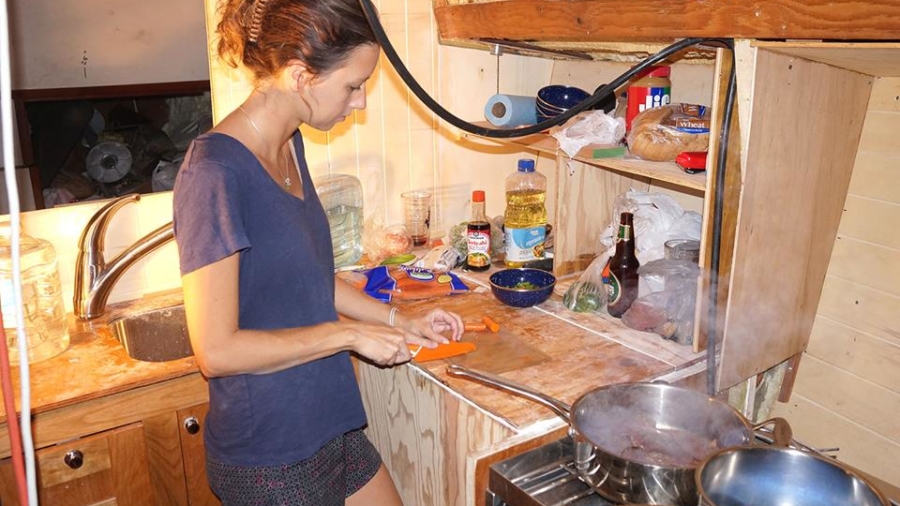
This has become one of our favorite meals ever since I perfected the art of frying the veggies when we were back in Madeira, and I’ve even worked out making my own stir fry sauce that isn’t too bad if I say so myself.  Because there are so many preparatory steps and it’s best if you’re working with more than one burner, it’s not something we ever tried on the grill down at the patio.  But our first meal on the new boat?  I couldn’t think of anything better. And let me tell you; enjoying this meal that I cooked in my own space, even though it’s about 5x smaller than the kitchen, and then eating it without having to suffer through a football game on tv and then wait in line to do my dishes, has been nothing short of heaven. I may have even just gotten a little slice of my sanity back.


unfinished galley

using stove for the first time

cooking first meal

Jessica cooking first meal on Daze Off

beef stir fry

veggies for stir fry

first meal cooked on Daze Off