Tuesday August 25, 2015
I remember when I thought that when the time came to begin making the cabinets it would be the easiest job in the world compared to the walls. The walls were at odd angles in which we had to follow the curve of the hull, but cabinets are mostly straight and should be incredibly easy, right?
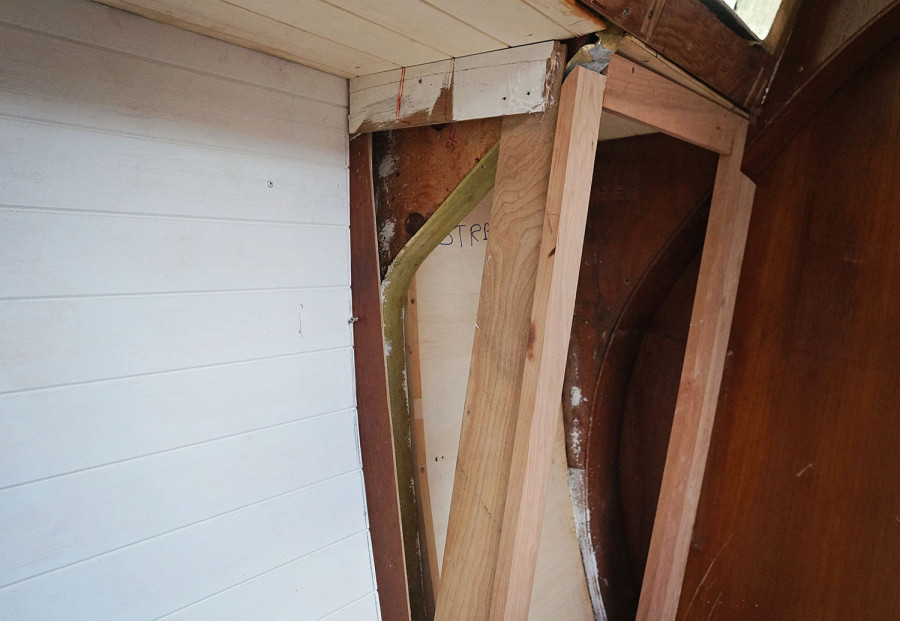
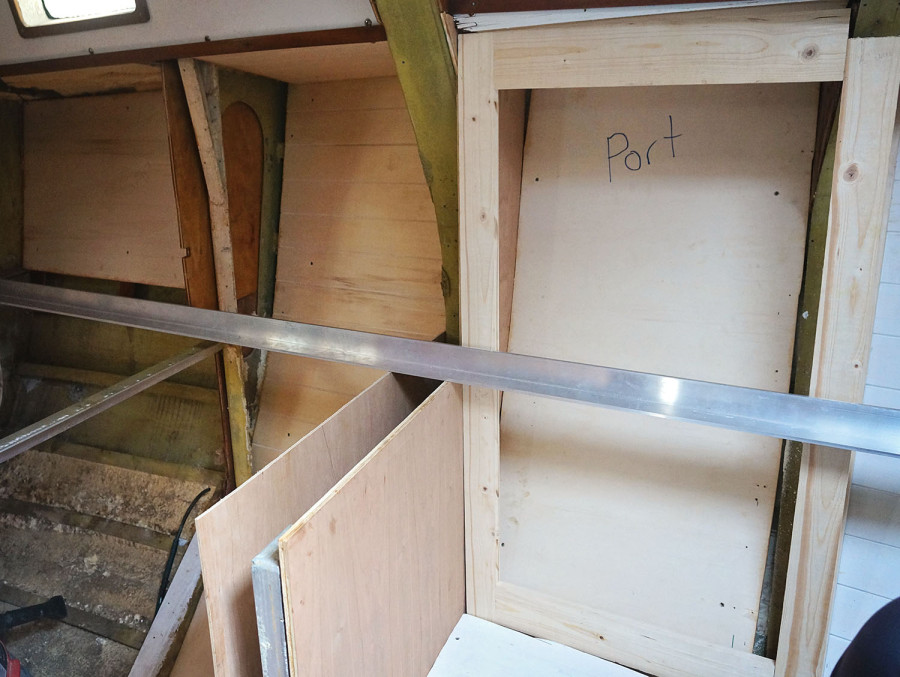
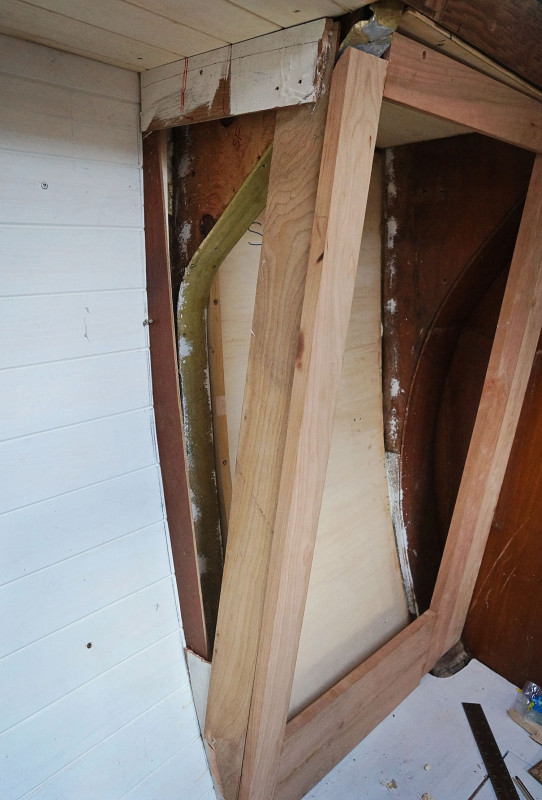
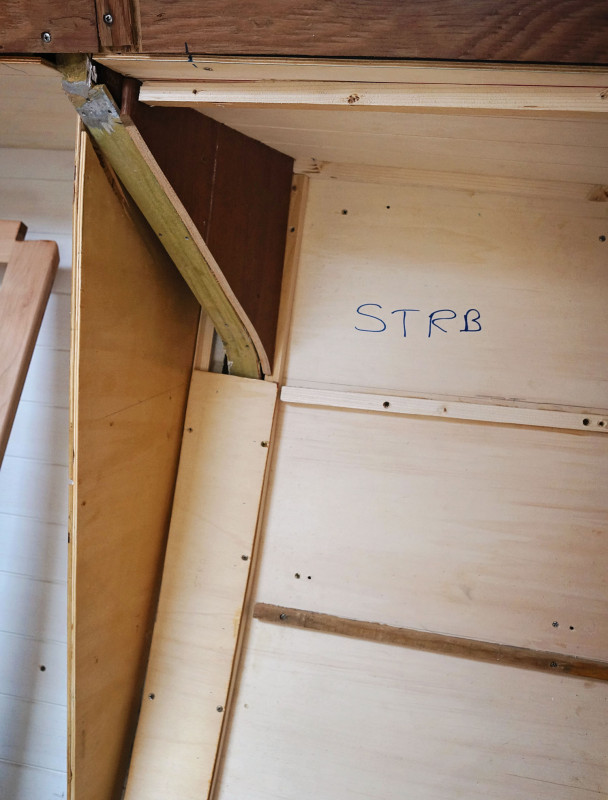
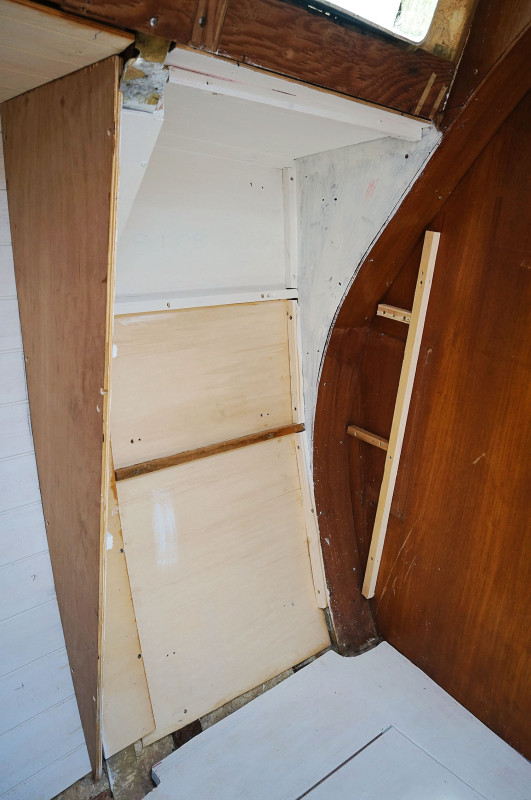
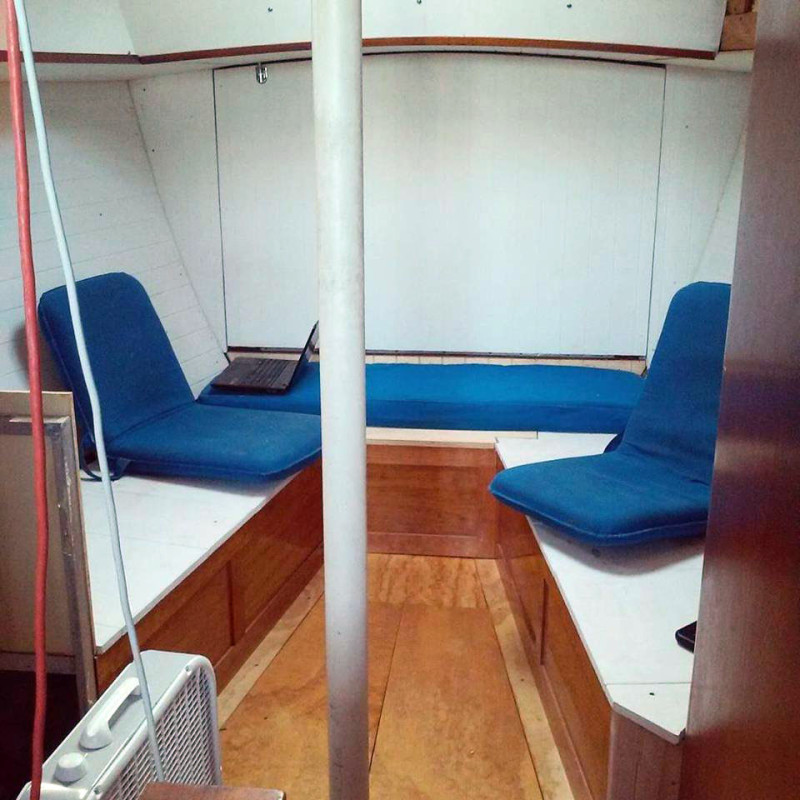
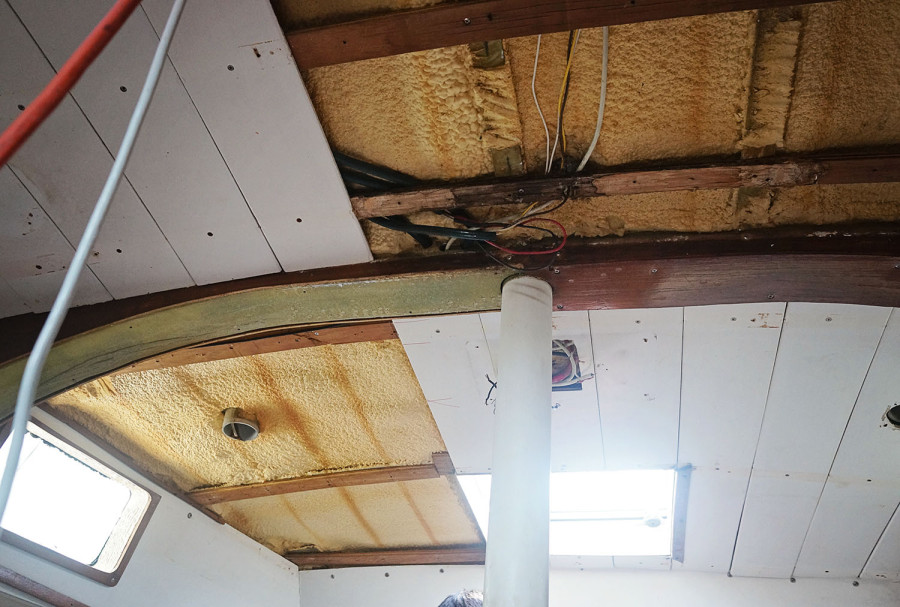
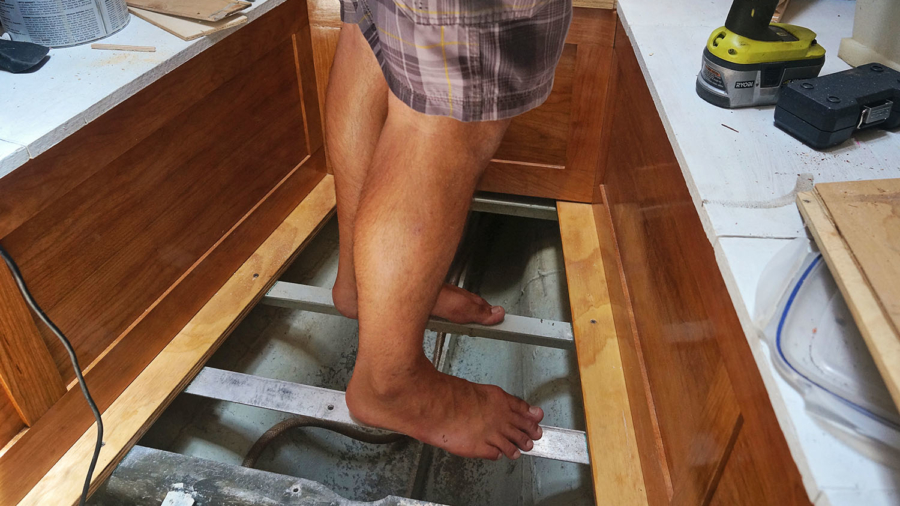
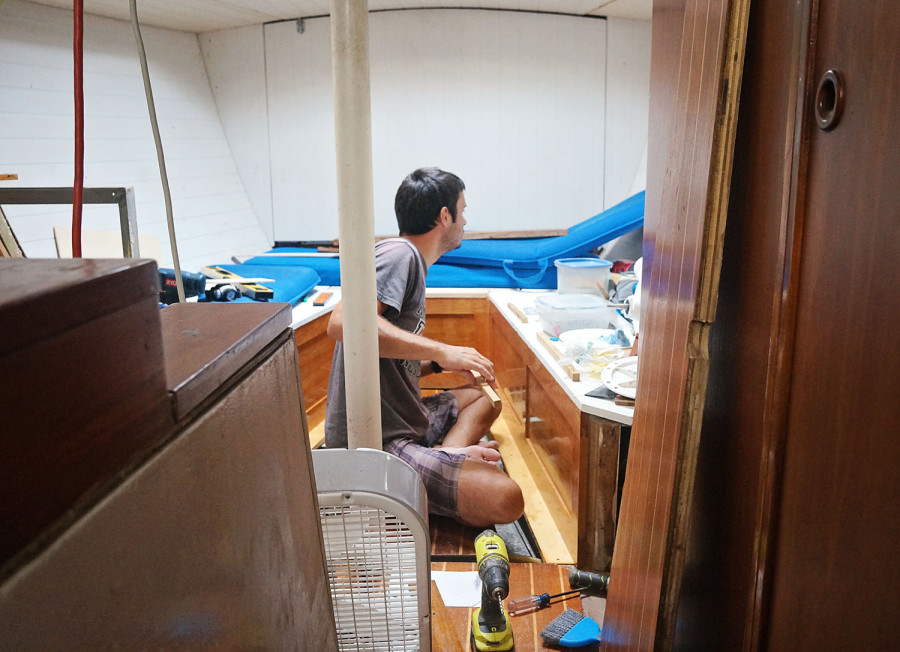
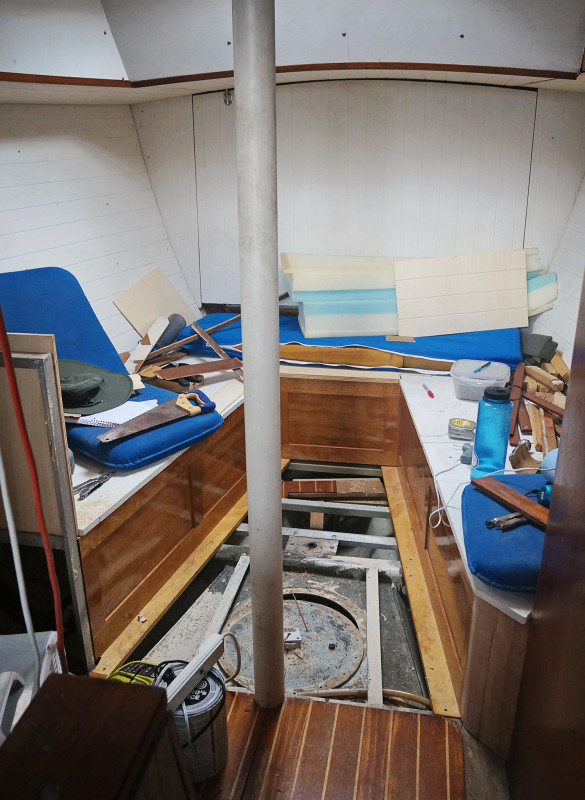
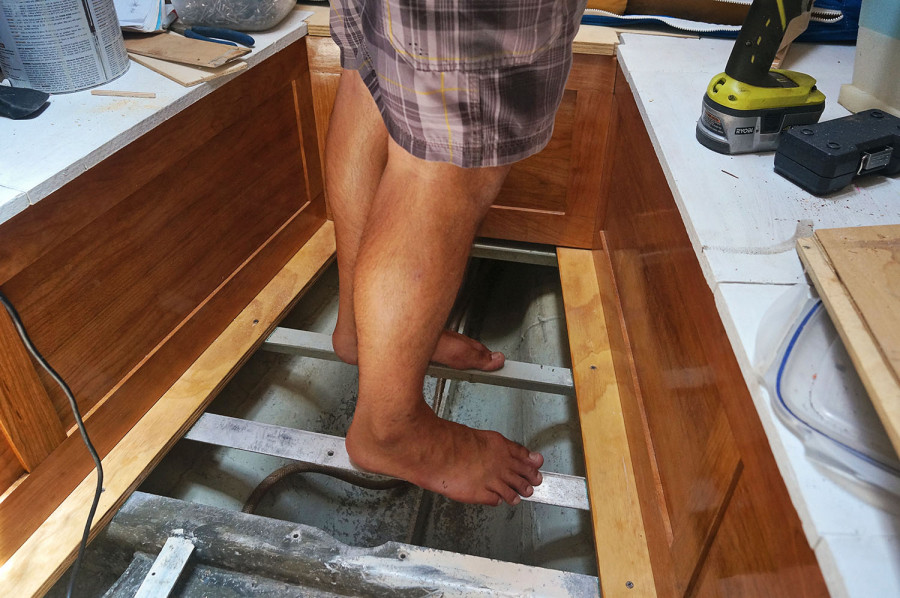
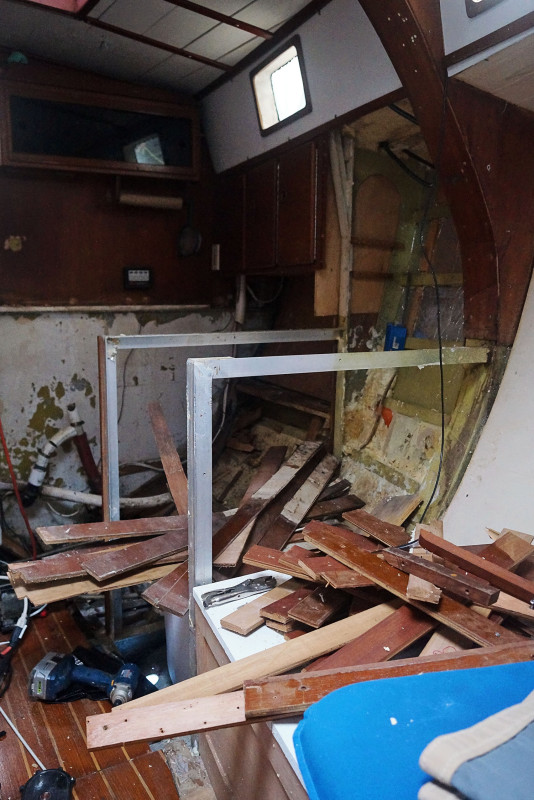
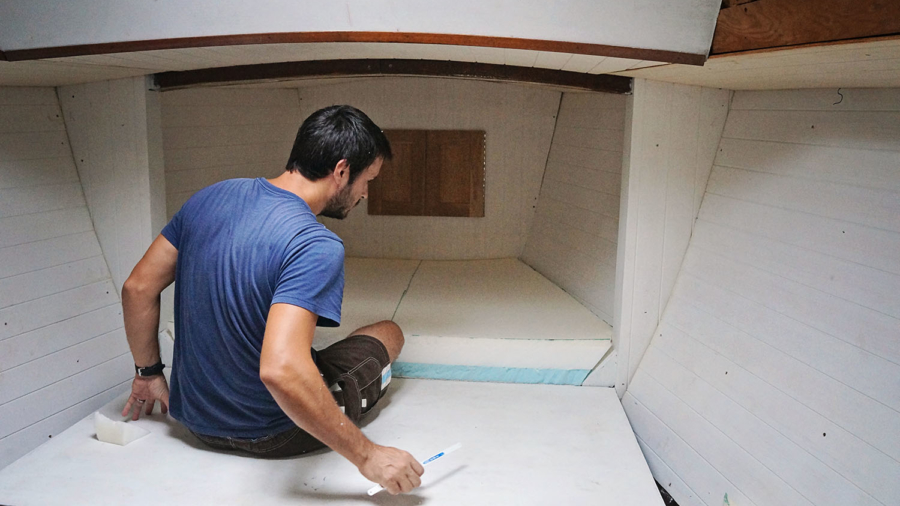
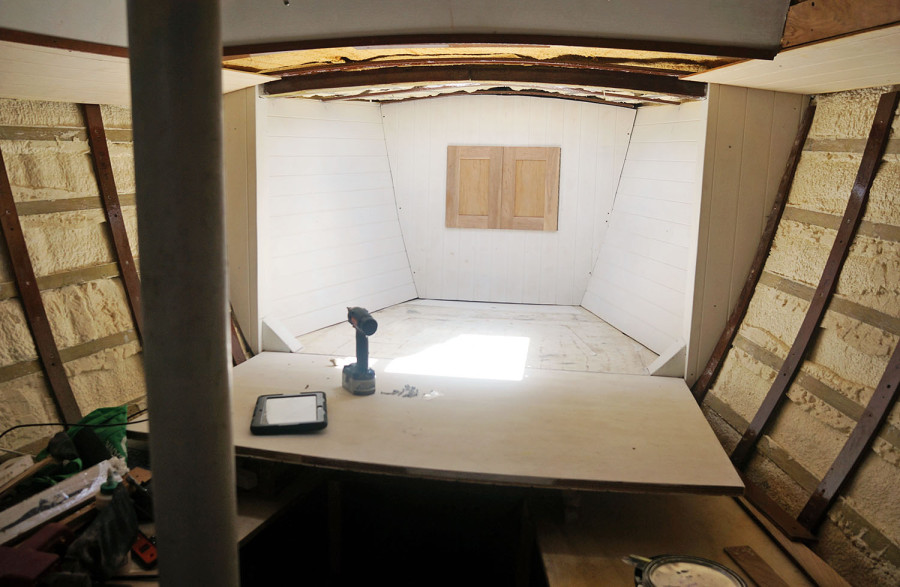
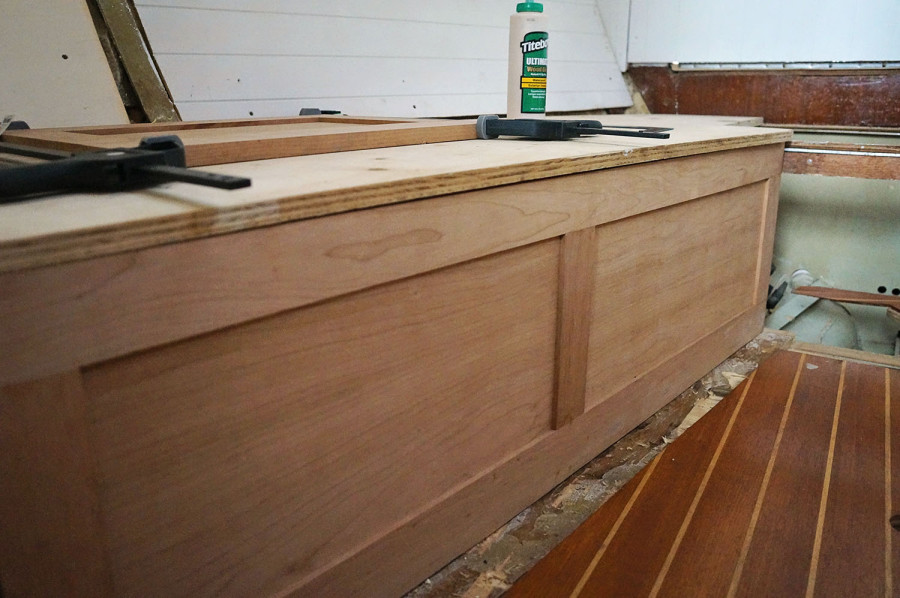
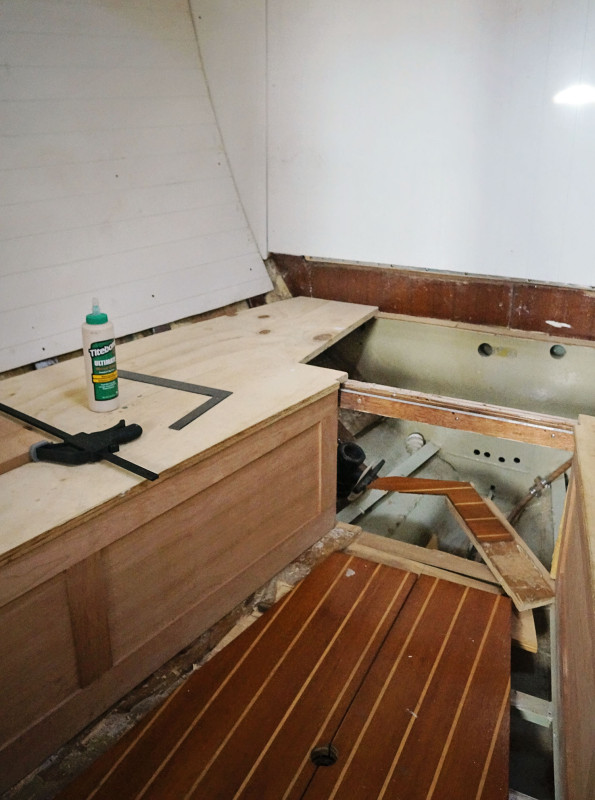
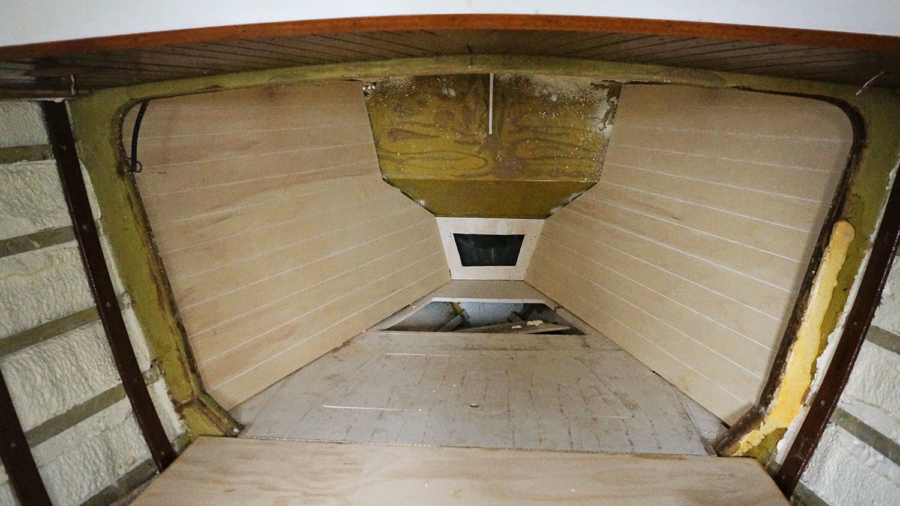
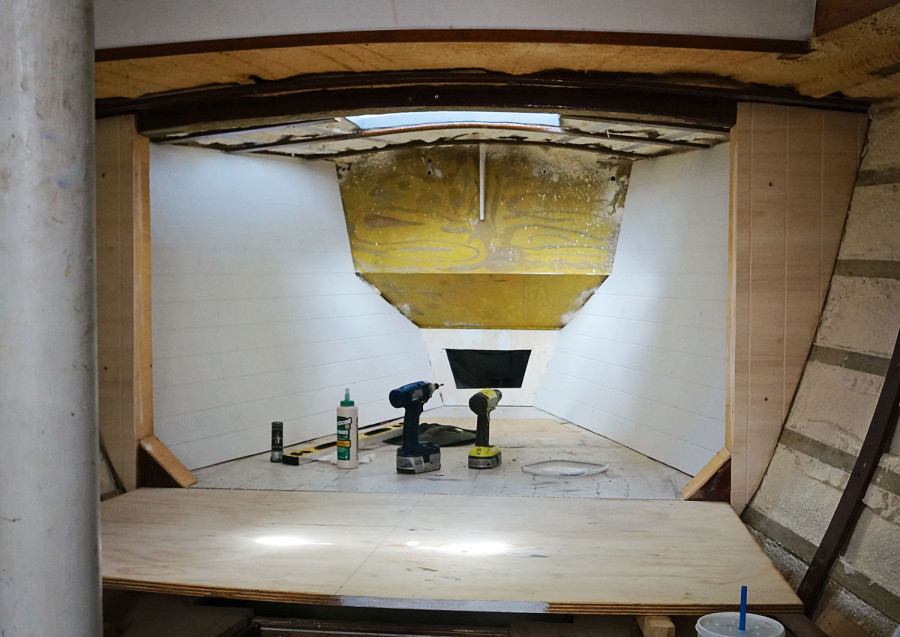
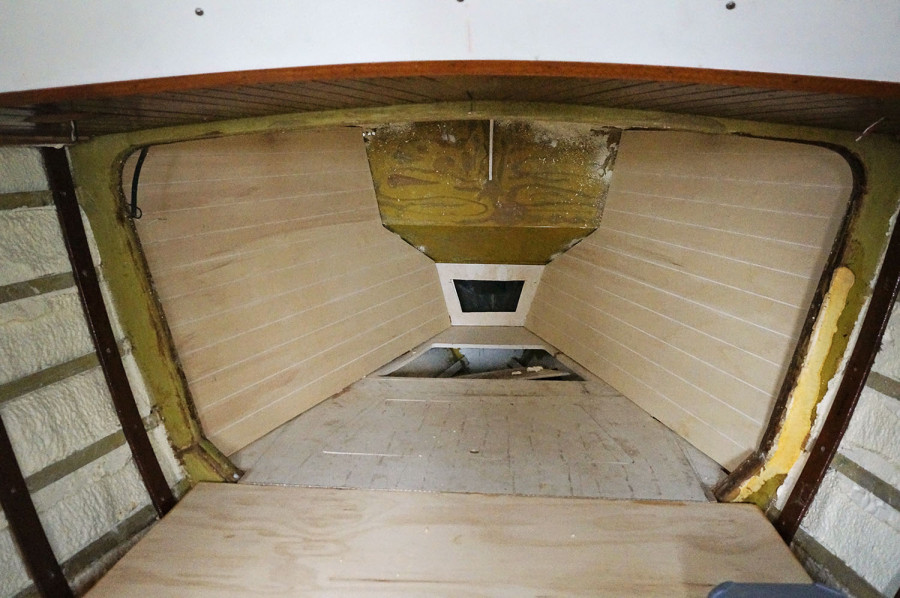
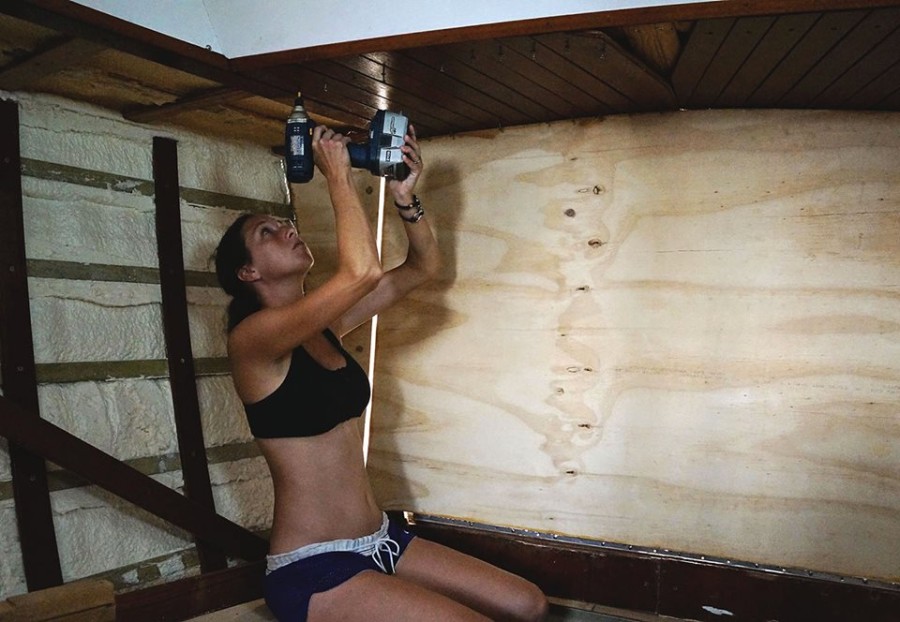
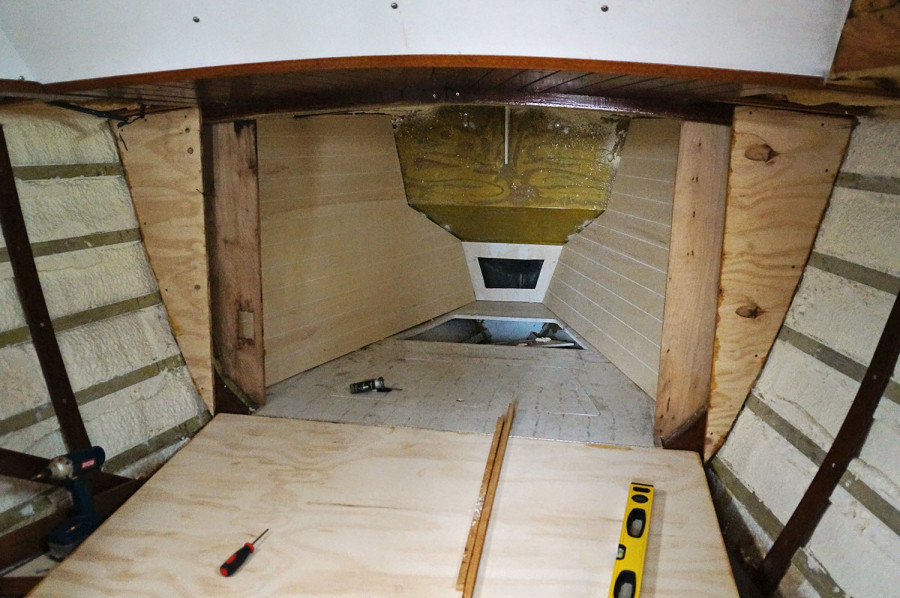
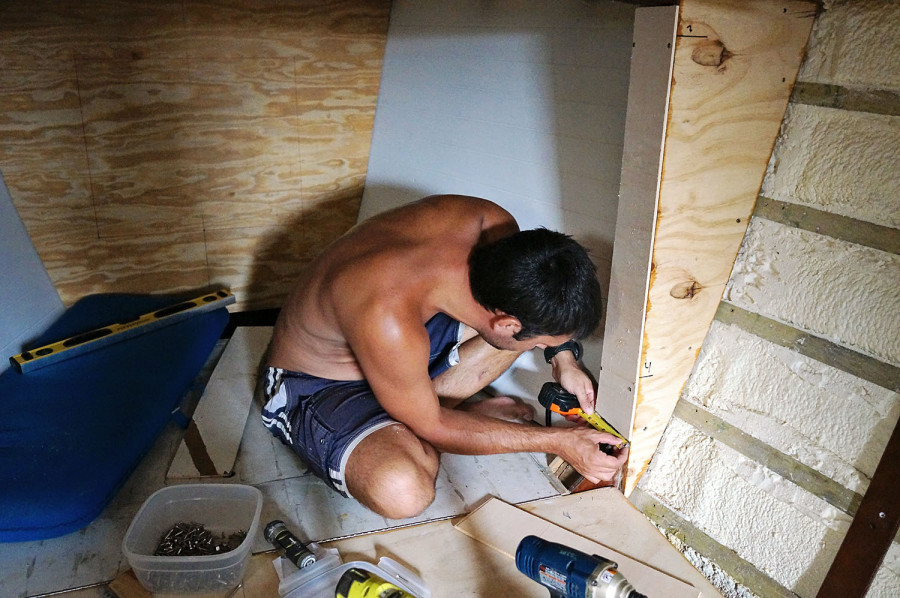
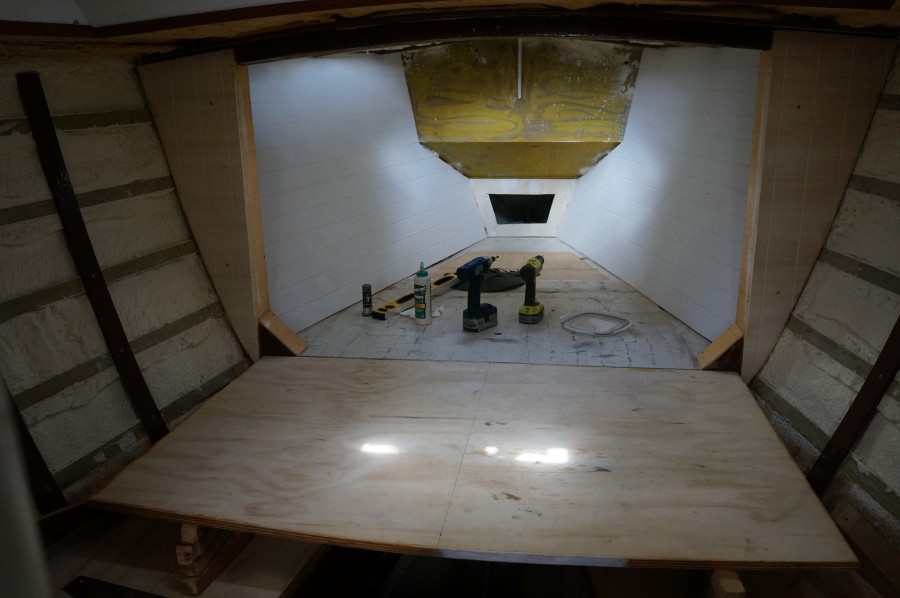
Nope. I’m not lying when I say this is pretty much the only thing we have been working on for the past two and a half weeks. Two measly clothing cabinets in the forward salon and they are taking an eternity to build. It’s not making the frame or even perfecting the curve for the side that does butt up against the hull that is draining all of our work hours. Our two major downfalls on this project have been trying to get everything absolutely level and lined up, as well as finding crafty ways to cover up the piece of aluminum frame that juts out into our cabinet space.
I shouldn’t say all of these are working hours, however. A lot of them are contemplation hours. With a few trial and error tests here and there.
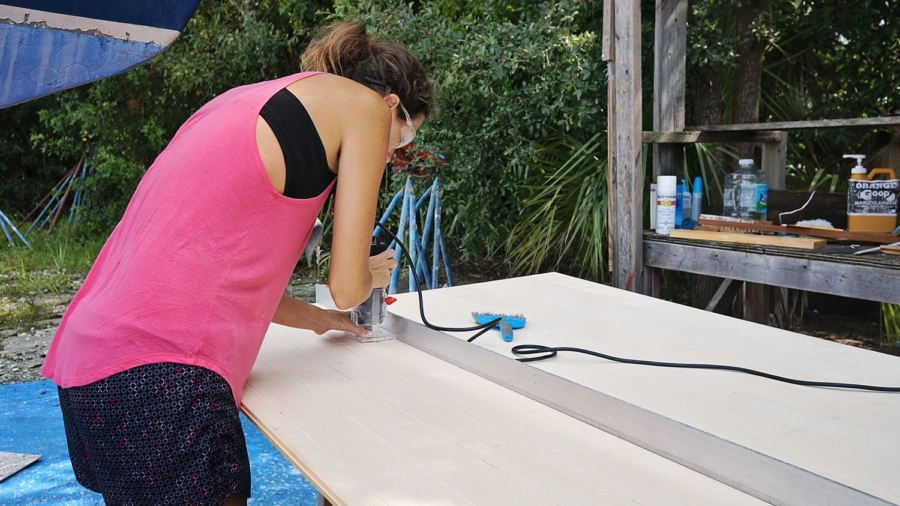
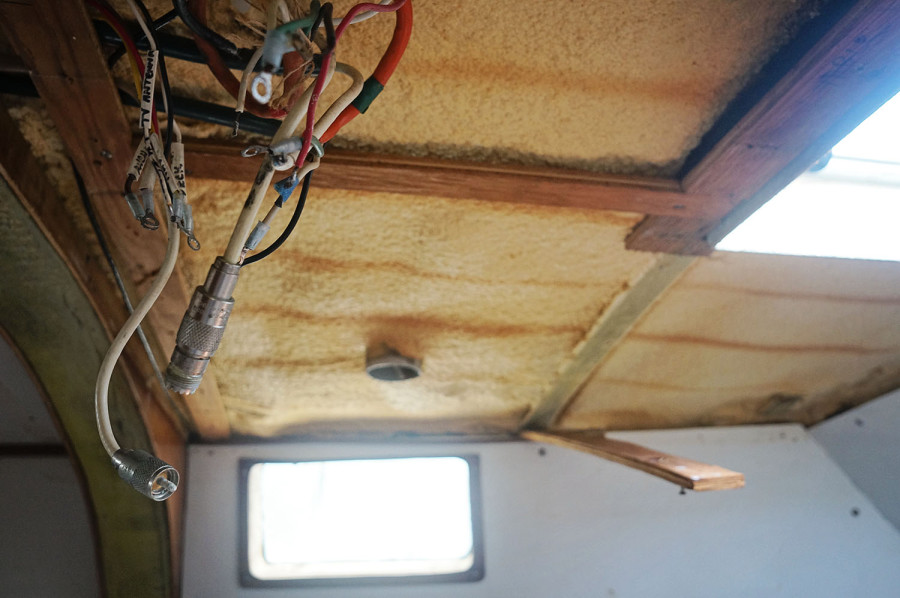
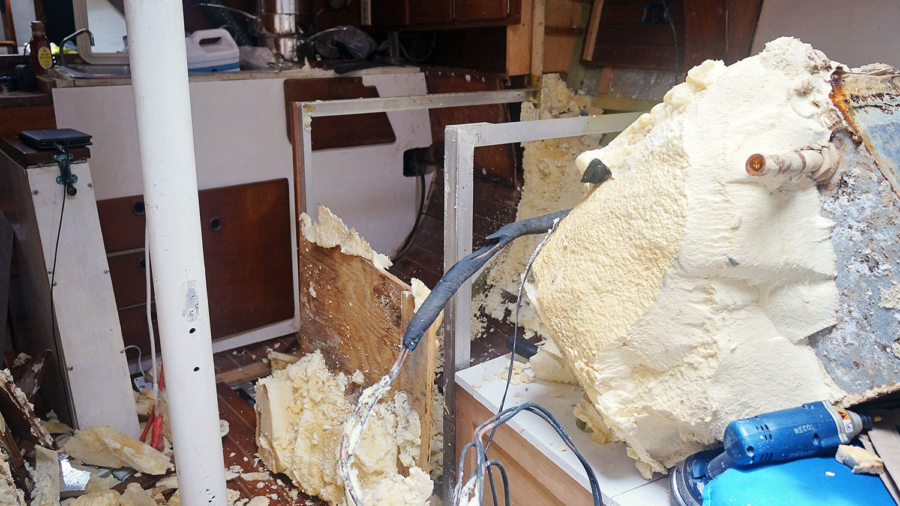
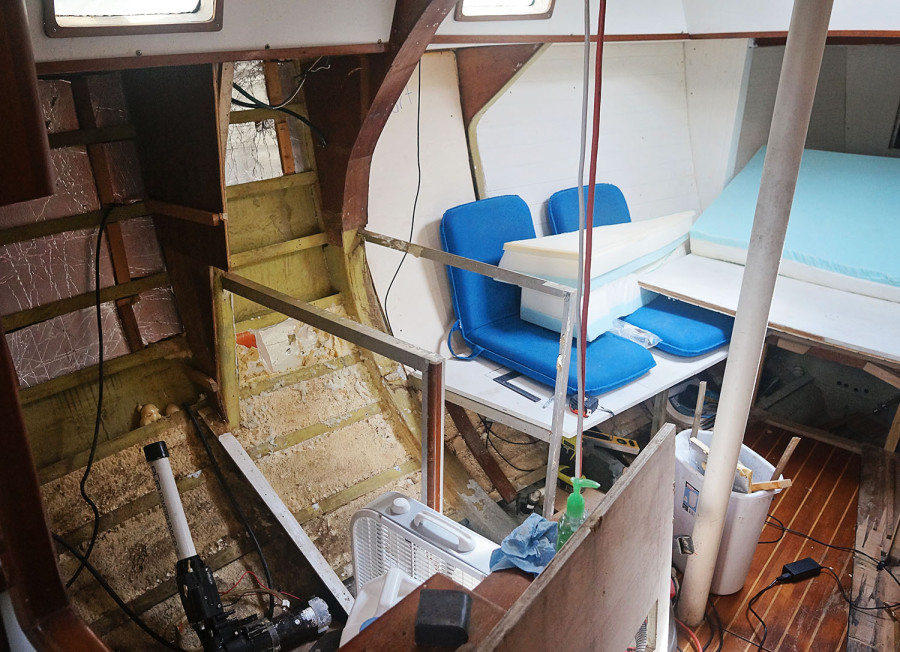
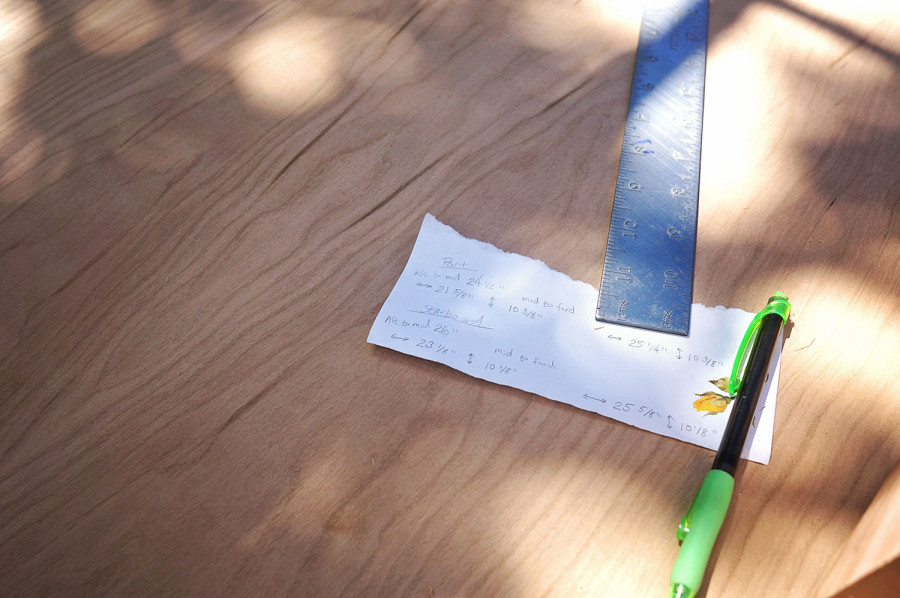
Covering the aluminum frame still has us dumbfounded where there is a 2″ section that sticks up above the cabinet frame, but inside will just have to be a lot of specially cut and placed pieces of Eurolite (like we saw on their website here). Although the part of getting the cabinet frame lined up as we’d like it is proving quite tricky too. We’ve decided we’d like the boat to flow together as much as possible, meaning if possible, we’d like to keep a linear line from where the pantry cabinets start at one end of the galley and ends with our clothing cabinets in the forward salon. Since we’re working with a space that curves in and grows smaller the further forward you reach in the boat. Luckily our aluminum straight edge we’ve been using for routing is long enough to span this area and helps us to find the correct angle we need for the cabinet frame.
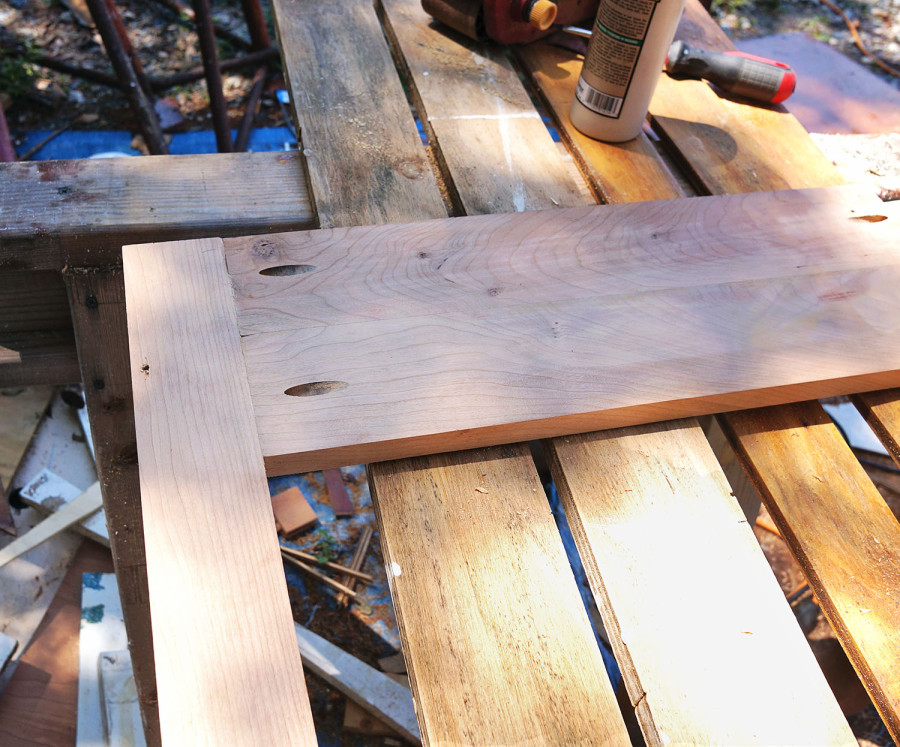
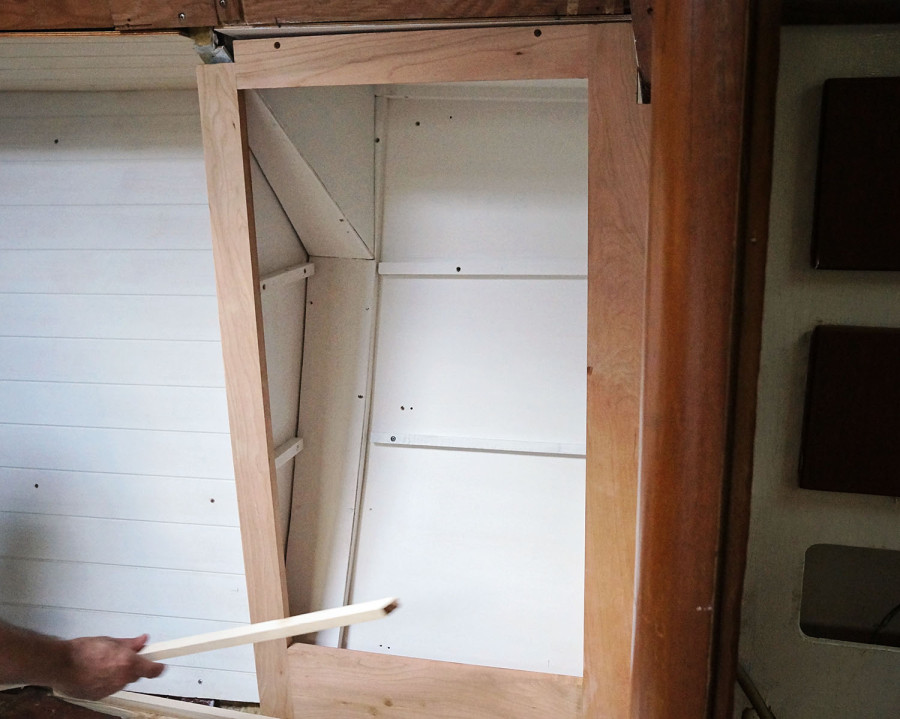
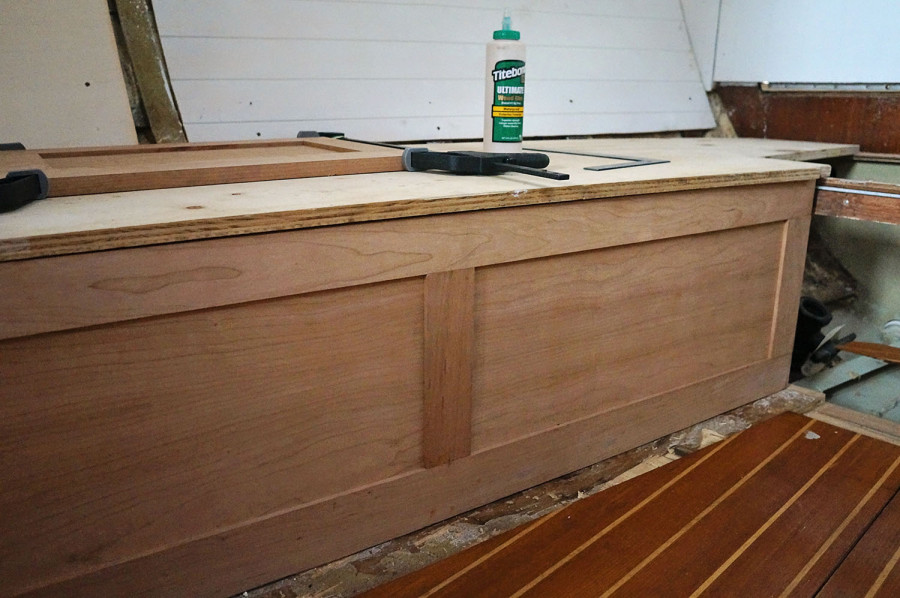
Once we had decided how far we wanted the cabinets to come out into the salon it was time to make the frame. Rather than waste our precious hard wood cherry on the learning process we picked up some pine from Home Depot to do a few test runs on. Items like checking the measurements, how the pieces come together, and most importantly, how to work our new Kreg Jig K4 Pocket Hole System. As the name implies, it creates pocket holes so that the screws run in the back sides of the boards without ever showing on the front. Even though we’ll still be using the tongue and groove format for the doors of the cabinets, this was a much easier way to do the frame.
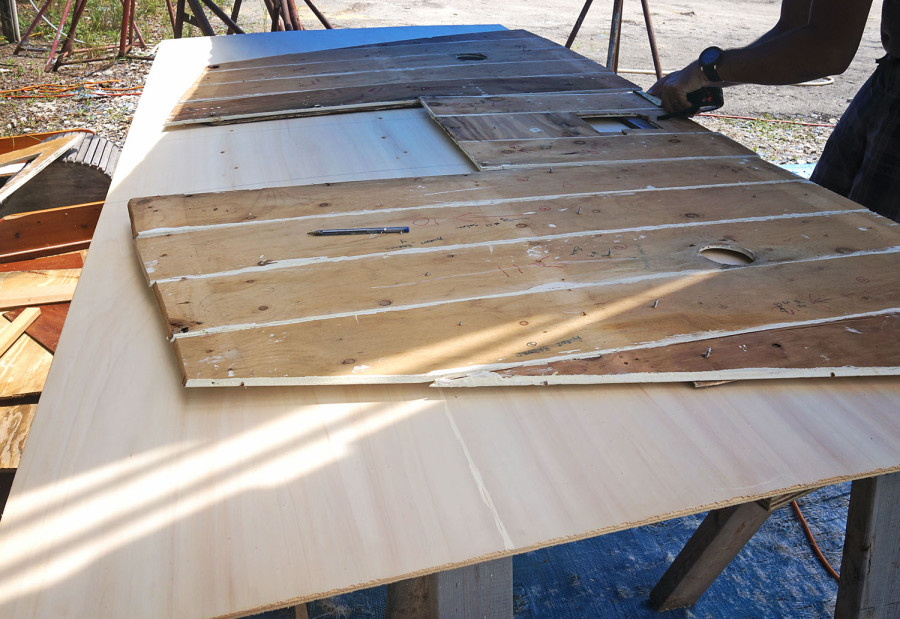
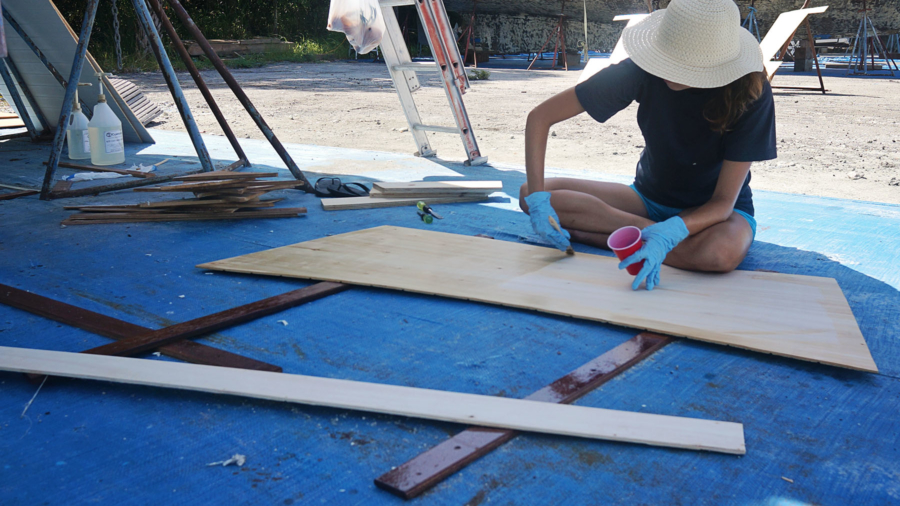
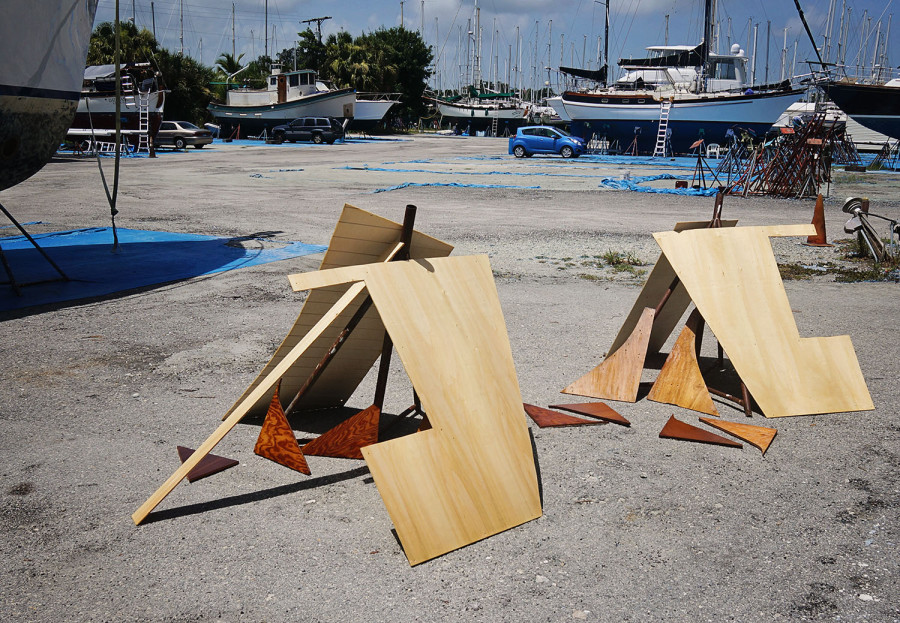
Who knew we’d ever be so happy to going back to templating pieces of wood. Once the frame was in place we needed the pieces of 1/4″ cherry plywood that will serve as the side. Using our compass we traced the curve of the hull onto one of our scrap 1/4″ strips of wood and cut it down until it fit perfectly in place. The other two lines were straight enough that we could overlap them onto the first, giving us the edges we needed, before being glued together. Tracing that template onto our cherry ply we had our side within about 30 minutes.
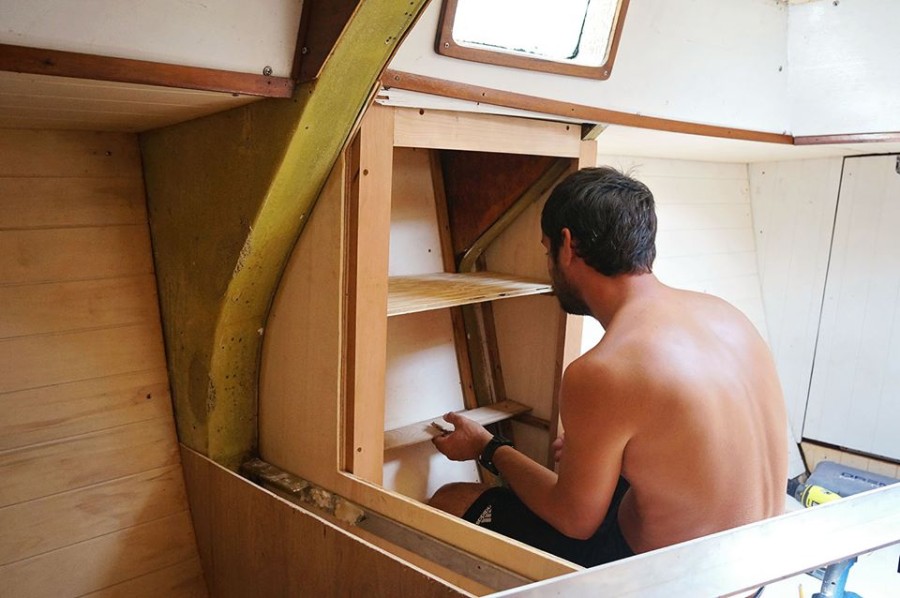
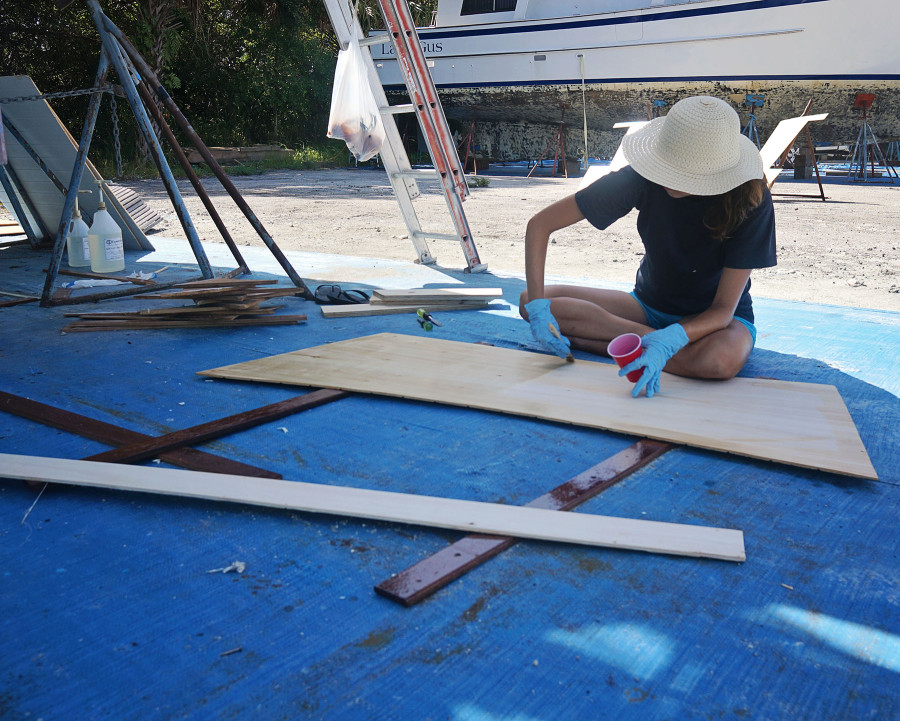
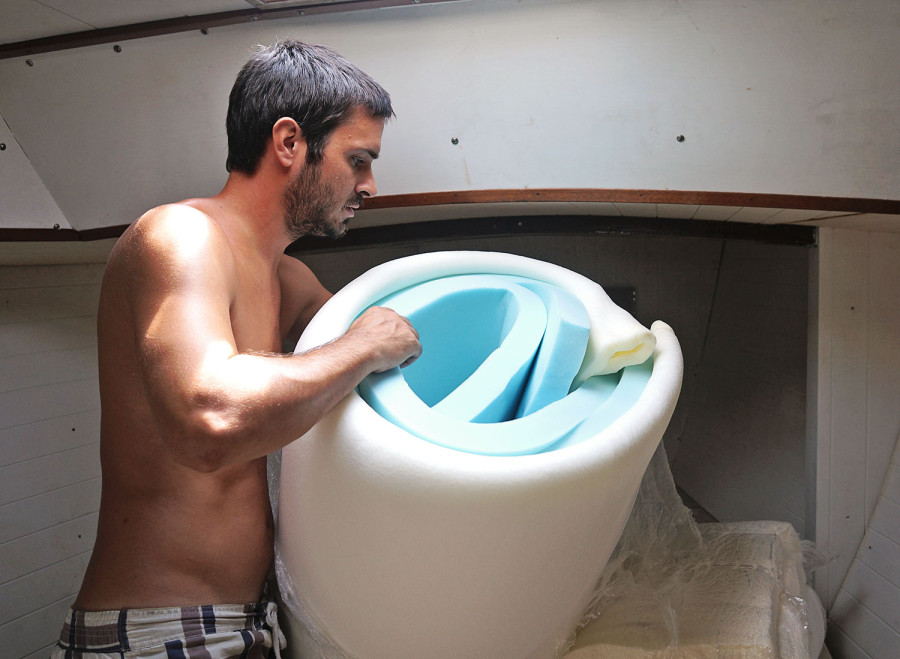
To give the cherry plywood a little extra strength and stability we also added a piece of Eurolte to the inside and gave it a coat of epoxy since it will be attaching to an aluminum frame. Cutting a few more strips of Eurolite we covered the remaining frame on the inside, and added cleats to place the shelves on top of.
Using a sheet of 1/2″ marine plywood we made the shelves for the cabinets, only having space for two total. The top shelf should give plenty of space, the middle one a little less so, and I have no idea what’s going to be able to fit into the crack of the bottom area. Maybe I should talk to Eagle Creek about some packing cubes that we can neatly store socks and underwear in?
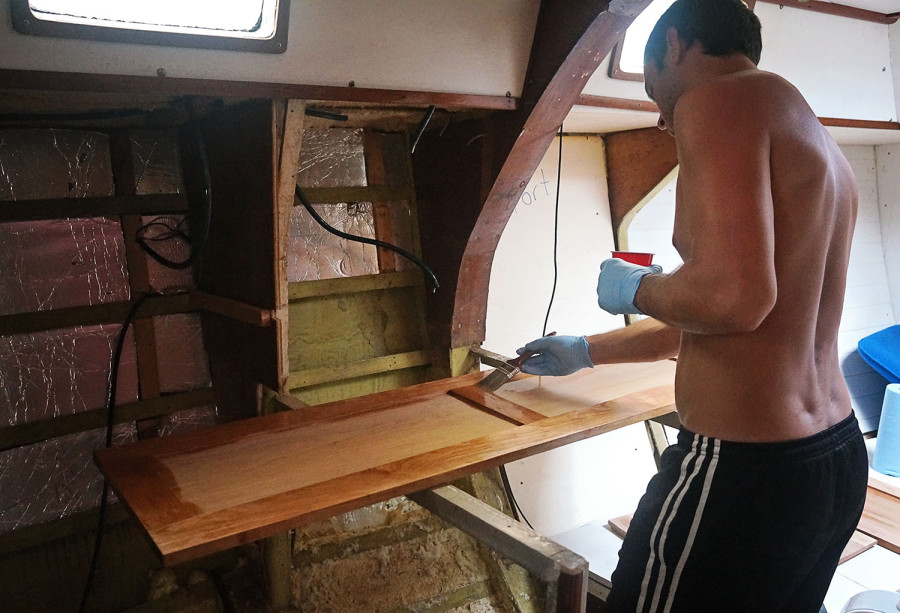
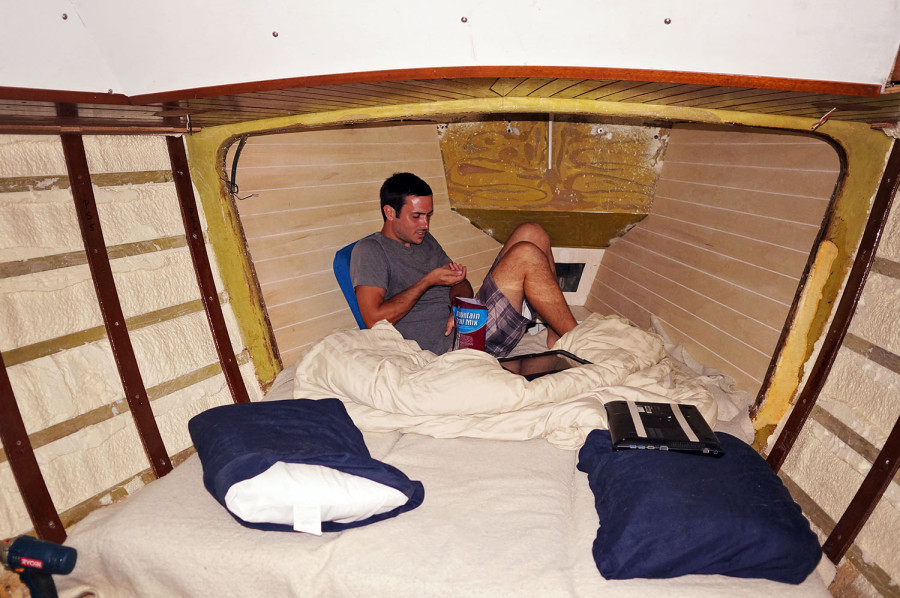
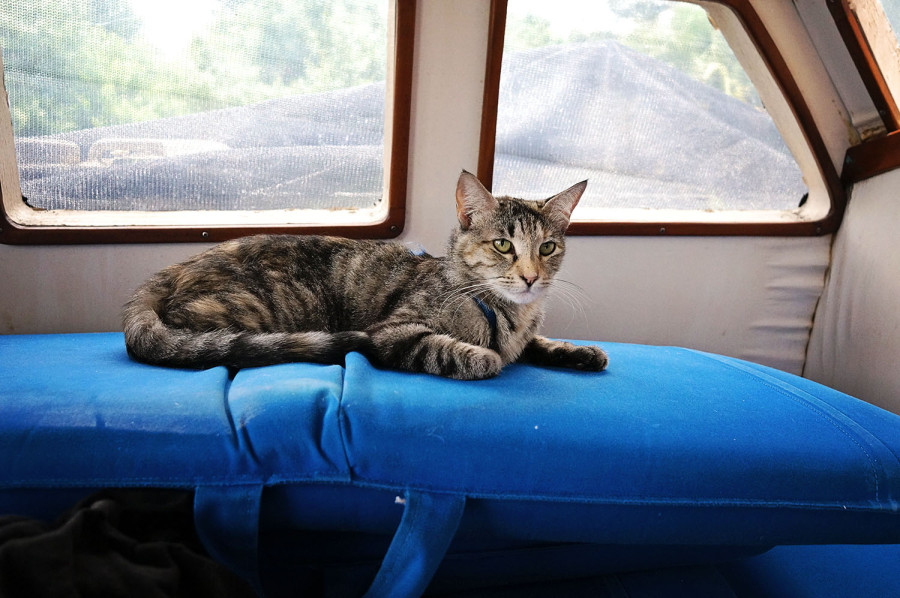
The shelves themselves were slightly harder to make templates for with the odd shape of having to bend around the aluminum frame, but after minimal cursing and only a few wrong cuts with the jig saw on my part, we had them snugly fitting inside and it was time for my favorite part. Painting! Any time you hand me a bucket and a paint brush I am filled with joy because it means that area is ether near or at an end. Plus this time I was even more so excited because it means that we can now transfer our clothes from where they are randomly strewn on the pilot house settee to an actual cabinet.
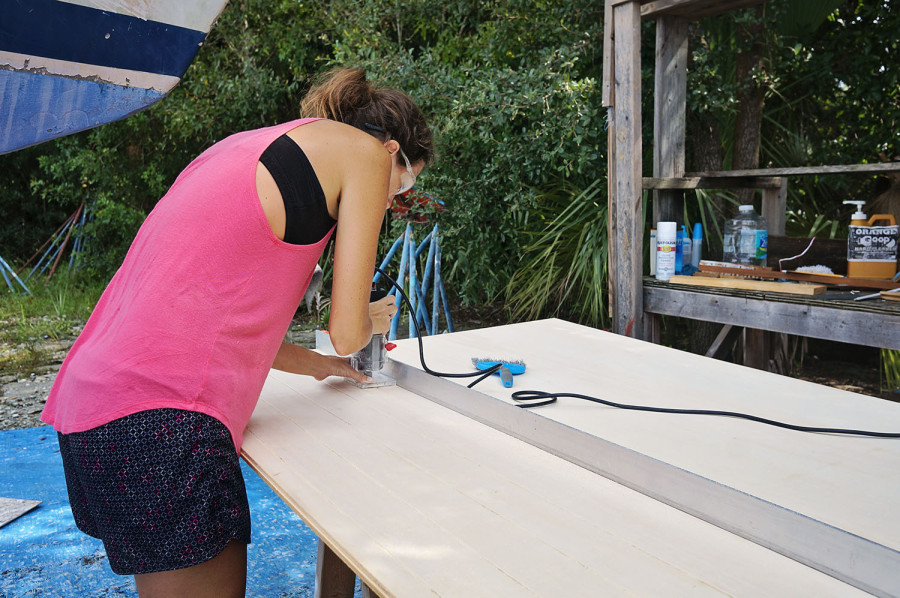
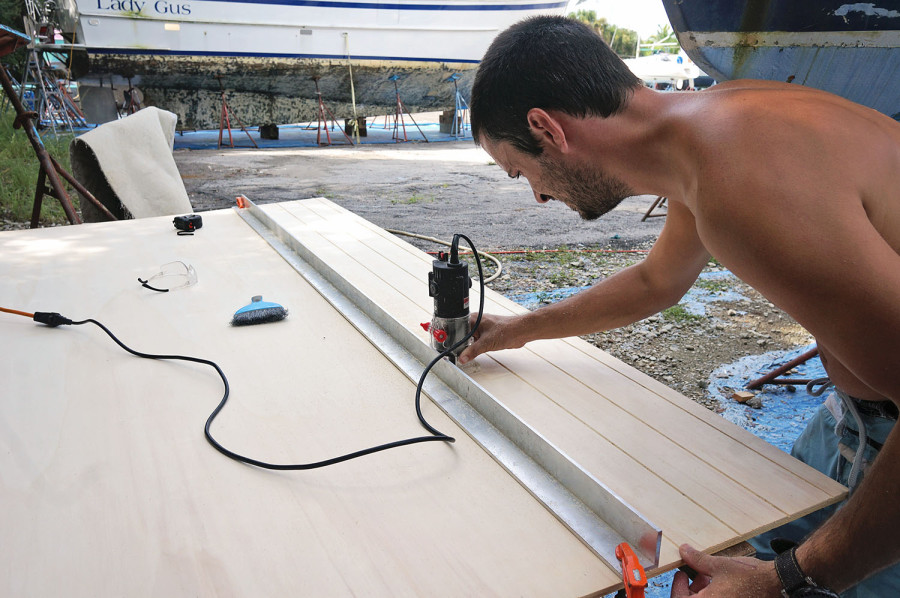
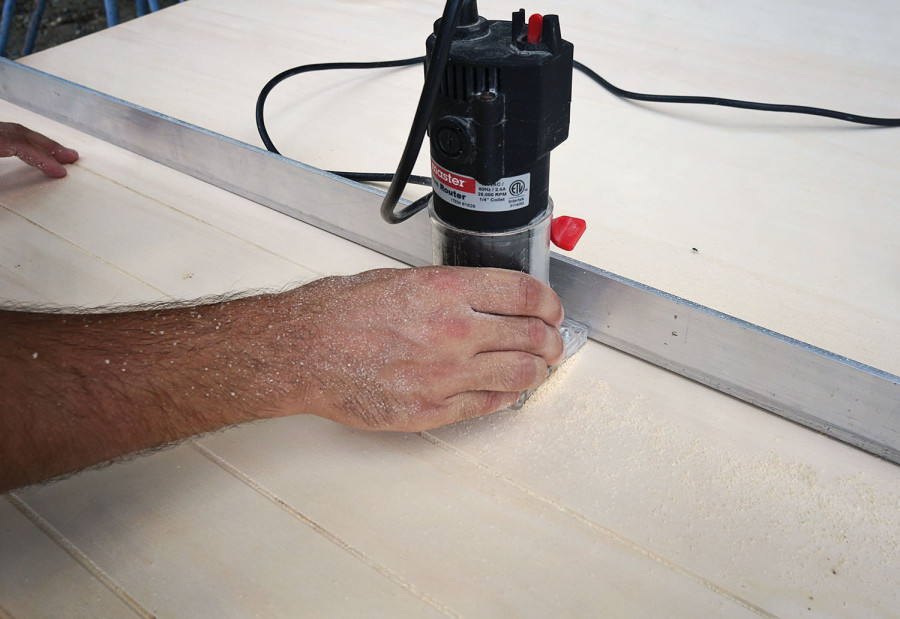
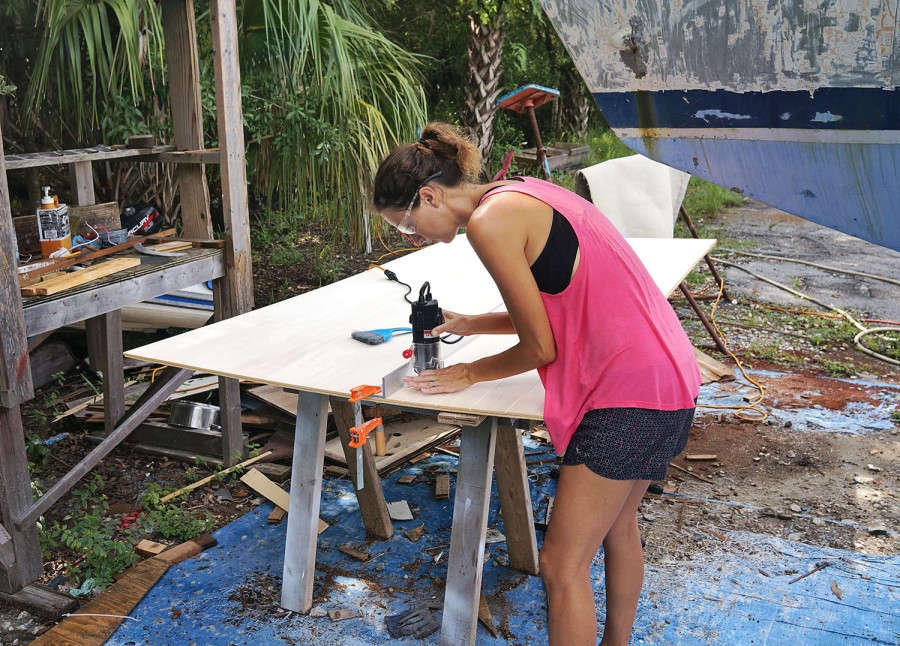
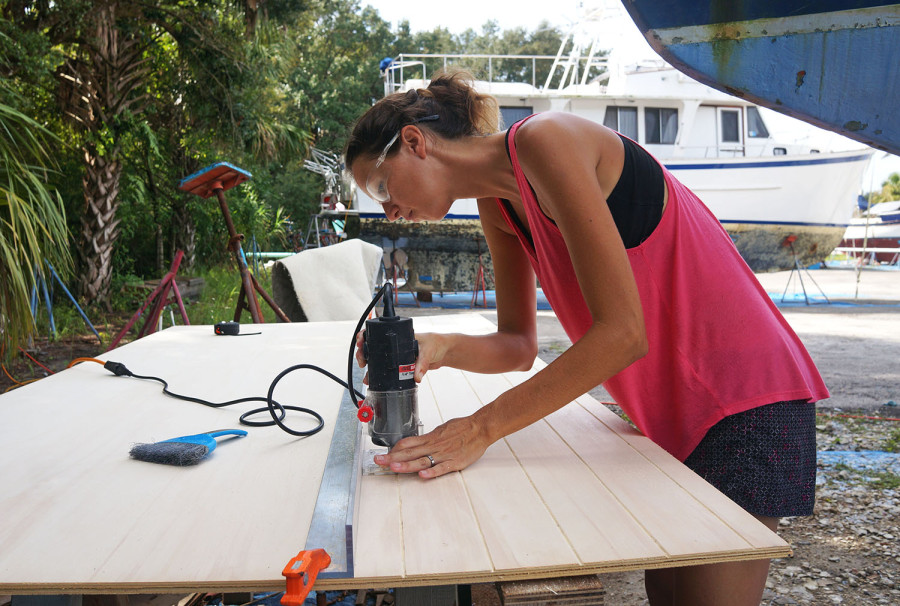
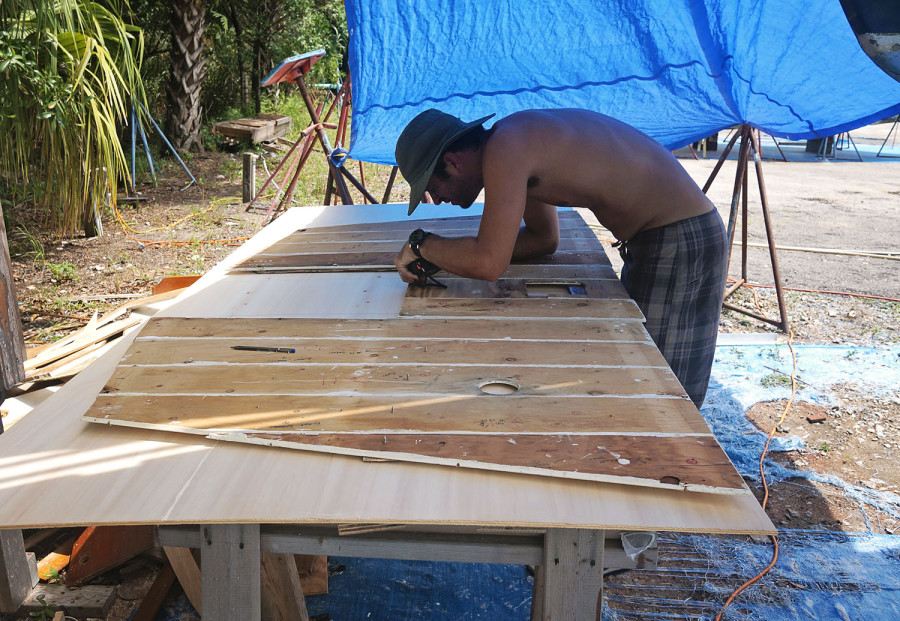
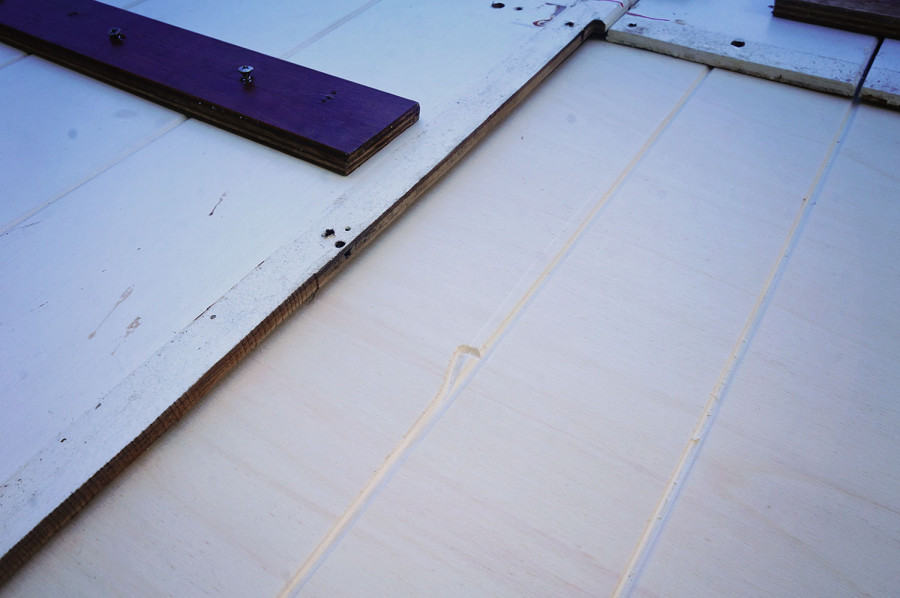
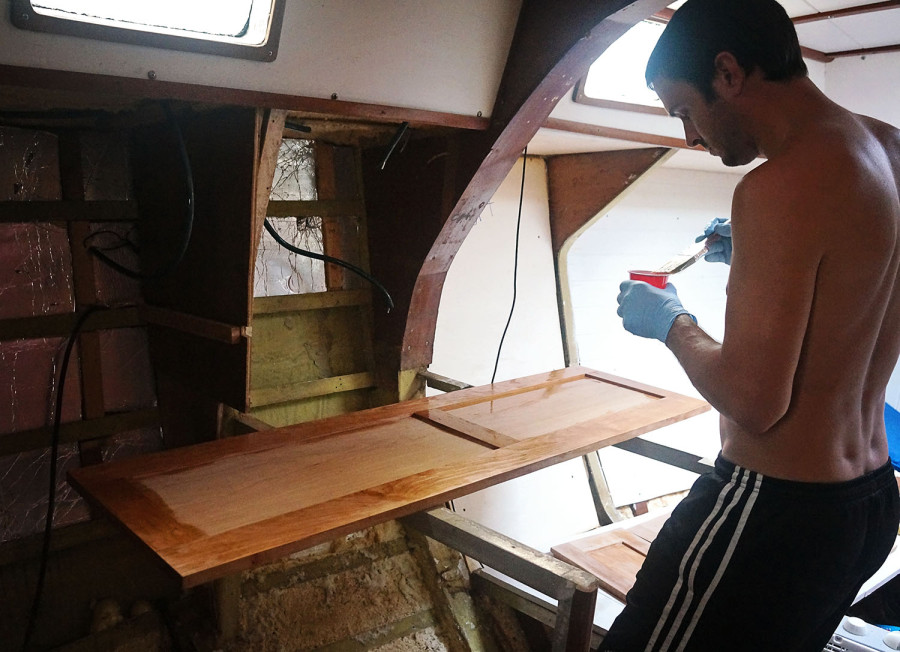
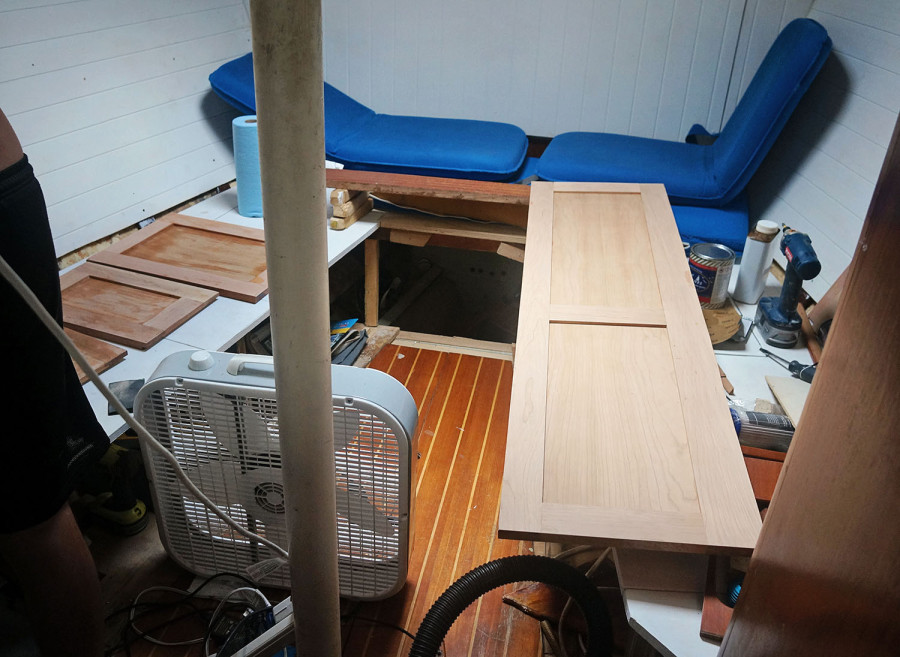
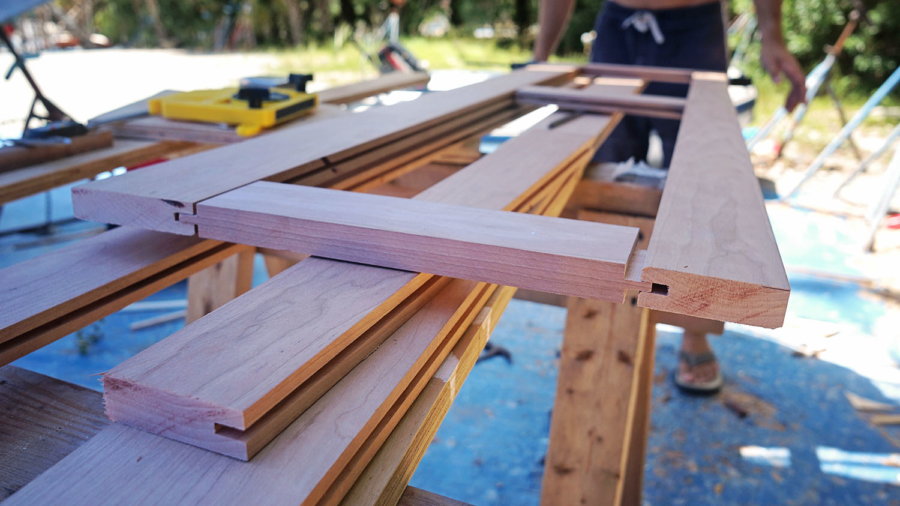
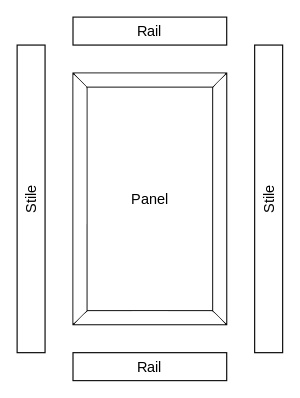
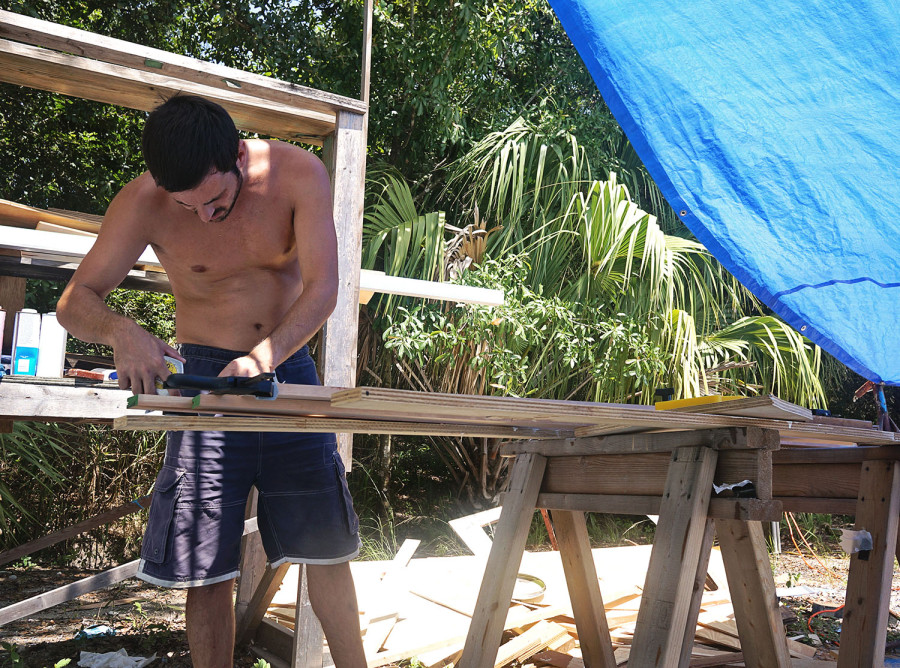
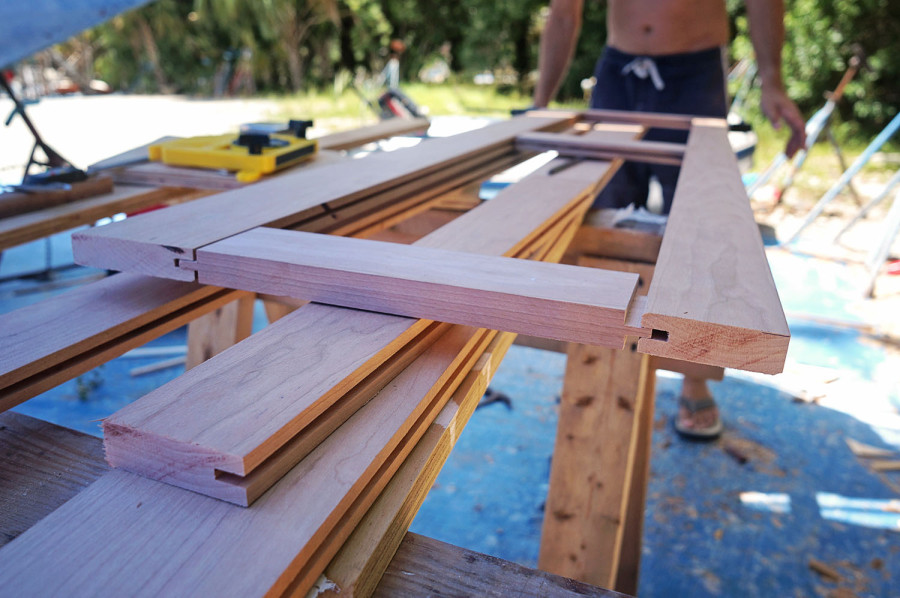
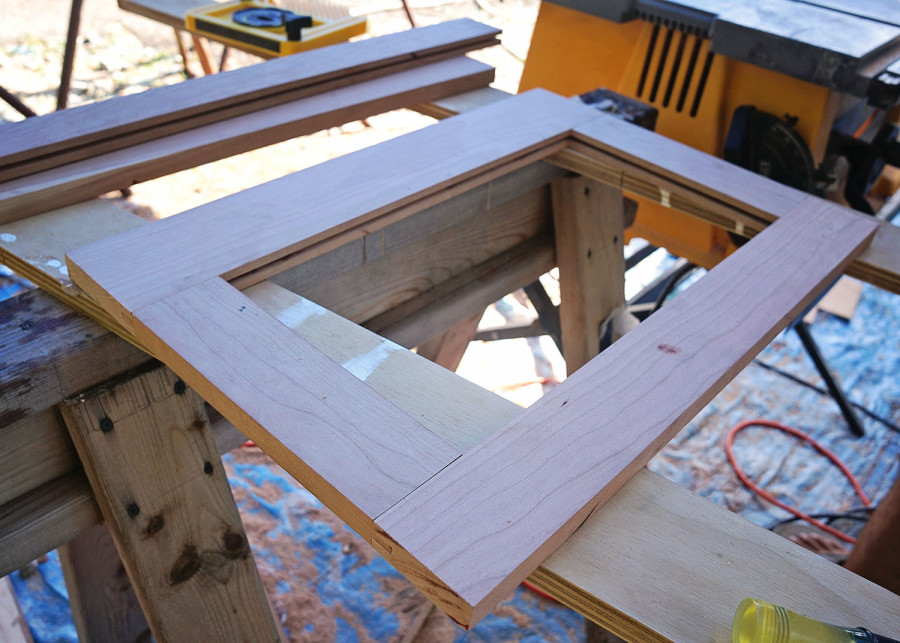
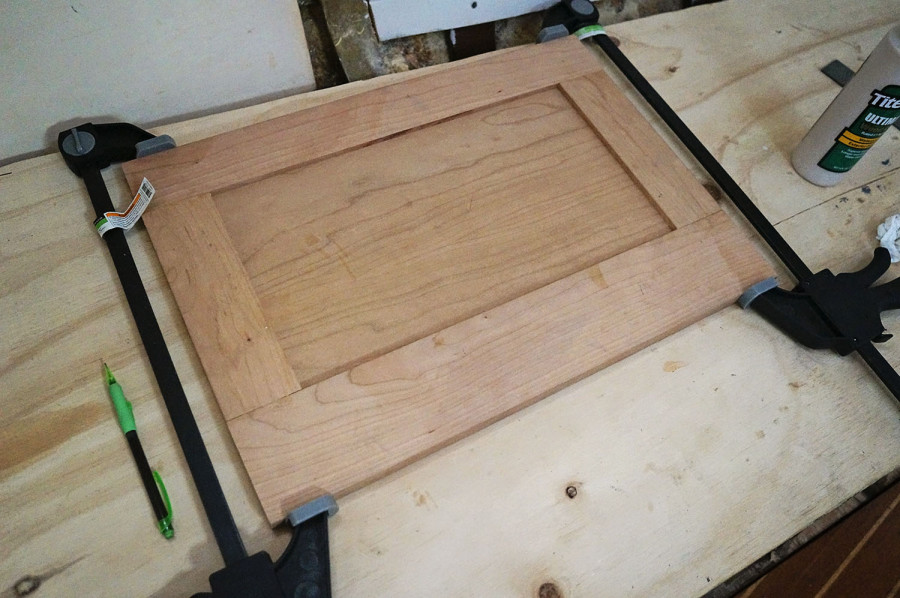
The last part of this project, which we’re still working on at the moment, is making the doors. They’re being done in tongue and groove, which Matt just about has perfectly down now, so that aspect is coming along nicely. Getting them to fit into the frame with the exact same spacing on all four sides is a little harder. Plus at the moment we’re waiting on our hinges to arrive before we can install them. You know, the kind where you can’t slam the door because even when you try it will shut nice and softly for you? We’ve opted for those. A nice option when you live on a boat and a random wave might send the door cracking down on your hand.
