Everything seems to be about the exterior of our boat right now, but that is ok. Â We’d prefer to sit outside in the sun when it is merely 82 degrees instead of waiting until August when it is trying to break 95. Â Most of the work on our interior has come to a screatching halt, but we figure we’ll be able to pick it back up in a month or so, our deck covered by a sun shade and two 5000 BTU air conditioners blowing cool air onto us as we work to complete all the projects inside.
Other than the paint and plexiglass which had been taking up most of our time so far on the deck, we’ve had two other major changes to the exterior. Â To the upper most and lower most parts of Daze Off.
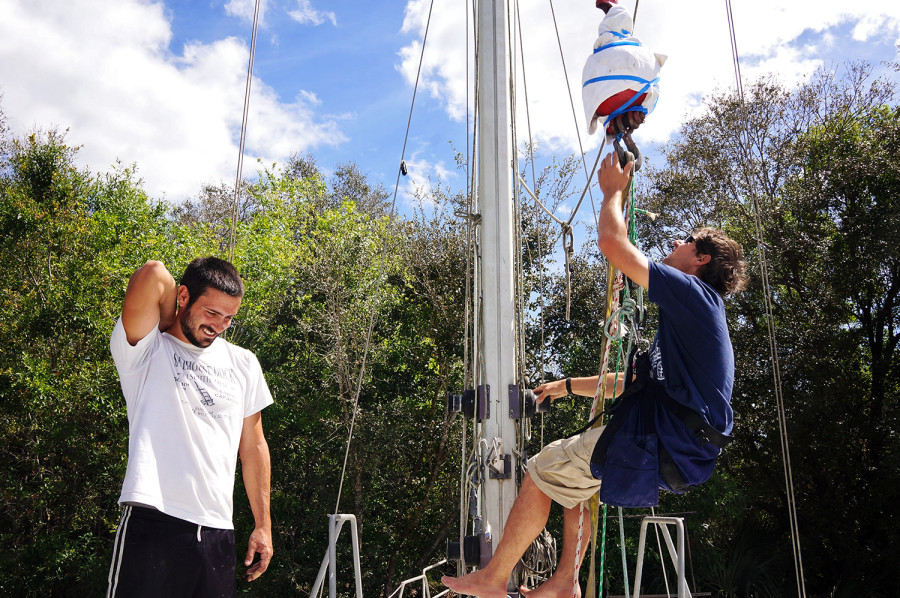
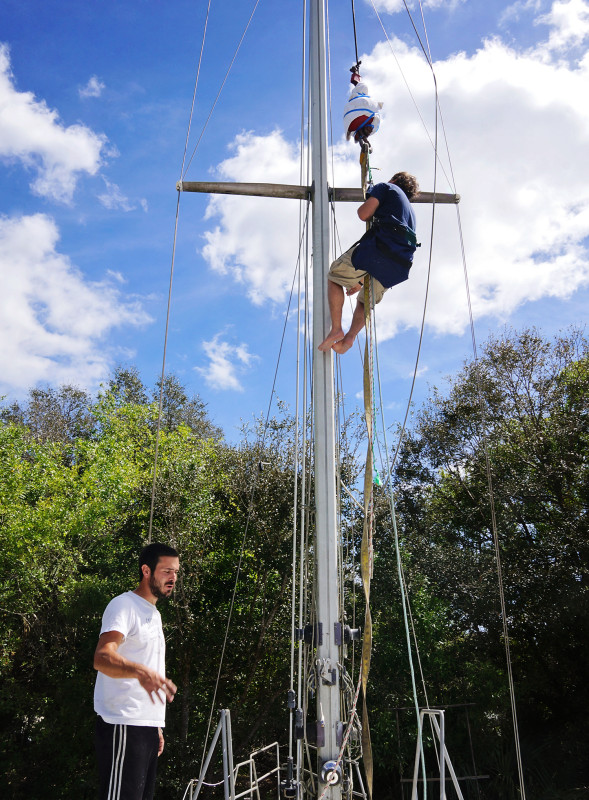
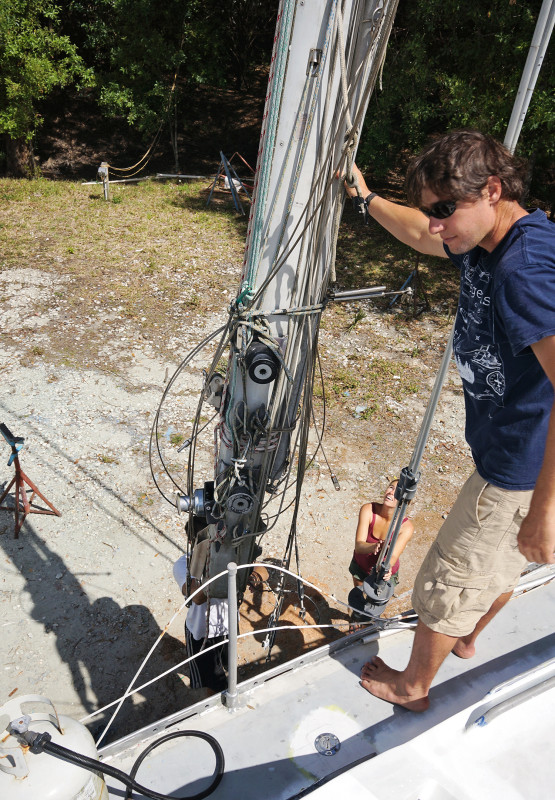
The first project/change is one you all knew was coming. Â Or at least those of you that have been following us since this post when I originally talked about it. Â Our mast has come down and is currently resting on jackstands in the open area next to our boat. Â When we originally purchased Daze Off we had been hemming and hawing on if it would be a good idea to bring the mast down. Â Yes, she would need a new light attached to the top. Â Yes, there were a few new wires we’d like to run up the mast that were probably not of consequence to the previous owners. Â But did we want to pay the fee of $500 to have her stepped and then raised again?
Unfortunately the decision was made for us when we were taking apart the overhead surrounding the deck step for the mast and found that one of the previous owners used an ORANGE EXTENSION CORD to wire it. Â Whaaa??!! Â We were speechless. Â Who was the idiot that thought this was a good idea? Â So yeah. Â The mast would have to come down and be completely rewired.
This of course had not been a top priority on our list and was a project we had been planning on saving until near the end….until we learned a few things. Â If you have your mast raised or lowered at the same time as someone else in the yard and the crane only needs to make one trip out, each party saves $50. Â Ok, so all we needed to do was find a friend that needed a crane for theirs, and we’d go at the same time. And although we did have some friends in the yard who we thought were a month or two away from putting their mast up (and so we agreed to go together), we struck gold when another set of friends came into the yard and needed theirs lowered. Â Best part was he used to be a rigger for Mack Sails and knew this process inside and out.
We figured our mast would be down for 3 weeks or so while we rewired, ordered new rigging, and then Bam, we’d still be in time to have it go up along with our other friends that were getting  ready to raise theirs.  Win/win.  The new friends in the yard happened to be the friend of a friend sort.  We’re both friends with Ren and Ashley of Evolve Freediving, and when this couple had come to the yard in September to put their Bayfield 32, Rainbow Connection, in the water, we chatted for a little bit, made plans for a weekend sail in Stuart sometime (which unfortunately never happened due to our lack of taking  days off), and kind of lost contact.  Until they came back to put their new/traded boat in storage (Long story.  Or short.  They traded Rainbow Connection for a Rival 39).
But when our new-ish friends, Jamel and Tania, came back to Indiantown, we were glued to each other.  Afternoons spent checking out one another’s boats, and evenings in their salon (cause who would want to be in ours?), eating  delicious meals Tania made, or even Little Ceasar’s takeout.  And when they mentioned they were taking their mast down before they went into storage for hurricane season, we were quick to jump on the opportunity and shout “We need to too!”.  Letting them choose the schedule since their timing mattered more than ours, we settled on a Monday morning to have A+ Crane services come out and bring both of our masts down.  Unlike previous years of storage in Michigan, you needed to do all the work yourself here, other than operate the crane, so we were especially happy to have a rigging specialist at our side.
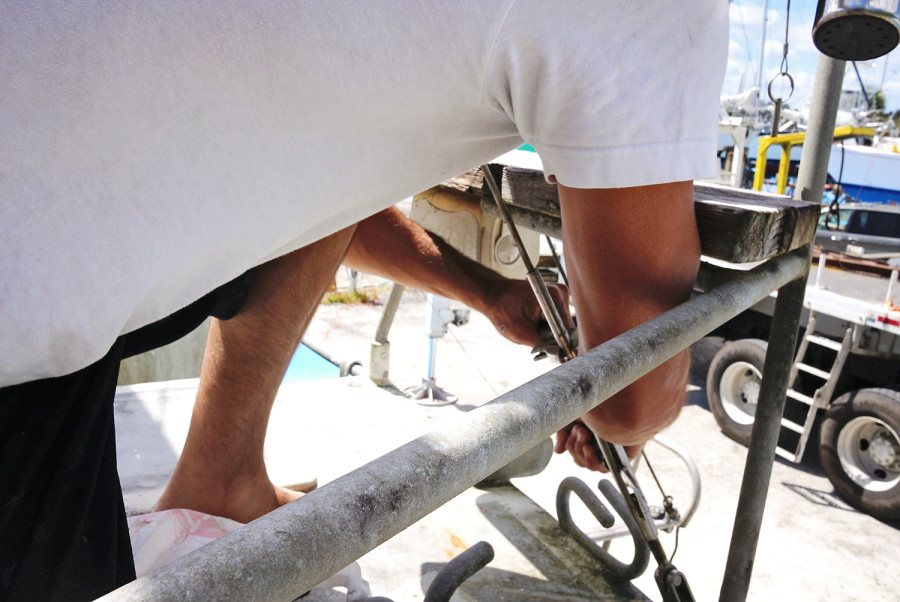
Quickly getting through Jamel and Tania’s stepping first, we were over at Daze Off, and Jamel was riding a bosums chair up to attach the hook and a strap to the top of our mast. Â Since I still know next to nothing on rigging, I let these three knowledgeable people around me unscrew the turnbuckles and bring the standing rigging to the mast to later be tied, as I ran around and tried to help them in any way I could. Â Handing over screwdrivers, crescent wrenches, and sometimes vice grips to help them get our rigging (which hasn’t been touched in almost a decade), lose from our deck.
Because we had these friends with us helping out with a job that I know would have ended in a lot of short fuses if it was just the two of us, we soon had the mast resting on a set of jackstands next to the boat, and we paid the crane operator and sent him on his way. Â One project down, but a lot of little projects left before it will be ready to go back up.
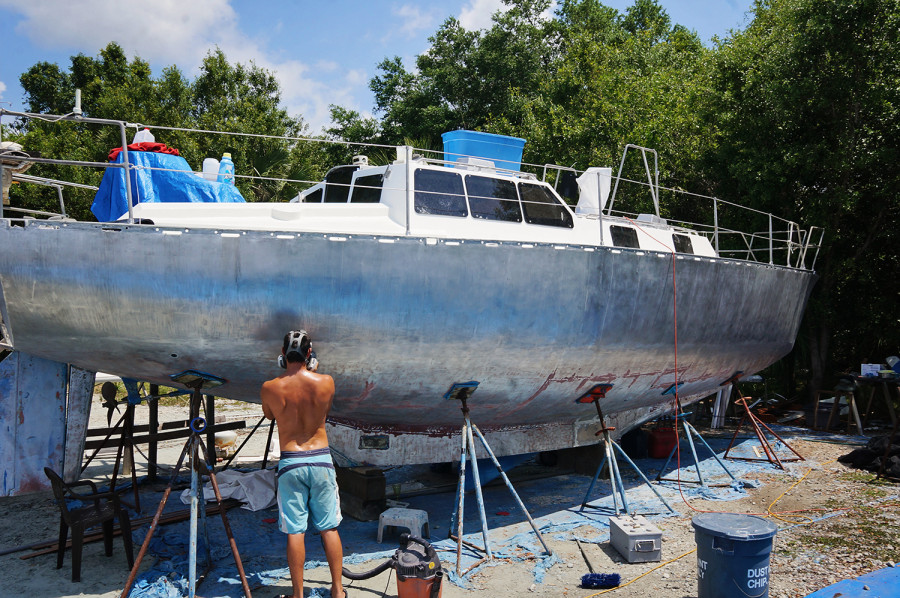
The other change had to do with what we wanted to do to the bottom of the boat. Â Not that we’re going to get as far right now as putting a coat of anti-fouling on, but we would like to have all the barrier coats built up so just before we are ready to go in the water, we can spend one quick day getting the anti-fouling on and be done with it.
This was the decision before us: Do we leave the previous barrier coats on, the ones that have been sitting there for at least 10 years now, (although doing a great job of holding up, it looked like), and just sand off the light blue anti-fouling coat and add a new one when we’re ready; Or do we take everything  off, getting  all the way down to bare metal, and start from scratch.  Both sides had their pros and cons.
By only taking off the top layer of anti-fouling that exists, we had the pro that it would be a cheaper solution, only having to buy 2 gallons or so to complete the bottom. Â Even though it was old, it seemed to be holding up extremely well. Â Would we make it worse if we attempted to start all over ourselves? Â The negatives to this plan were that while going through the storage inside the boat (while trying to make this decision, actually), we found that the current bottom paint had tin instead of newer copper-free. To get a new bottom paint on that works with the aluminum, we’d have to heavily sand this layer, and in other areas, all the way down to bare metal. Â A special primer would need to be applied, and then barrier coats….we were starting to realize the time and money we were saving ourselves didn’t put us that far ahead.
Then there was the option of taking off all the existing paint, bringing the bottom down to bare metal, and build it all back up again. Â The negatives were of course spending what we expected to be about 10 days stripping the paint off, and then the multiple days of applying coats of primer and barrier coats. Â Just like the top of the boat, any bare metal needs to be hit with our Aluma Protect before the metal can oxidize, so we have to work in small areas for that, grinding and priming within an hour of each other. Â Then there’s the days spent building up the barrier coats, about 4 days, to get it to the point where it will be ready for anti-fouling this fall. Â Plus, what if it somehow doesn’t end up as strong as what was already there? Â What if we go to check it out in a year or two and find out that areas are flaking off?
Eventually the positives of this outweighed all else.  Yes, it was going to be at least 2 weeks of extra and unexpected work.  Yes, we’re  going to have  to buy another gallon of Aluma Protect and about three gallons of InterProtect.  And hey, let’s throw in another 2 gallons of paint stripper to get off everything that’s already on there.  But when we thought about it more and more we realized that if we went with the first option, we’d only be putting off the inevitable.  Eventually the bottom will have to be stripped and repainted, and who knows where we’ll be when this comes up on us.  Right now we’re already out of the water, in a DIY yard, and have easy access to all the supplies we need.  It may be a headache to go through all these extra steps here and now, but it could be a much bigger headache if we wait a year and have to do it in some remote island in the Caribbean, or while freezing my butt off while wintering over in northern Europe a few years down the road.
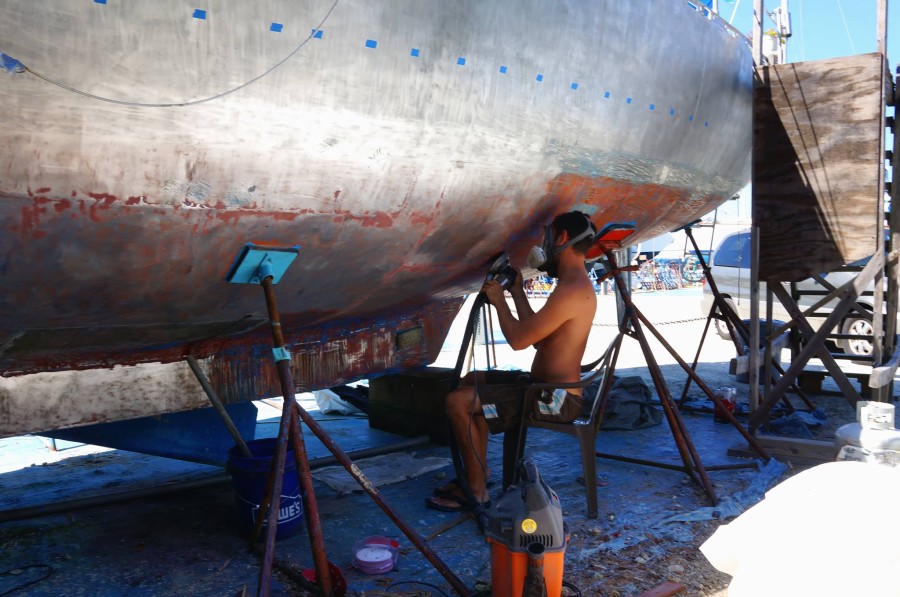
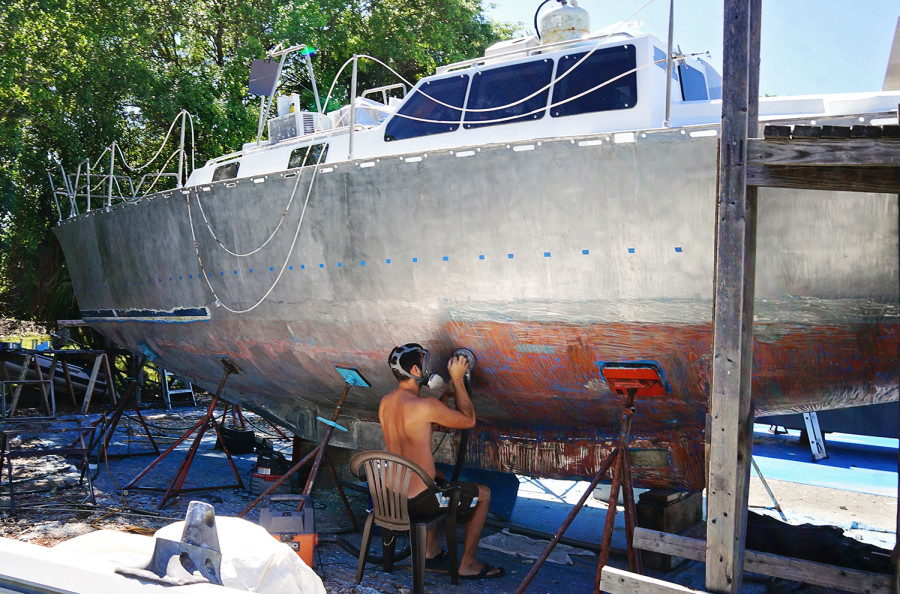
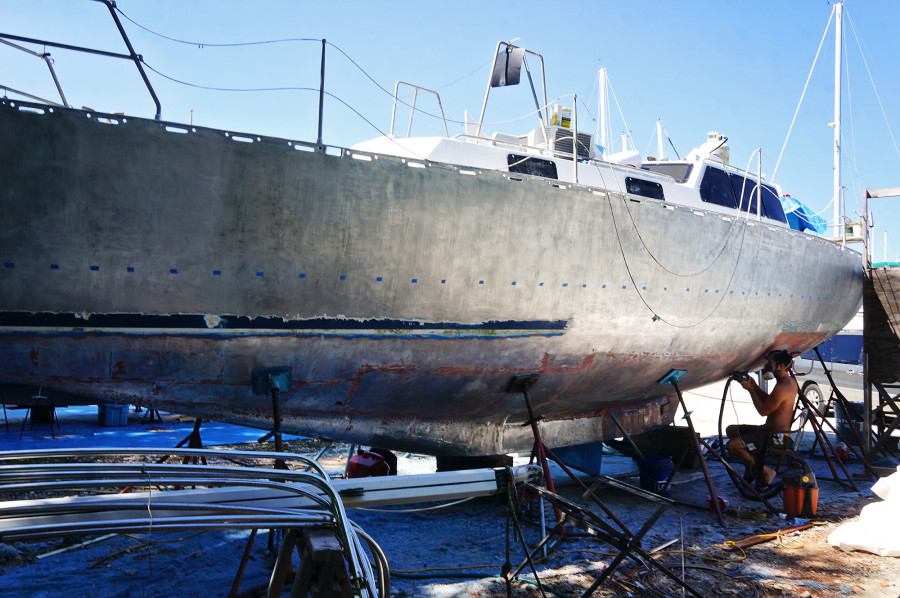
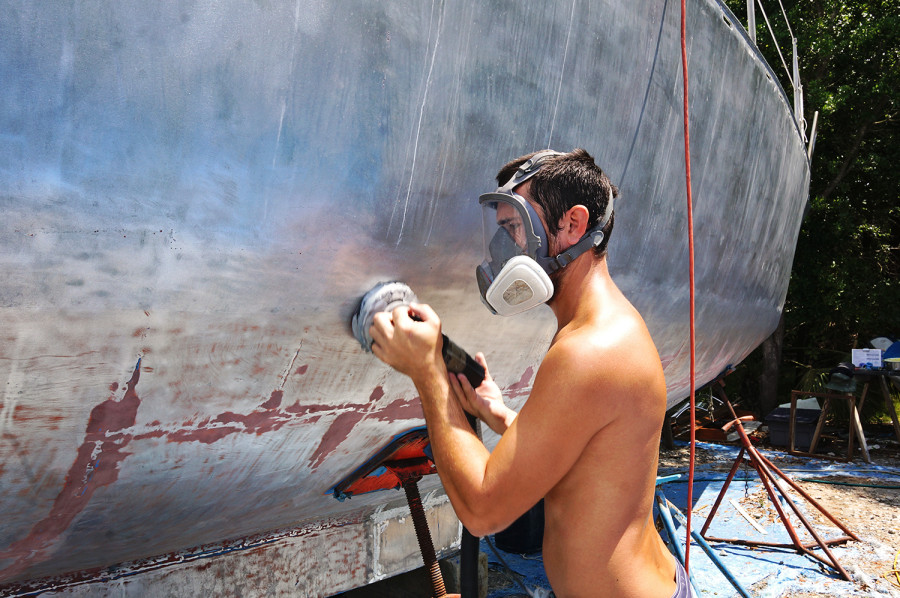
Matt has been doing a great job of getting all the old paint off and so far has been moving at a pace much faster than both of us expected. Â In less than 10 days he’s been able to not only scrape both sides clean, but to sand off any remaining remnants. Â The days have been a little hot and sweaty, and he completely ruined a set of lightweight Helly Hanson foulies he got off the free table a few months ago, making sure that none of the paint stripper came in contact with his skin. Â He’s a real trooper though, and in the next few days we’ll getting the new waterline painted on. Â I do have to say this this has benefited me in one big way….all these hot days of work under the boat actually has Matt craving beer at the end of the day, so guess who was able to pick up 2 cases during our last visit to Sam’s Club?!

Looking great! So much progress.
We keep running into projects as well, where we have to choose to do now, or later. And money could be more of a challenge later, so we’re trying to knock it all out now. Not that you ever knock out ALL of your boat projects 😉
Keep up the great work!
Looking good … all that hard work is gonna pay off!
Cheryl, I can’t wait until it’s done and we can enjoy the fruits of our labor!
Jennifer….I know, right? Then there are those projects you keep pushing off and off and off, and only finally get to once you’re selling the boat. 🙂
Re the orange cord, there’s nothing wrong with using a very long extension cord in a mast. In fact it’s probably a lot cheaper and more robust than rinning individual wires. What is important is the current rating and the voltage being sent up the mast. For 12V low current (say, less than 4A, makeing up to 48 watts), a 16/3 or 14/3 extenion cord is perfectly fine! 14/3 is what is normally used for 120V/15a circuits, i.e. 1800 Watts. The fatter the wire, the lower theresistance and the less DC power lost to heating effects. 🙂