Somehow it has now happened that we are a water tight boat. Â From the top at least. Â Don’t go actually sticking us in the water just yet because there’s still that big hole on the bottom where we need to put a transducer in. Â But we’re getting closer. Â And Daze Off is actually starting to look pretty!
As fate would have it, the day we had originally planned to put in our five remaining plexiglass windows, Indiantown felt like giving us some torrential downpours. Â The worst we’ve seen this year, actually. Â It was one thing when we had the windows (check this out) on the sides removed during rain storms, because the tarps covered those flat surfaces much better and all the water managed to find ways to the deck that did not involve coming inside our boat. Â This was not the case for the forward windows which sit on a slant. Here is a recommended company that can help fix or even replace your windows.
In addition to addressing the challenges of installing new windows during heavy rain, it’s essential to keep your windows in pristine condition to maintain visibility and aesthetic appeal. Cleaning windows regularly can prevent the build-up of grime and weather-related stains, ensuring that they continue to perform effectively and enhance the overall appearance of your property.
For professional window cleaning, Jaspers Window Cleaning offers expert services tailored to meet your needs. Their team is equipped to handle various types of windows, including those with unique slanted designs, ensuring a thorough and effective clean. By choosing these experts, you can enjoy sparkling clean windows that improve both the functionality and beauty of your home or boat, even after the most challenging weather conditions.
Even though we had covered them with HUGE tarps and weighted down every corner, water somehow managed to find ways to pool up under the tarp and come streaming right into the pilot house. Â Same thing with the rear windows, but only because those tarps hat to sit in awkward half extended positions because we still needed a way to get in and out of the companionway. Â For two days we had to sit put inside the boat while it poured down outside and chase multiple leaks as they came up. Â Since we love to take advantage of rainy days as errand running opportunities (or in this case, going out to lunch with a blog follower that invited us out), we were shifting tarps and grabbing clothes out of our dirty laundry bag to stuff leaks.
Soon those memories were in the distant past though as we installed the remaining windows and were able to remove the tarps from our deck forever.
It was of course a much easier task the third time around as we had it almost down to a science. Â The first two rounds gave us a lot of know how, but of course the initial measuring and placements was it’s ever lengthy process. Â The one that causes lots of cussing as you measure and remeasure, but never seem to get things level from one side to the next. Â And when the level was telling you that everything was perfect, you’d step back, and something about it just seemed a little askew. Â Eventually we decided that even if the level may get upset that we were 1/4″ off on one end, it was the more eye pleasing solution.
Plus, as we try to remind ourselves, no one else in the future is going to be scrutinizing these details as much as we are. Â Throw the mast back on, the deck hardware, as well as a bimini and dodger, and there’s a good chance no one would even be drawn to a slightly off kilter window. Â At least that’s what we hope, and keep telling ourselves.
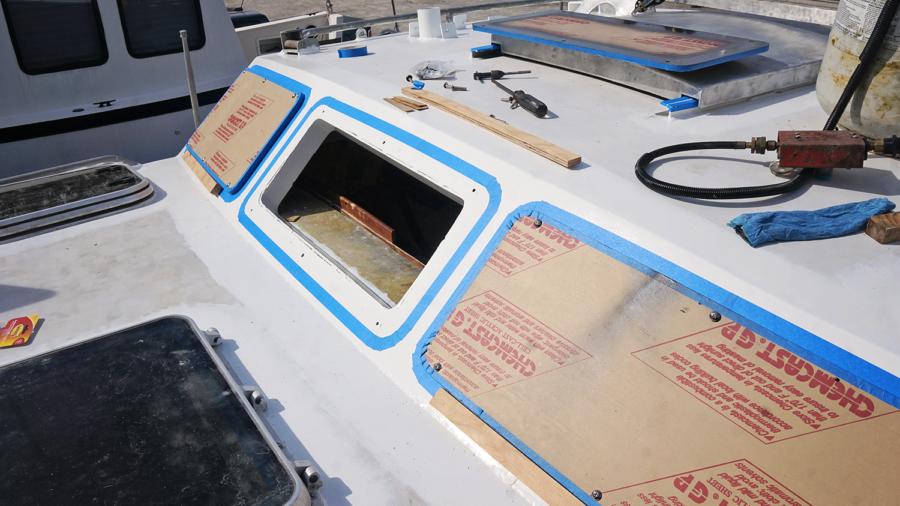
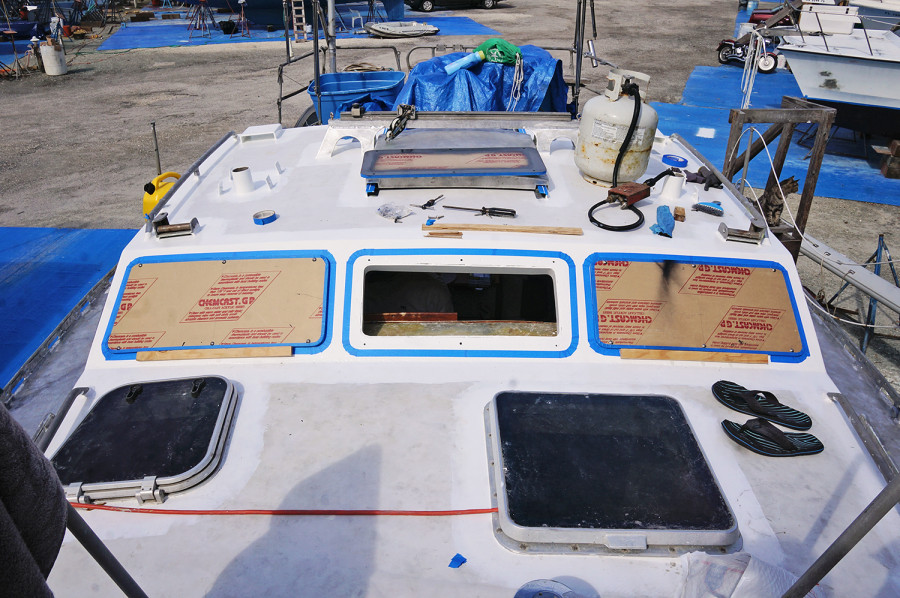
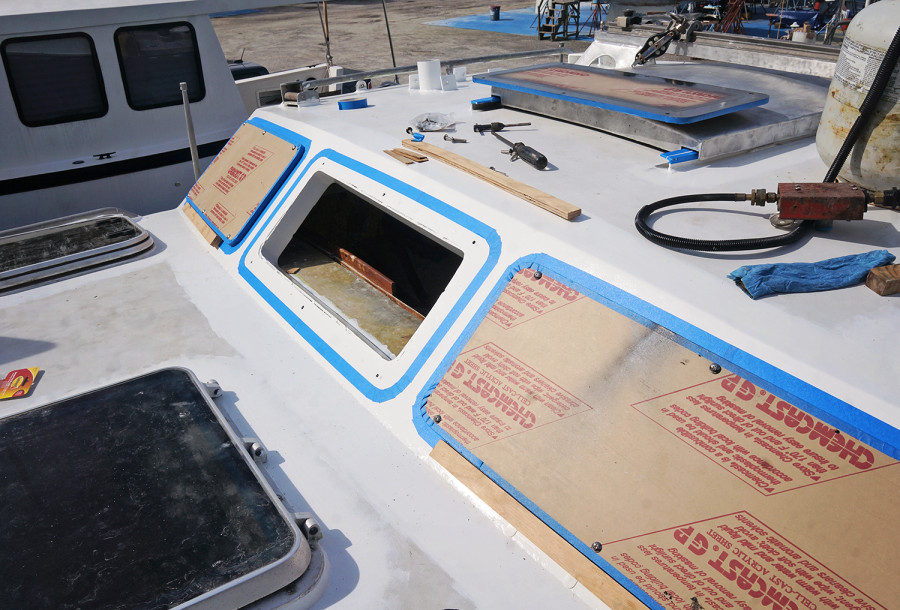
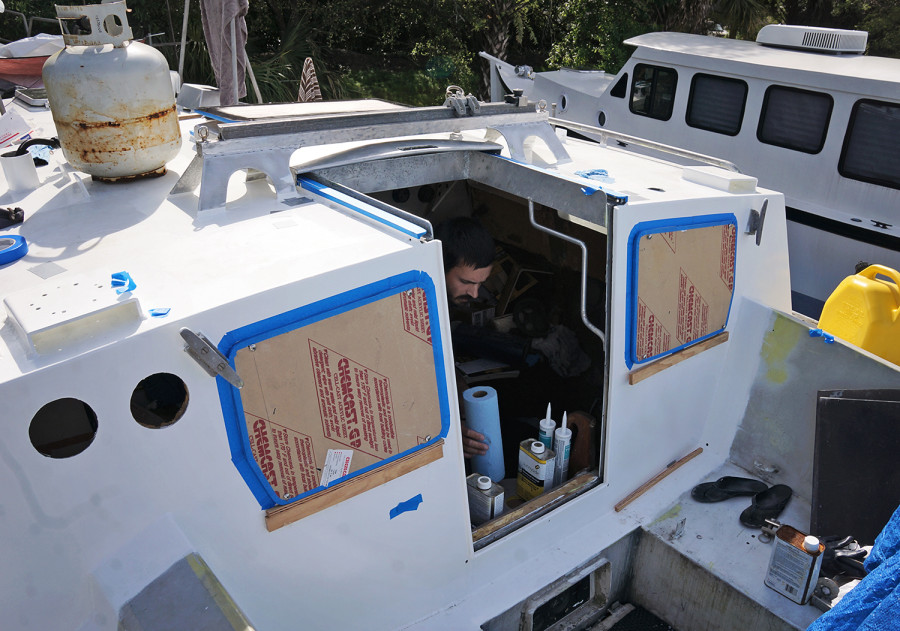
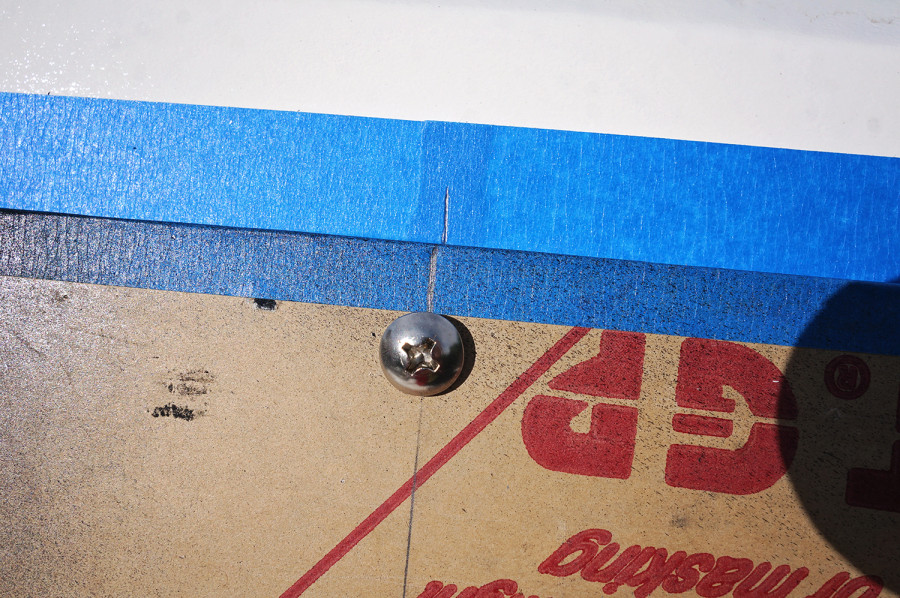
From that point it was time to move forward with the project. Â Our pieces of wood that held the windows up were stuck on tightly with command strips, and we drilled the holes into the boat and temporarily stuck in the bolts. Â I taped around each window so clean up with the caulk later would be much easier. Â Another smart move we did this time around was to mark a line on the tape of the window and run that line up to the tape lining where the window will be placed. Â That way when it was time to place the window in it would be much easier to line up again because our holes would be covered with caulk and not visible to us.
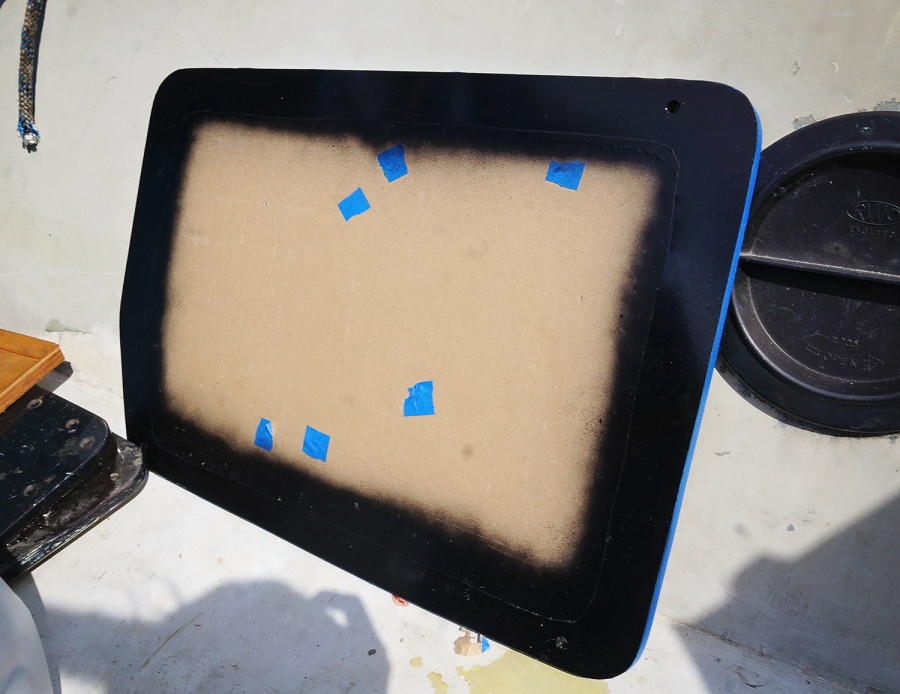
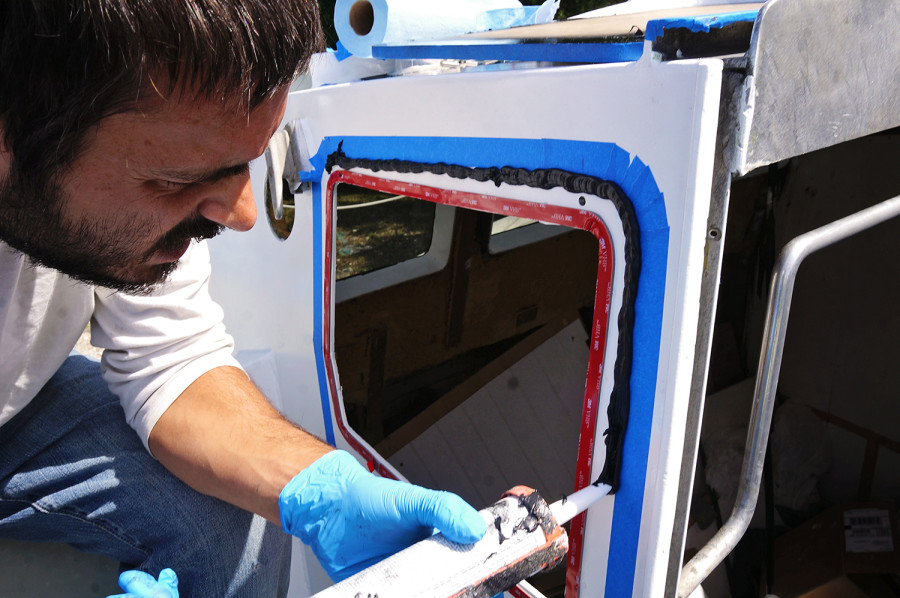
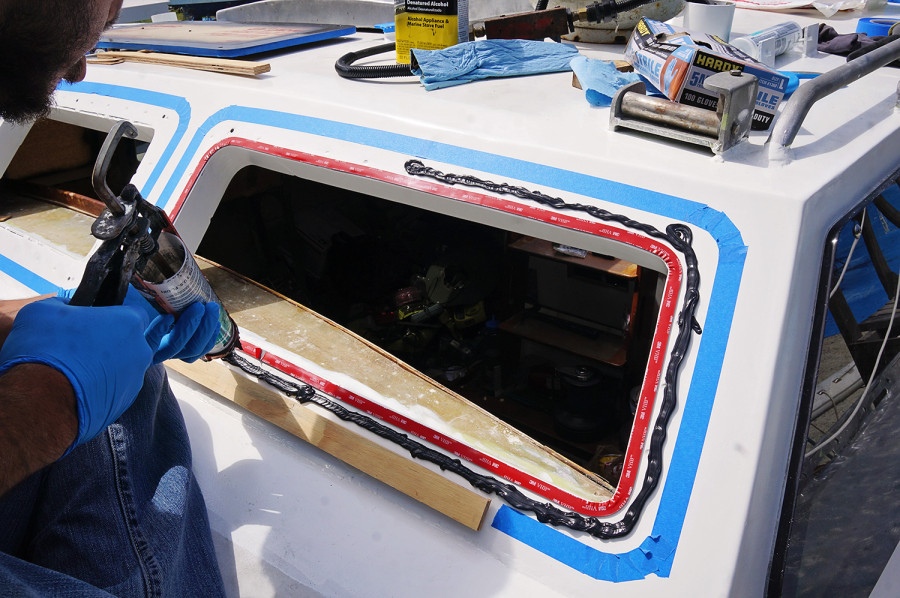
Taking the windows back off it was time to get them ready to permanently go in. Â Wiping down the topcoat of paint with denatured alcohol, I also gave the exposed part of the glass a wipe down as well. Â We then used the 3M VHB 4991 tape to outline the area right next to the opening, before covering the remainder of the exposed paint with DOW 795. Â When the windows were actually ready to go in I was worried about them lining up perfectly, especially with the angle in the front we needed to worry about. Â Surprisingly they all went in incredibly smooth, and before I knew it, Matt was down below tightening all the bolts to hold them in place.
Clean up was done after each window was placed instead of installing a whole group and then cleaning the area up. Â We found the caulk is easier to work with when it’s still a little wet, and if we left it too long it would become tacky and very hard to fill in spots if they needed it. Â This time around I don’t know if I had Matt to thank for his wonderful caulking skills, or me for my taping, but this time we were able to peel the tape off to clean lines that needed very little to no touch-ups.
Before we knew it we had all five windows installed and all remaining caulk had been wiped away. Â Peeling off the outside layers of protective paper from the glass, we were able to look at Daze Off as if she were a brand new boat. Â What a huge step forward for us! Â And a huge item checked off our list! Â Time for me to go celebrate with a new craft beer to add to my World Tour. Â 😉
For a more detailed description on this process, make sure to check out our first post on installing plexiglass windows. Â This post is more of a follow up with a few additional photos that I didn’t get in the first time around.

I can soooo understand the excitement of getting rid of that tarp! I remember one rainstorm that came through when we were window and hatchless. It was horrible! Buckets everywhere and literally only one spot to sit and stay dry. Congrats on baby steps towards normalcy 🙂
Wow! It looks like you guys have made some great progress! Installing your own windows can certainly be a challenge, but detailed posts like this really help make it easier. Great job, guys! Thanks so much for sharing!
Kelley, it was seriously one of the highlights of our time living on the boat so far. I think it has come second to getting our fridge and propane running. I’m still looking forward to the day we can remove our air con from the hatch and enjoy the fresh breezes of being at anchor. 🙂
I wonder how if plexiglass is better than just glass windows. My mom was suggesting that my husband and I get plexiglass windows for our boat, but I don’t know what we’re gonna do yet. Hopefully, we can figure it out before our trip to the lake next week.
Hi Audrey. There can be a lot of questions about plexiglass and what is right for each boat, and I hope you were able to figure out a solution that works best for you!
The tape idea was a nice one. You definitely want to make it easier to continue the process.
Hi ,just recently found you blog/website. Your boat project makes mine look like a easy weekend , which it is not. You must be glad to have the boat water tight from the top. The most important leaks to seal! Looking at all the careful work you had to go to to install the Windows makes me understand why most production boats use pre framed Windows ,even if they are expensive. (Boat factory workers are not always the most skilled ….).
I liked your idea of the VHB tape inside the caulk, luckily you had room. Stopping the caulk getting on the the tape must have been hard, or maybe it did happen. I was suprised at you use of the silicone caulk. It is so hard to work with , clean up etc, you did come up with a better plan 2nd time around. Did you reject Buytl Tape because it was not compatible with the plexiglass? Or could you have used a all VHB and forget the caulk? (And use bolts with a sealing washer or O-ring under the head). The other caulk/adhesive could have been the same stuff they use for car windows which is not a silicone and has much better adhesion.
I have Windows that were installed with screws instead of bolts so they came loose over time when the wood inside the fiberglass got soft, this lead to caulk/sealant failure , leaks , wood rot wtc.
It’s incredibly hard to come up with the best way to redo what has failed in the past. The thinking out a plan is often way more work than the actual job! I try not to just follow what was done in the past which can often be a boatyard compromise of cost vs quality.
I enjoy your style, I look forward to reading more of your project to help me with mine.
Thank you for sharing, Warren
Ps yes I know you posted this 6 months ago.
Nice window installing! i hope it will be last forever!
Hey Jessica,
Amazing! I appreciate your presentation and informative writing. It was really helpful for Installing the Plexiglass Windows.