Thursday May 22, 2014
Don’t you love when a list of projects leads to another whole group of projects that weren’t even on that list? Things that come up while you’re doing said list, and you think to yourself, ‘Well that just can’t go ignored’. Such is the case on our to-do list. We’ve had it all printed out since the Bahamas and even got busy checking off little things here and there. We were confident that with about a week of hard work in Miami it would all be completed. If only it were that easy. Because the one unplanned thing that can be added to a list and drive any sailor crazy are unexpected leaks.
There we were one afternoon this week, cleaning out our garage aft cabin to lube up the steering system when Matt gets to the very back part of the cabin, only reserved for the the things we never have to get to (like my sewing machine) and therefore never pull those items out of the way, only to find dampness all over the bottom of the cabin. We had just suffered through about a day of constant downpours and assumed that was the cause of the wetness…but where had it come from? Doing a little tracing we found that it also followed along the shelf that runs against the wall and since there are no hatches or ports that far back, it must be from the toerail.
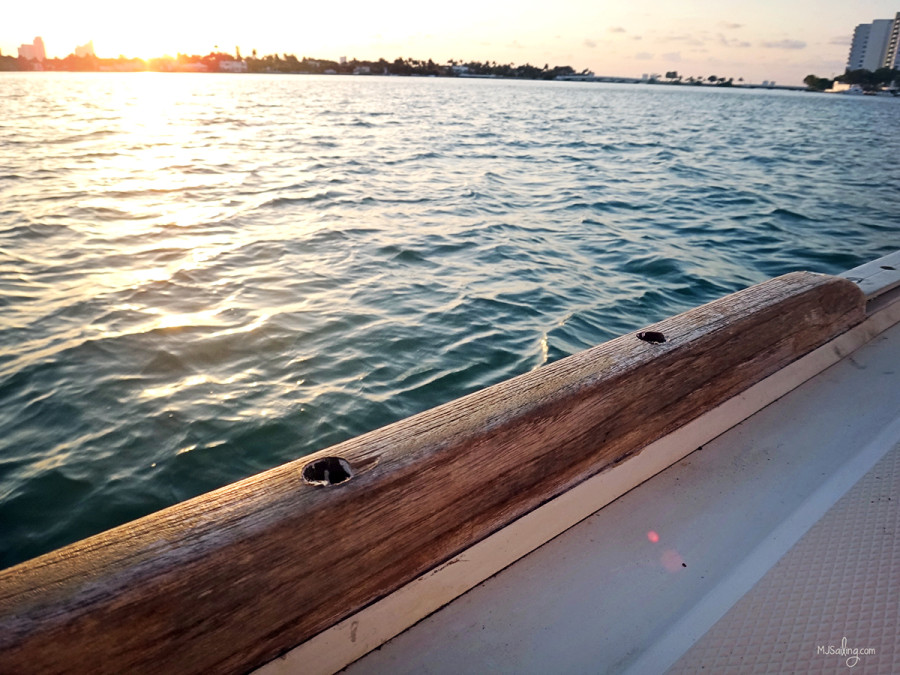
It looks like our simple and relaxed day of just doing two small items to get off the list was now going to be taken over by pinning down the source of and fixing that leak. The bung plugs were taken out above deck, and while I did my best up there to keep the screws from moving while Matt worked in the small confines from below with the ratchets, we successfully removed about 10 screws that would be rebedded with a little more staying and leak-proof power. We hope.
Originally placed in the toerail with butyl tape, of which we find works great for many other things, we just weren’t sure if it was up to handling the job here, which meant it needed to come off all of the screws. And if you’ve ever worked with butyl tape, especially once it gets warm and gooey, you’ll know that it is a pain in the butt to remove. All of the screws were handed to me since Matt has only nubs of fingernails and I spent the next hour trying to get this blessed yet wretched product off. It wasn’t until after I’d gone through and cleaned them all down to a nice silvery sheen that Matt found out, and quite by accident, that WD-40 will actually remove butyl tape clean off a surface. Nice to know. I wish I could blame him for ruining my nails after going through this process when it turns out I didn’t have to, but it turns out that I had already done it myself with a sewing project. Constantly pushing a needle through fabric using my thumbnail to put a little force behind it kind of screwed it up to begin with.
Once these were all clean we went through with the drill to make sure all the holes were wide enough, and Matt took some Life Caulk to the screws and made sure they were fully coated before placing them back in their holes. Then just as before, I sat above deck and held the screws in place while he tightened them from below. Now we just wait for more rain to make sure the whole process has worked. I’m sure we’re the only cruisers in history that have been disappointed by every rain cloud that keeps dodging us, keeping us bathed in sunshine instead.
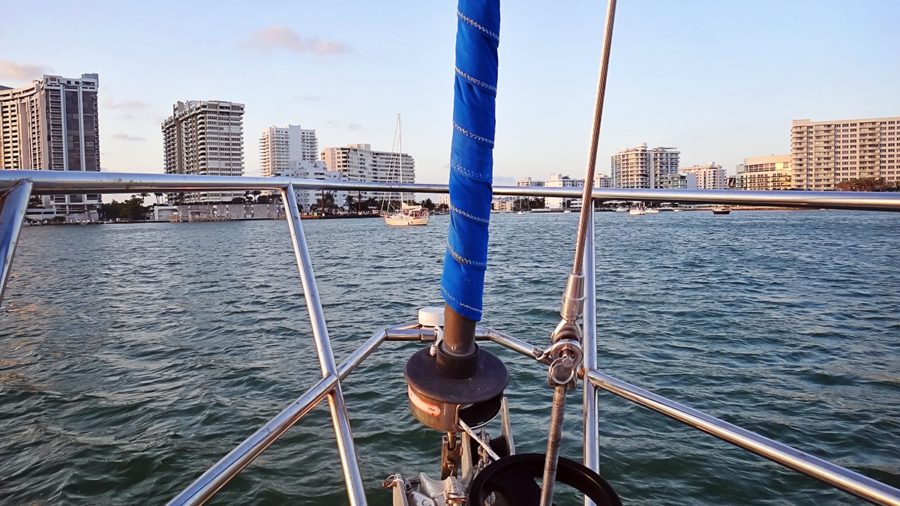
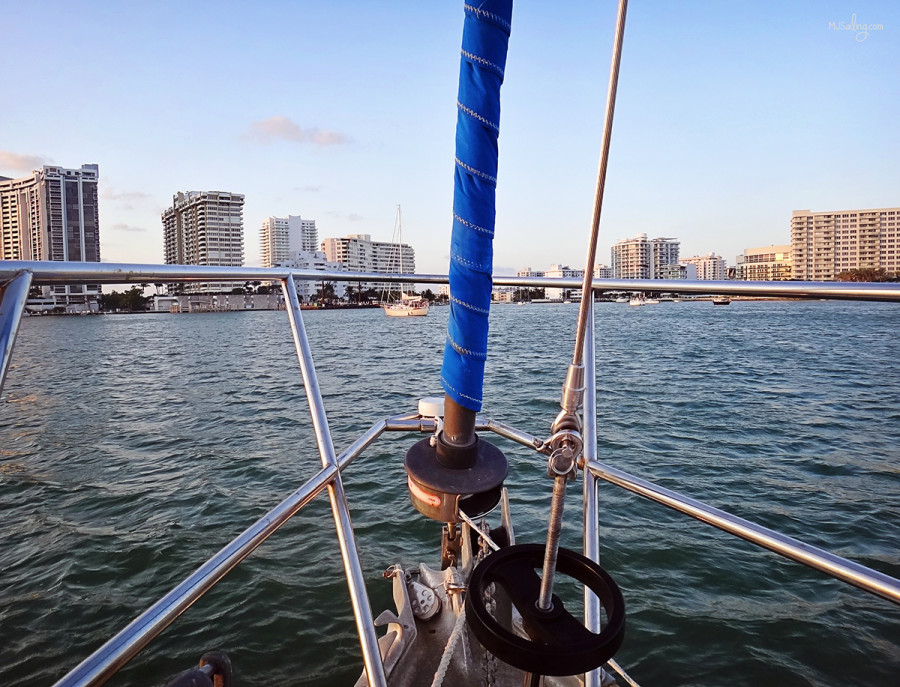
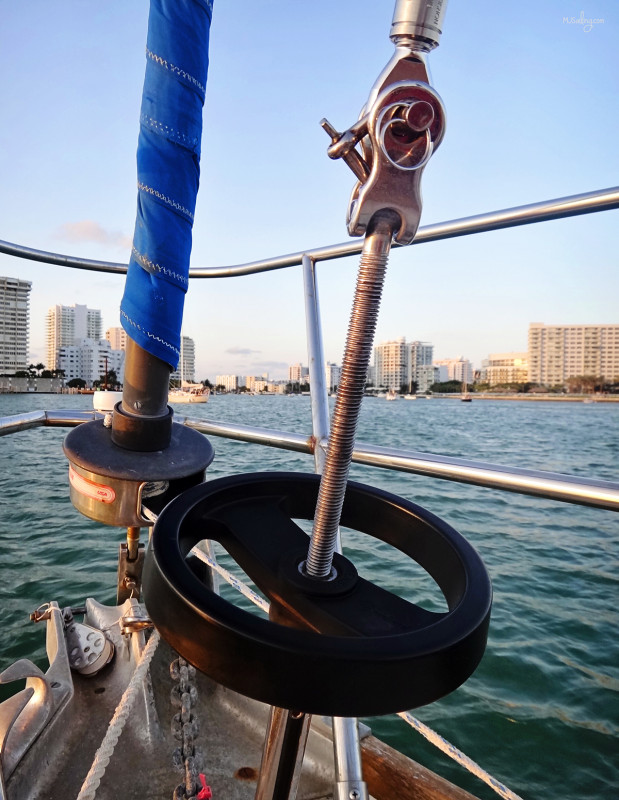
In good news though, we did complete one more project that didn’t give us any hassle at all. That was to place a permanent (for the crossing) inner forestay up at the bow instead of relying on the temporary Amsteel we currently keep up there. Ever since we replaced all of our rigging upon getting the mast back up on the east side of the Erie Canal, we’ve had a spare piece of standing rigging just sitting in our aft cabin going unused. We figured this would work best since we want to keep our staysail rigged during the entire crossing so it’s ready whenever we want to use it, and this way we don’t have the hanks chaffing the braided rope of the Amsteel.
All in all this project took us about two hours which isn’t too bad in my book. We’d already taken the previous Amsteel inner forestay down and brought it to shore along with the new rigging to measure the two pieces to the same length and mark the new one. Back on the boat though, before we got down to any cutting, Matt had the suggestion of attaching the new forestay and measuring once more down to the deck just to make sure our cut would be precise. Good thing too, because as soon as Matt came down from the mast and we went to hold it out we realized that our original measurement was about a half an inch too short. And there would have been no getting that back if we went ahead with that cut! Re-marking our new measurement we got busy making the proper cut and getting everything attached. Voila! New inner forestay installed! Now, if we could just make sure the order we just put into Defender can get here by this weekend we’ll be able to start checking the rest of these projects off and look at getting this show on the road.

[…] kept piling up one after another. Â As soon as we finished one of them we found at least one or two new ones that needed […]