Awhile back when we were de-naming our boat by trying different methods to remove paint and see if it was what we wanted for the final product, there was a debate on if we did in fact want to go down to bare metal or just remove the top layer and repaint with a fresh white coat. Â And if we did decide to remove all the way down, what would be the best way to do it?
One of the first things we tried was to try an 80 grit flap disc to see how much of the paint it would remove, and how quickly. Â We already had all the tools necessary for this, so we didn’t lose much by spending one hour one afternoon to see what it could do. Â The second option of removing the paint would be with a strong chemical stripper, and that we would have to go out and purchase. Â If you haven’t met us, we don’t like to spend money on things that aren’t necessary. Â But since we were 90% sure that a bare hull was the route we wanted to go, it was worth it to buy a quart of the stuff just to test it out.
Working a small patch by the bow on the port side, we found out the instructions were completely inaccurate when it said that paint would be ready to come off in 5-10 minutes. Â After believing this is how it was supposed to work and ready to give up on that as an option after 3 tries, we waited a few months until temperatures had cooled down just a little and left it on for 20 minutes to see what it would do. Â Turns out that was the trick and using the chemical stripper became a very viable option.
Having done only one small strip though, we still didn’t know if we would like the entire boat bare. Â I think I was initially more for it than Matt, although his big worry was that we would take all the paint off only to find out that a previous owner had put it there for a reason. Â As in, there were many uneven spots that had to be fared and covered so they wouldn’t be noticeable. Â Stripping off just a little more, and just a little more, we eventually got to a point where it would be too much work to replace it with a chrome primer, barrier coat, and paint would have been too much work. Â A decision had to be made. Â In the end we decided to take our chances with the bare metal as we kind of liked how it was looking, plus once it’s finished we’ll have the added bonus of forgetting all about it. Â No worries about scratching the paint in our future.
Our test coats of paint removal were done with Klean-Strip Aircraft Paint Remover, but once we knew this was the route we wanted to take, Matt did a little searching online and found a good deal on gallons of Rust-oleum Aircraft Remover
 and we switched over to that. From that point on it became a goal to get as much of the paint off as soon as possible.  We had originally discussed it as a task to be done when we were stuck between other projects, or only an hour or two a day so we didn’t wear ourselves out.  Turns out though, our drive to complete just one project was far greater than the need to spread it out, and we were able to do the whole boat in under two weeks. (The two sides split up with the visit from my parents.)
Through a little bit of practice, we found a method that worked very well for us. Â Overall it took 2-3 rounds of applying the remover before we were down to bare metal. Â First I would go through with a chip brush and a metal pan filled with the remover, since it was one of the few items the chemicals wouldn’t eat through. Â Wearing a full face mask, gloves and long sleeves, I’d go through and paint on a very thick coat to a section about five feet long, and all the way top to bottom. Â Sometimes an unfortunate drop would come in contact with an exposed area of my skin that happened to sneak out of it’s clothing, but the good thing with this is that water neutralizes the chemical, and with a few seconds under the hose I’d be good as new again.
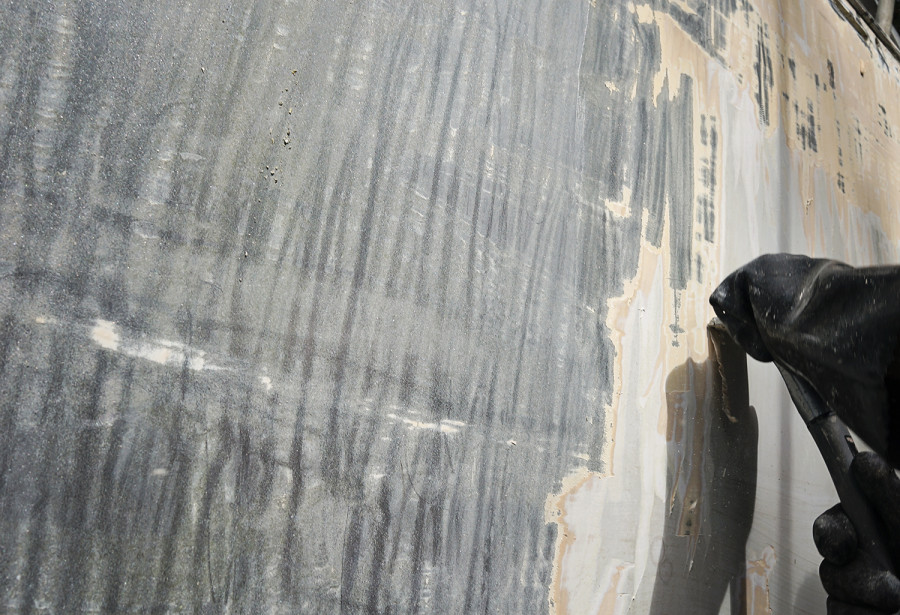
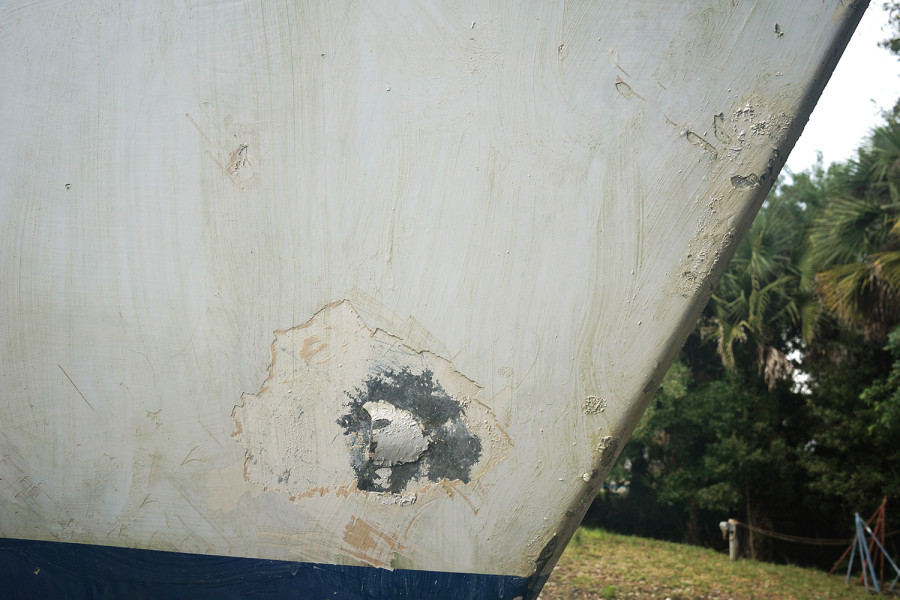
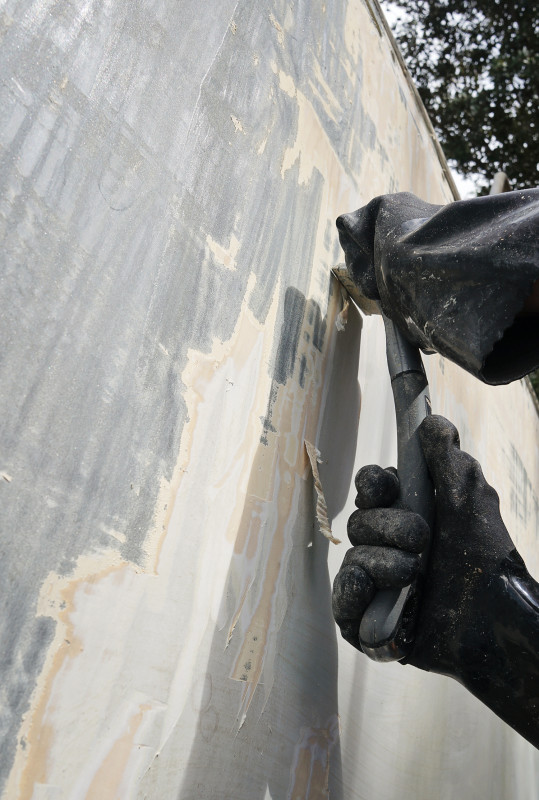
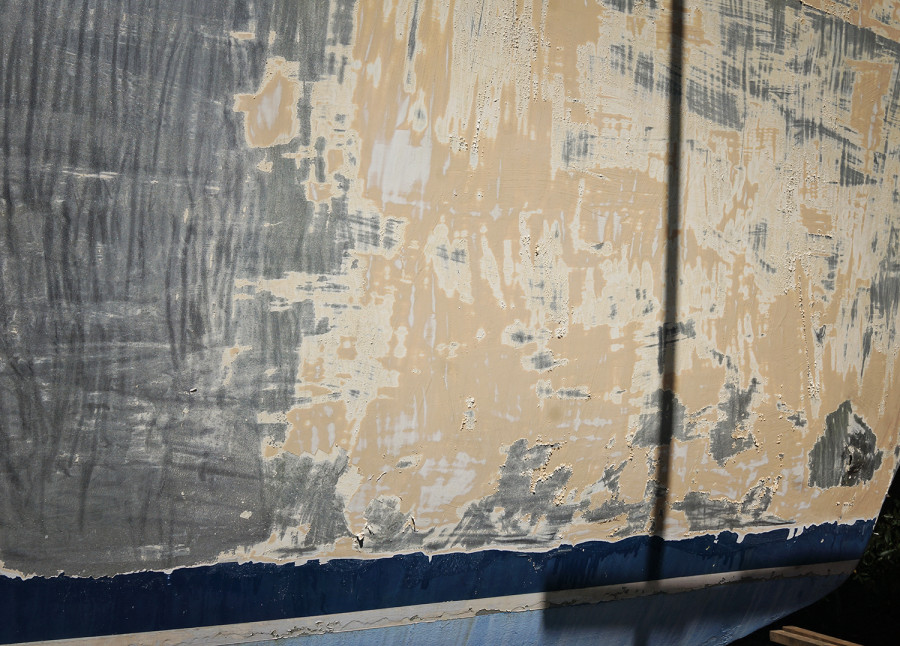
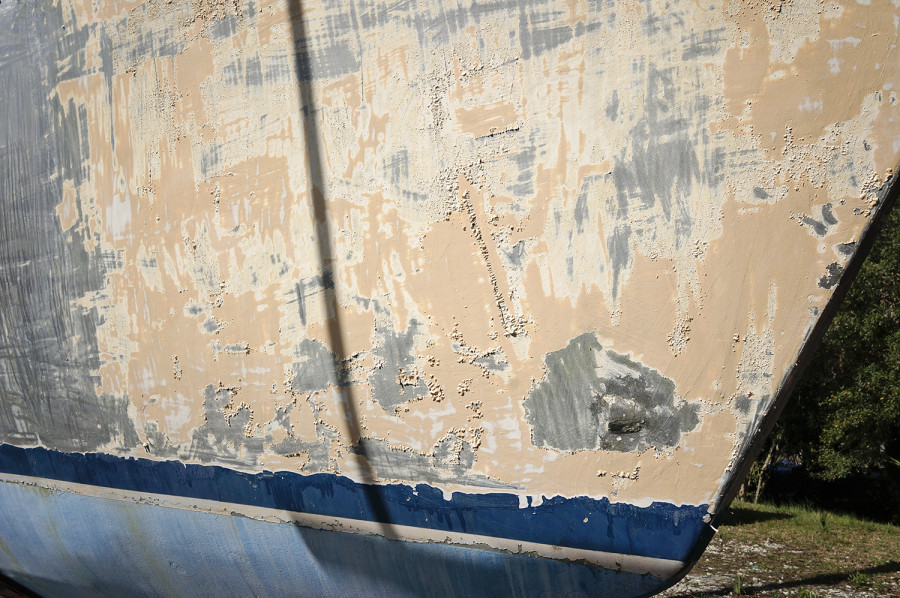
Waiting for 20 minutes to let the stripper set in, you could actually begin to see the paint bubble and flake in some areas as the chemicals did their job. Â With a 2″ paint scraper, Matt would then go through to take off the first round of paint. Â I can’t remember what the names of the existing coats were, but there was a white top coat, a yellow barrier coat I’m guessing, and a peach primer. Â In some areas he would get all the way down to bare metal, and sometimes he’d only get down to the barrier coat. Â I really liked the times he was able to get down to the primer. Â That is because as soon as he finished his first round of scraping, I’d be right behind him applying another coat.
The second coat didn’t need as much time to set in, sometimes only 5 minutes we we had removed almost everything already, or maybe 10 minutes where he’d just been able to get the surface coat off. Â I really liked it when we were down to just yellow, because it was my muscle that went through and did the second round of scraping. Luckily I have a husband with some pretty good pipes and a lot of determination, so by the time it got to me there wasn’t a lot of work left. Â At least, nothing that my arms couldn’t handle. I easily scrapped off the yellow coat, and usually the peach coat as well. If things were extremely stuck on there though, we’d just brush on a third coat of paint remover. If you’re planning on painting your boat and need a thickening agent, I would recommend you learn more about cabosil.
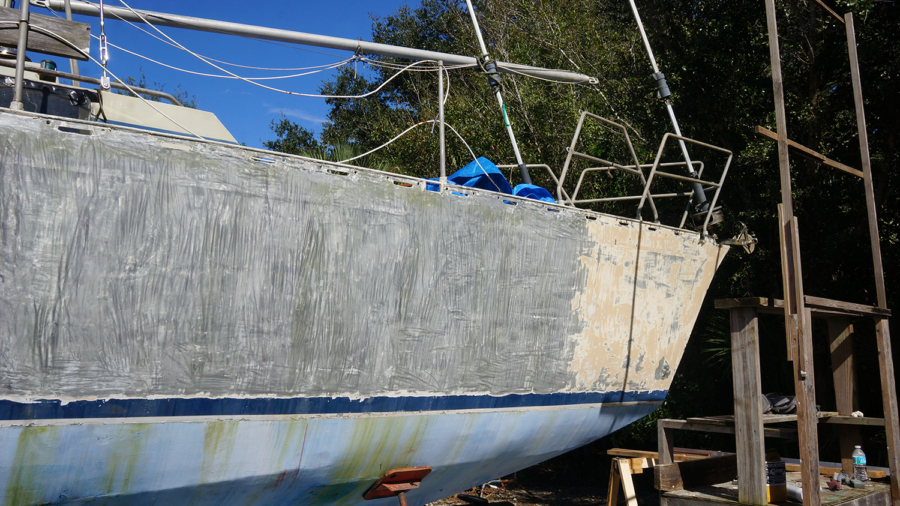
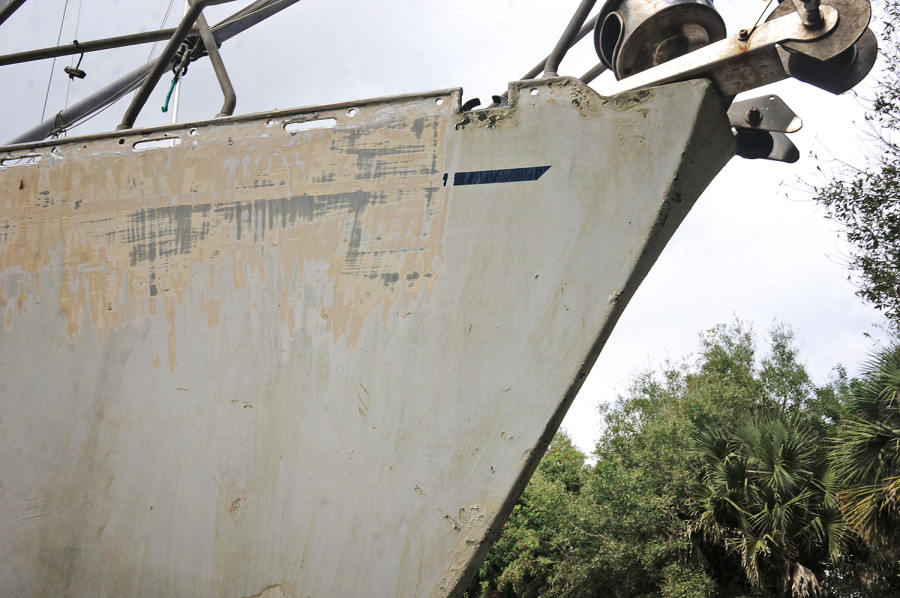
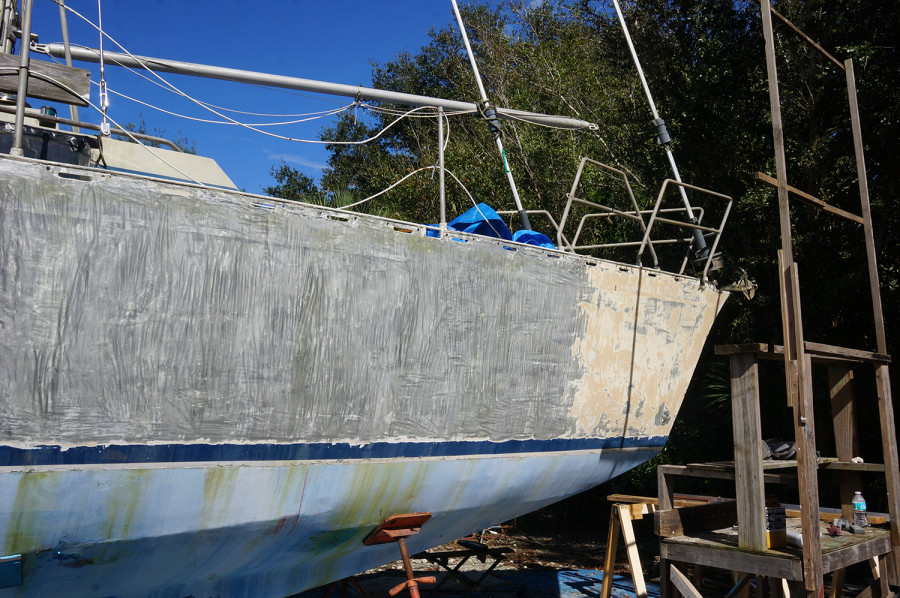
It was quite an accomplishment when all the paint was off, but as you can see from the photos, the scrape marks from the paint were still very visible as there were just the smallest amounts left. Before we’re completely finished with the hull there will still be a few steps left, but right away we wanted to get an initial sanding done. Â Just like we’d tried before on the stern, Matt went though the hull with 100 grit flip discs this time to take off any remaining paint and give the slightest shine to it at the moment. Â Before we can call ourselves good on this project though, he’ll have to go through again with a 150 and then 220 grit, and finally an acid wash to brighten the hull and overall even the tone.
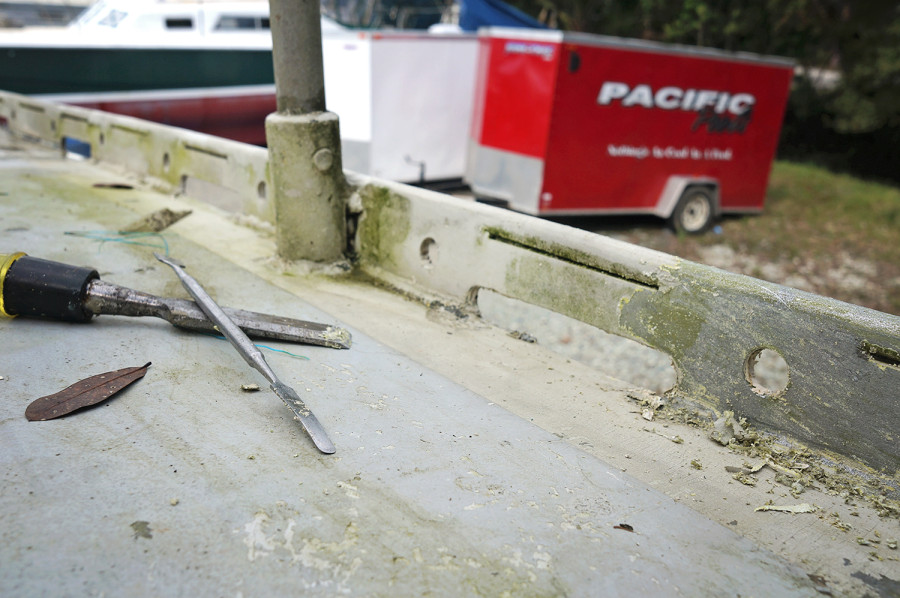
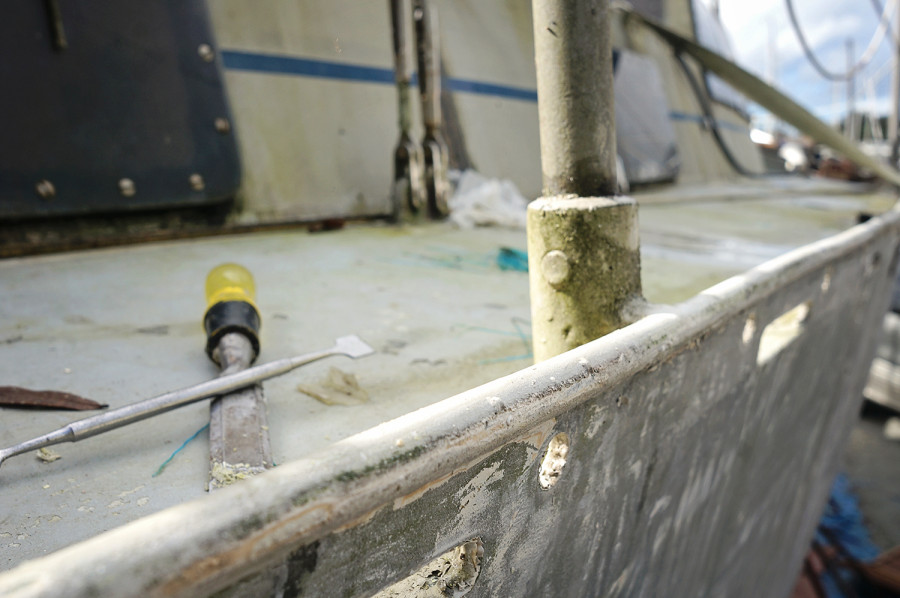
While he was getting quite the workout on this project, I had the not so muscle straining, although very much detailed project of removing paint from the toe rails. Â All the little areas where I have to get in there with chisels and small scrappers. It hasn’t been as much of a pain in the butt project as I thought it would be though. Â 4 partial days of work on it and I was able to get enough paint off for Matt to come in with a grinder and give them a good shine.
With the headache we thought the task of removing the paint would be, the whole process turned out to be much easier, cheaper, and even quicker than we thought. Â 2 gallons and 2 quarts later and we have a bare metal boat. Â Now we’re very happy the marina doesn’t allow soda blasting and we didn’t put a lot of money toward that when it turns out it wasn’t necessary. Â An actual win for us on a project!

