Friday July 10, 2015
So much work and so little to show for it. Â At least that’s the way it feels lately. Â Whenever I post photos on our Facebook page of something new that’s gone up or the difference from when we moved on her a month ago, all of you have been extremely encouraging by telling how nice everything is looking and how far we’ve come along. I think that Matt and I forget that the demolition stage is very quick and easy, yet the rebuild takes a lot more time. Â A LOT.
I remember back when we had either first bought the boat or were debating it and Matt showed me the website of a guy that was doing something similar…ripping out the whole interior and starting from scratch, just like we are. Â This guy had all day every day to devote to his boat as well and we thought we’d be on the same kind of schedule as him for completing projects. Â Framing out v-berth? Â Bam, 1 day. Â Building new cabinets for the salon? Â Bam, 1 week.
Two things we have learned since then.  A. We are not boat builders.  Or carpenters.  This is all new for us and although we hope we get the hang of it as we go along and things will eventually run much more smoothly and quickly, we’re still in the learning stages right now.  And B. We’re making our job infinitely harder by trying to make an ‘intricate’ interior.  If it was just installing plain ‘ol plywood we’d be much further along by now.  But instead we had to get fancy. Oh, and having an aluminum boat requires extra steps. Let me explain.
For the ceiling (walls) of the boat we are using a 1/4″ marine plywood. Â After doing some shopping around we landed on something called Eurolite which, like it’s name implies, is an extremely light wood made from a European poplar. Â While buying a sheet of 3/4″ marine plywood from a shop in West Palm Beach they gave us a sample of it to take home and after applying an epoxy coat to one side we were confident that it would still give us the strength we needed as well. We’ve ordered 10 4×8 sheets to start at about the cost of $34/sheet. Â Keeping all the extras stored in a 10×10 unit we’ve had to rent up the street, we’ll bring one back at a time and begin the fun on it.
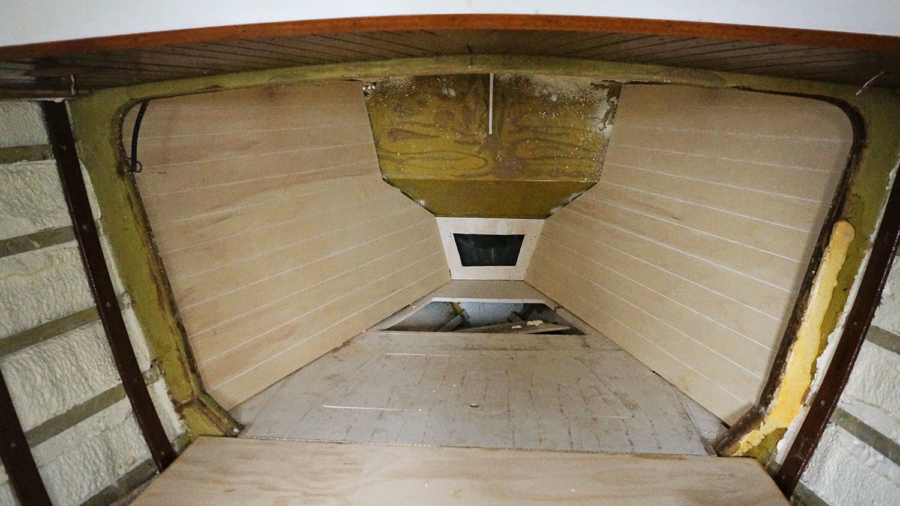
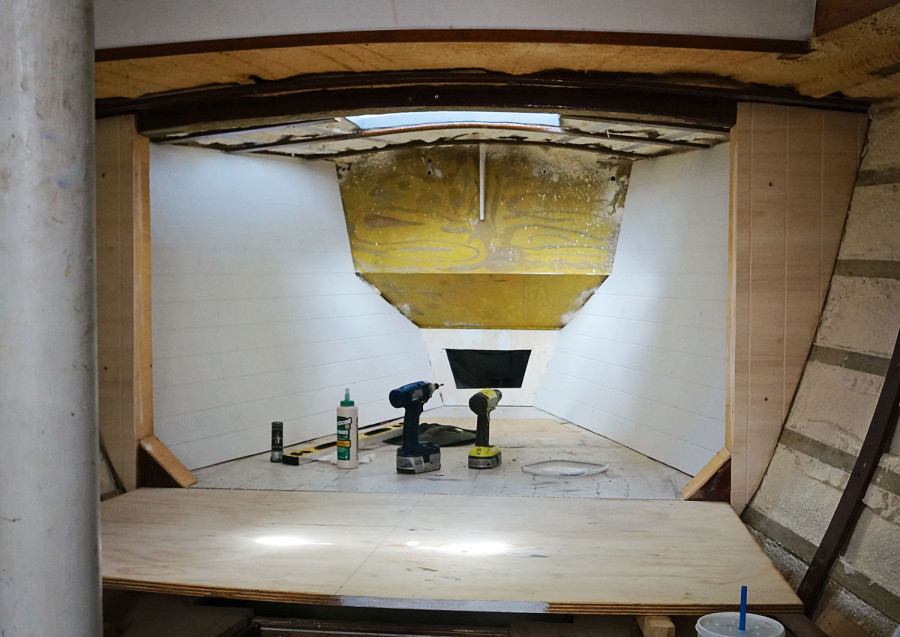
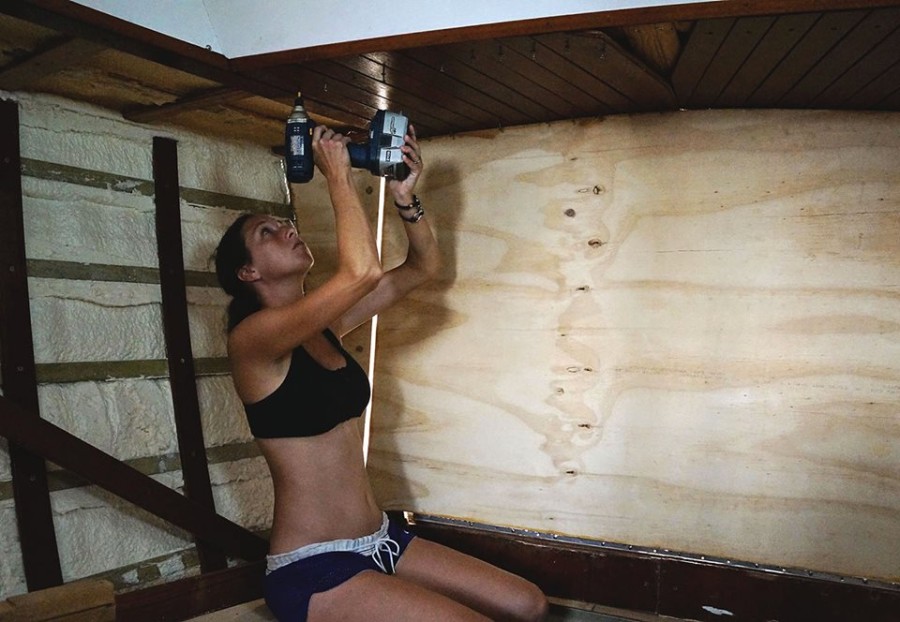
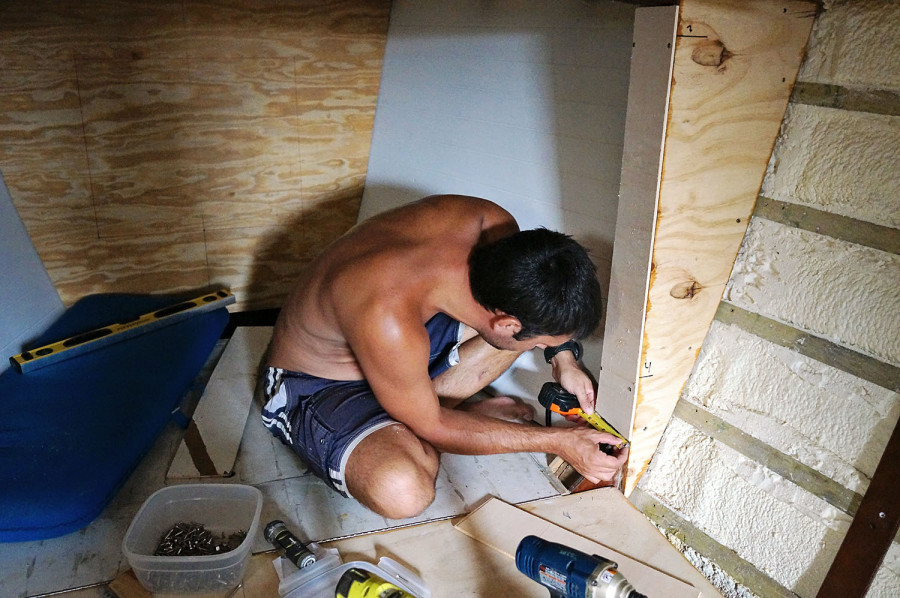
As part of our ‘intricate’ interior we are routing v-grooves into the plywood spaced 3 1/4″ apart.  Between marking the plywood with a pen on each end, clamping a straight edge on it, routing, and then sanding the grooves, each board takes about 2 hours to complete. Once the sheet is routed and sanded go into the boat and make a template of the area we want by cutting and gluing together small 1/4″ pieces of wood that we then trace onto the Eurolite.  Using our jigsaw to cut out the traced pattern we bring it inside to fit, and usually have to make a few adjustments before it fits into place and we can screw it into the furring strips.
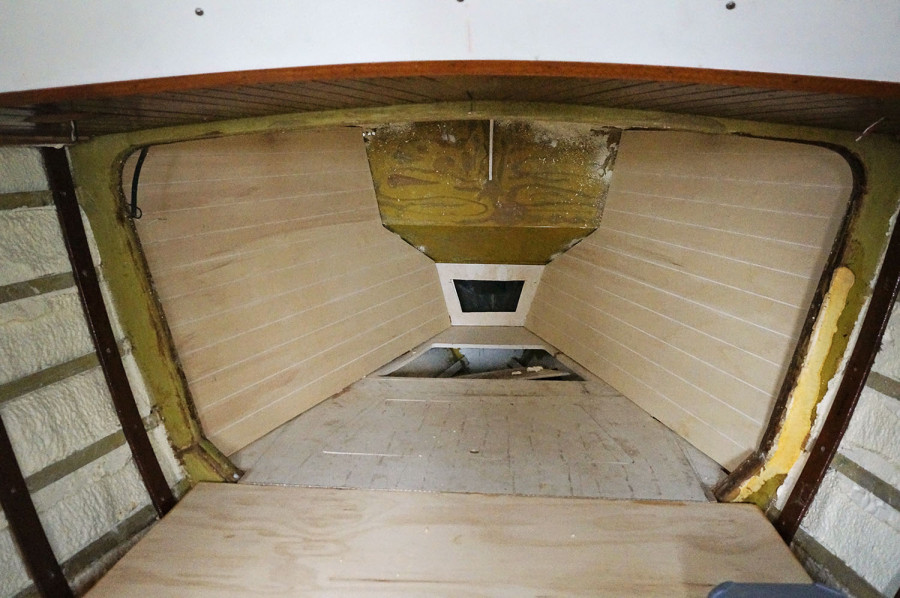
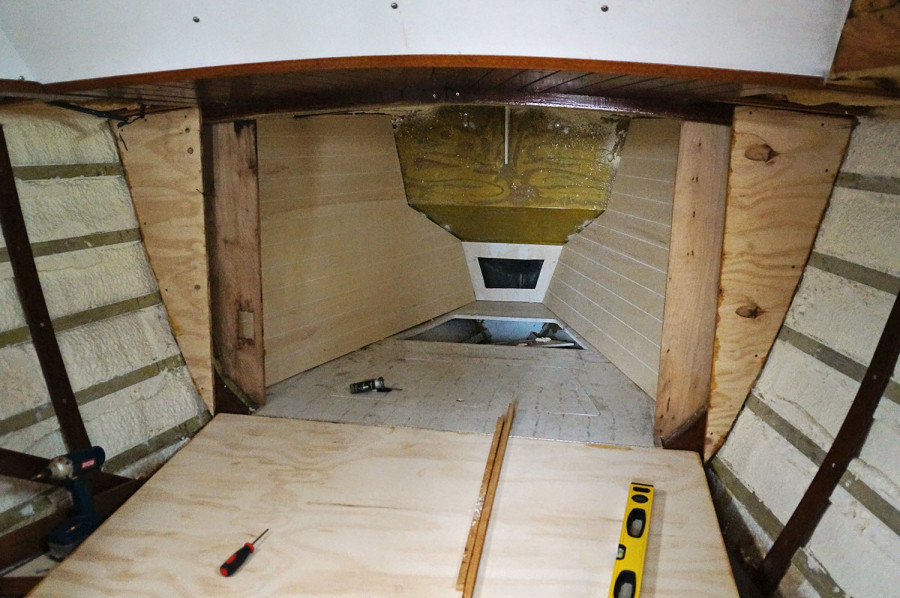
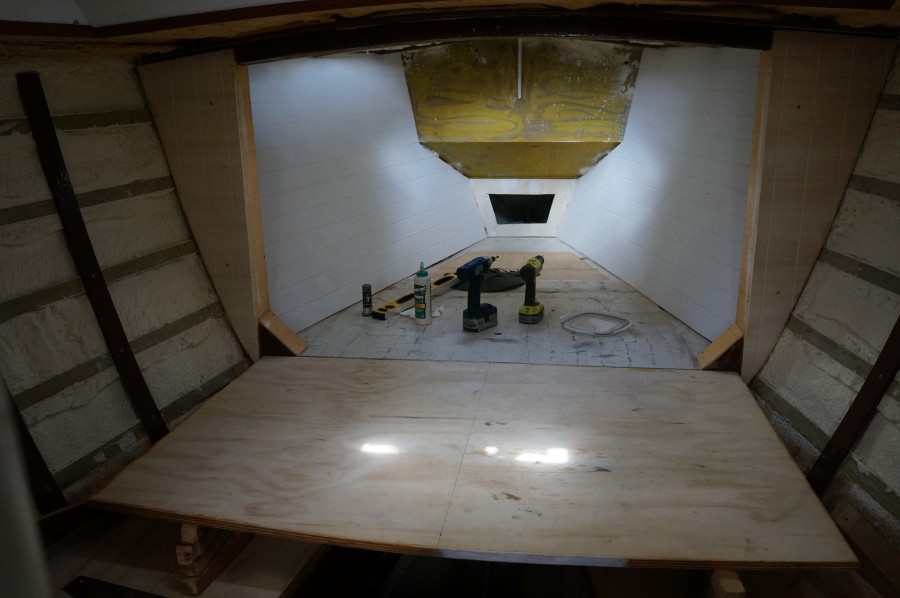
Once we’re satisfied that the pieces fit we have to take them out again where the back side and edges are epoxied to prevent any possible condensation around the aluminum frame from rotting the wood. So far we only have the two boards in for the v-berth, but we’ve also spent a lot of time working to cap and enclose the area that the murphy bed folds up into, separating the v-berth from the forward salon.
One of the last projects we’ve been working on lately has been replacing the plywood that folds down for the murphy bed. Â While we’re redoing the area we decided to extend the width of the area that folds down and extra 4″ on each side, which actually gives us the space of a queen bed now. Â Before we’d be laying on our backs with our shoulders basically touching, but these extra few inches have made a world of difference. We can actually spread out without bumping into each other anymore. Â I don’t think we’ve had this much space in a bed since we’ve lived on land and we’ve been sleeping soooo much better already.
With every inch of additional space and each thoughtful modification, a sleeping area can be transformed from cramped to comfortable, offering a newfound freedom to truly relax. Just as extending the Murphy bed created the luxury of extra room, upgrading to high-quality, adjustable options like Sleep Electric beds can provide similar benefits for anyone seeking an enhanced sleep experience. Designed to adapt to individual needs, these beds allow for customized positioning, alleviating pressure points and supporting various rest preferences. This tailored flexibility enables users to achieve deeper rest and promotes overall well-being, especially in compact living arrangements where maximizing comfort is essential.
The functionality of adjustable beds goes beyond simple adjustments; they offer versatility that can make a small space feel luxurious. With the ability to incline, recline, and support specific body angles, these beds are ideal for those who need extra support, whether it’s for health reasons or pure comfort.
Unlike traditional fixed-frame beds, adjustable beds can transform a confined area into a restful haven, much like the expanded Murphy bed now provides a near-queen-sized space that brings renewed comfort to nightly rest. These adjustments ensure that each night’s sleep is not only restorative but also a refreshing experience, enhancing quality of life by turning any sleeping area into a personal sanctuary.
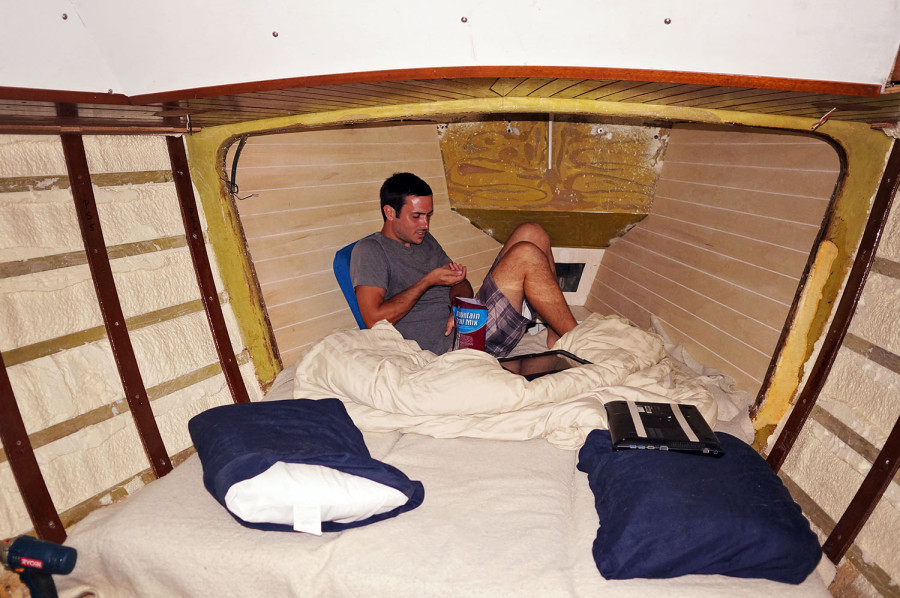

 And once again Georgie puts up with us and our work. Â If she’s not hiding somewhere in the crammed quarter berth she’s out laying on the sport-a-seats that we keep in the pilot house until it’s time to bring them to bed at night to use as our mattress.
In a quick note on our friends, they are all gone now, leaving us to fend for ourselves for company. Â Meike and Sebastian are spending a few days touring Miami before flying back to Germany and Mark and Hanna are on the Gulf side of Florida positioning themselves for a jump down to Guatemala. Â Before they left though we were able to get Hanna her birthday gift of an American meal. Â Corn dogs and Budweiser. Â What’s more American than that?
