Monday July 20, 2015
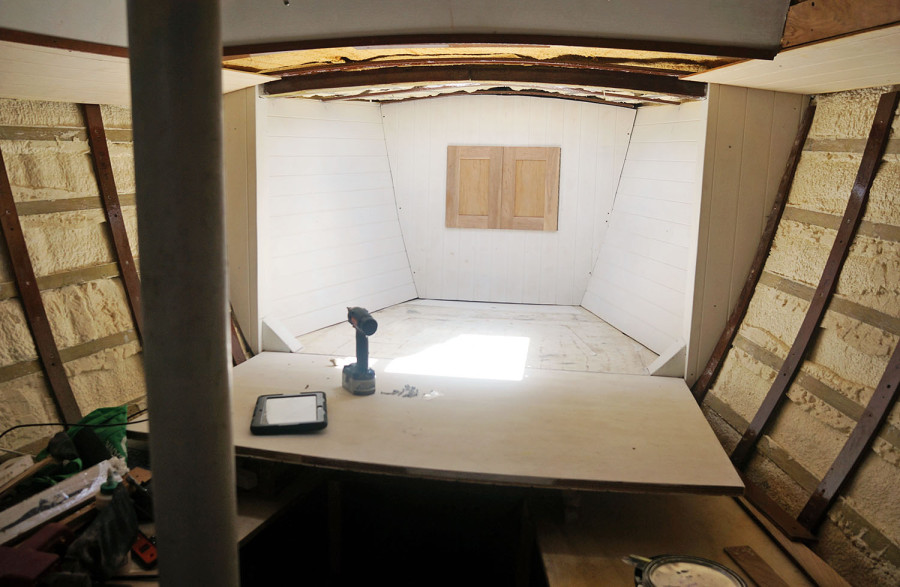
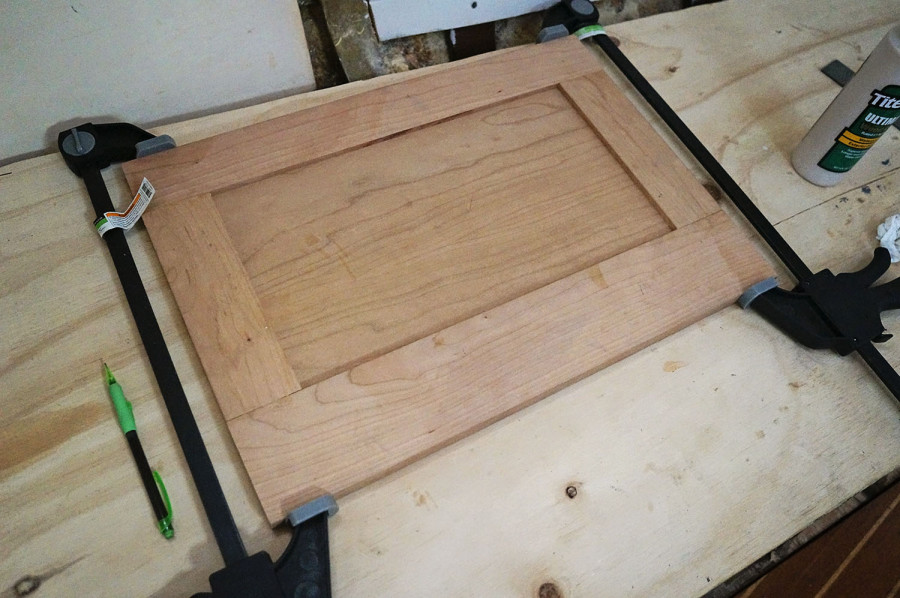
The intricate construction I was mentioning in the last post? Â Unfortunately does not just apply to the routed plywood we are using for the ceiling and overhead. Â We have decided to make things very complicated for ourselves in the way we are going to assemble all of our cherry doors, cabinets, and pretty much everything made from cherry. Â To make them look really nice and add a fine detail, instead of using just plain pieces of cherry plywood we are now using cherry boards to frame an inset of cherry plywood. Â I’ll give you a quick example of the cabinet doors in the v-berth before I confuse you further.
(*Let it be known now that I will probably do a terrible job explaining this process. Â If you’re looking for actual know-how, visit this page for someone who made cabinet doors for a home using this style of woodworking.)
For anyone curious to know the details or specs, for the frame we used cherry 4/4 lumber that we milled down to S4S 1″x3″s and 1″x4″s, and used 1/4″ cherry plywood for the inserts.
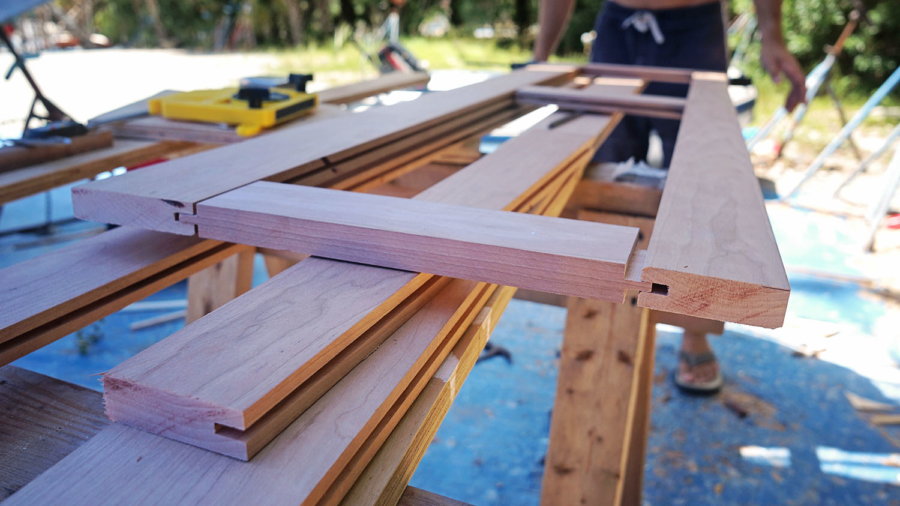
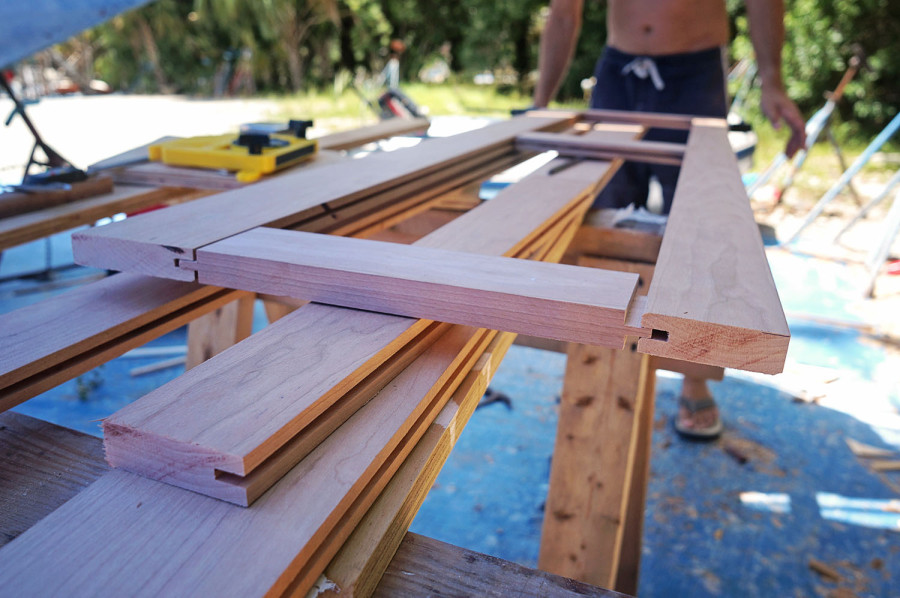
To get the boards of the frame to fit together we did it in a tongue and groove style so there are no nails or screws holding any of it together. Â Now that we’ve done this process a few times it’s begun to get a little easier, but there were about two solid days of trials on pine 1″x3″ boards, using our table saw to slice 1/4″ grooves right down the center for us to be able to slide the plywood in. The grooves only extended 1/2″ into the boards, so a lot of practice was getting the proper blade height and the distance between the blade and the fence to make sure the grooves ended up in the middle of the board. Â Once that part was down we had to spend even more time practicing the perfect cut for the tongue on the end to be able to piece the frame together.
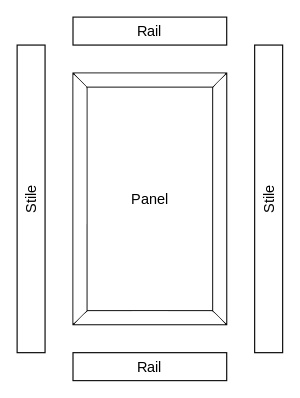
Again, I’m probably getting ahead of myself and should explain the full process better. Â Getting into technical terms, the frames are made out of what are called rails and stiles. Â Rails run horizontally across the top and bottom, and stiles are anything that run vertically.
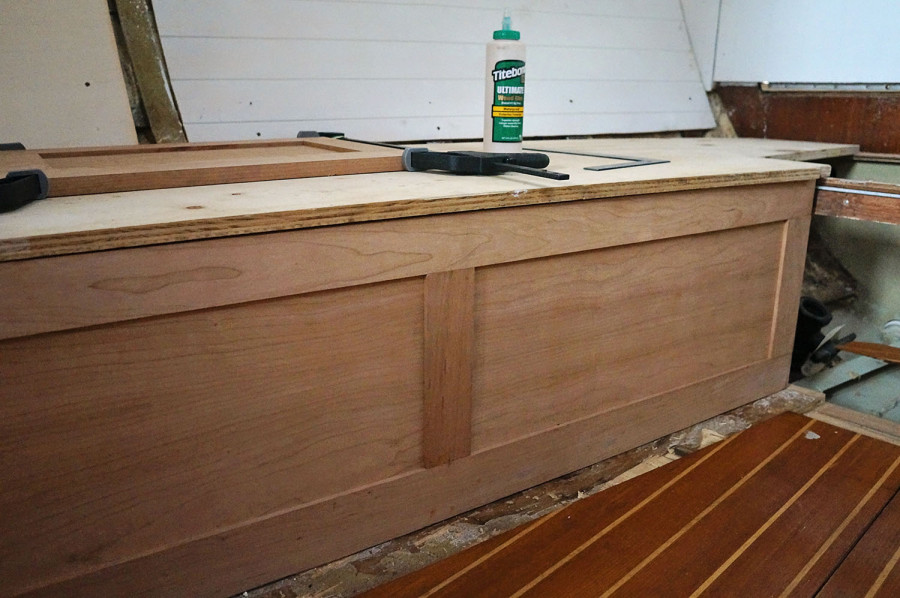
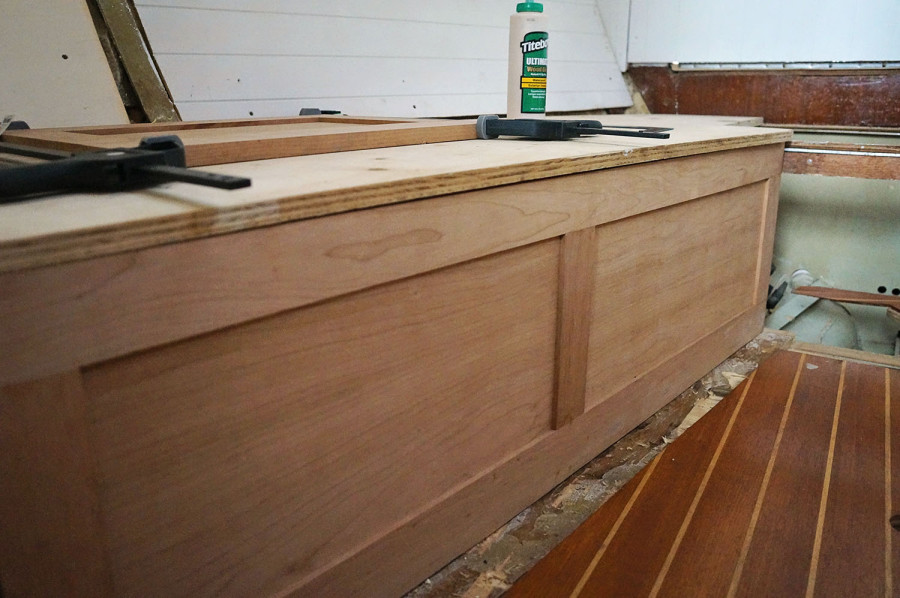
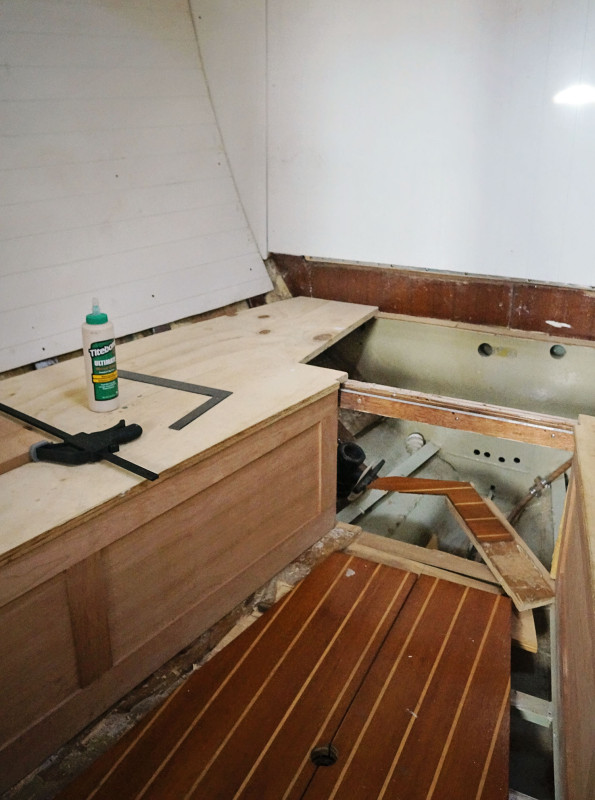
After the cabinet doors in the v-berth our next project was to make the face of the settees in the forward salon. Â The plan was to use a 1″x3″ rail on the top and a 1″x4″ rail on the bottom, as well as 3 stiles, one for each end and one for the center. Â The rails were the easiest part as they only needed one groove.
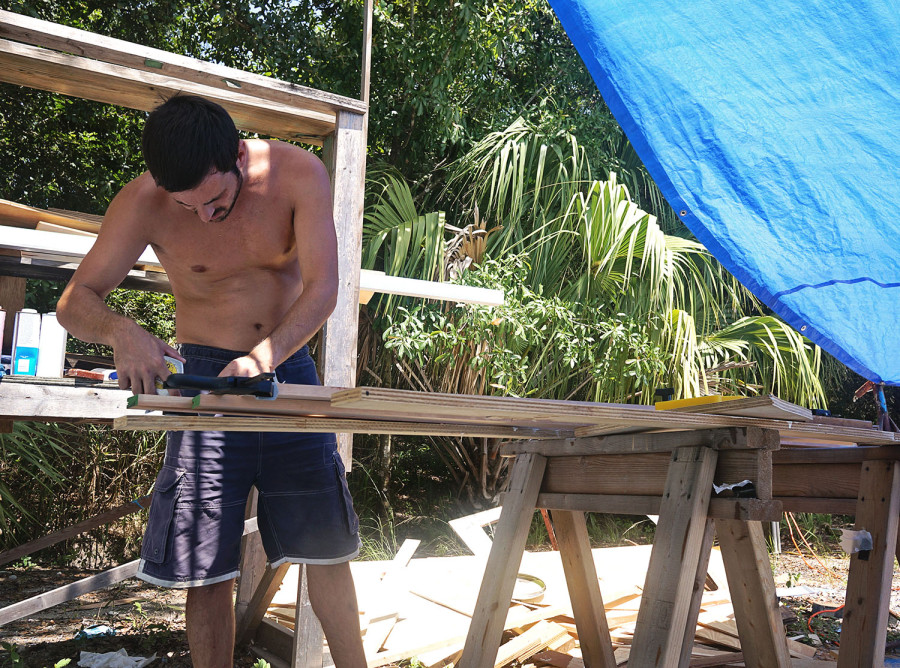
Using our calipers to measure the blade height of the table saw and getting a few more practice runs in with our pine, we brought the cherry boards over to cut the groove in them, sending them across the table saw twice, rotating the board after each run, front to back, to get our desired width of 1/4″. Â Then they were set aside until later when they’d need to be cut to their proper length.
The stiles required this step as well, placing a groove down the center, each end piece only received a groove on the inside, and the center piece receiving grooves on both sides. To be able to fit the stiles into the rails we also had to give them a tongue, with a length of 1/2″ and a width of 1/4″. To do this on the table saw we first cut the stiles to the proper length, adding an extra inch to account for the tongues on each side, and then raised the blade up just high enough so it would not cut through the entire piece of wood, but would only come up approximately 3/8″. Â Measuring back 1/2″ from the end you make a swipe on the table saw and then keep moving the board further from the table saw, still making swipes until you’ve hit the end. Â Flipping it over and doing the same to the other side you should be left with a small piece in the center that is now 1/4″ wide and 1/2″ long.
The next and easiest step is cutting the 1/4″ plywood insets. Â Measuring the length and width of the open space in the frame, we needed to add an extra inch on each side to account for where the plywood would slide into the groove. Â Something we almost forgot to do on more than one occasion. Â Measuring the lengths we ran them through the table saw to get a straight cut and that was it.
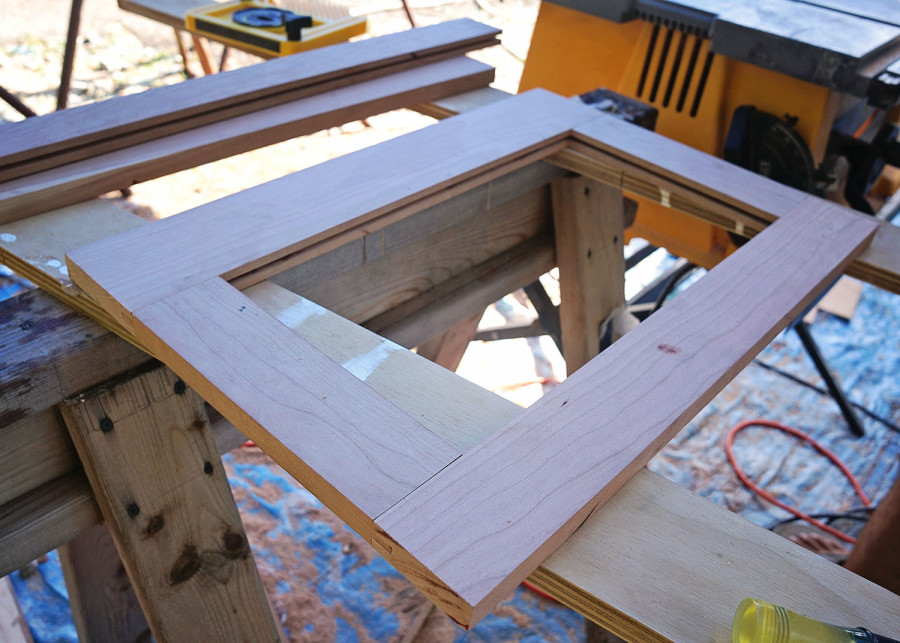
Then it’s time for the dry run! Â Setting the bottom rail on a flat surface we slid the tongues of the stiles into the gooves of the rail and lined them up flush on the ends and centered the middle piece. Â From there we slid in the plywood pieces and then placed the second rail on top where the groove encased both the tongues of the stiles and the extra 1/2″ of the plywood. Â If anything wasn’t fitting properly we’d take it apart and make a few necessary cuts, usually just an 1/8″ here or there.
When we were satisfied with the way everything was fitting together on the dry run it was time to glue it all together. Â Bringing all the pieces inside the boat we went through the same process, just adding a wood glue to the tongues of the stiles this time. Â After it was all pieced together we used clamps to press the boards tight together and left it to sit for about an hour. Â Then voila! Â Time to install!
Kind of. Â We’re not permanently installing anything at the moment, plus all of our pieces of cherry will need about six coats of varnish in the end (three with gloss and three with satin), but it’s still nice putting them in place and becoming one step closer to finishing an area.
