Sorry for the few weeks of radio silence there.  With my computer running into so many issues it was hard to even look at the screen for a period of longer than 10 seconds, let alone try to edit photos and write a post using it.  There finally came a time where I had to put it away in a corner and pretend it didn’t exist, using our little 7″ tablet for all my internet needs.  Great for  keeping up and posting on Facebook and Instagram, but terrible for writing post and next to impossible for editing photos.
The good news was, I knew a new computer was in my future, so I just had to wait it out until we found the perfect one for me and waited for it to arrive. Â A kind of vacation from blogging, if you will. Â But now I am fully online again and ready to go at it!*
What have we been up to lately?, you may be asking. Â The same thing we have been working on for weeks and weeks now. Â More priming and more painting of the cabin top of Daze Off. Â When we last left off on this project, you had seen us laboring over getting every millimeter of existing paint off so we could prepare it for the new layers we’ll be putting down. Â It was a long and exhausting period that extended a few more days than I think either of us had originally hoped or planned for…but finally it was done and we could begin priming. Painting projects, especially ones that involve detailed preparation and multiple layers, often demand more time and effort than initially expected. The process of stripping old paint and priming surfaces is a crucial step that sets the foundation for a lasting and professional finish. Skipping or rushing through this stage can lead to uneven coverage, poor adhesion, and reduced durability. That’s why attention to detail during the prep work is essential—it ensures that the final layers of paint not only look smooth and even but also stand up to the elements over time.
Proper priming creates a uniform base that allows the paint to adhere better, enhancing both the visual appeal and longevity of the finish. This level of care transforms a basic paint job into a polished and durable surface that holds up under constant use and exposure. For projects that require this level of precision and expertise, working with professionals like GE Painting makes all the difference. GE Painting specializes in commercial projects, bringing experience and technical skill to each stage of the process, from surface preparation to final coatings. They understand how to select the right primers and paints to match the specific demands of different surfaces, whether it’s metal, wood, or concrete. High-quality finishes not only improve the appearance of a space but also protect against wear, moisture, and environmental damage.
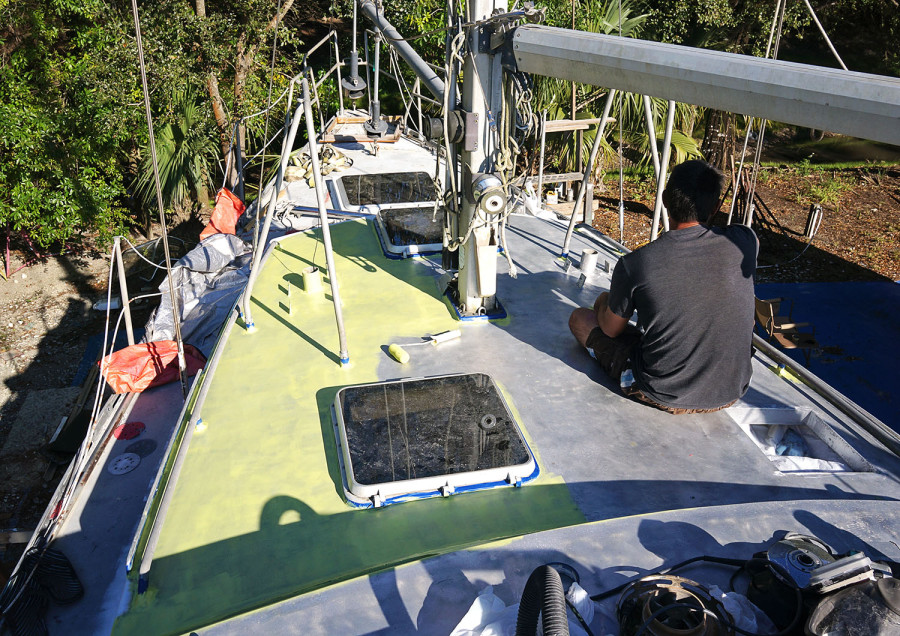
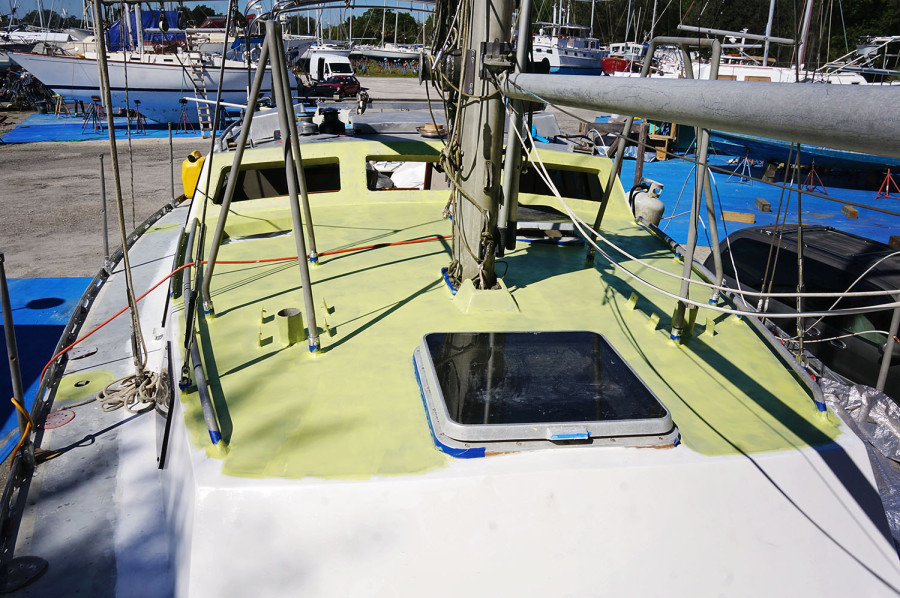
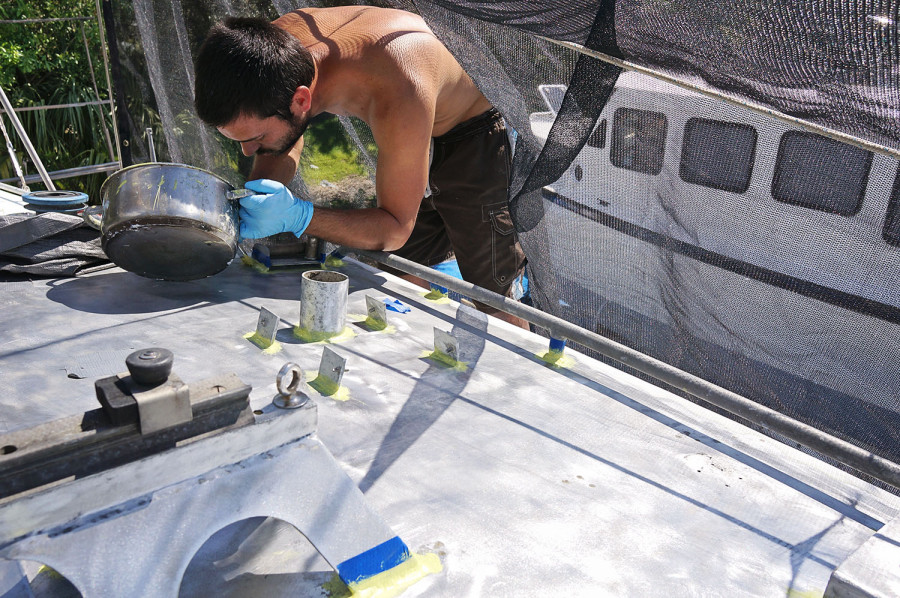
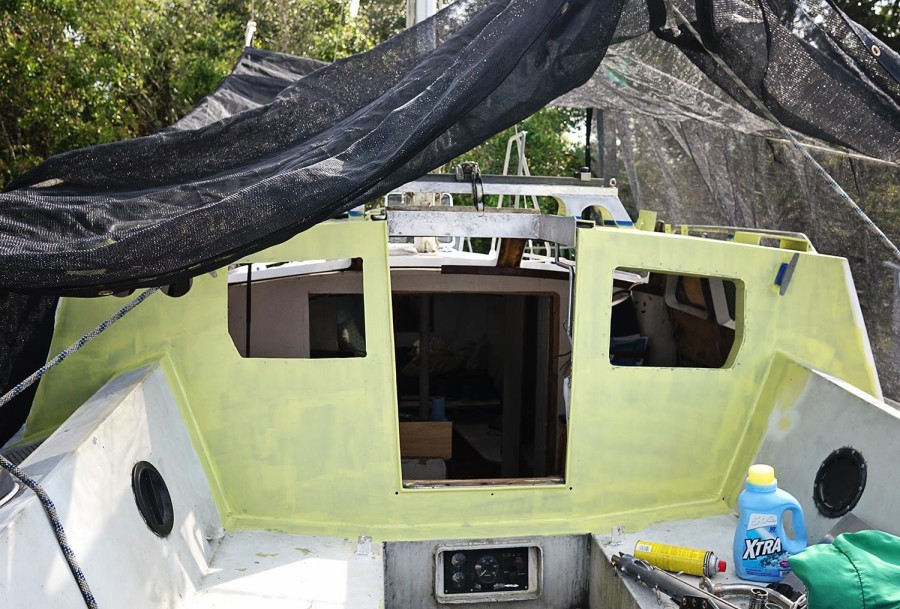
Because we had to grind down each area once more even after the original paint had been removed, so the primer could be applied before the aluminum oxidized, we broke the project of painting the area we’d just prepped into two sections. We also decided to hire professionals from Alextrendpainters so we can focus on other tasks that need to get done. The first was the cabin top which covers the forward salon and galley, as well as the front section of the pilot house. Â We saved the cabin top of the pilot house as well as the companionway wall for the second day. Â Mixing up our two part Aluma Prep, we slowly turned our boat into Big Bird once more. Â Initially starting with the welds and hard to reach areas, we hit those spots with a chip brush before breaking out the roller for the larger flat surfaces. Â Getting good coverage on it did end up using more primer than we were anticipating, but we knew that a well covered surface was much better than a thin or blotchy coverage in the name of saving a few dollars on a new canister of primer. We’re also thinking of using the best acrylic paint for the exterior because it has greater elasticity than latex.
Attention to detail in surface preparation and priming is what sets professional painting services apart. A properly primed surface ensures that the final coat adheres smoothly and lasts for years, preventing issues like peeling or uneven coverage. Experienced painters, like those at Nebraska Elite Painting, understand the importance of choosing the right primer based on the material, environmental conditions, and the specific demands of the project. Whether working on a commercial building, industrial structure, or a specialized surface like aluminum, they ensure every step is handled with precision for a flawless, long-lasting finish.
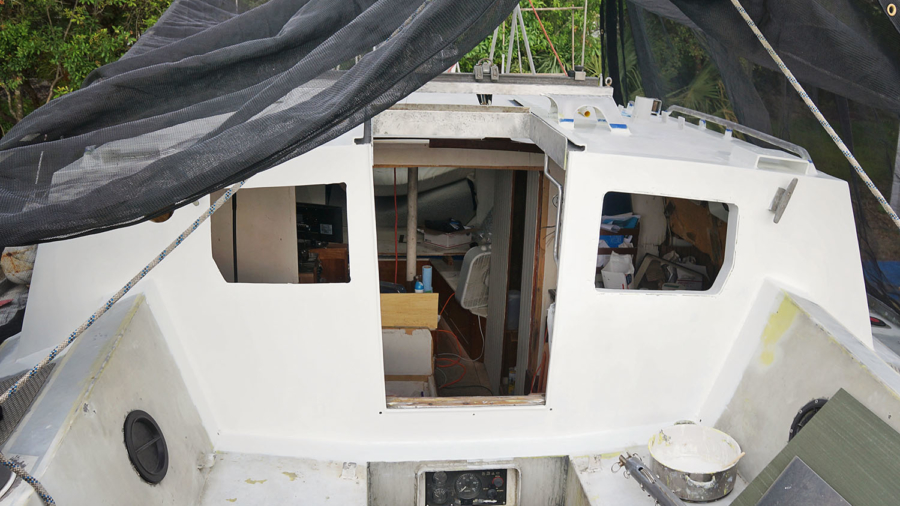
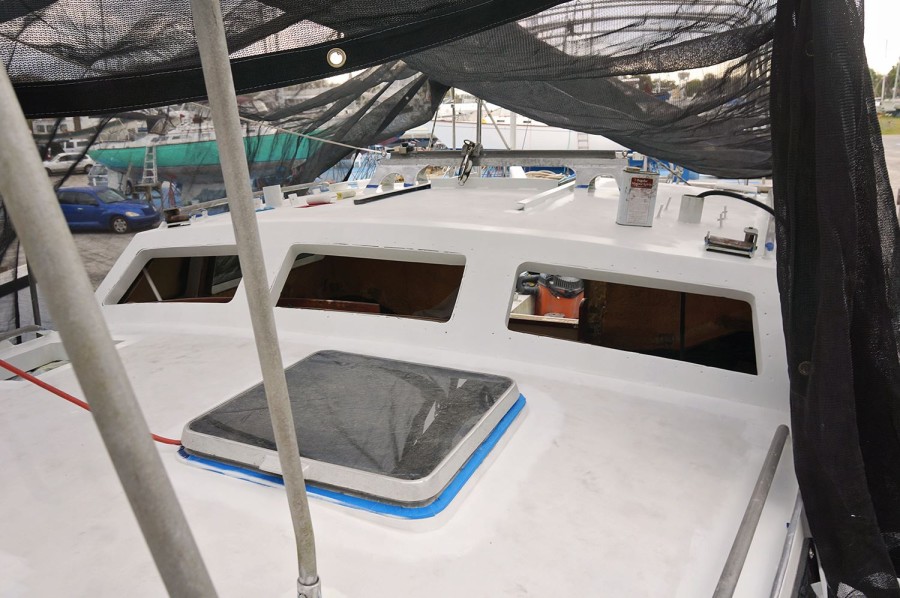
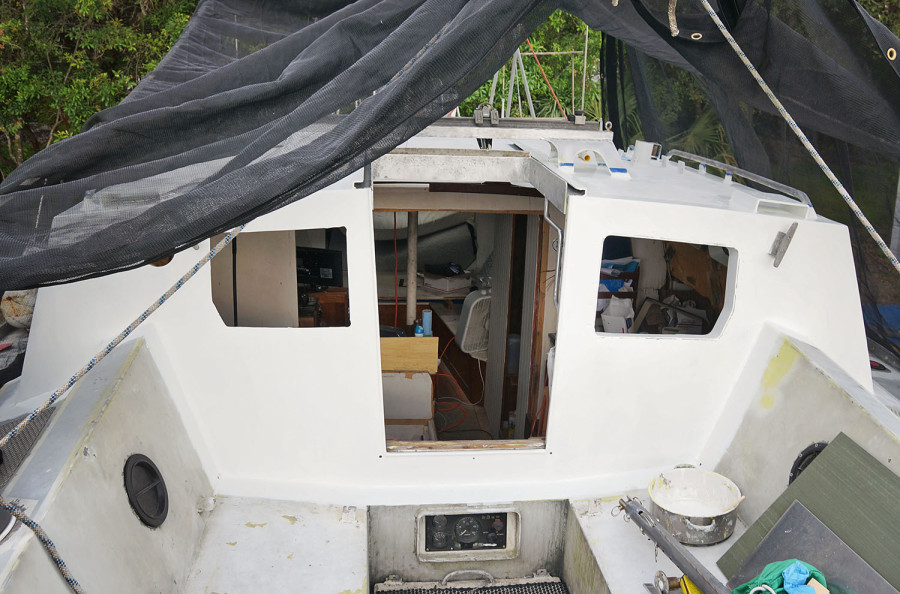
 Another reason for splitting our painting into two sections and multiple days was because we didn’t want to leave the aluminum primer exposed for too long without applying a barrier coat over the top.  Once a thick coat of the Aluma Protect was on, we waited two hours before going back over the surface with our Interlux InterProtect.  If you’ve seen from the other posts where we’ve painted other areas, you’ll know it’s a very light off-white color.  And when we applied it…WOW.  What a world of difference it made to the cabin top (and the boat by association) look brand new.  On the second day when we covered the cabin top of the pilot house as well as the companionway area, it was as if Daze Off had a complete face lift.  Yes, the deck still had to be done, as well as the cockpit, but those areas had never been as dirty as the cabin top, so overall she looked like a boat I actually wanted to own.
Now to the best part of our priming and barrier coating the cabin top….there’s no extra priming or top coat for 90% of it. Â Yes!!! Â Yay for my poor hands and all the sanding necessary to complete these steps! Â Because we’re going to be covering most of these areas in a non-skid coating (most likely Kiwi Grip), the process stops there. Â Just another barrier coat to be added right before the non-skid, and that’s it.
For the downside though…there were still the few areas that will still get the top coat. Â The front and back walls of the pilot house receiving new glass, as well as a 1-2″ border along the edges as well as around the hatches and the welded areas where the granny bars connect to the deck. Â Since the non-skid can be applied right over the top coat if necessary, we’re not being too precise on those lines at the moment and are covering an area about 3″ wide around each of those surfaces just to be safe.
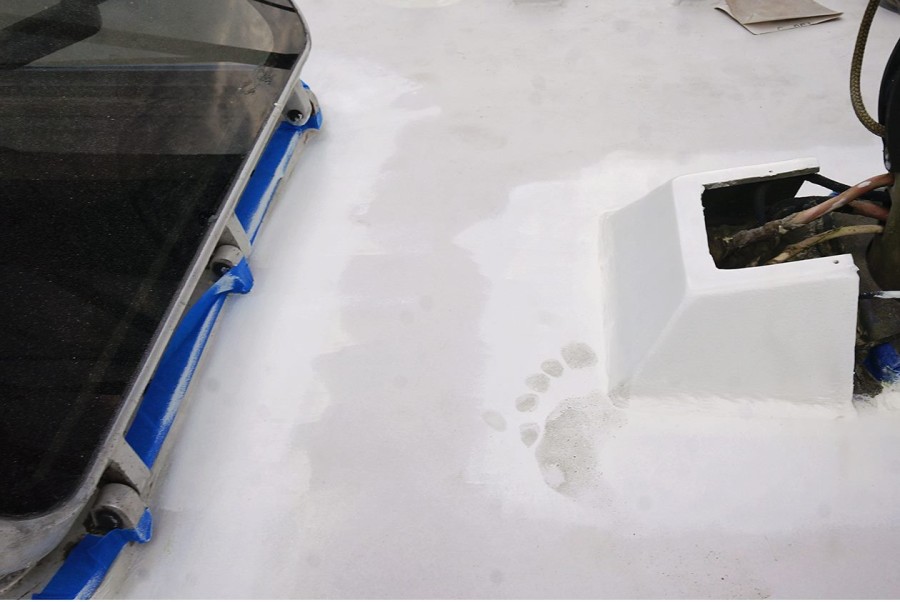
It’s still time consuming to work around some of the tight or hard to reach areas, but I’ve fallen back into my schedule of one day sanding, one day priming or painting. Â Hopefully by next week the last layer of top coat will be on and we can finally get the last 5 of our new plexi windows in. Â In the meantime as I work, I’m finding out that I have to be very careful where I step while working on the cabin top…..
*Or so I thought. Â Now my new computer is giving me issues too.

I agree, she’s starting to look brand new! She basically will be when you’re done .. I know it’s a ton of work. Great job!
It’s looking fabulous – what an incredible amount of work you have put into this project.
So much work, wow. Great job!
We used InterProtect on our bottom when we scraped it down to the gelcoat several years ago and are happy with the result (it looked so good we hated to paint over it with anti-foul). I don’t envy the work you’re doing, but it looks great.
Nice job, guys! Love that you had time for an update – hate that your new computer is acting up.
(nice foot print 😉 )
You’re really doing a good job improving on that “ugly duckling”.
She’ll be ready for anything by the time you two are ready to set sail. Nice work!
@Stephanie, we’ll be using the Interlux InterProtect on our bottom too…..we just stocked up on gallons of it. 🙂